
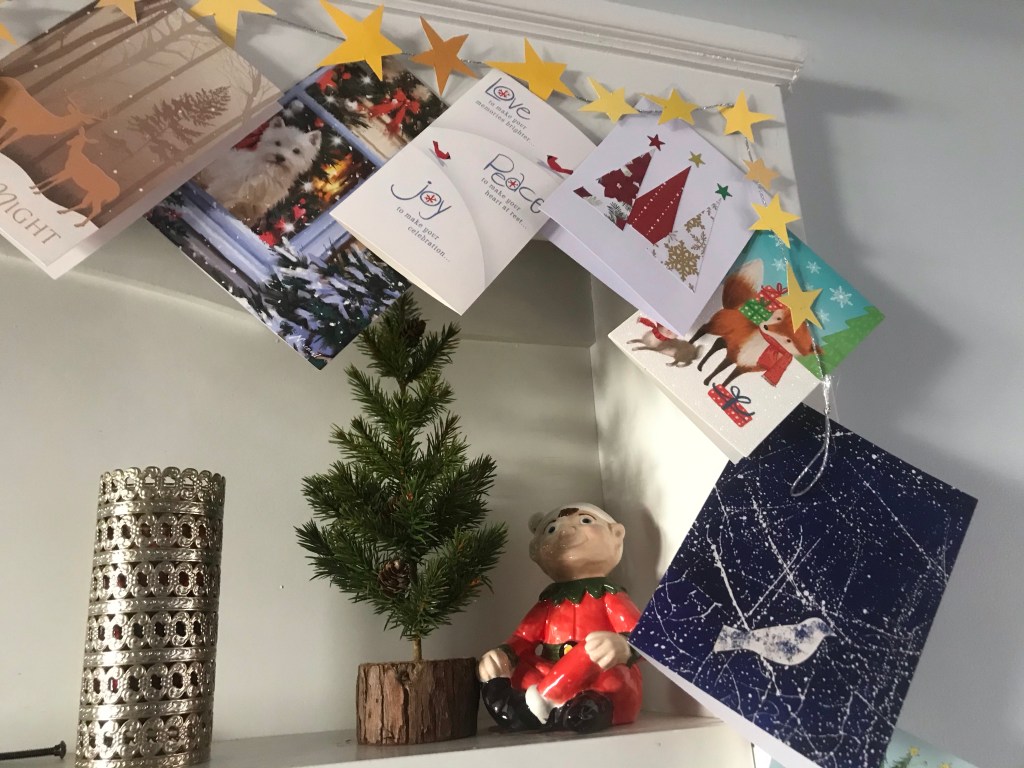
During Advent, some friends and I gathered weekly to make seasonal crafts via Zoom. Every part of it was fun, but an especially endearing part was how many people accepted the invitation saying “I stink at crafts, but I’m willing to try.” I love that spirit, and I love that friends were confident that we could do crafts together poorly and still have fun.
To be inclusive, our crafts had to: 1) require few pre-existing skills, 2) require few tools or materials since I bagged them up and delivered them to my friends, 3) be adaptive since our group included children through older adults and people with various abilities. And while most of my friends were from my church, not everyone was, so I chose mostly crafts that were wintertime-themed, not holiday themed.
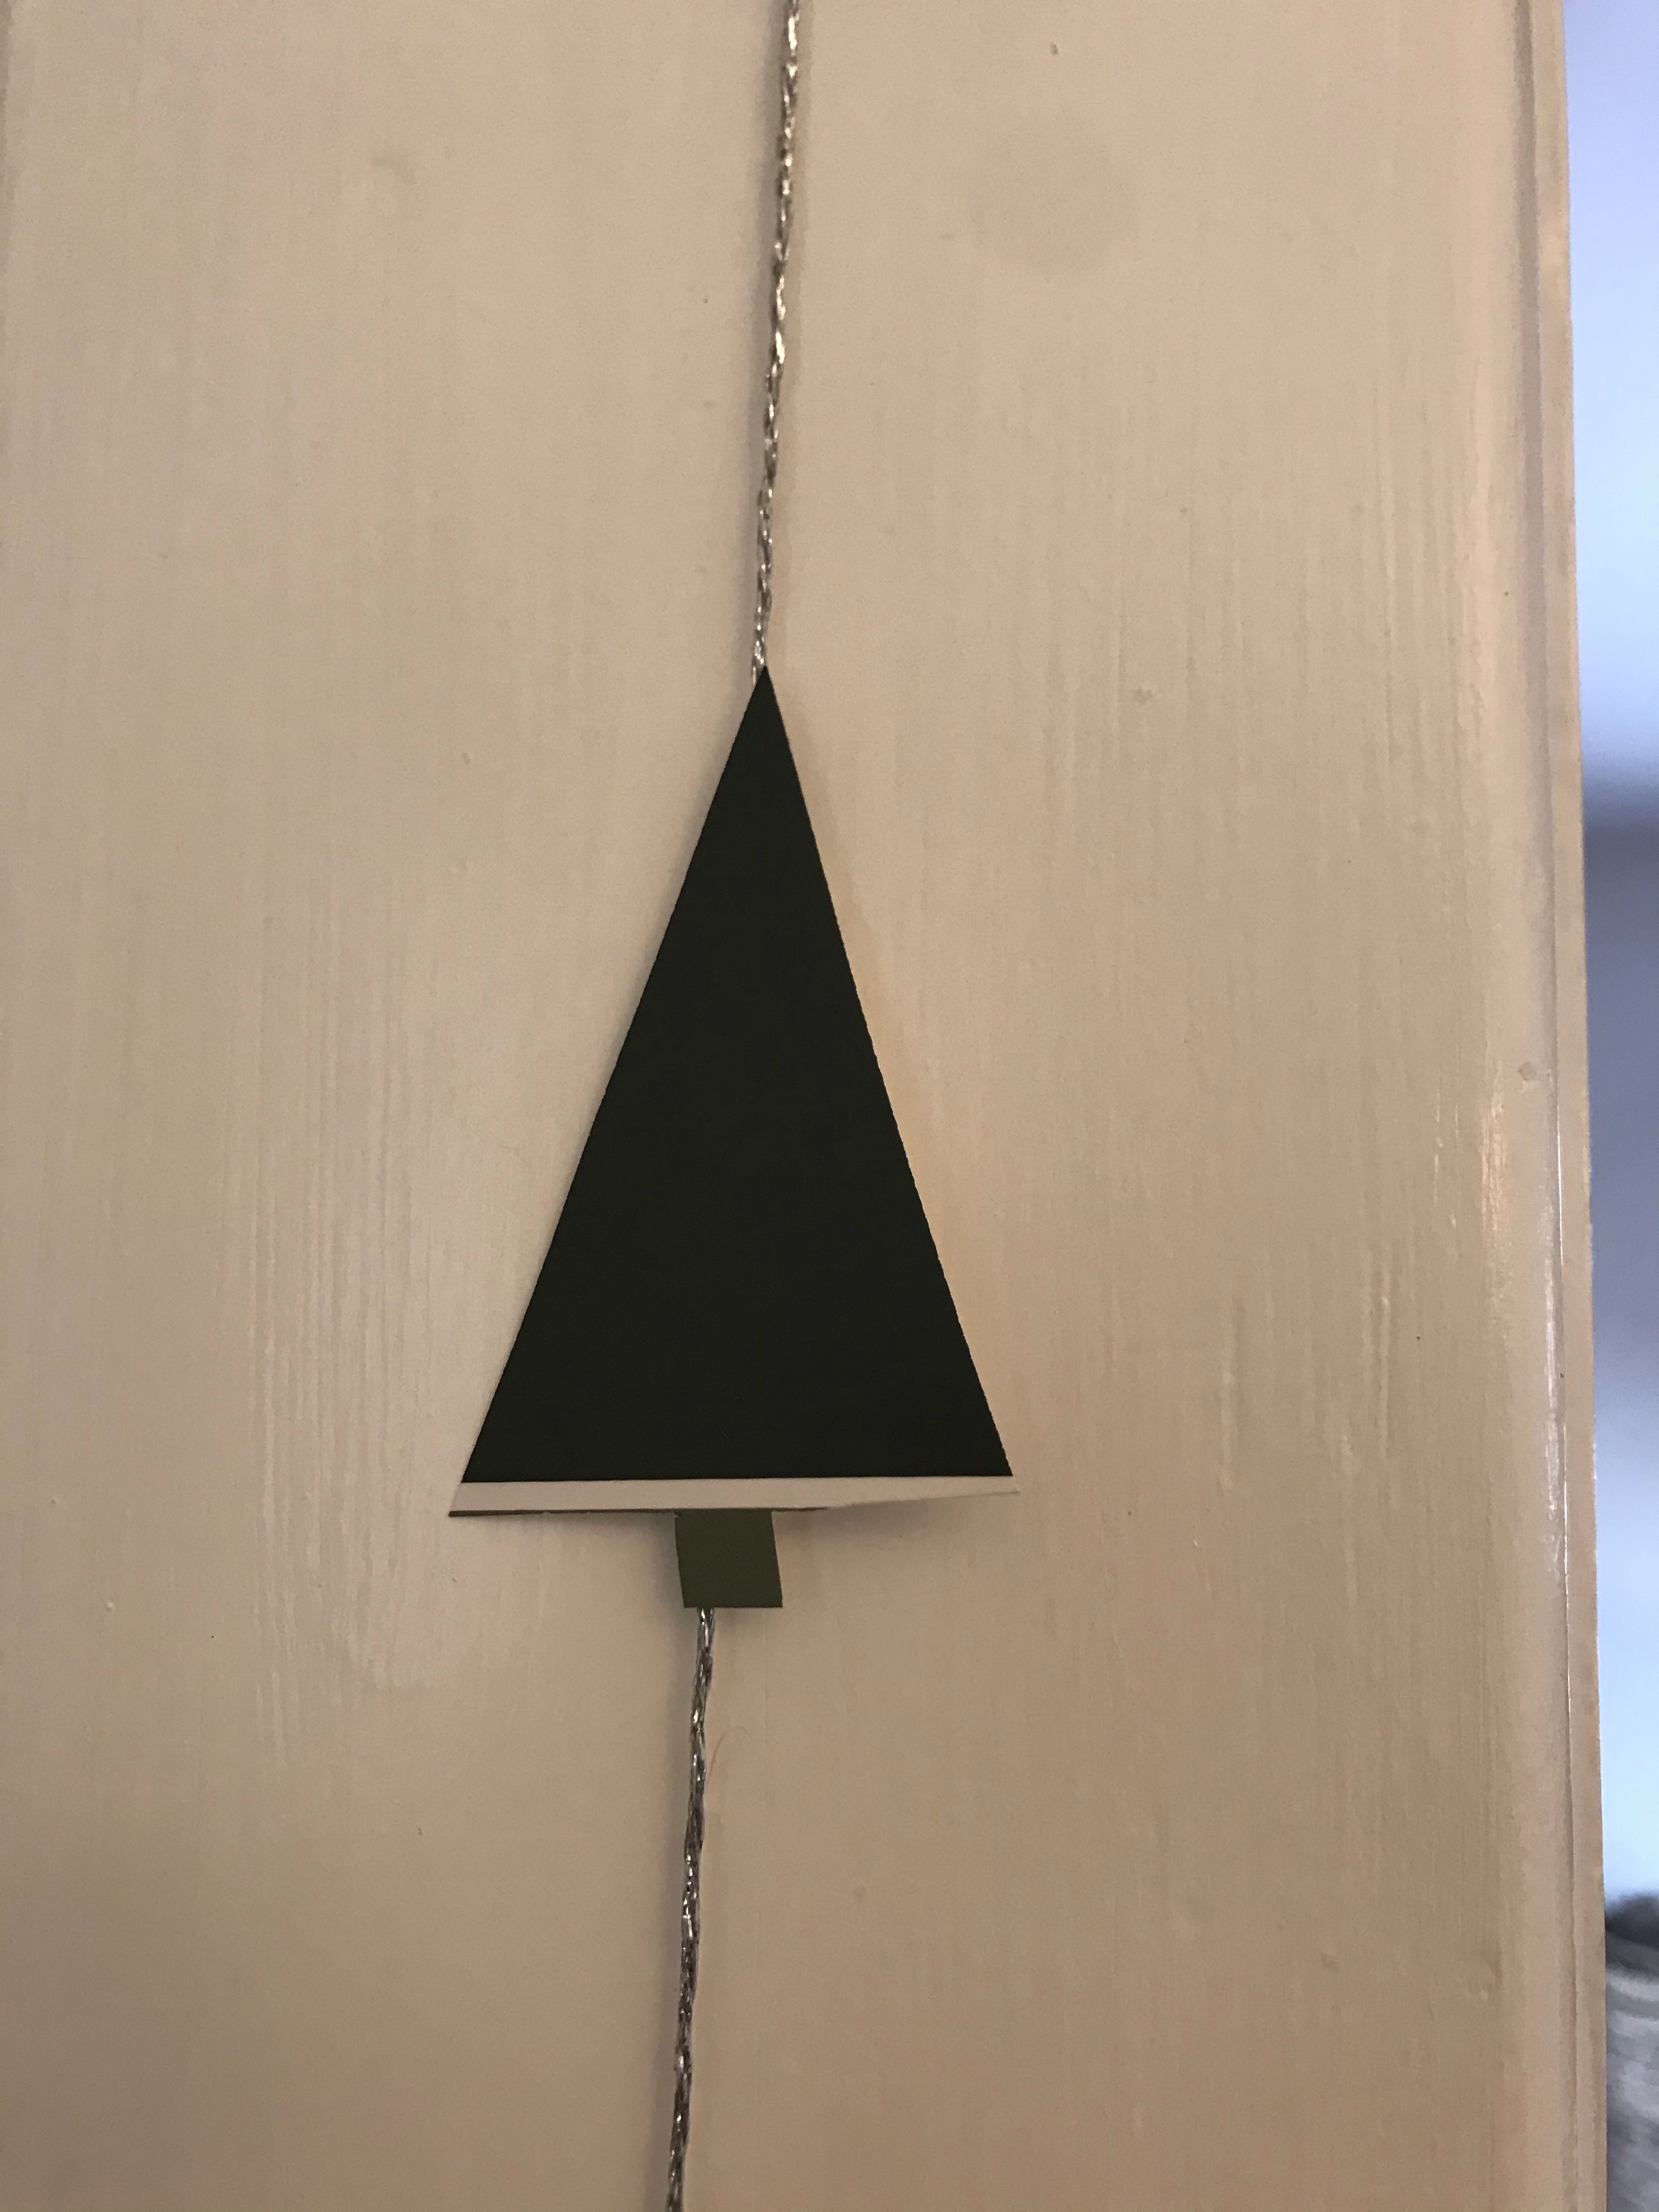

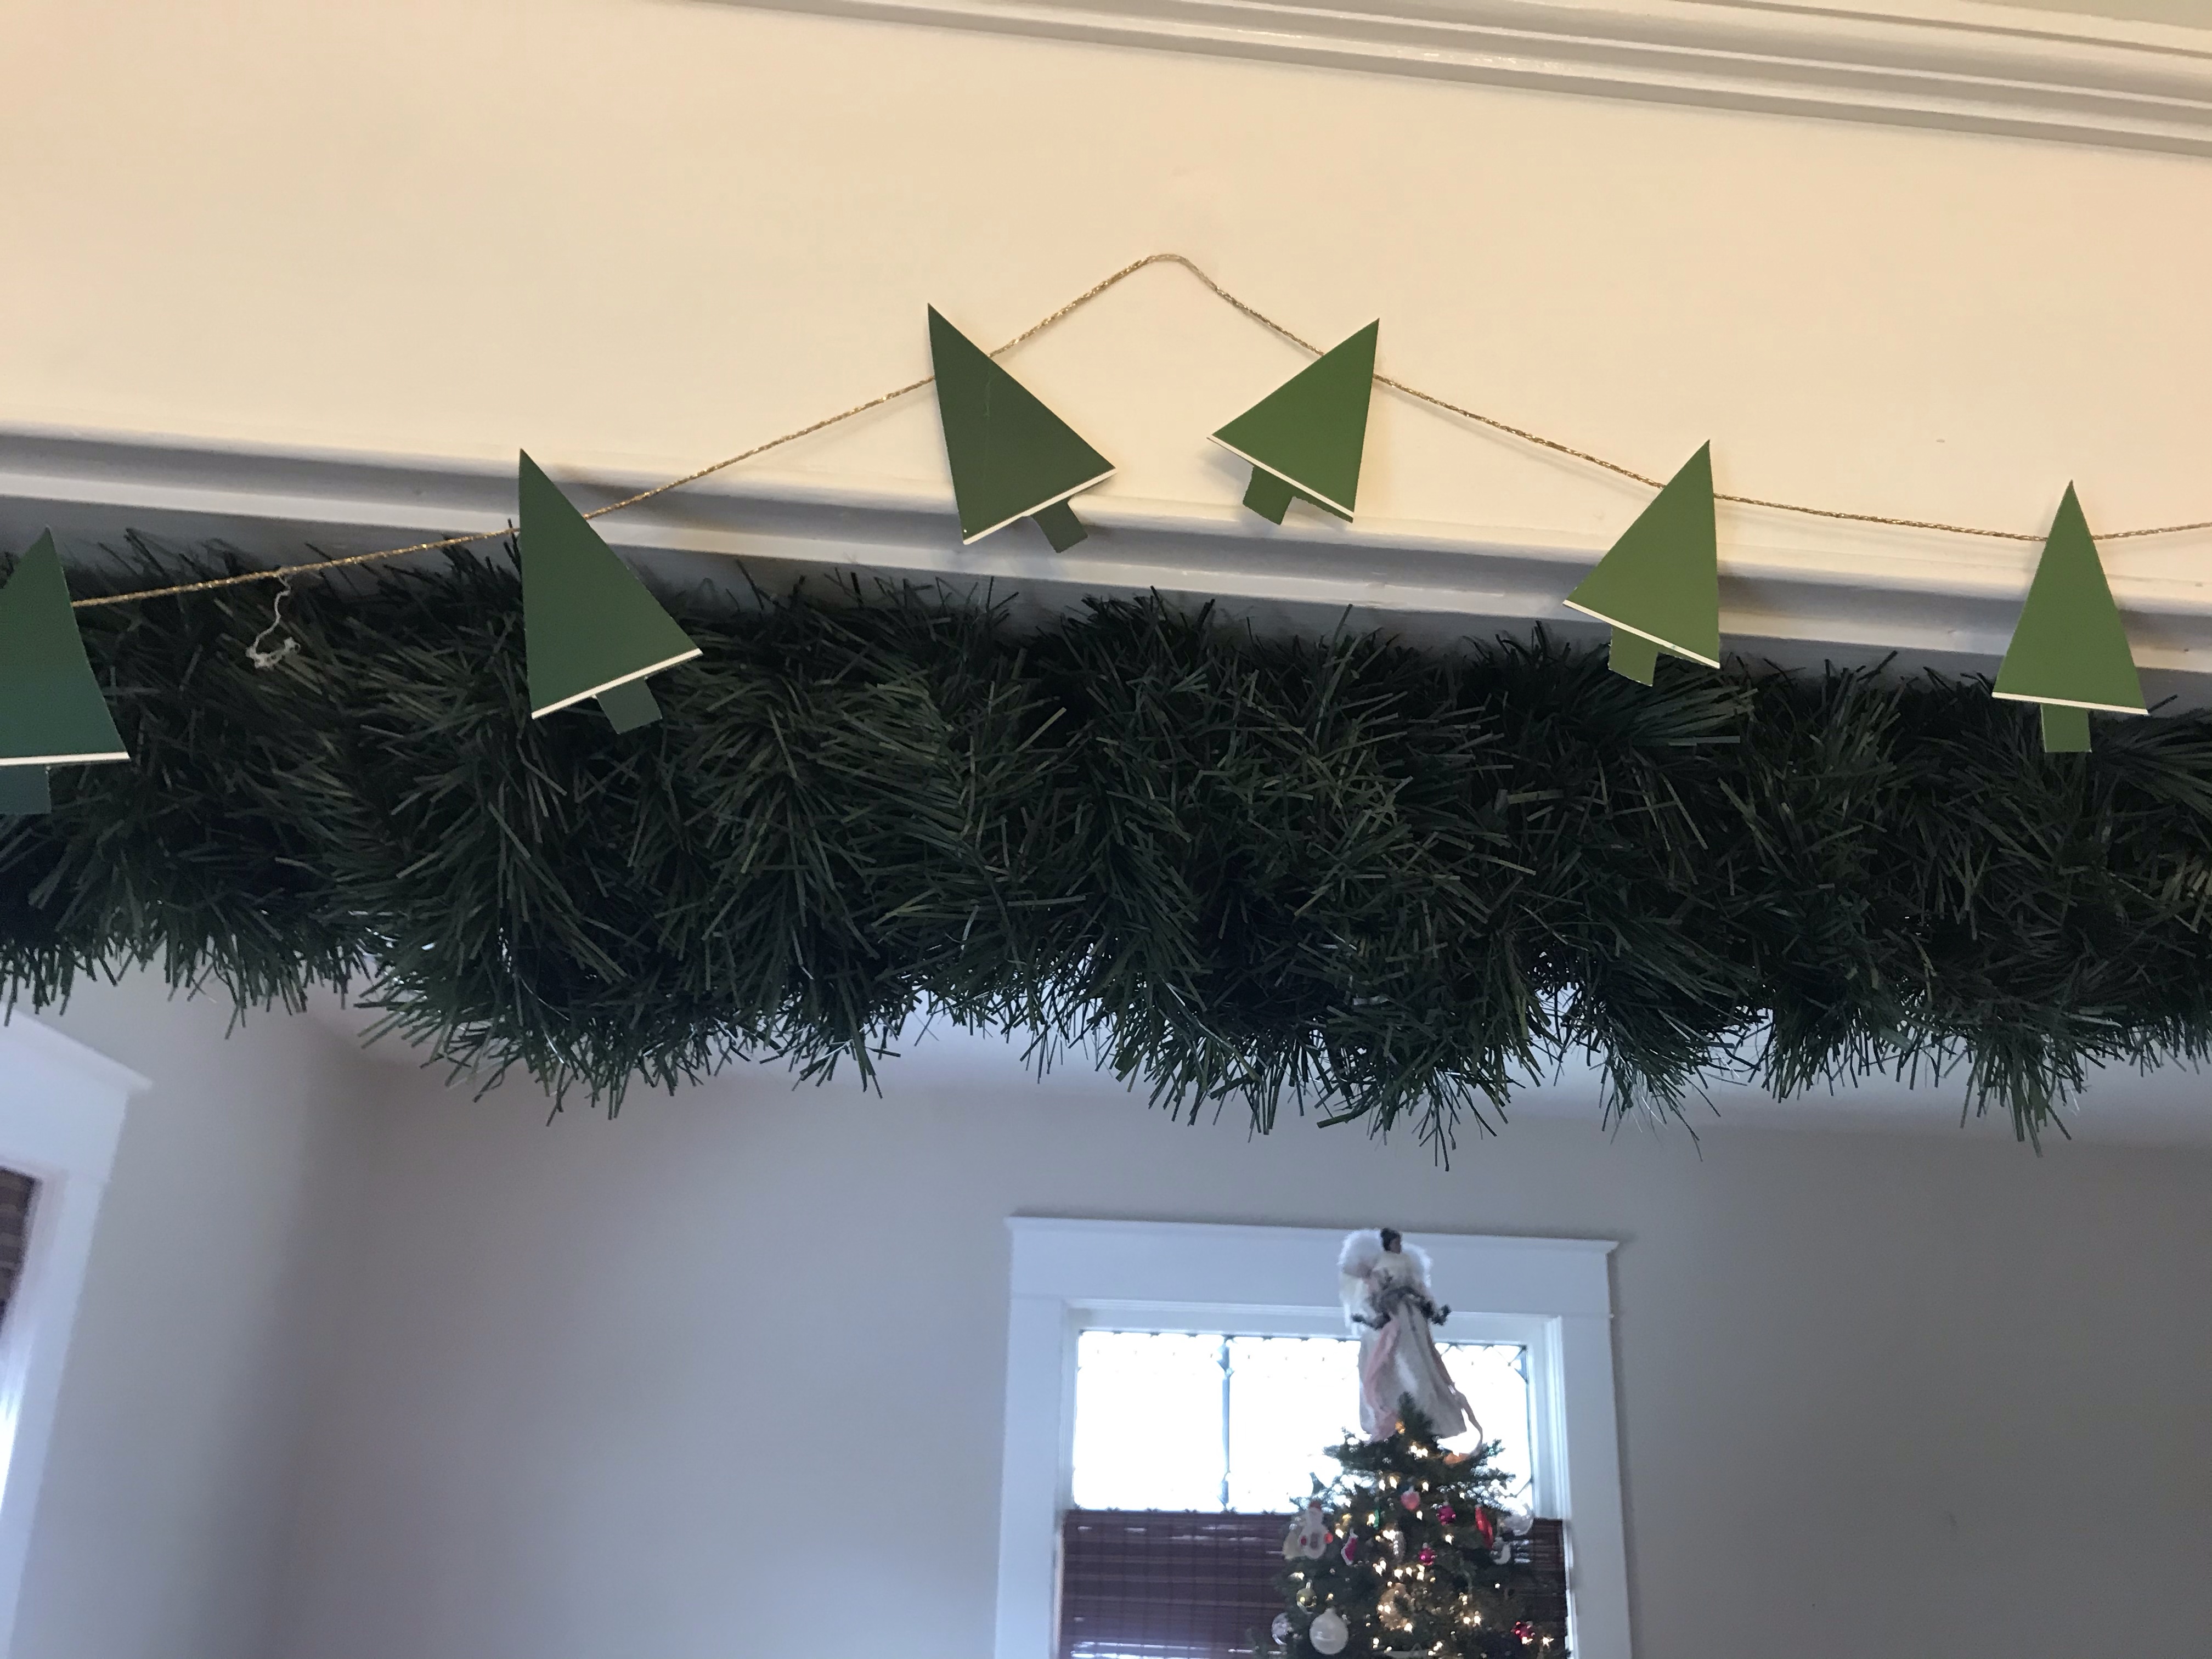
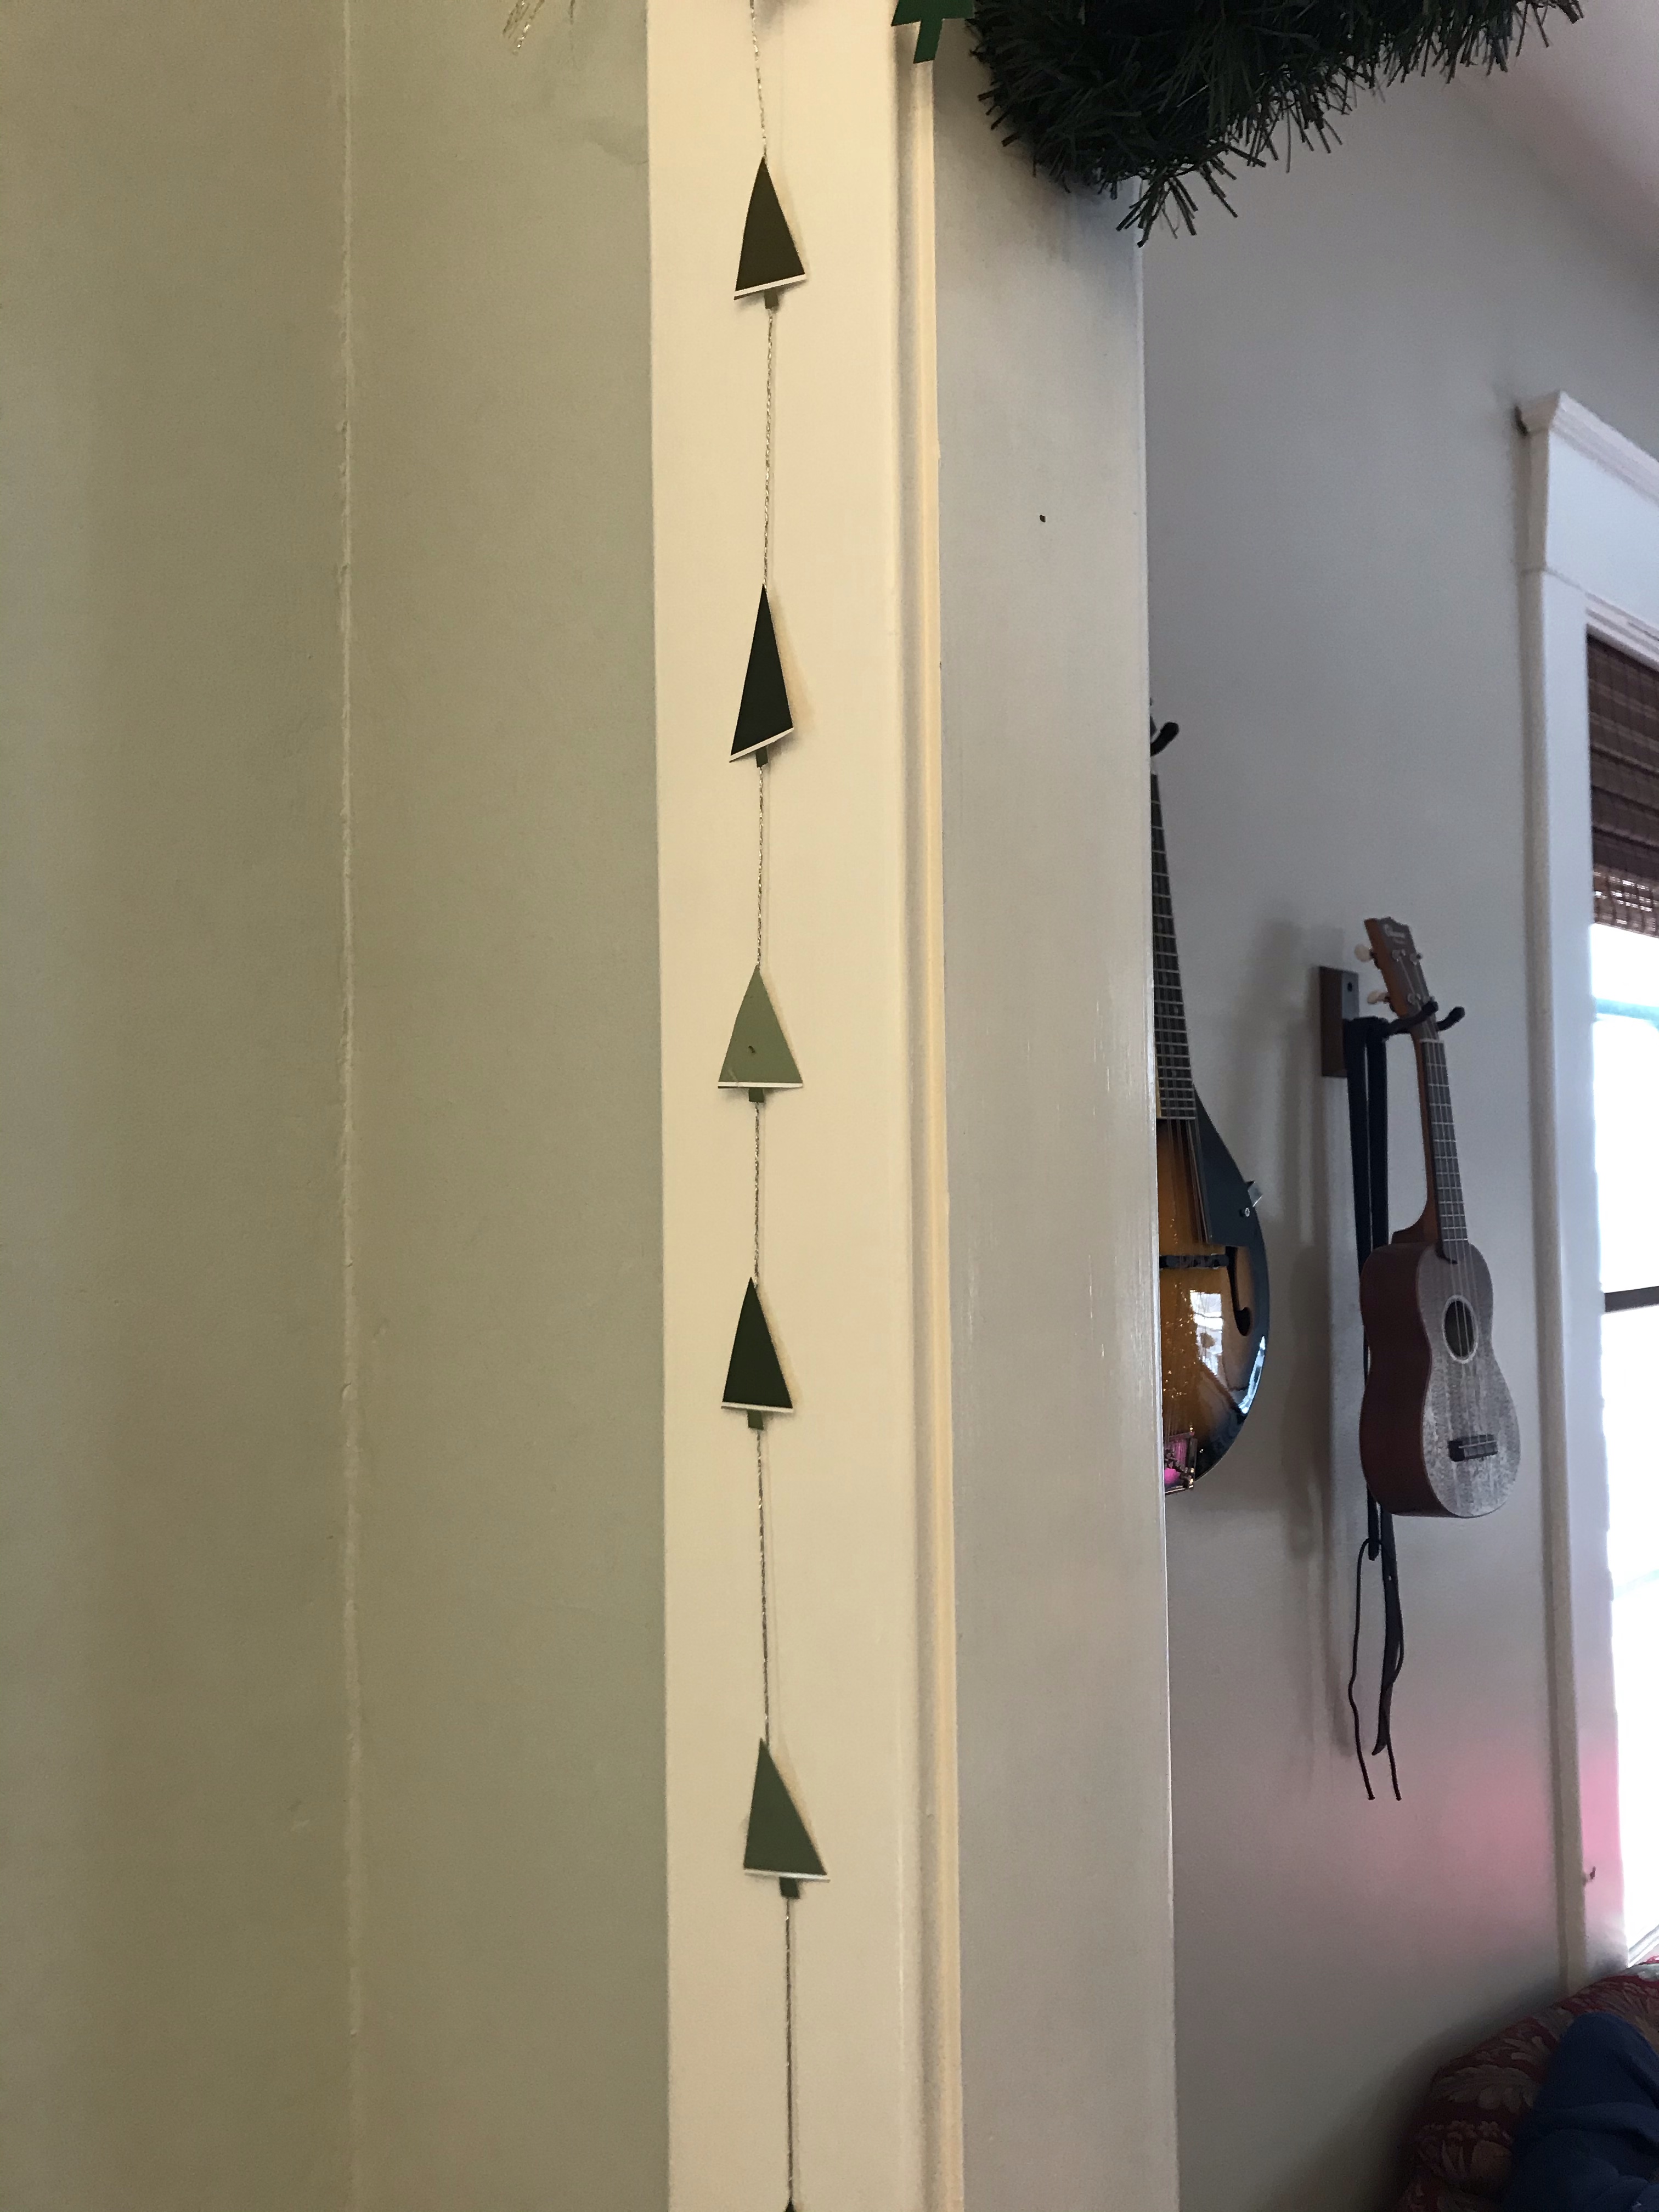
Above, we created both vertical and horizontal evergreen garlands so we could string them over the entry way between the dining room and living room. I used paint chips with two shades, creating a line between the trunk and the triangle-shape of the needles with the white line that divides the two colors. I kept it simple with a triangle shape, but you could use scissors to cut fringe into the tree for more texture, or create layers of needles.
This craft required just a few supplies:
- Scissors
- Decorative string (I chose gold and silver), cut to the length of garland you want. If you aren’t sure, try 8 feet.
- 16 paint chips from a hardware store*
- Assorted pieces of light cardboard, like from a cereal box, cut to the size of the paint chips
- pencil
- newspaper
- hot glue gun and hot glue sticks
*What color paint chips? It depends on shape you want to string on your garland. Good wintertime choices include evergreen trees (so choose one color of dark green or an assortment of greens), Christmas lights (so choose bright green and red, or the pinks, greens, and blues of echo the colors of Shiny Bright ornaments), or stars (various shades of yellow or all the same shade, if you prefer). You can pull in additional supplies to make stocking caps (red paint chips plus a small white puffball or tiny jingle bell on the end) or presents (any color you like + gel pens to draw in the ribbon).
Directions:
Draw a template of your design on a small piece of cardboard. If you prefer, you can print a simple shape from an online template. Simple is best. Cut it out.
- Trace the template onto the back of the paint chip. If your chip includes two tones, consider working that into the decoration. For example, I used two-tone green chips for my trees, with one color for the trunk and the other the evergreen needs.
- Cut your paint chips along the lines you traced.
- Tie a small knot in each end of your decorative string.
- Decide if you want your garland to hang horizontally or vertically. For some shapes (like stars), this might not matter. For others, it does.
- Create a workstation on a piece of newspaper. Dab hot glue on the back of each decoration (tree, star, present, hat, etc.), then press string into the dab, without touching the glue. Repeat every 6 inches if you created 16 decorations for an 8 foot garland. Or add more if you like!
- Mix and match decorations for a garland with a lot of variety, or string only one kind of decoration on a single garland.
- Hang on your tree or over a mantle or shelf or around a door. These can be fun to add to a traditional green garland. Or wrap around a present.
- Alternatively, you can cut the string to 4 inches and glue it in a loop on the back of one of the decoration and use as a gift tag.
- Or create individual decorations for your tree, like our Christmas pickles.
