One of my favorite parts of my neighborhood is our Sharing Box, a small outdoor pantry where neighbors can put things to share and take what they need or want. It’s the perfect distance from our house for a walk with our dogs, and we go at least once a day.
In March, we’re working hard to add more items that women need or we think women might especially enjoy. Here are some things we’re sharing:
One of my favorite parts of my neighborhood is our Sharing Box, a small outdoor pantry where neighbors can put things to share and take what they need or want. Since Advent coincided with our new puppy’s ability to go on longer walks, we have used the Sharing Box as a destination multiple times a day (It’s a few blocks away–just enough for a little walk) and used Advent as an opportunity to share more. We set our goal of sharing once per day, and we’ve mostly kept it up.
Here are some things we’re sharing during the cold month of February.
canned soup with pop-tops
boxed soup
crackers
in-season citrus fruit (dropped off in the morning before the temperature freezes)
tins of sardines
double-bagged Ziploc quarts of homemade curry
frozen pizzas (during our run of below-freezing days, marked on the outside with the moment of delivery so that folks know how long they’ve been in the box)
single-serving size bags of chips
individually wrapped tea bags
packets of hot cocoa mix
boxes of almond milk
bottle of hot hot sauce
a can opener
box of cake mix + a 9×13 pan to bake it in
small bag of apples
extra toothbrushes and sample-sized floss and toothpaste picked up from the dentist
bars of soap
winter pajamas we’ve outgrown
hats, gloves, scarves, and mittens we’ve outgrown
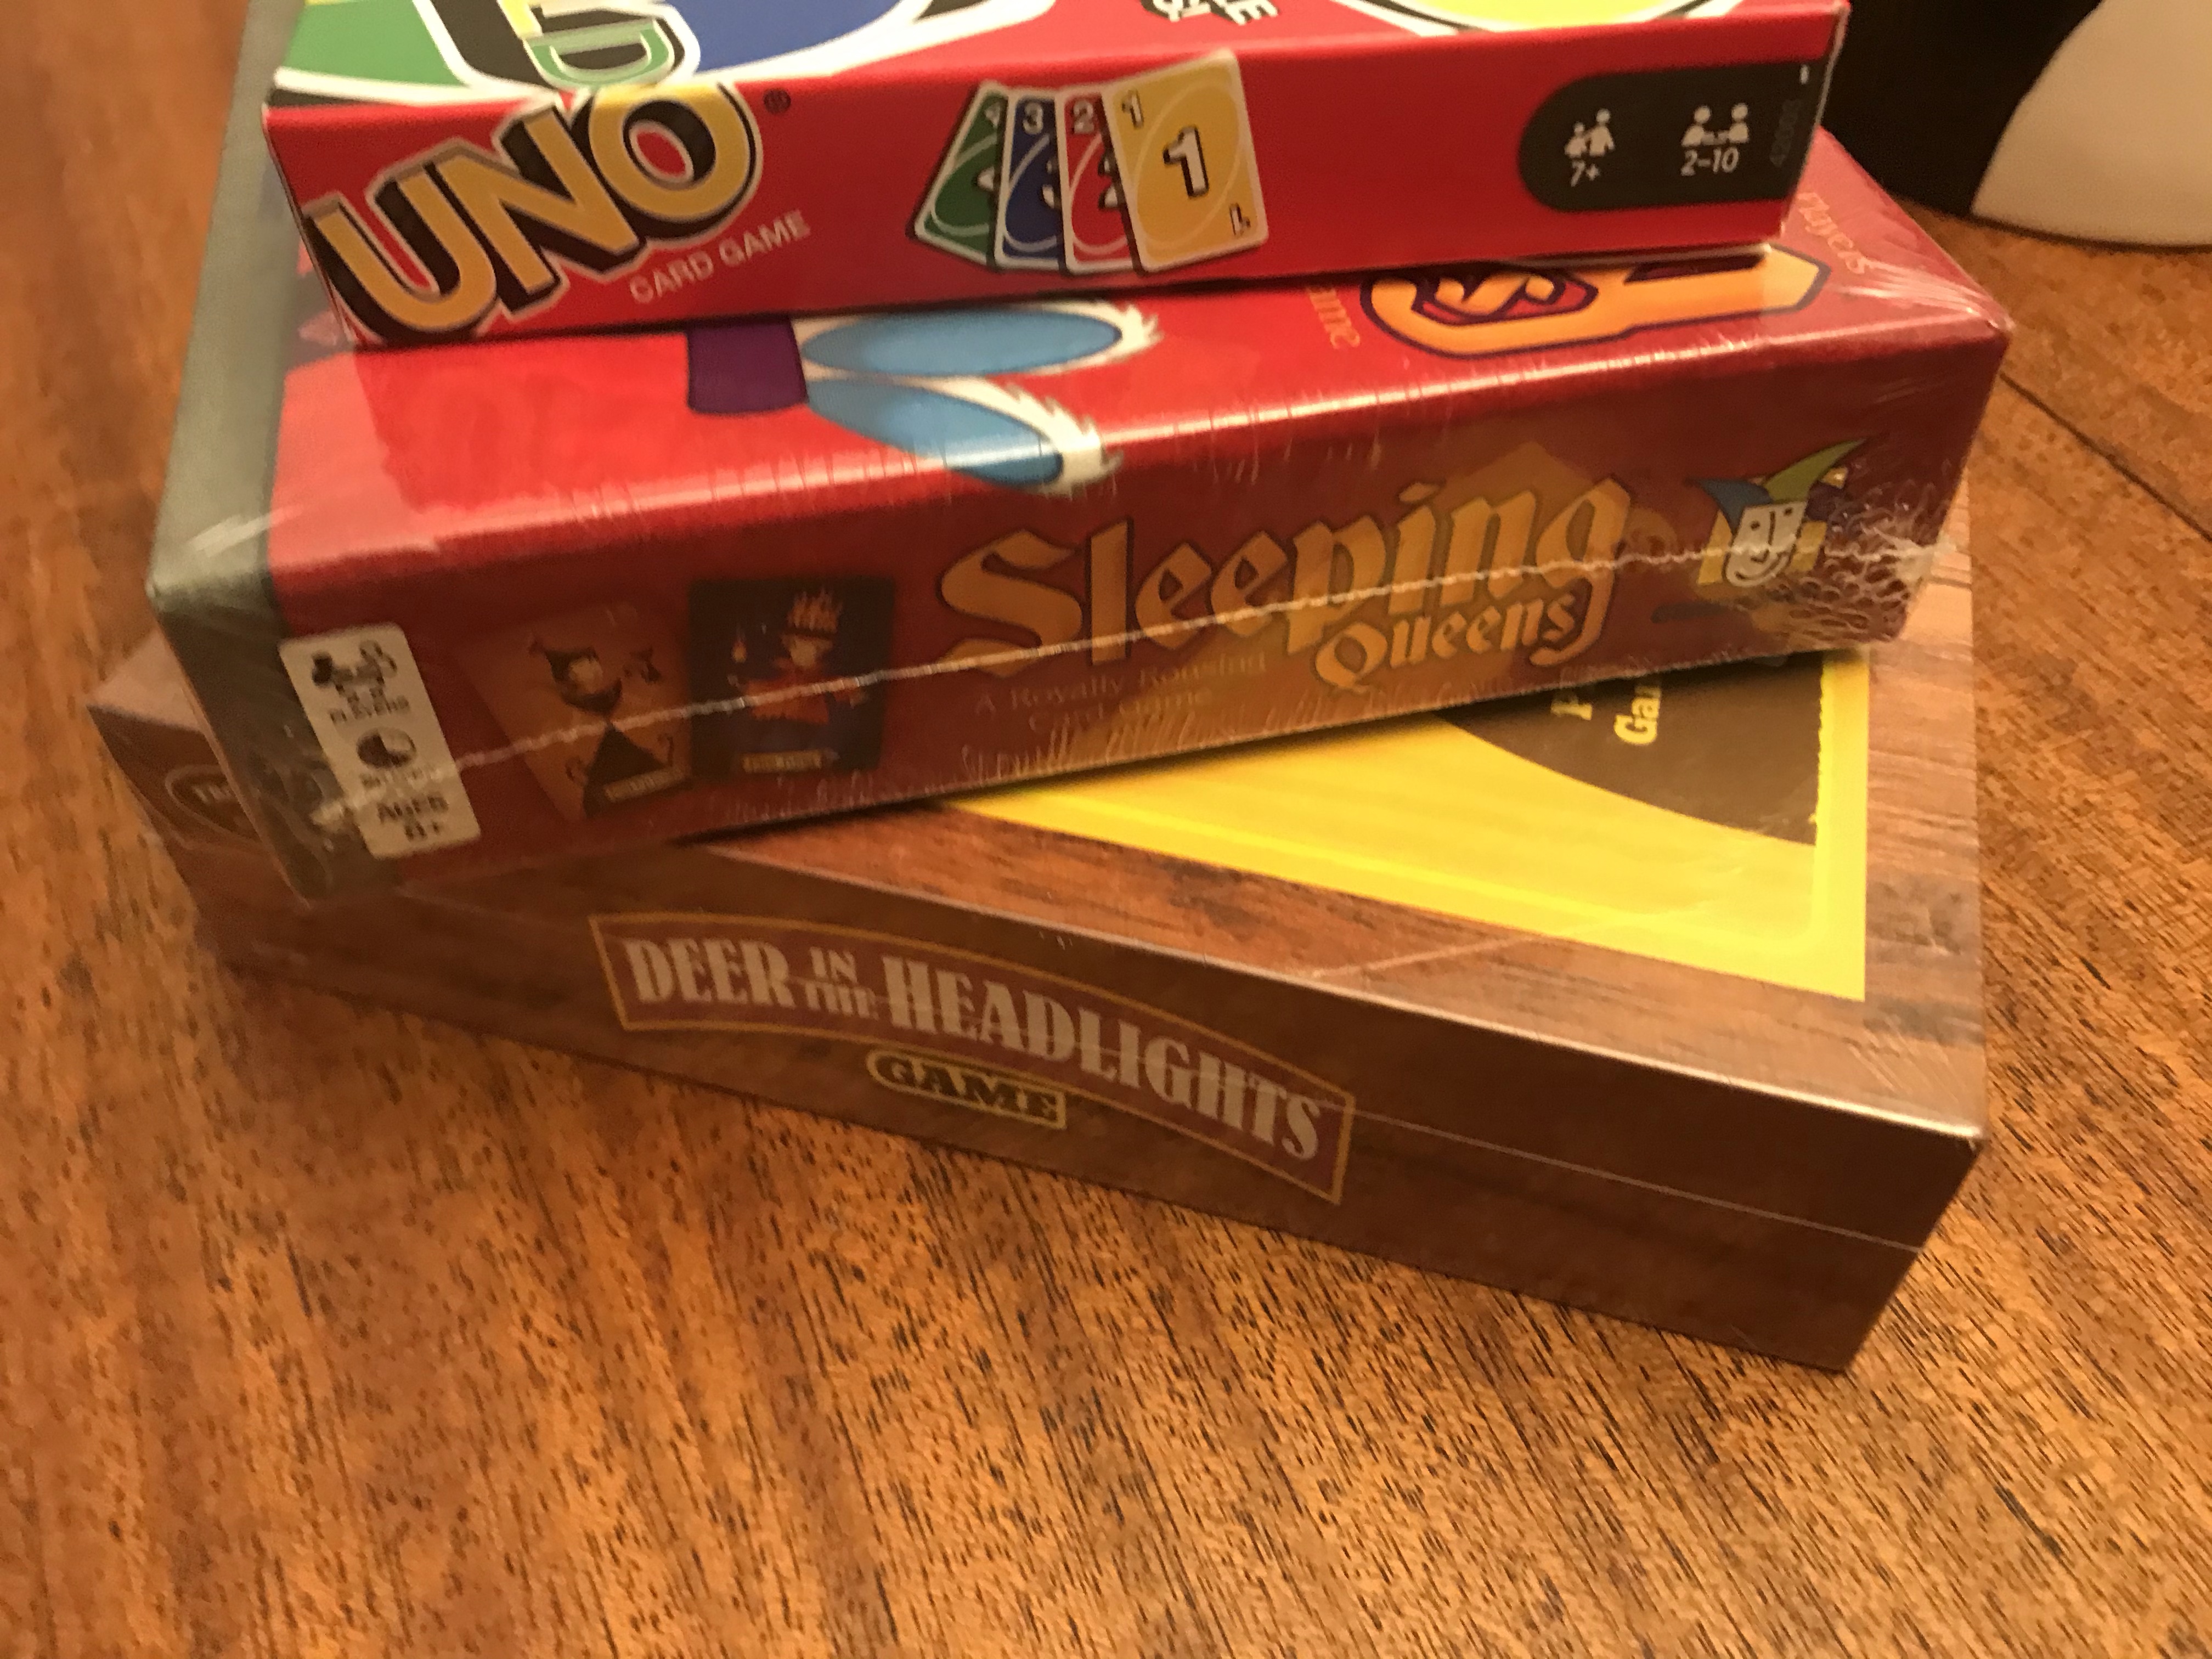
decks of cards, including Uno and Skip-Bo
candles
Valentine’s Day cards for kids to share at school
bag of individually-wrapped Valentine’s Day candy for kids to share at school
recent issues of magazines
this week’s local newspaper
repurposed shaker bottle (like from Parmesan cheese or nutritional yeast) filled with sidewalk salt
costume jewelry that a child might like to give to their mother or grandmother
I’ve been a little jealous these last few weeks as friends in different parts of the country have gotten snow and we’ve gotten warnings about snow and then… nothing. But today, a little snow landed and stuck–nothing serious, but enough to make it feel like winter for a bit. Which also means it’s easier to say goodbye to Christmas, which we’ve started celebrating through the 40th day after December 25th, because it still feels like winter (which it is).
Here are some highlights from our house this Christmas season.
We used this Advent calendar from our church to connect us to others as we each performed the same acts of kindness each day. The little felt donkey, just 1″x1″, guided us to the nativity.
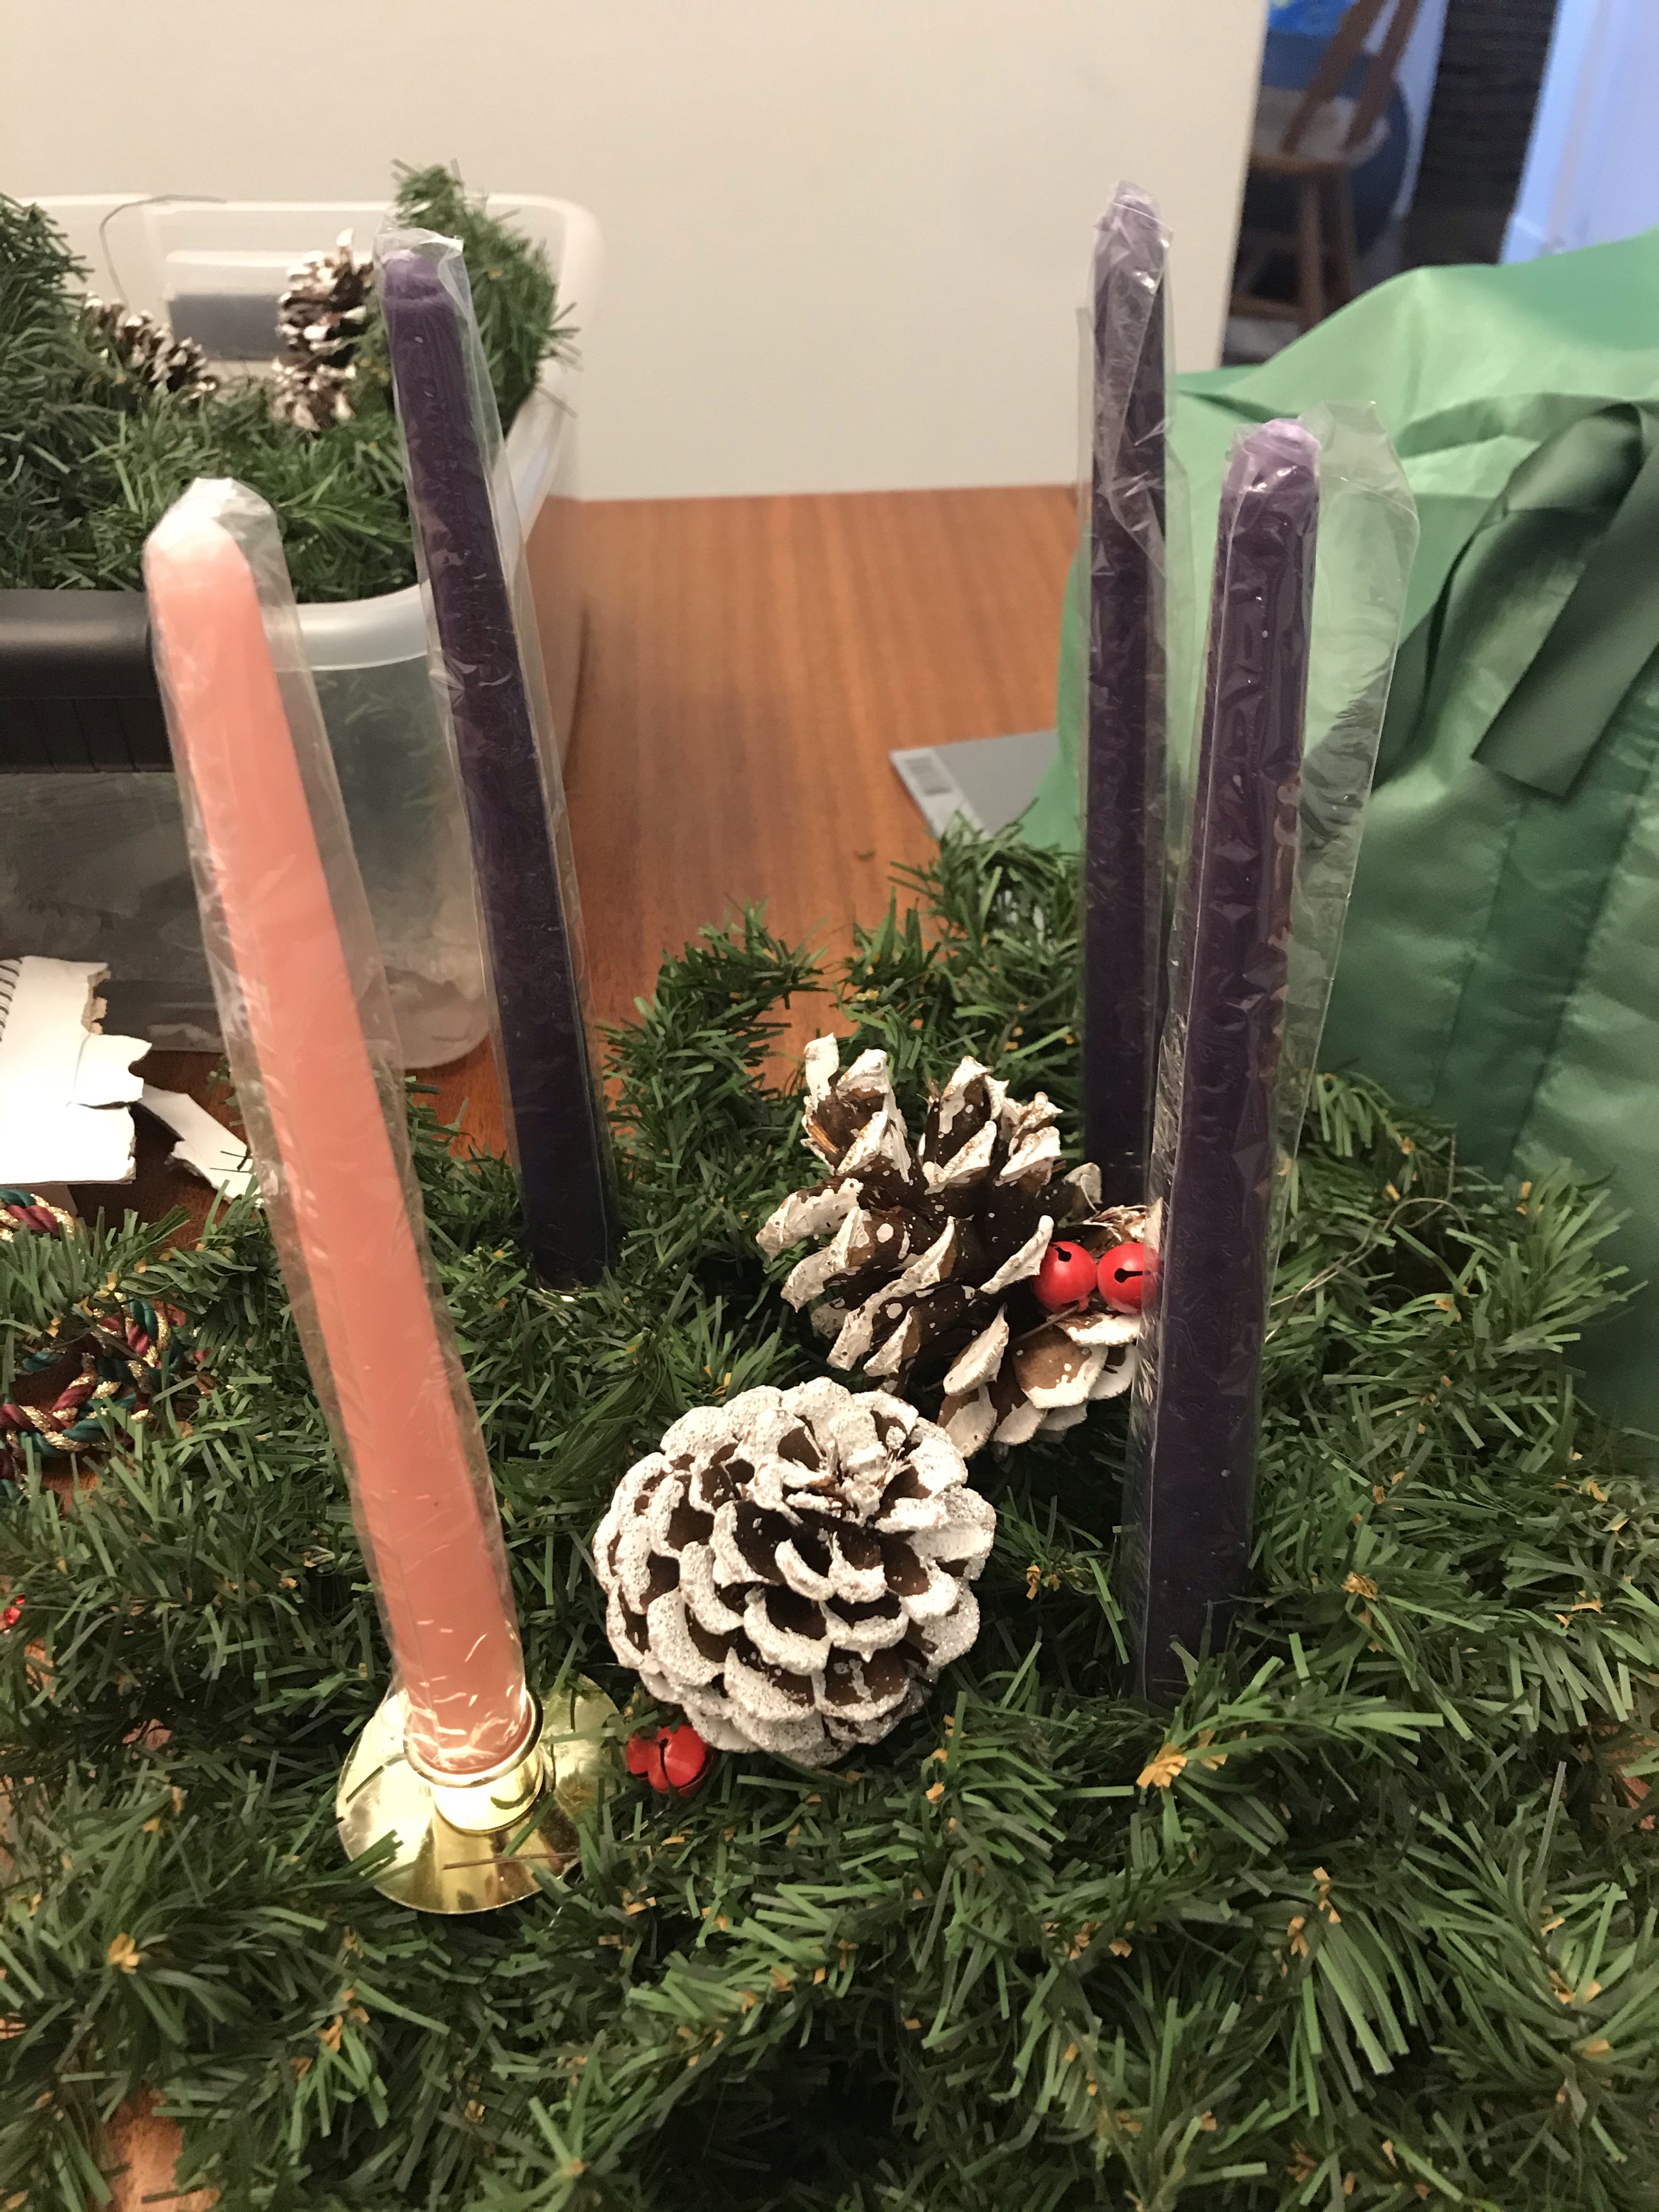
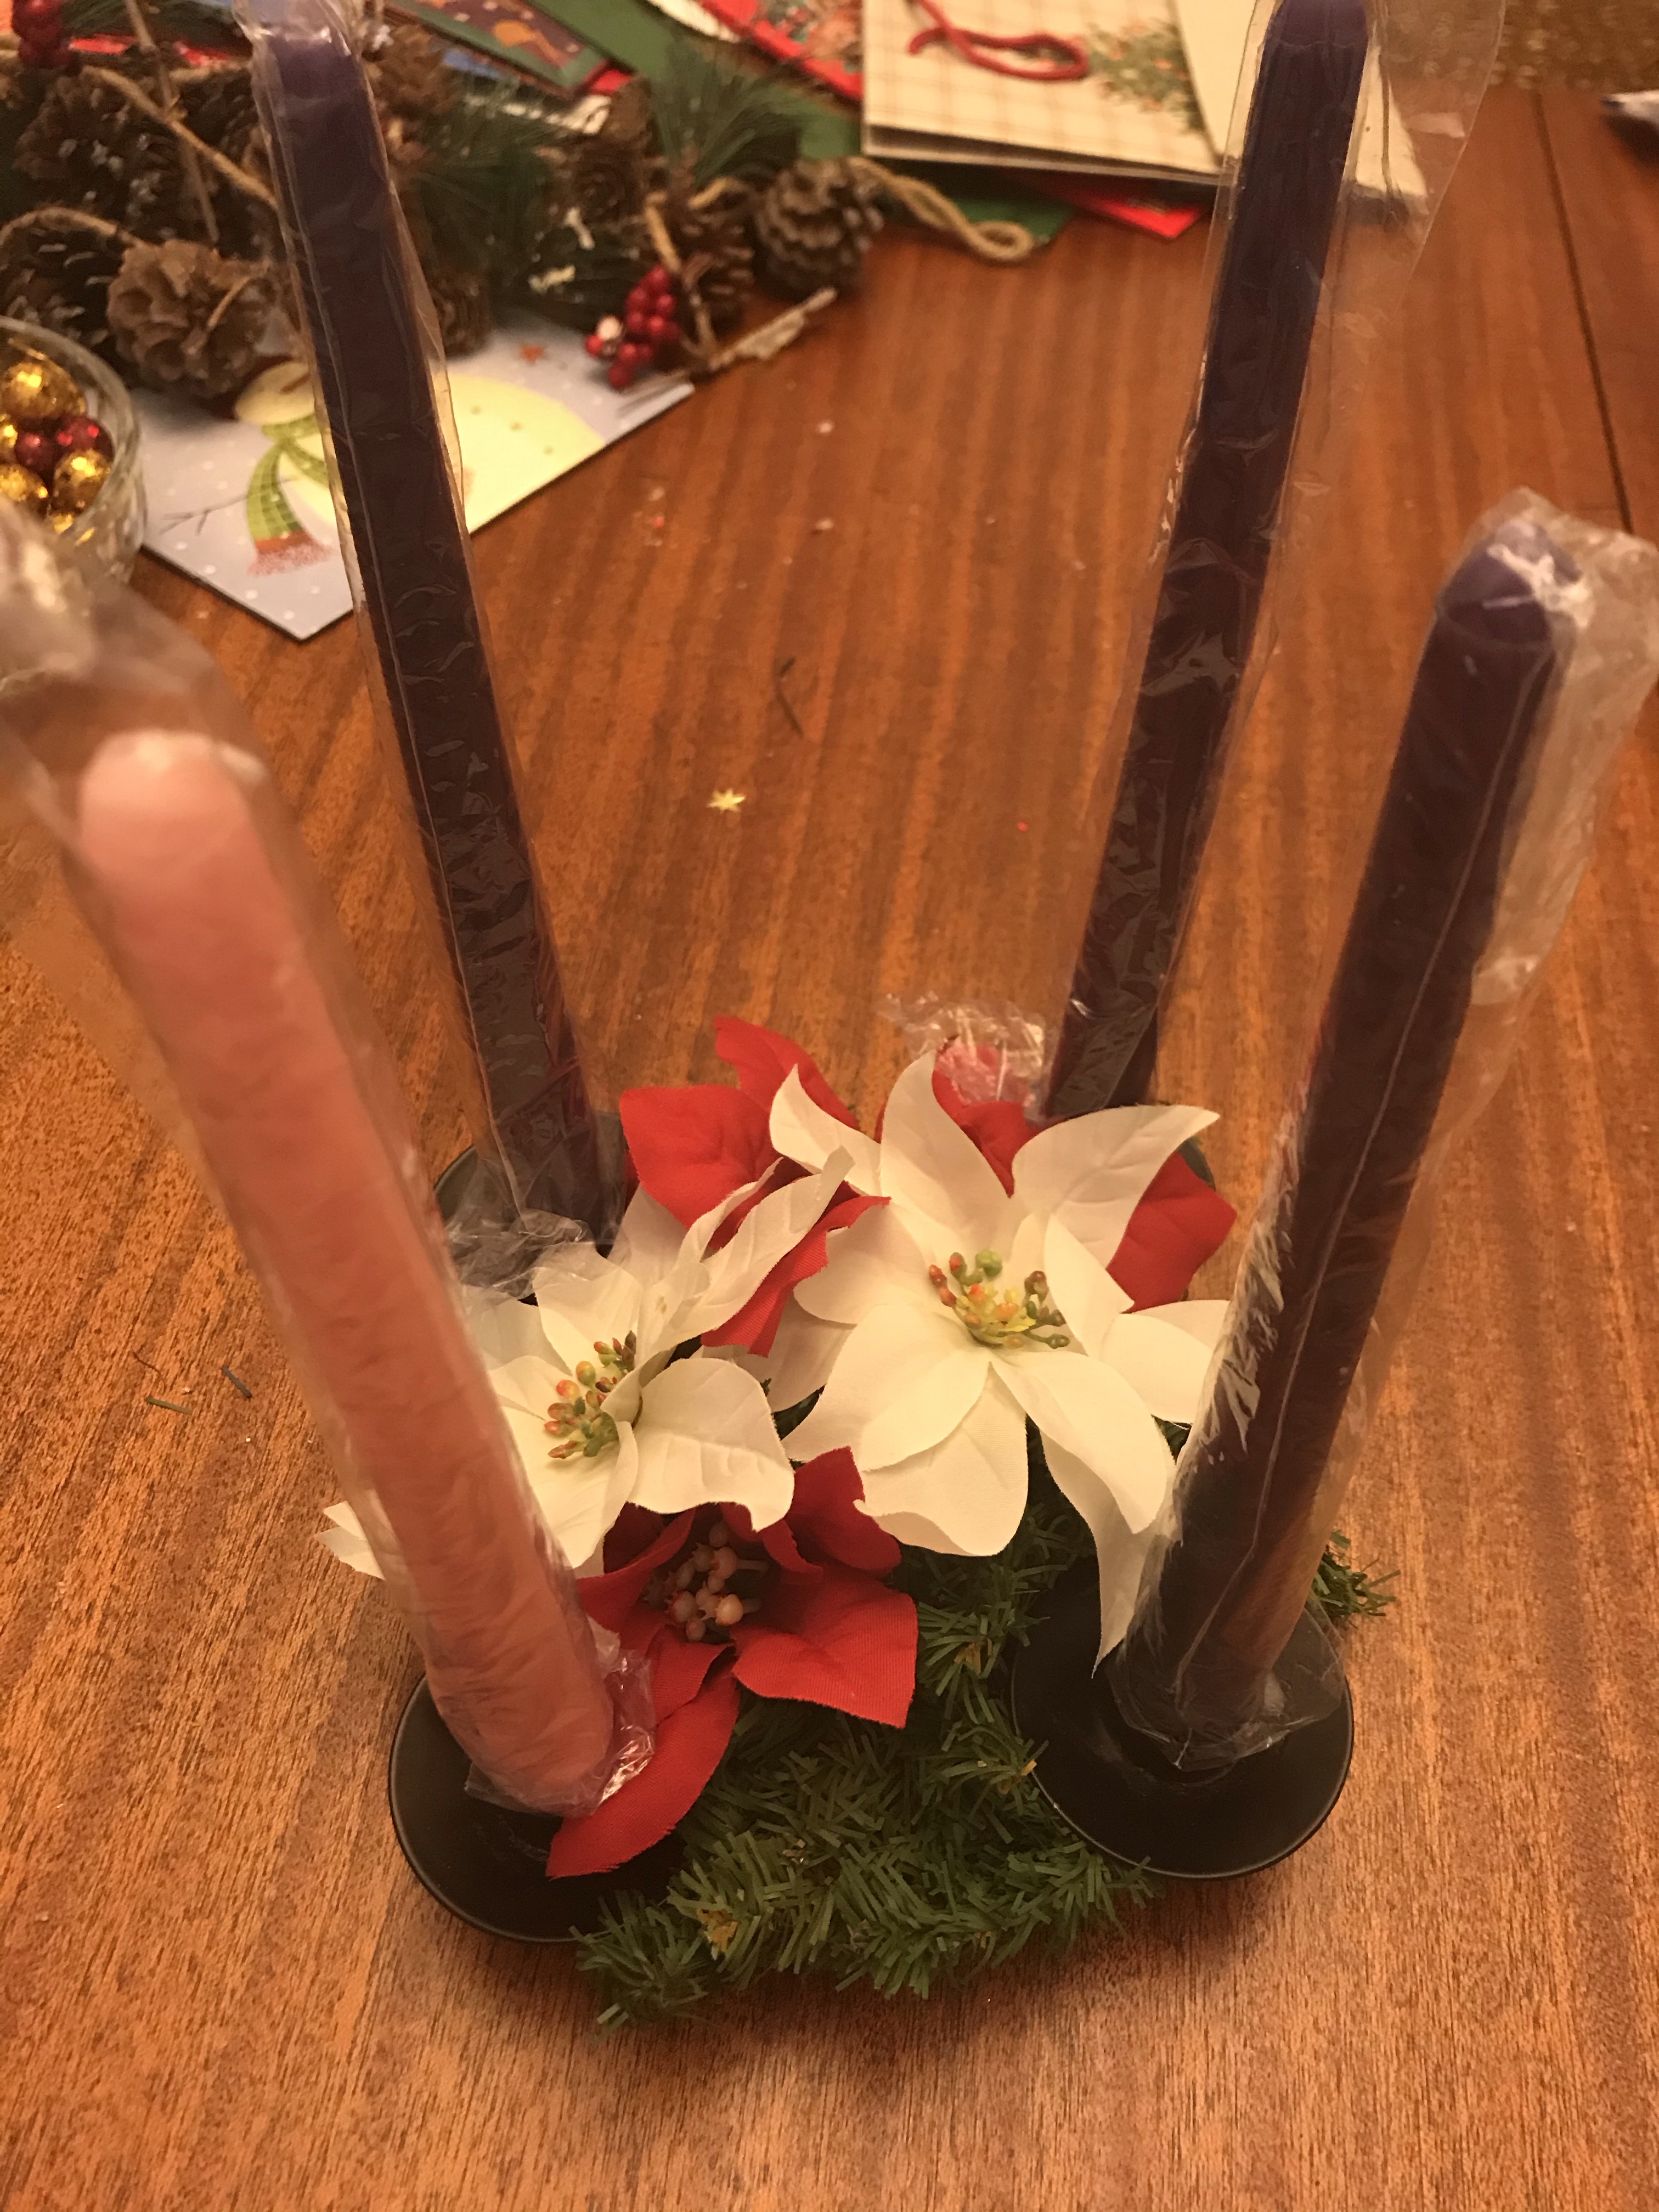
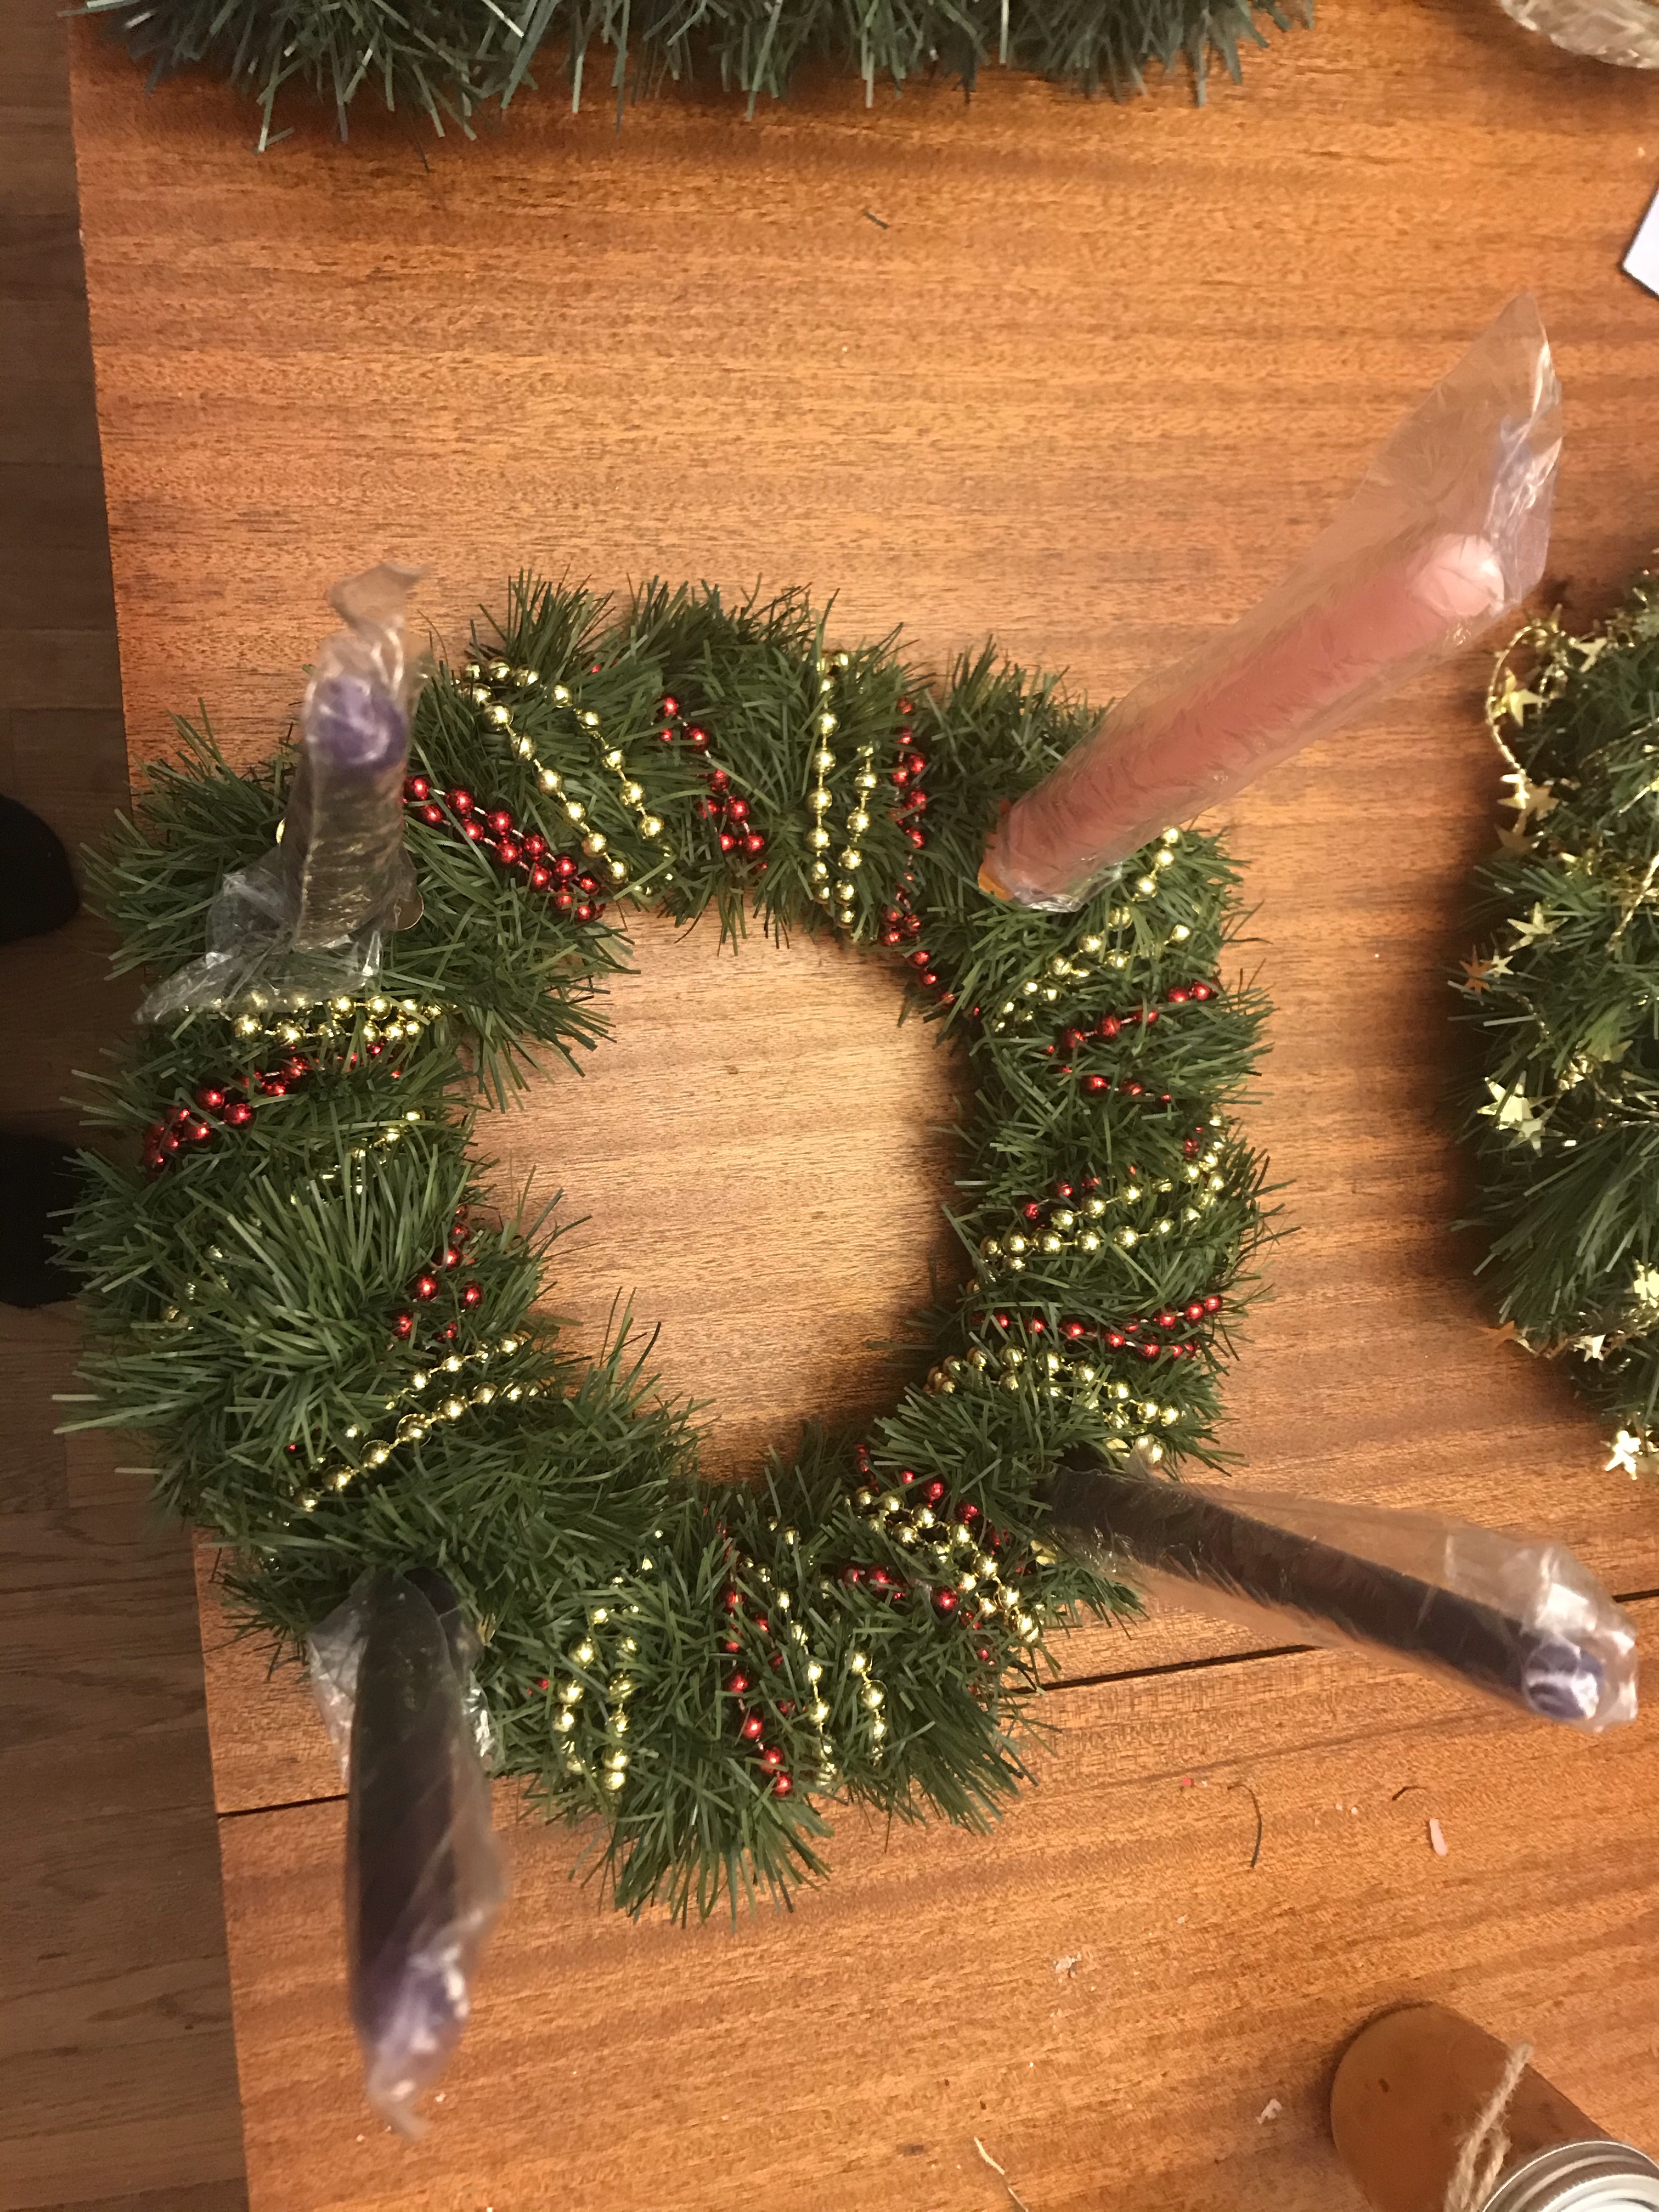
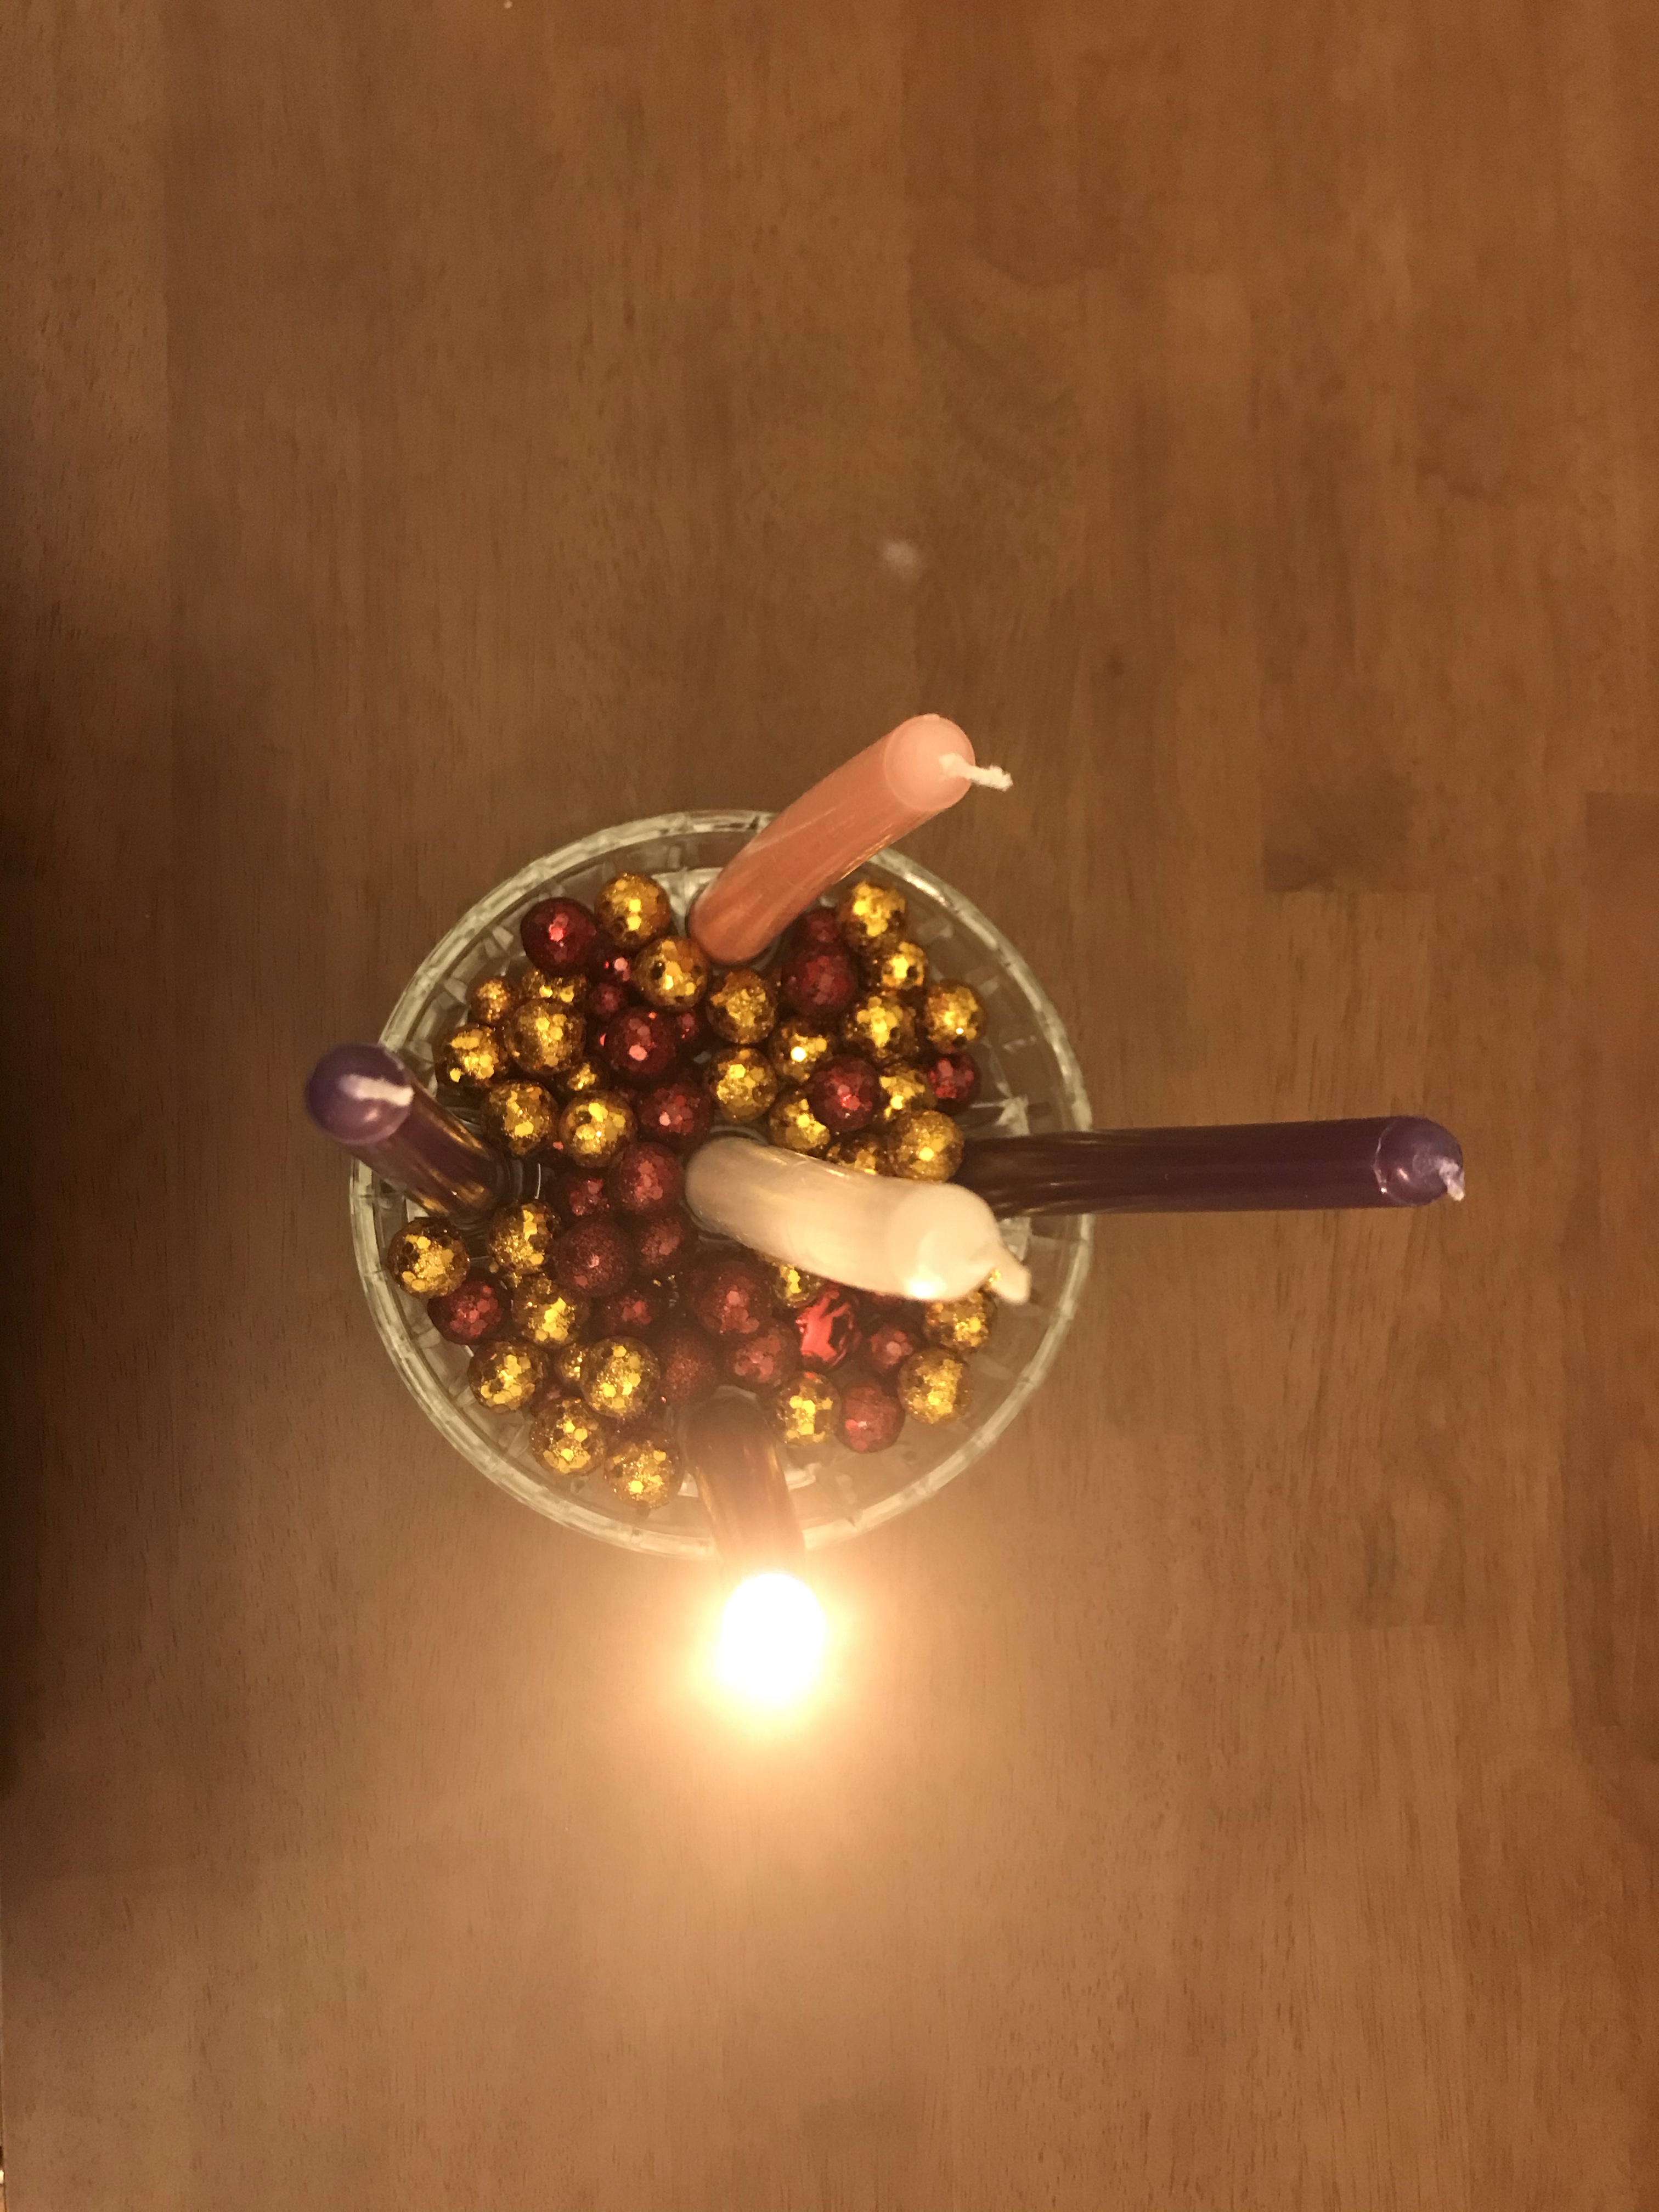
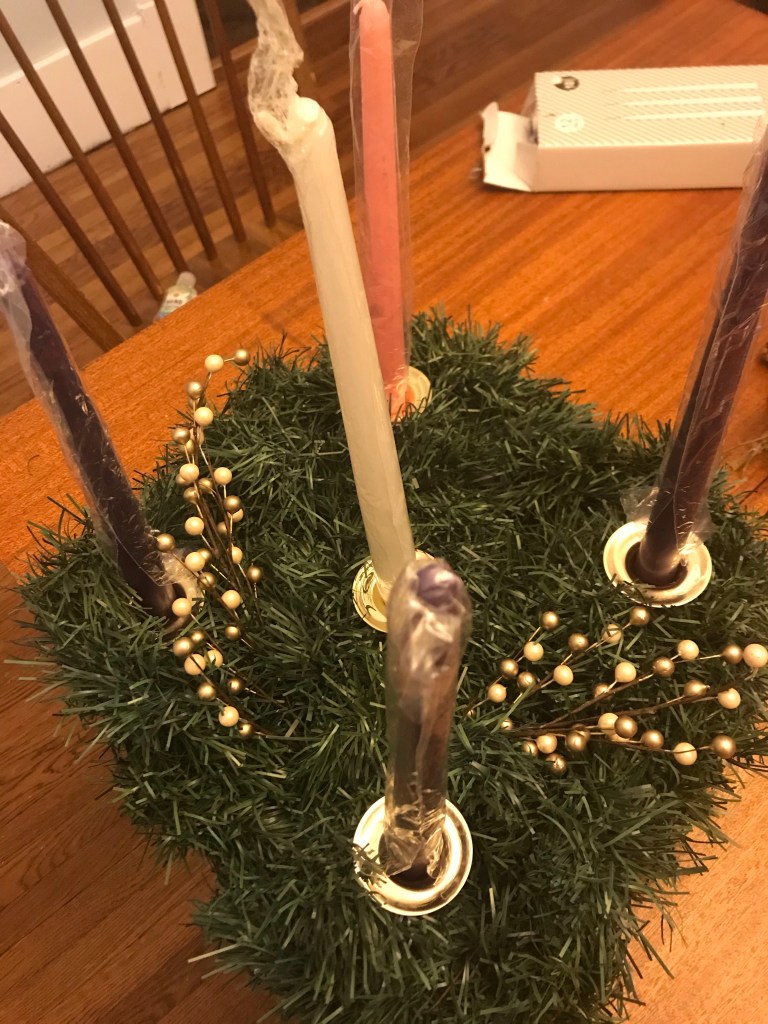
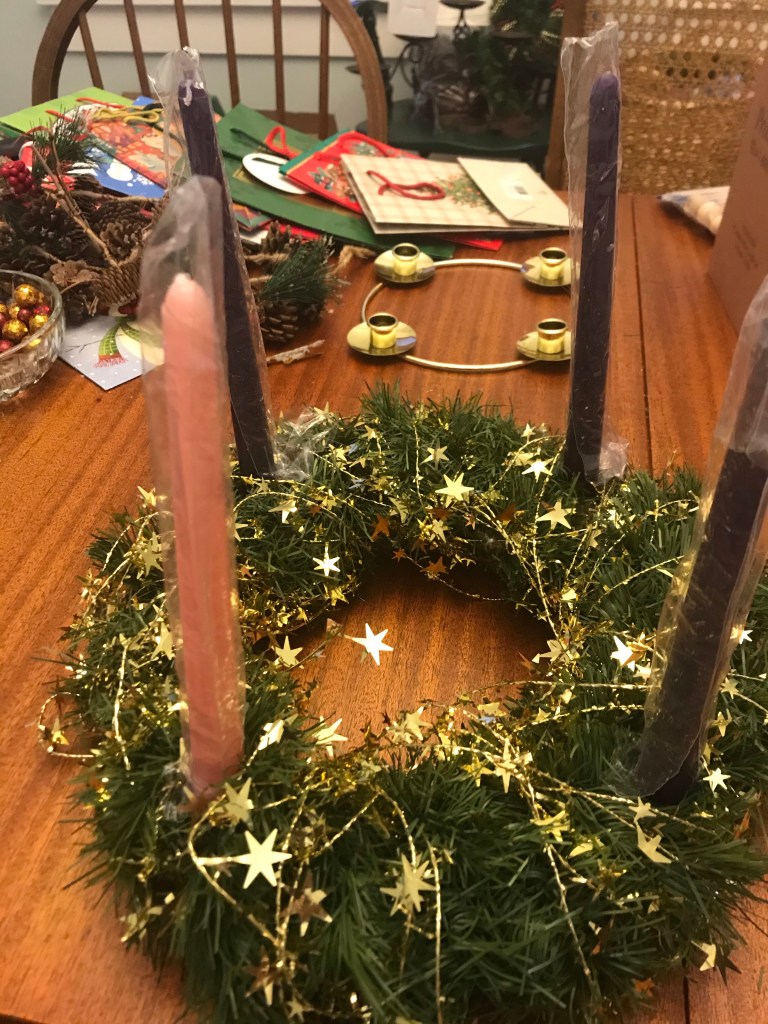
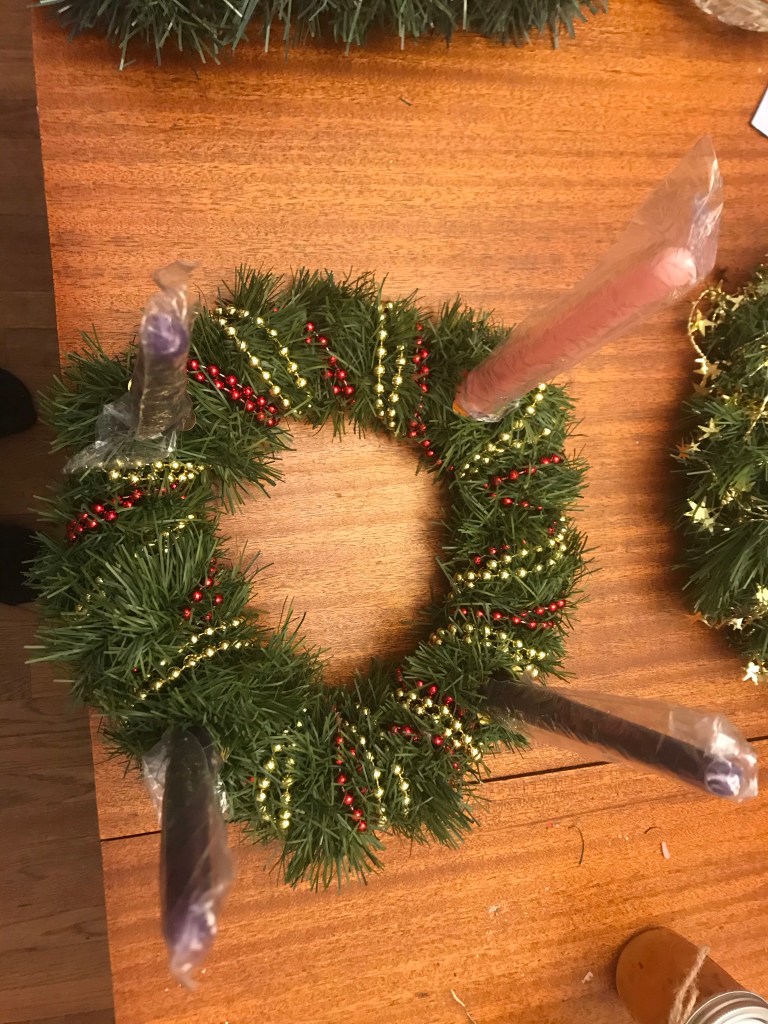
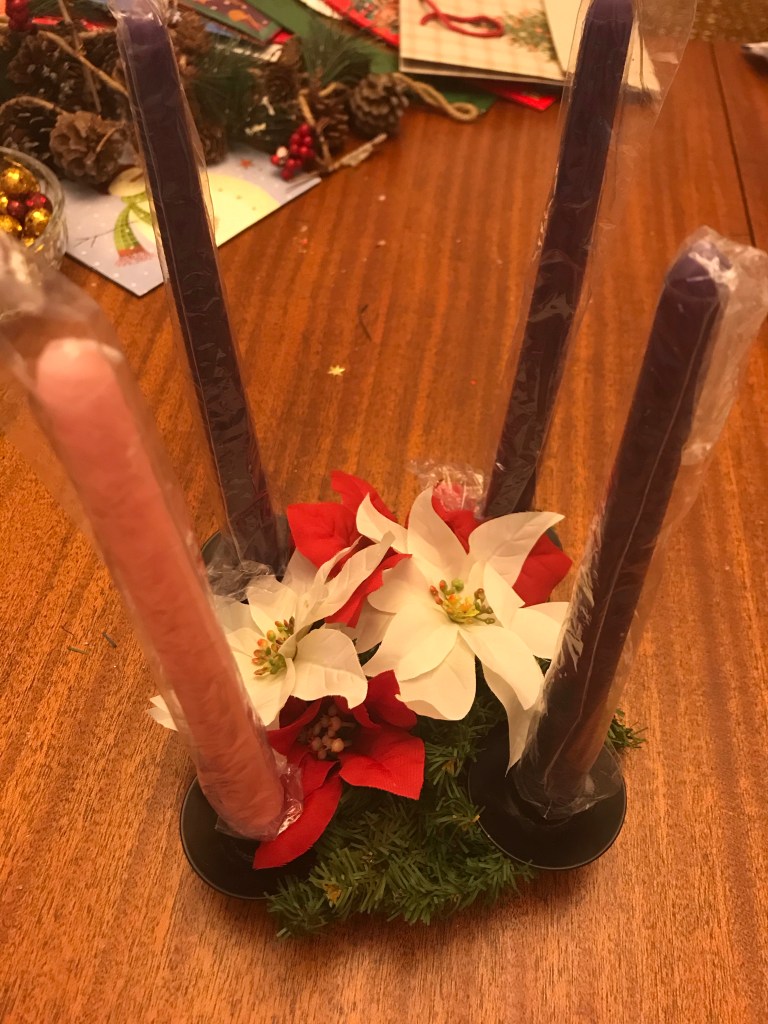
Above, scenes from our Advent wreath making project. Using recycled parts but new candles, we made an Advent wreath for everyone at church who asked, about 10 in all.
During one of our weekly Christmas crafts, we made garland from paint chip samples–trees and stars.
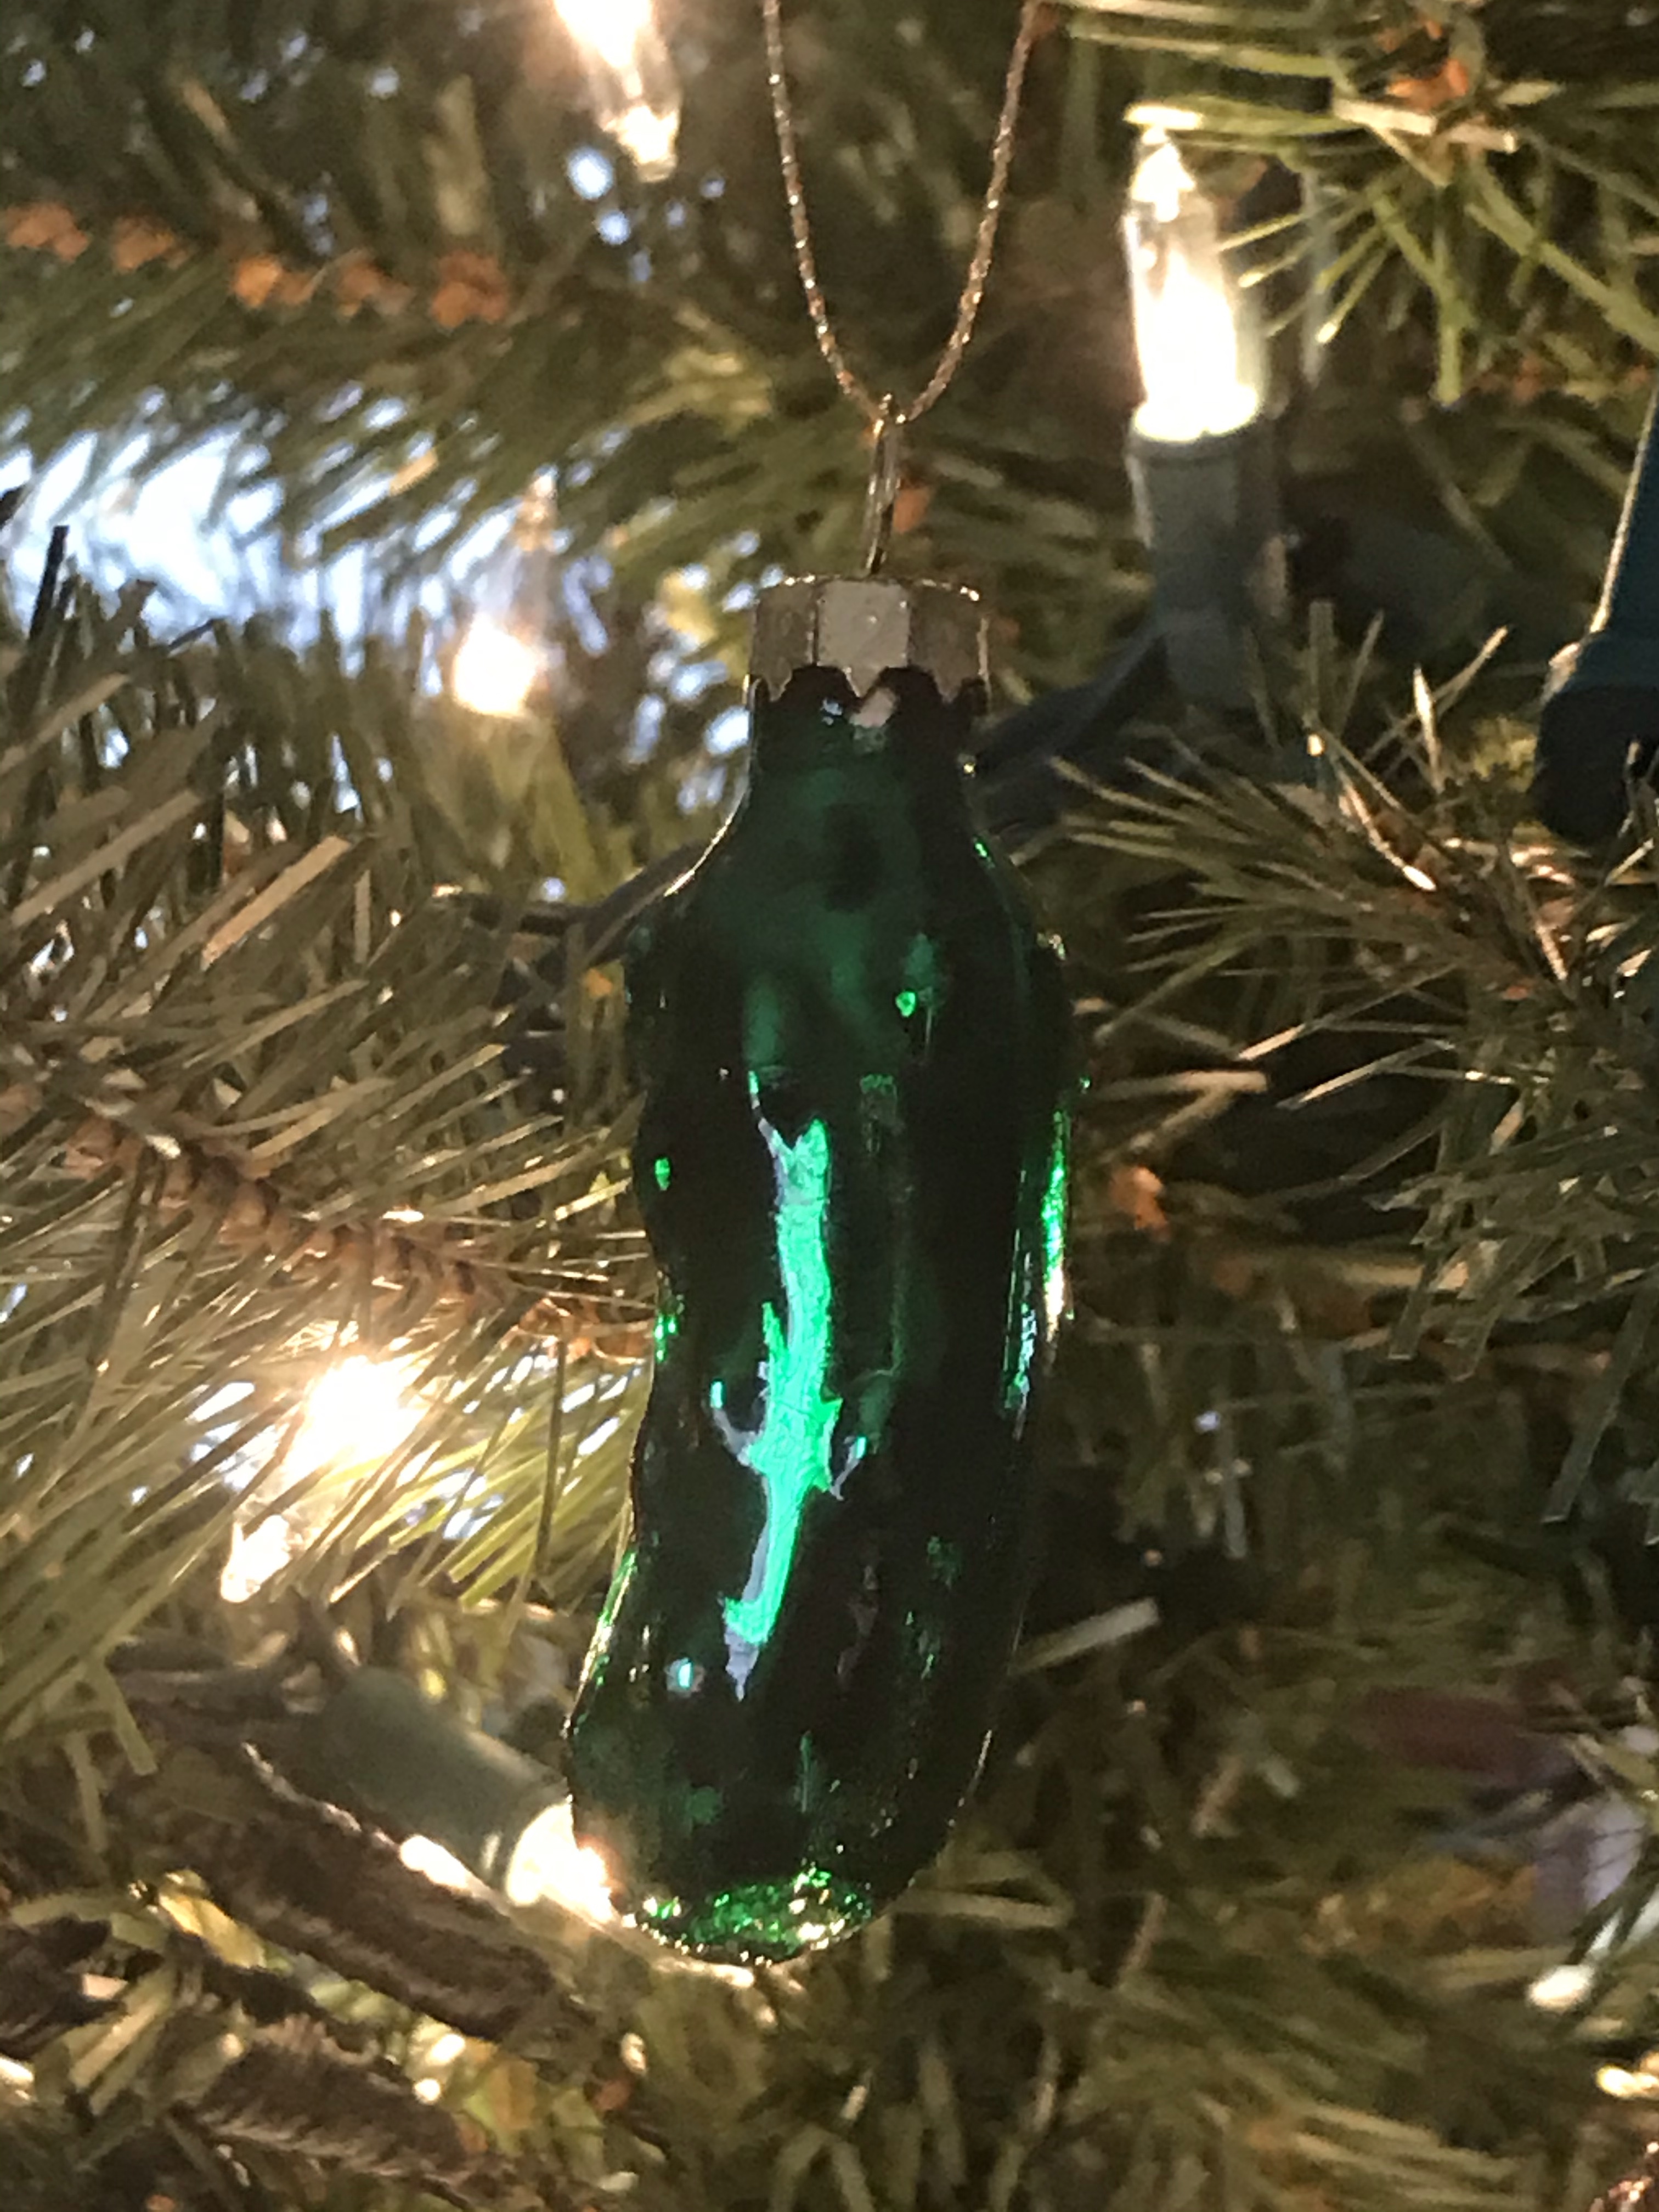
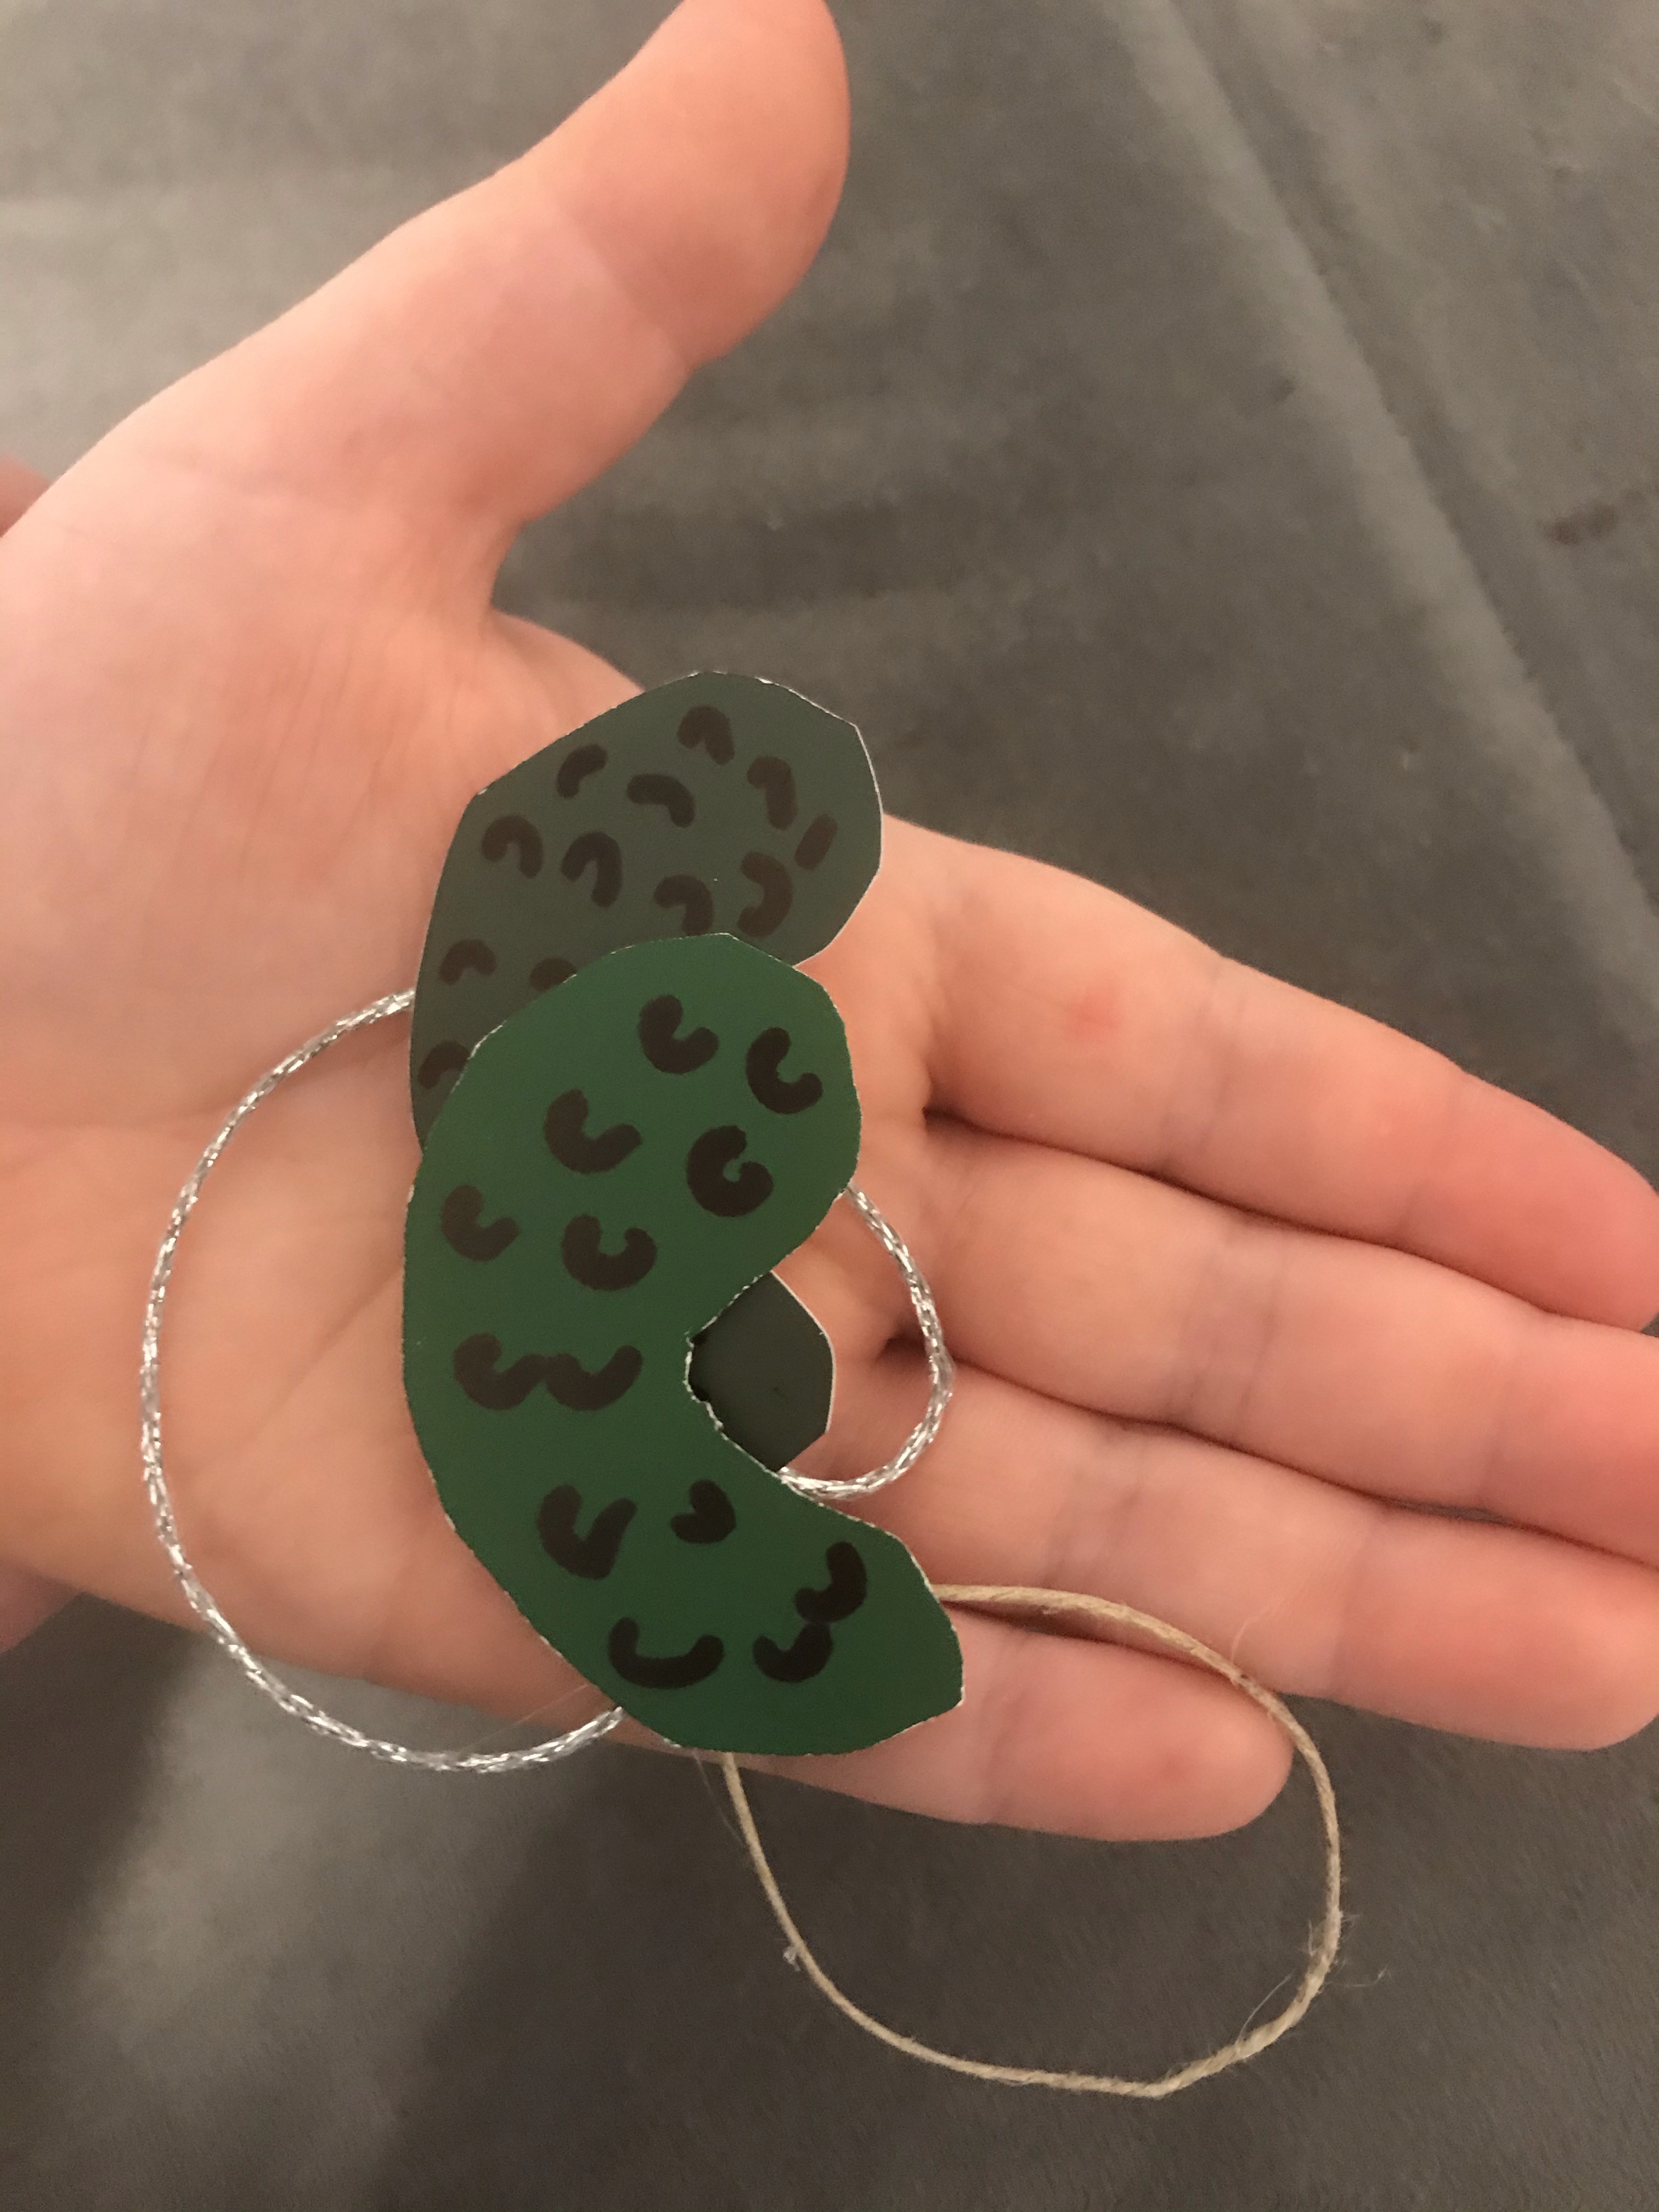
Do you have a Christmas pickle on your tree? We used paint chips to make 3 dozen of them to share with neighborhood friends.
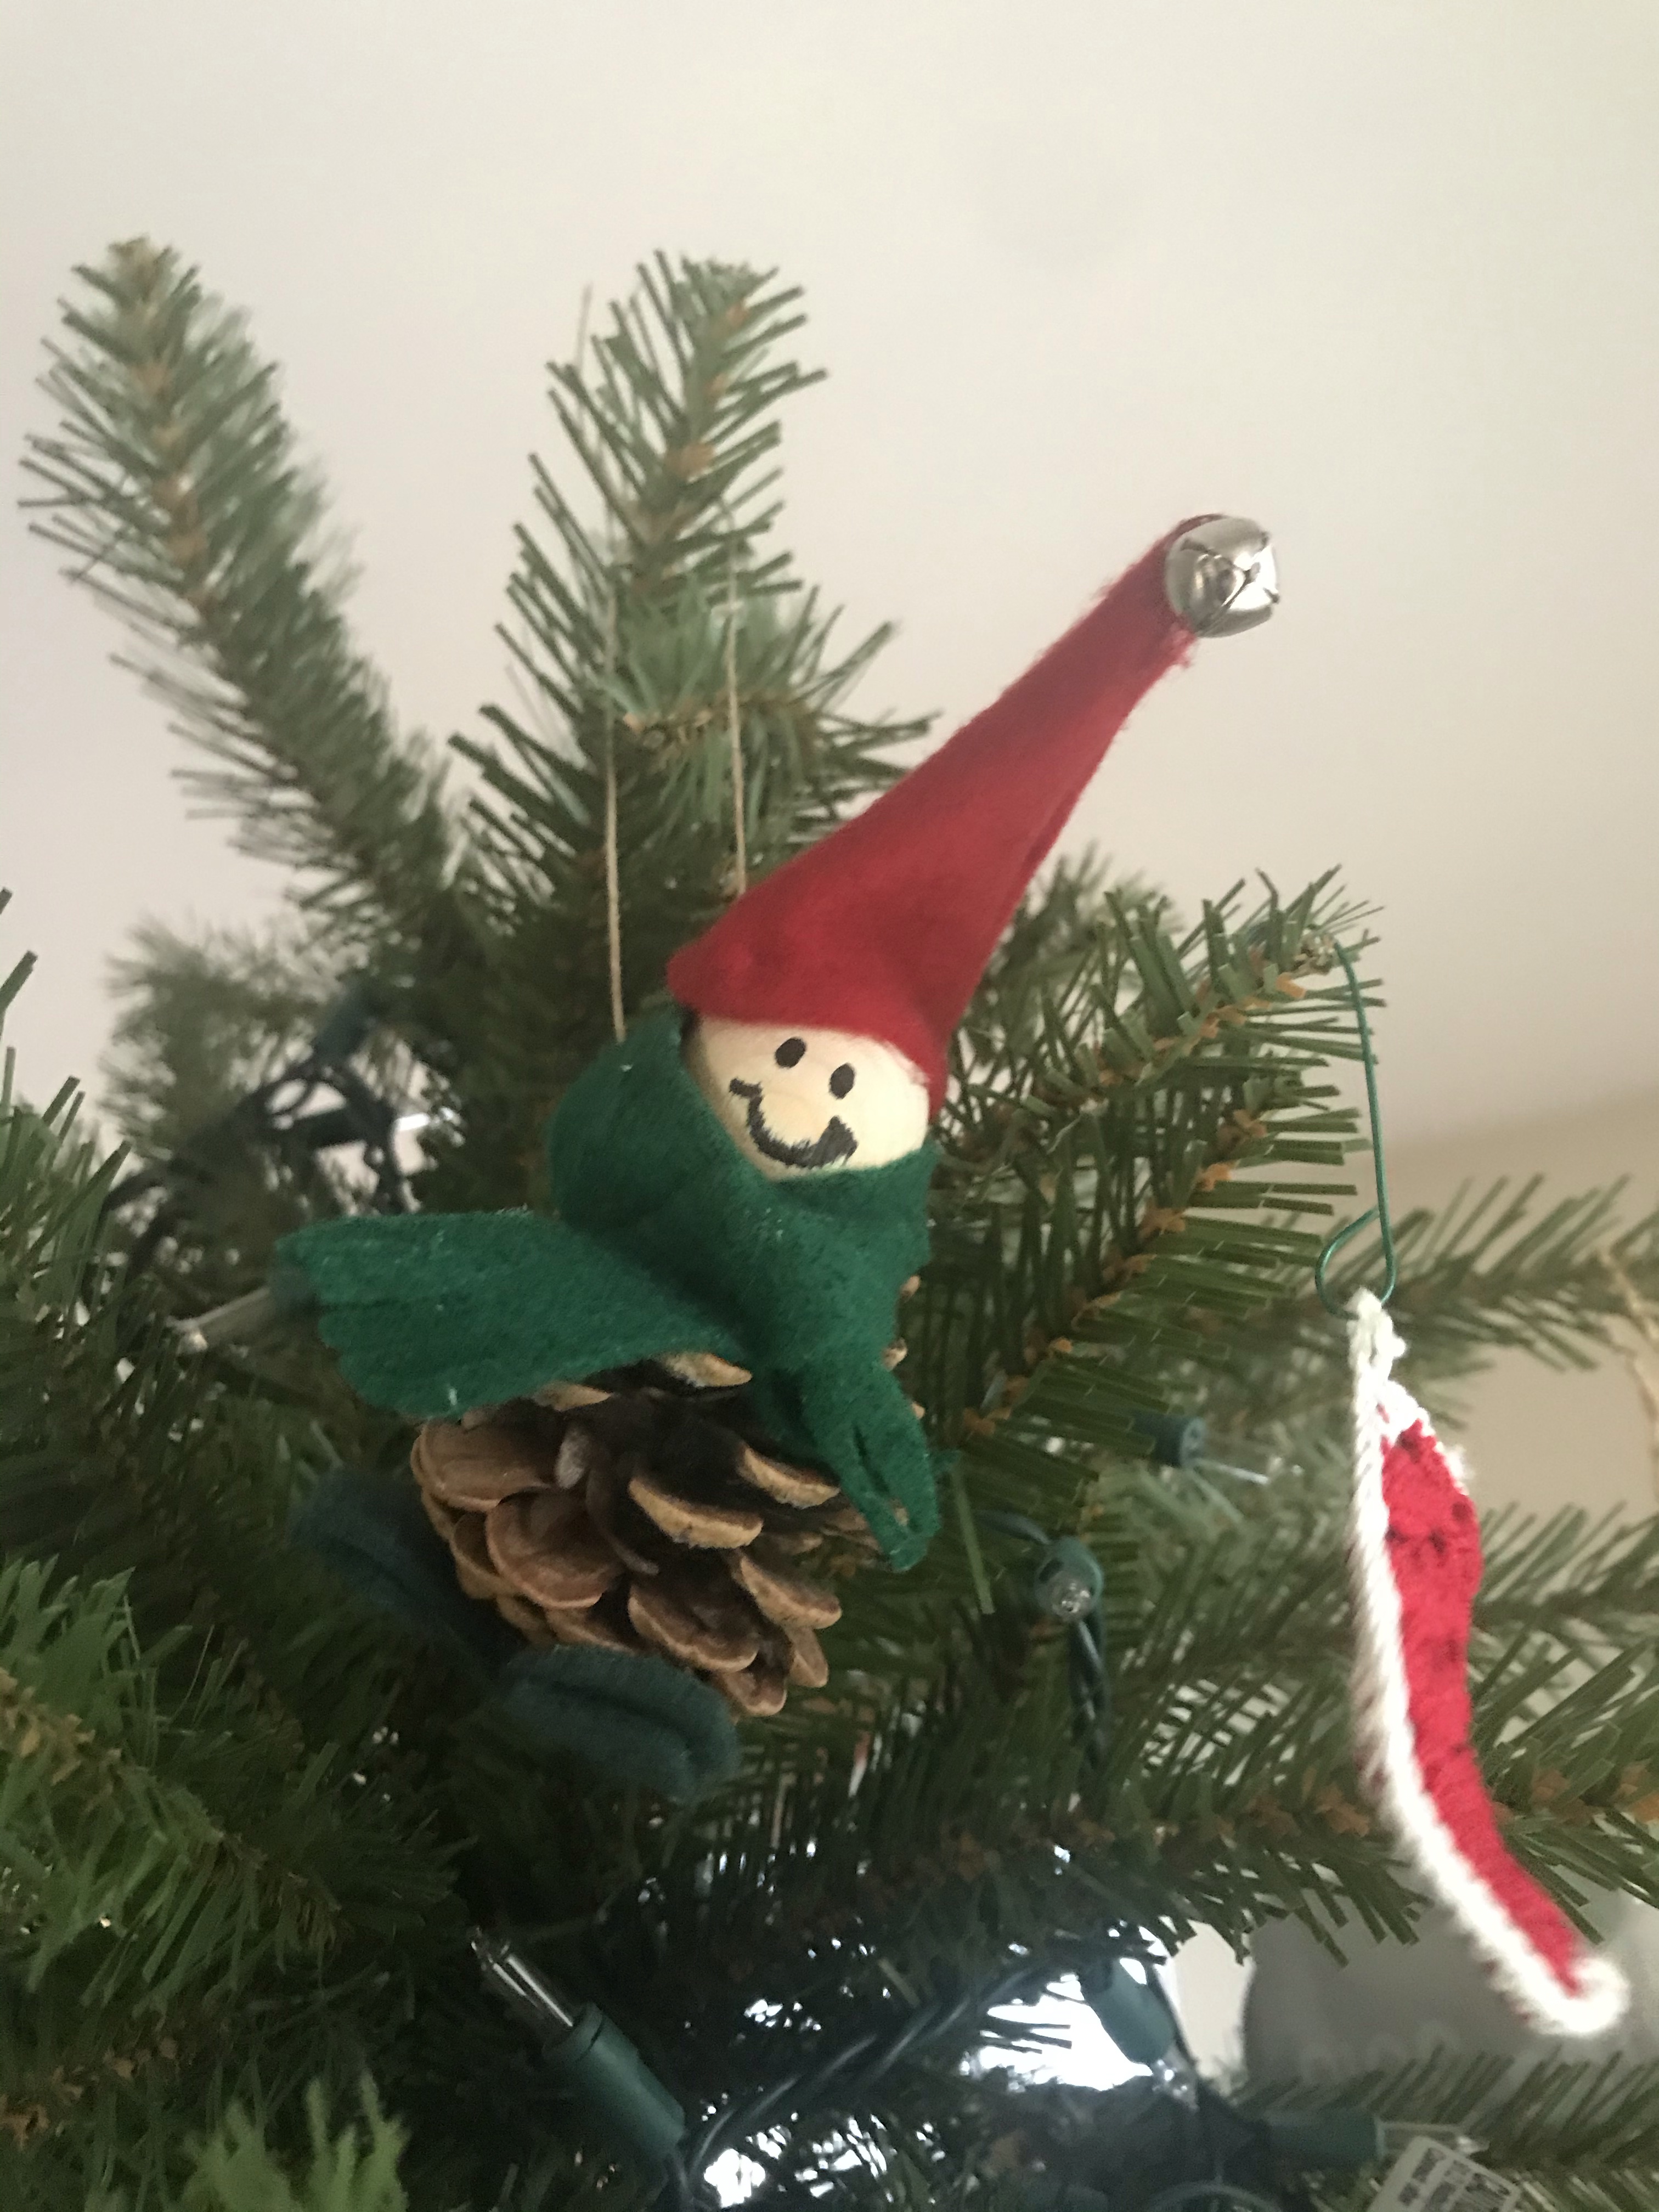
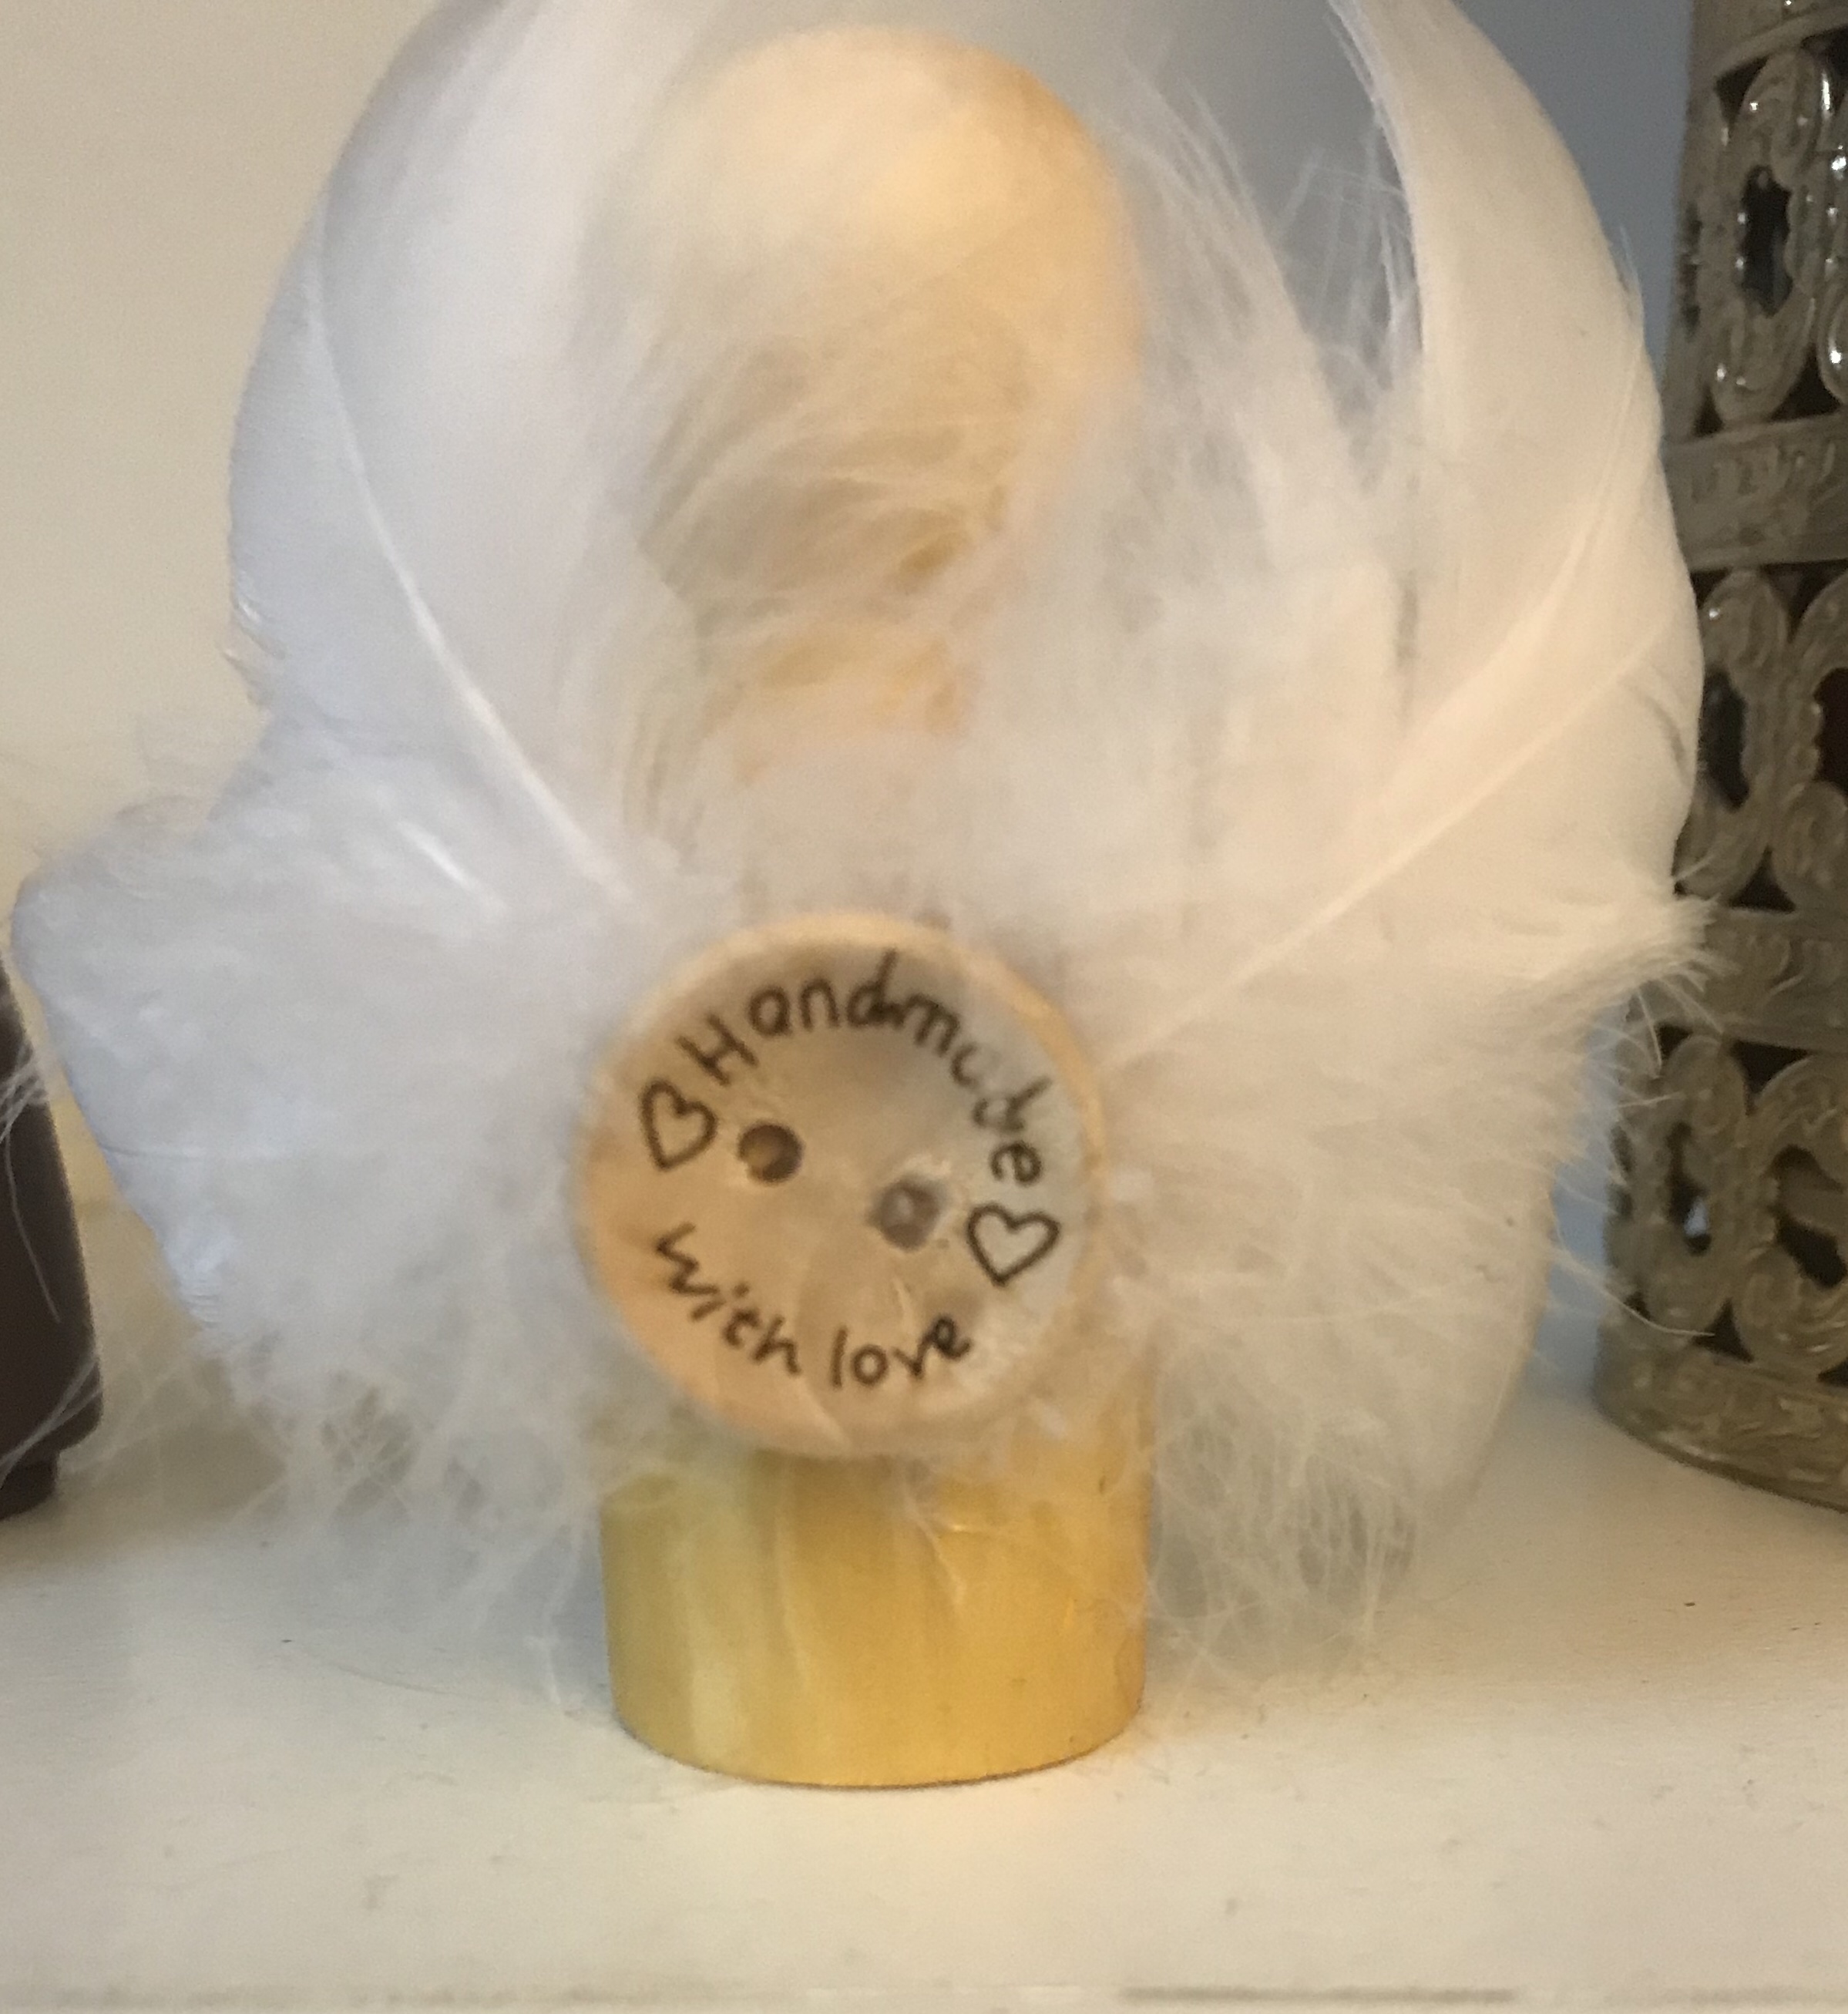
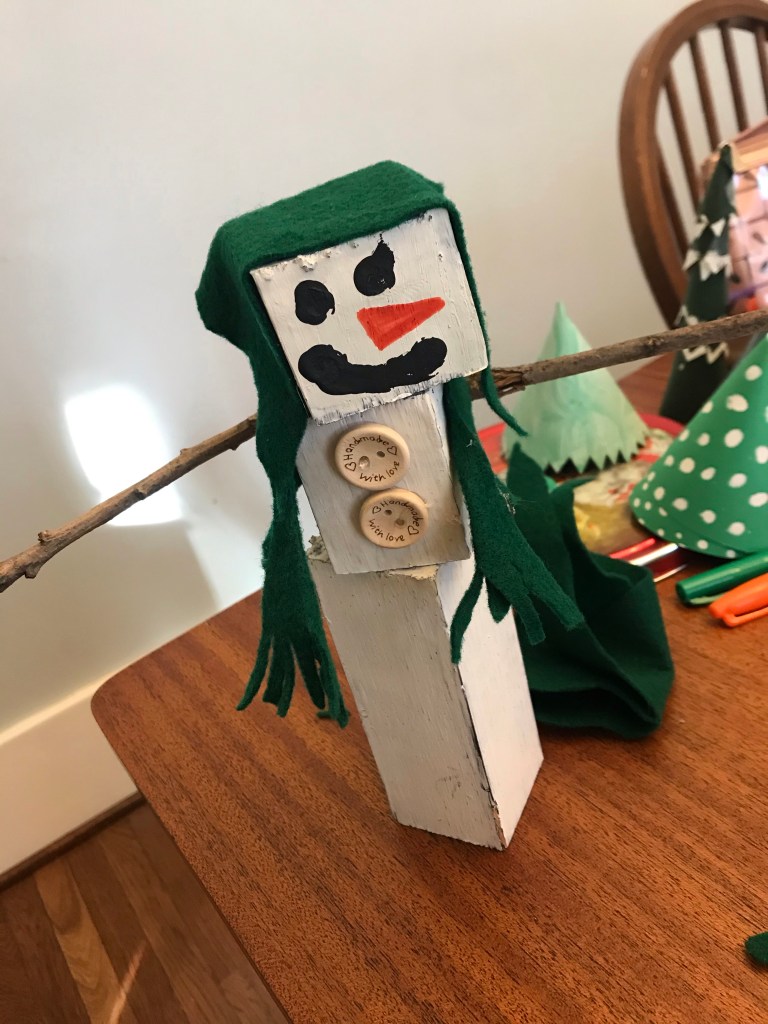
More Christmas crafts! Trees from a paper forest, a pinecone elf, and snowpeople made from wooden blocks.
Last year, we made every family with children at church a small Holy Family painted on tiny rocks. This year, we made every family with children a peg people Holy Family.
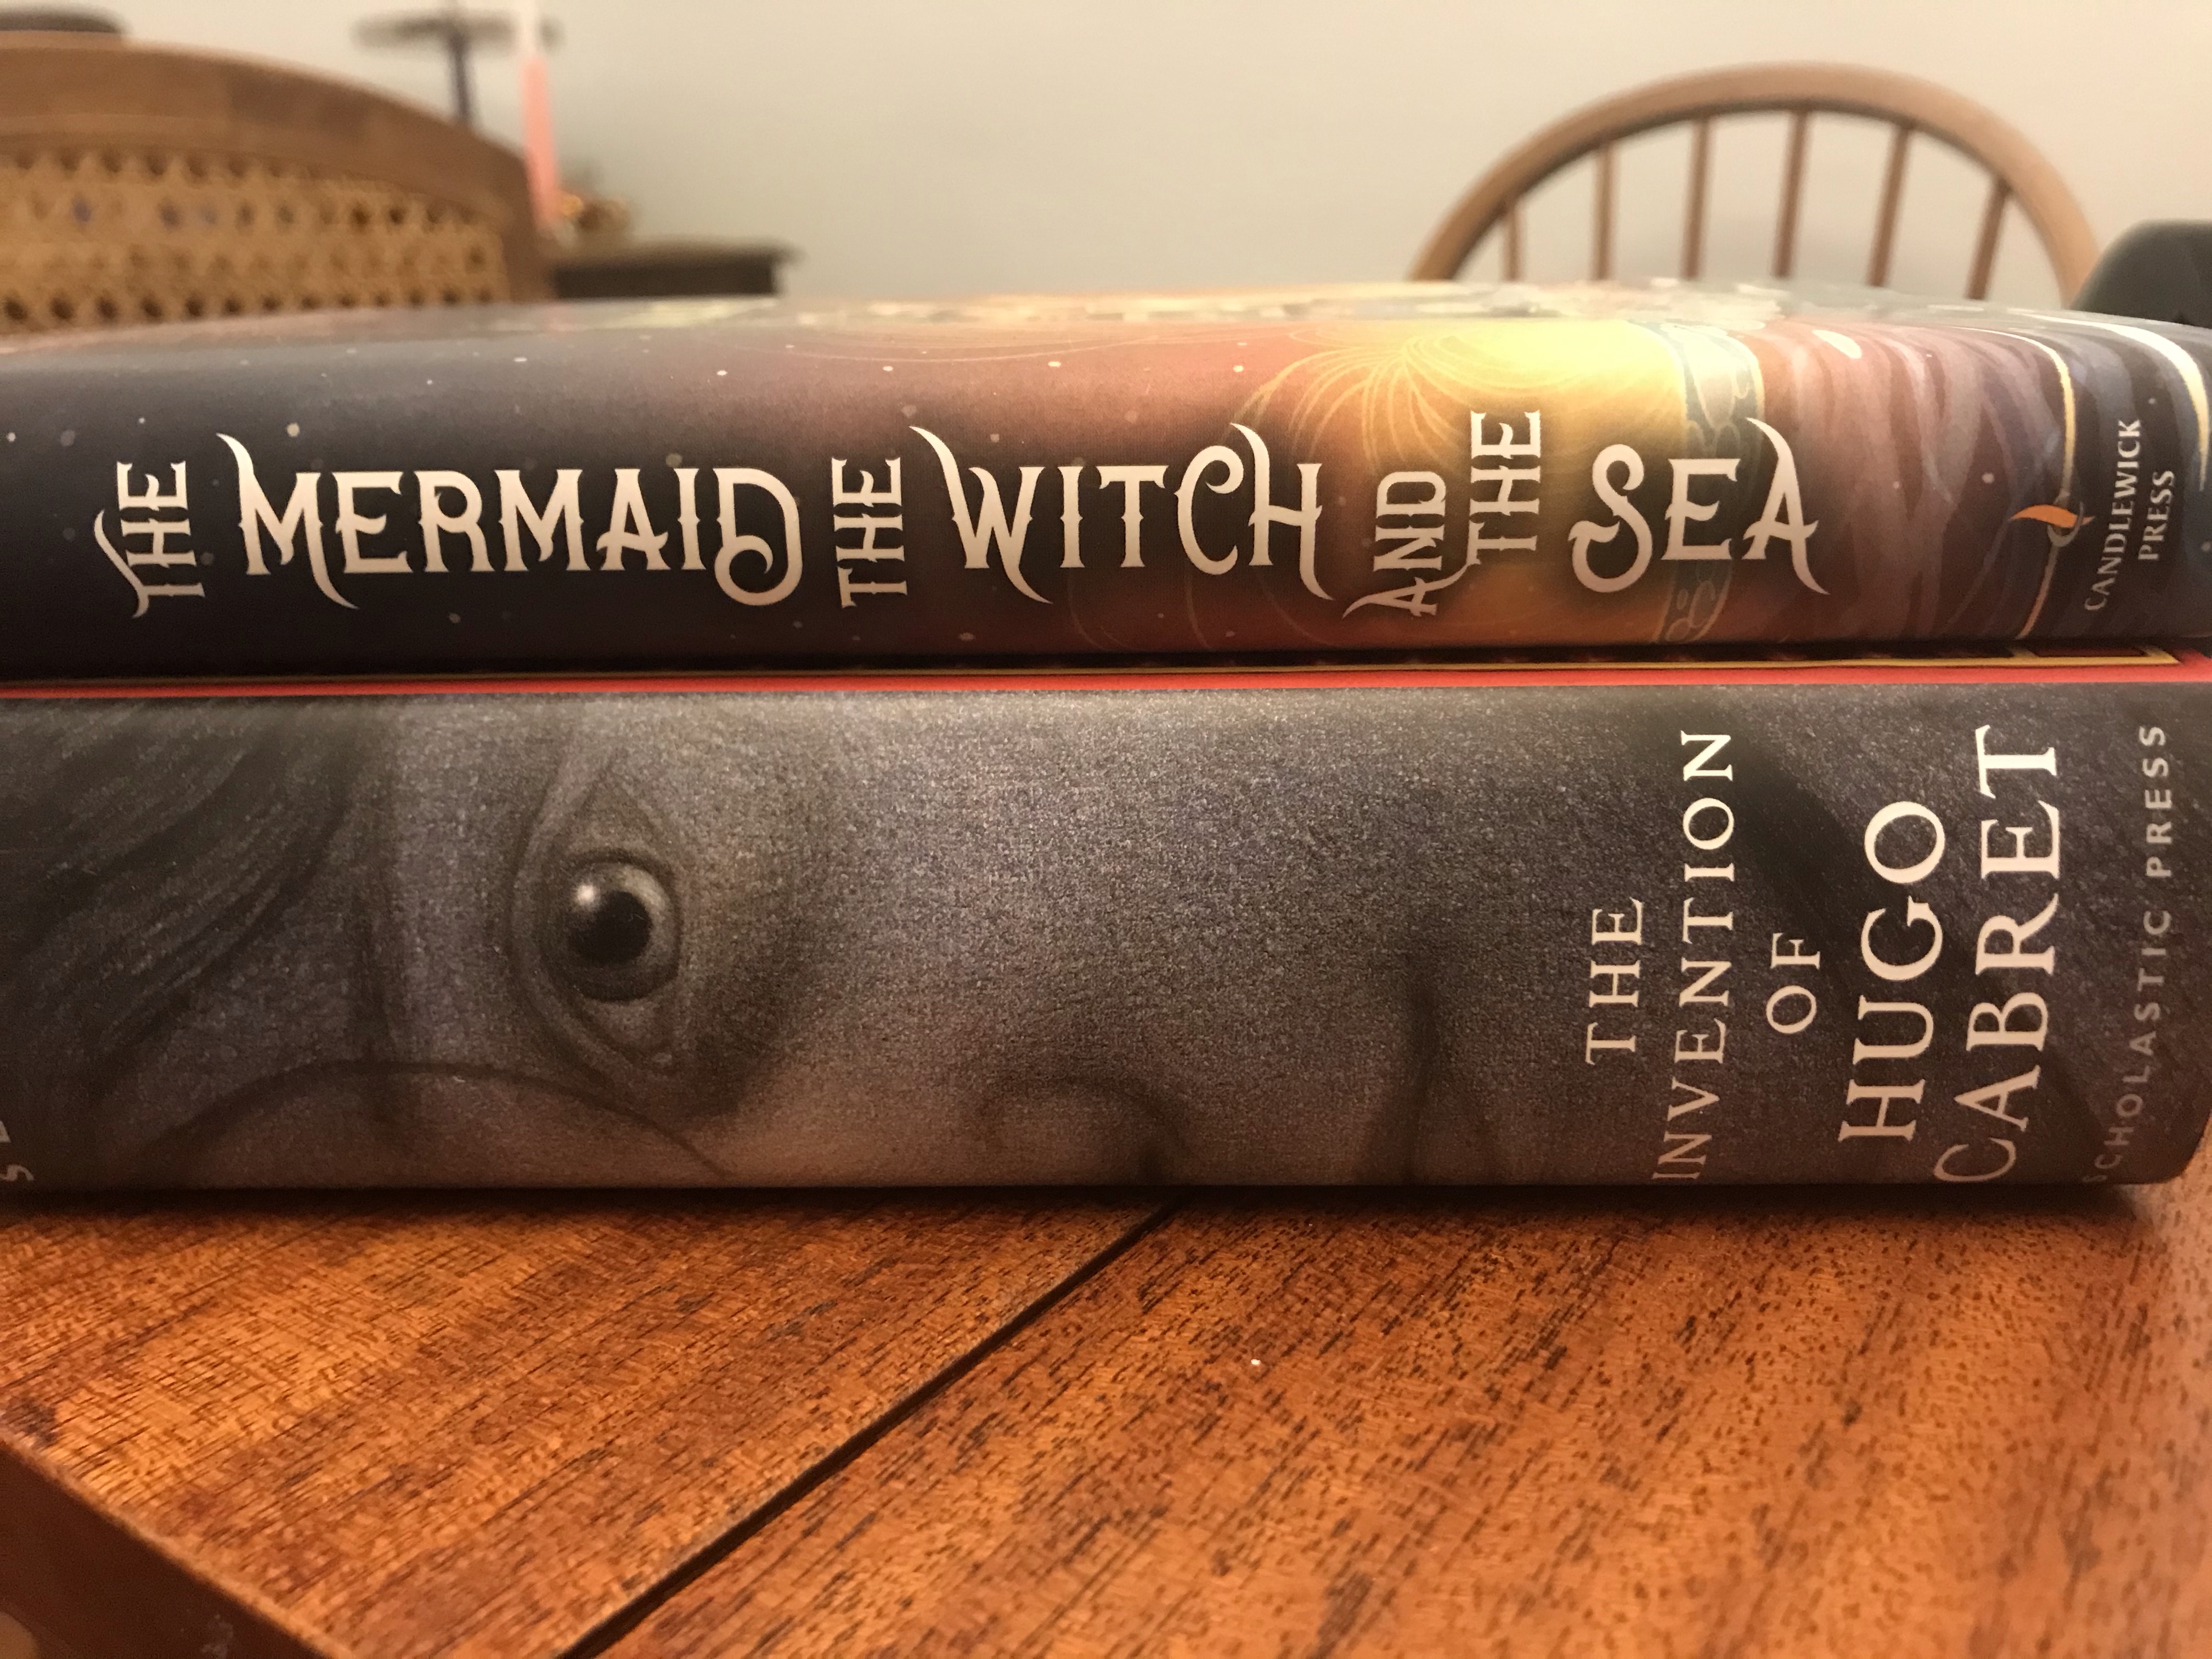
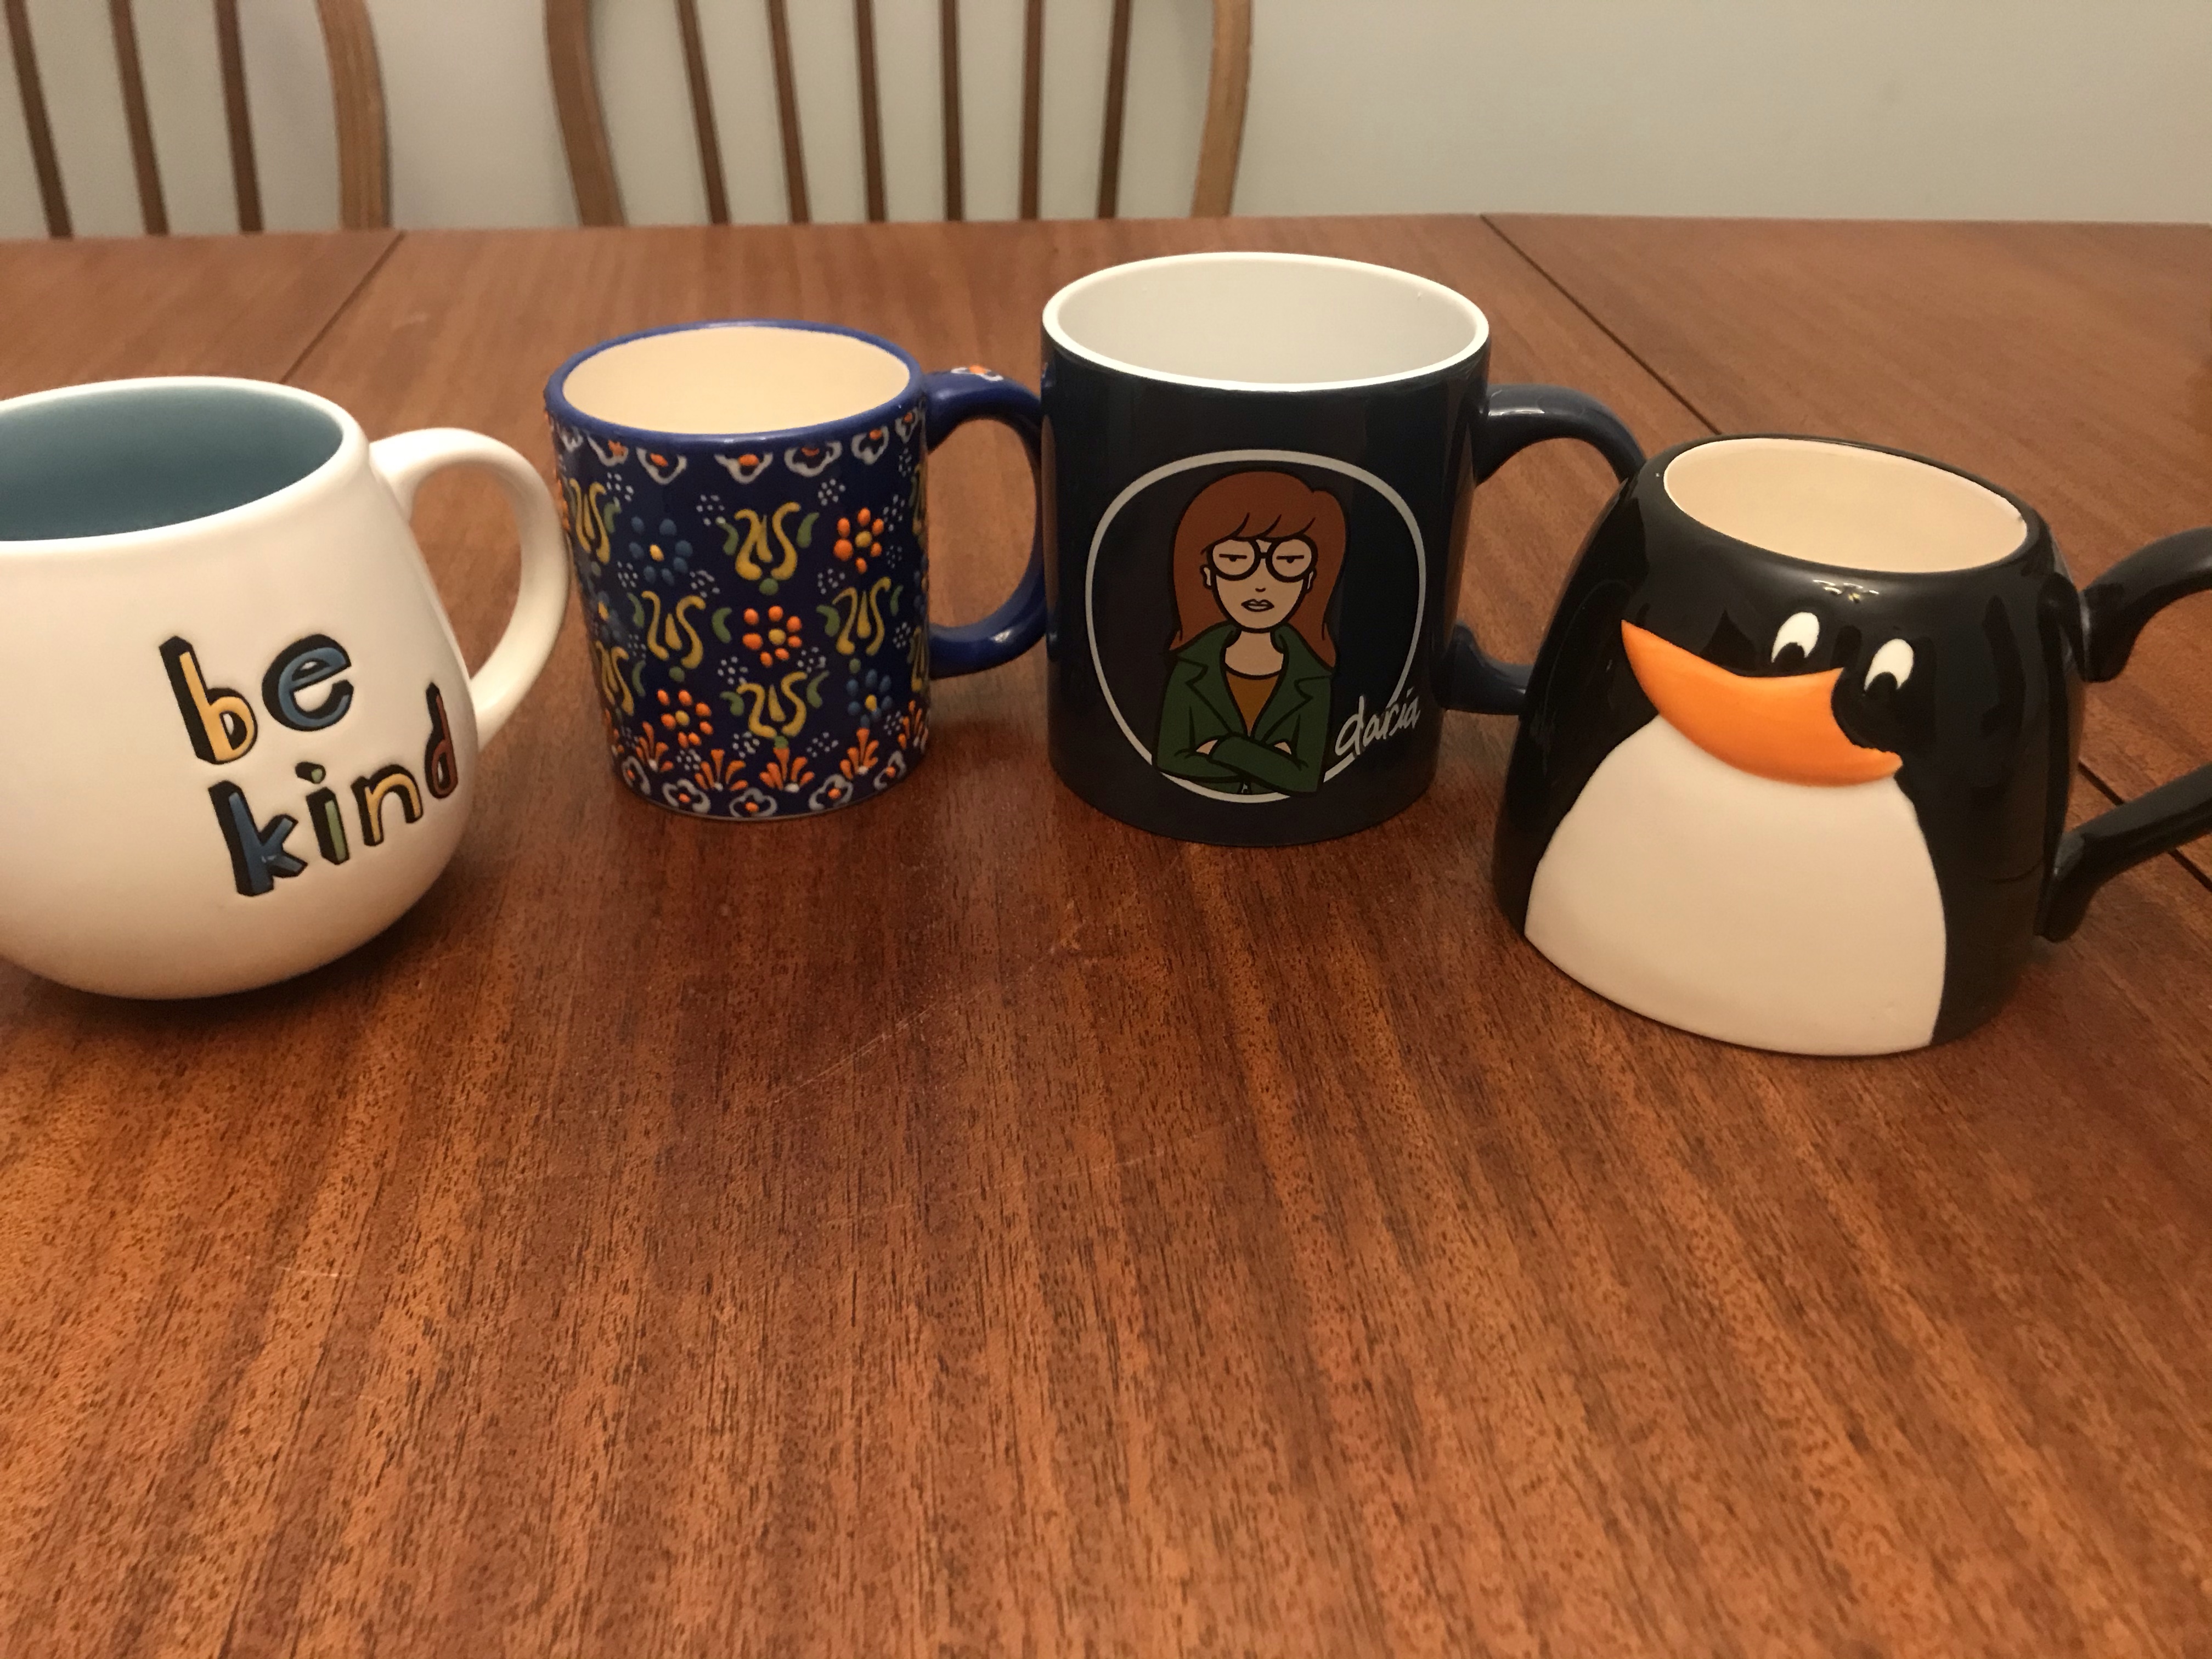
Some presents appear every single year: board and card games, books, and either mugs, travel mugs, thermoses, or water bottles.
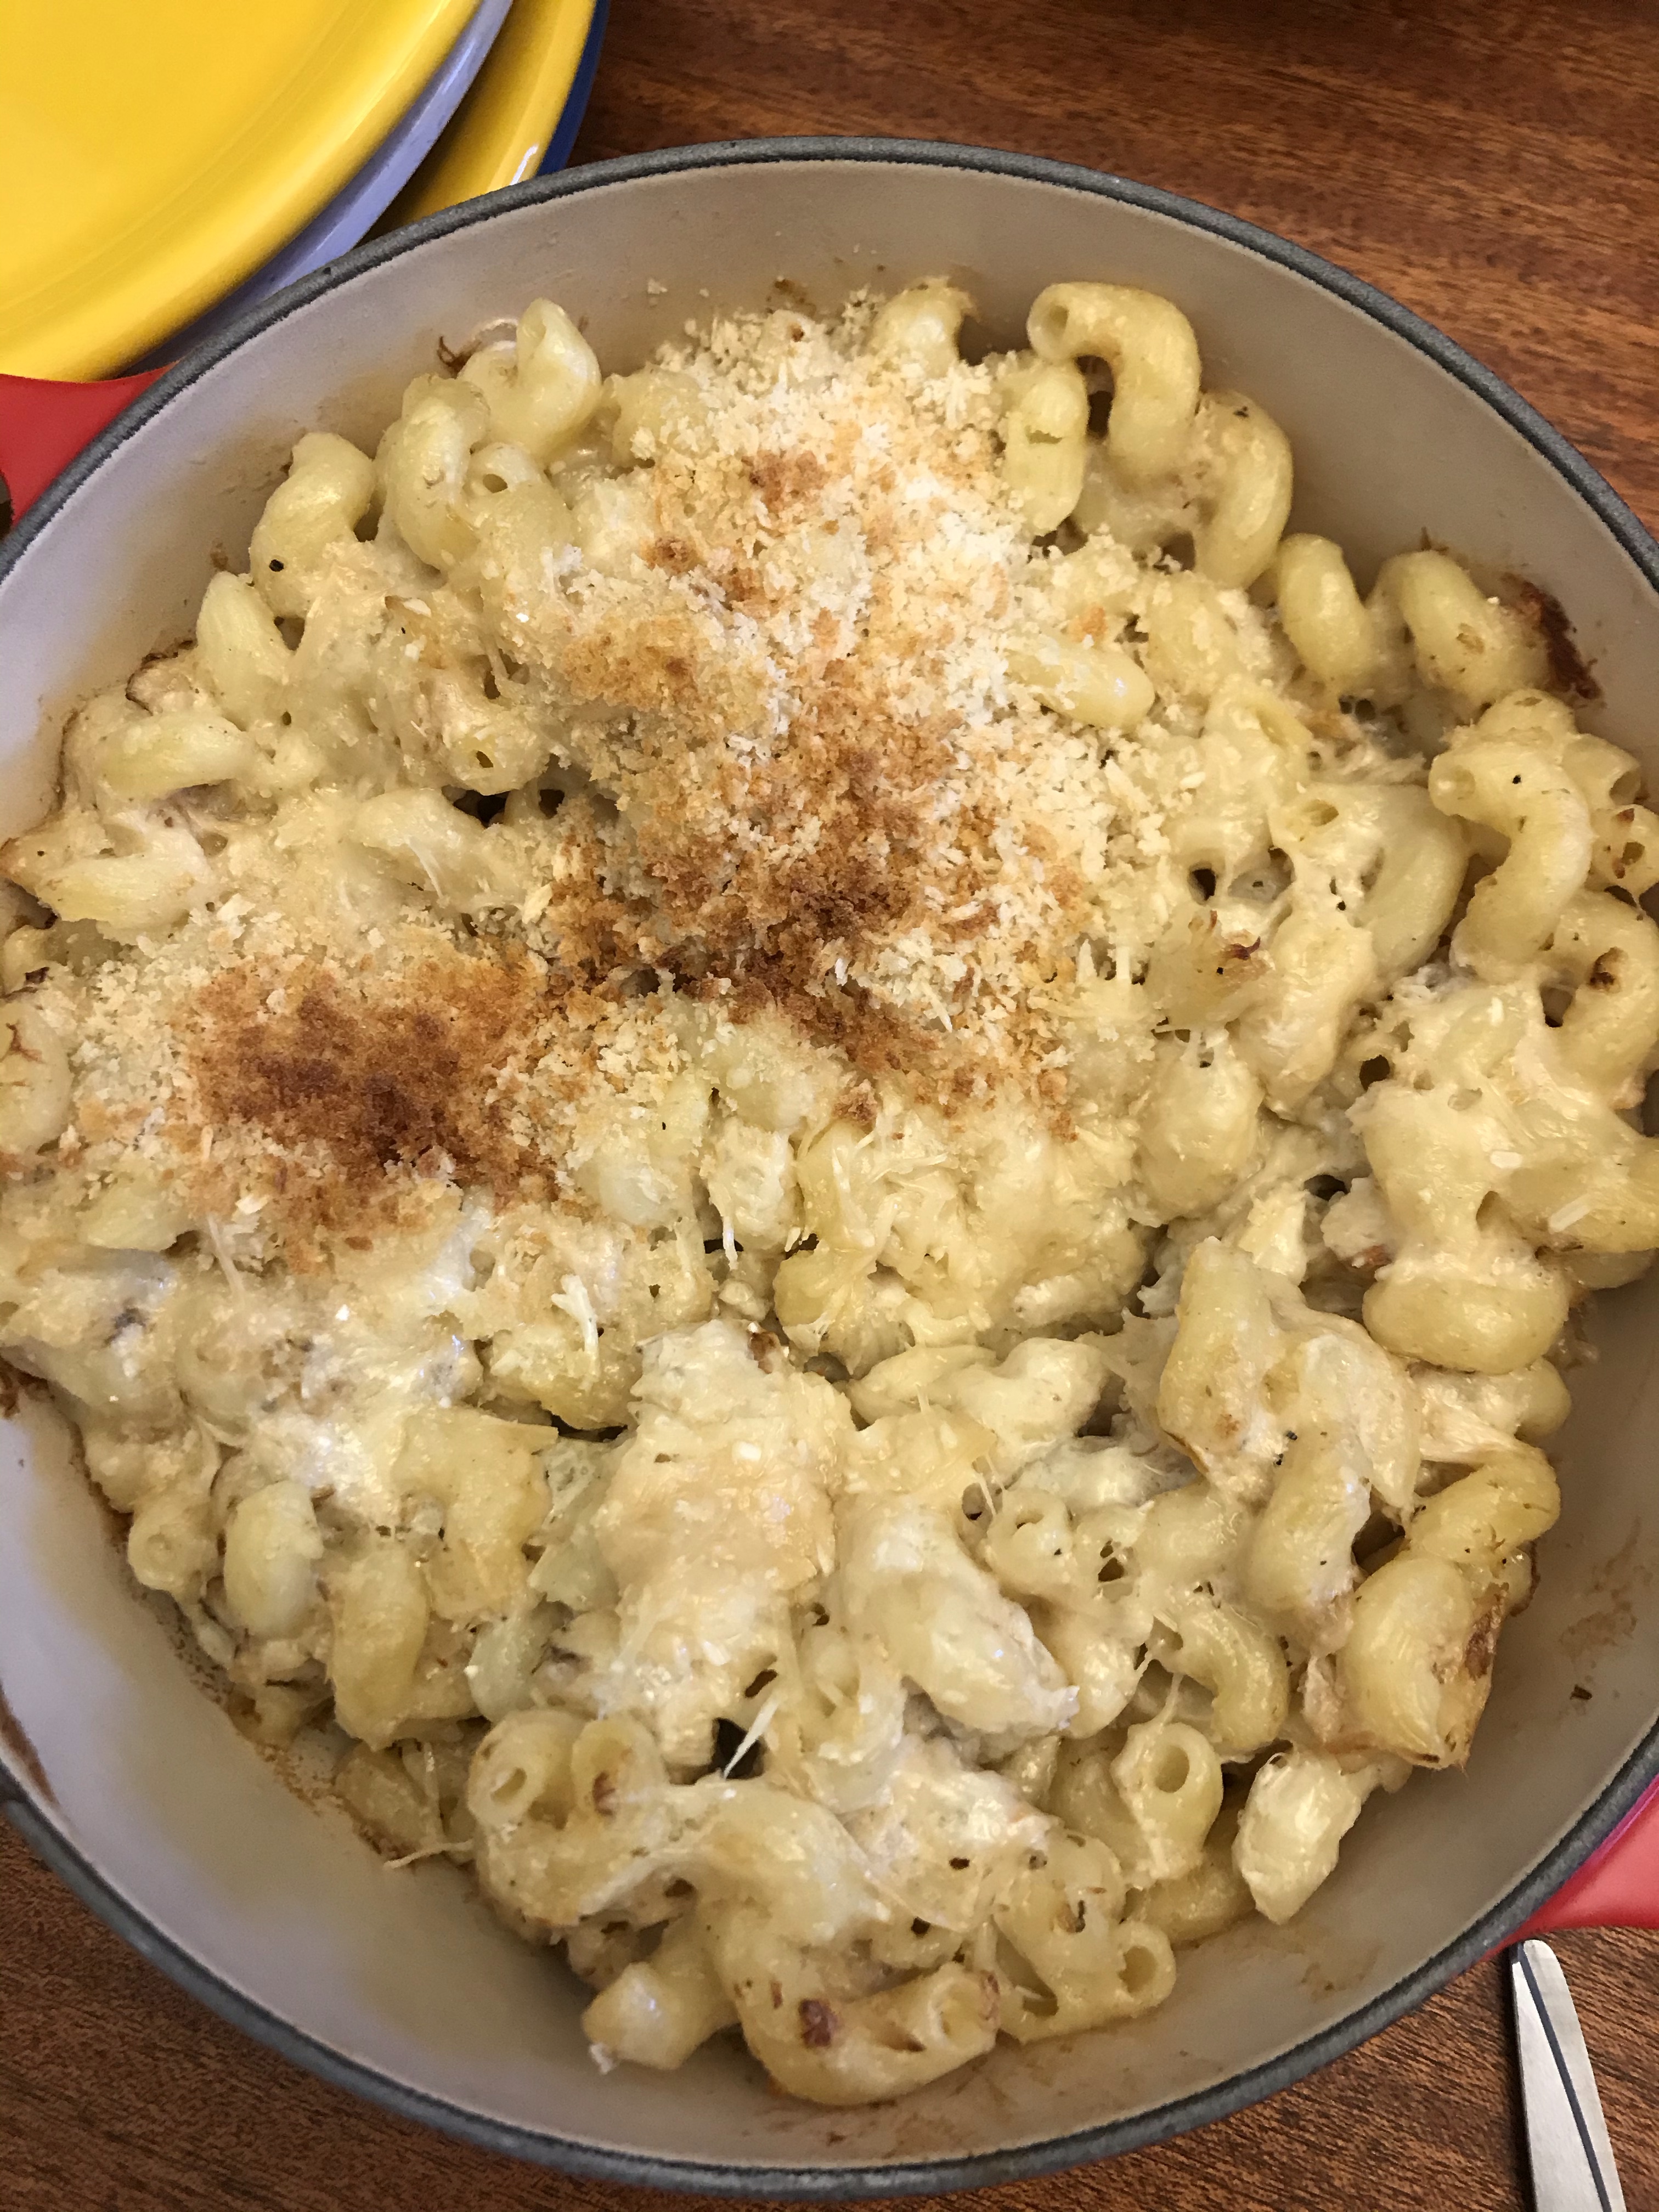
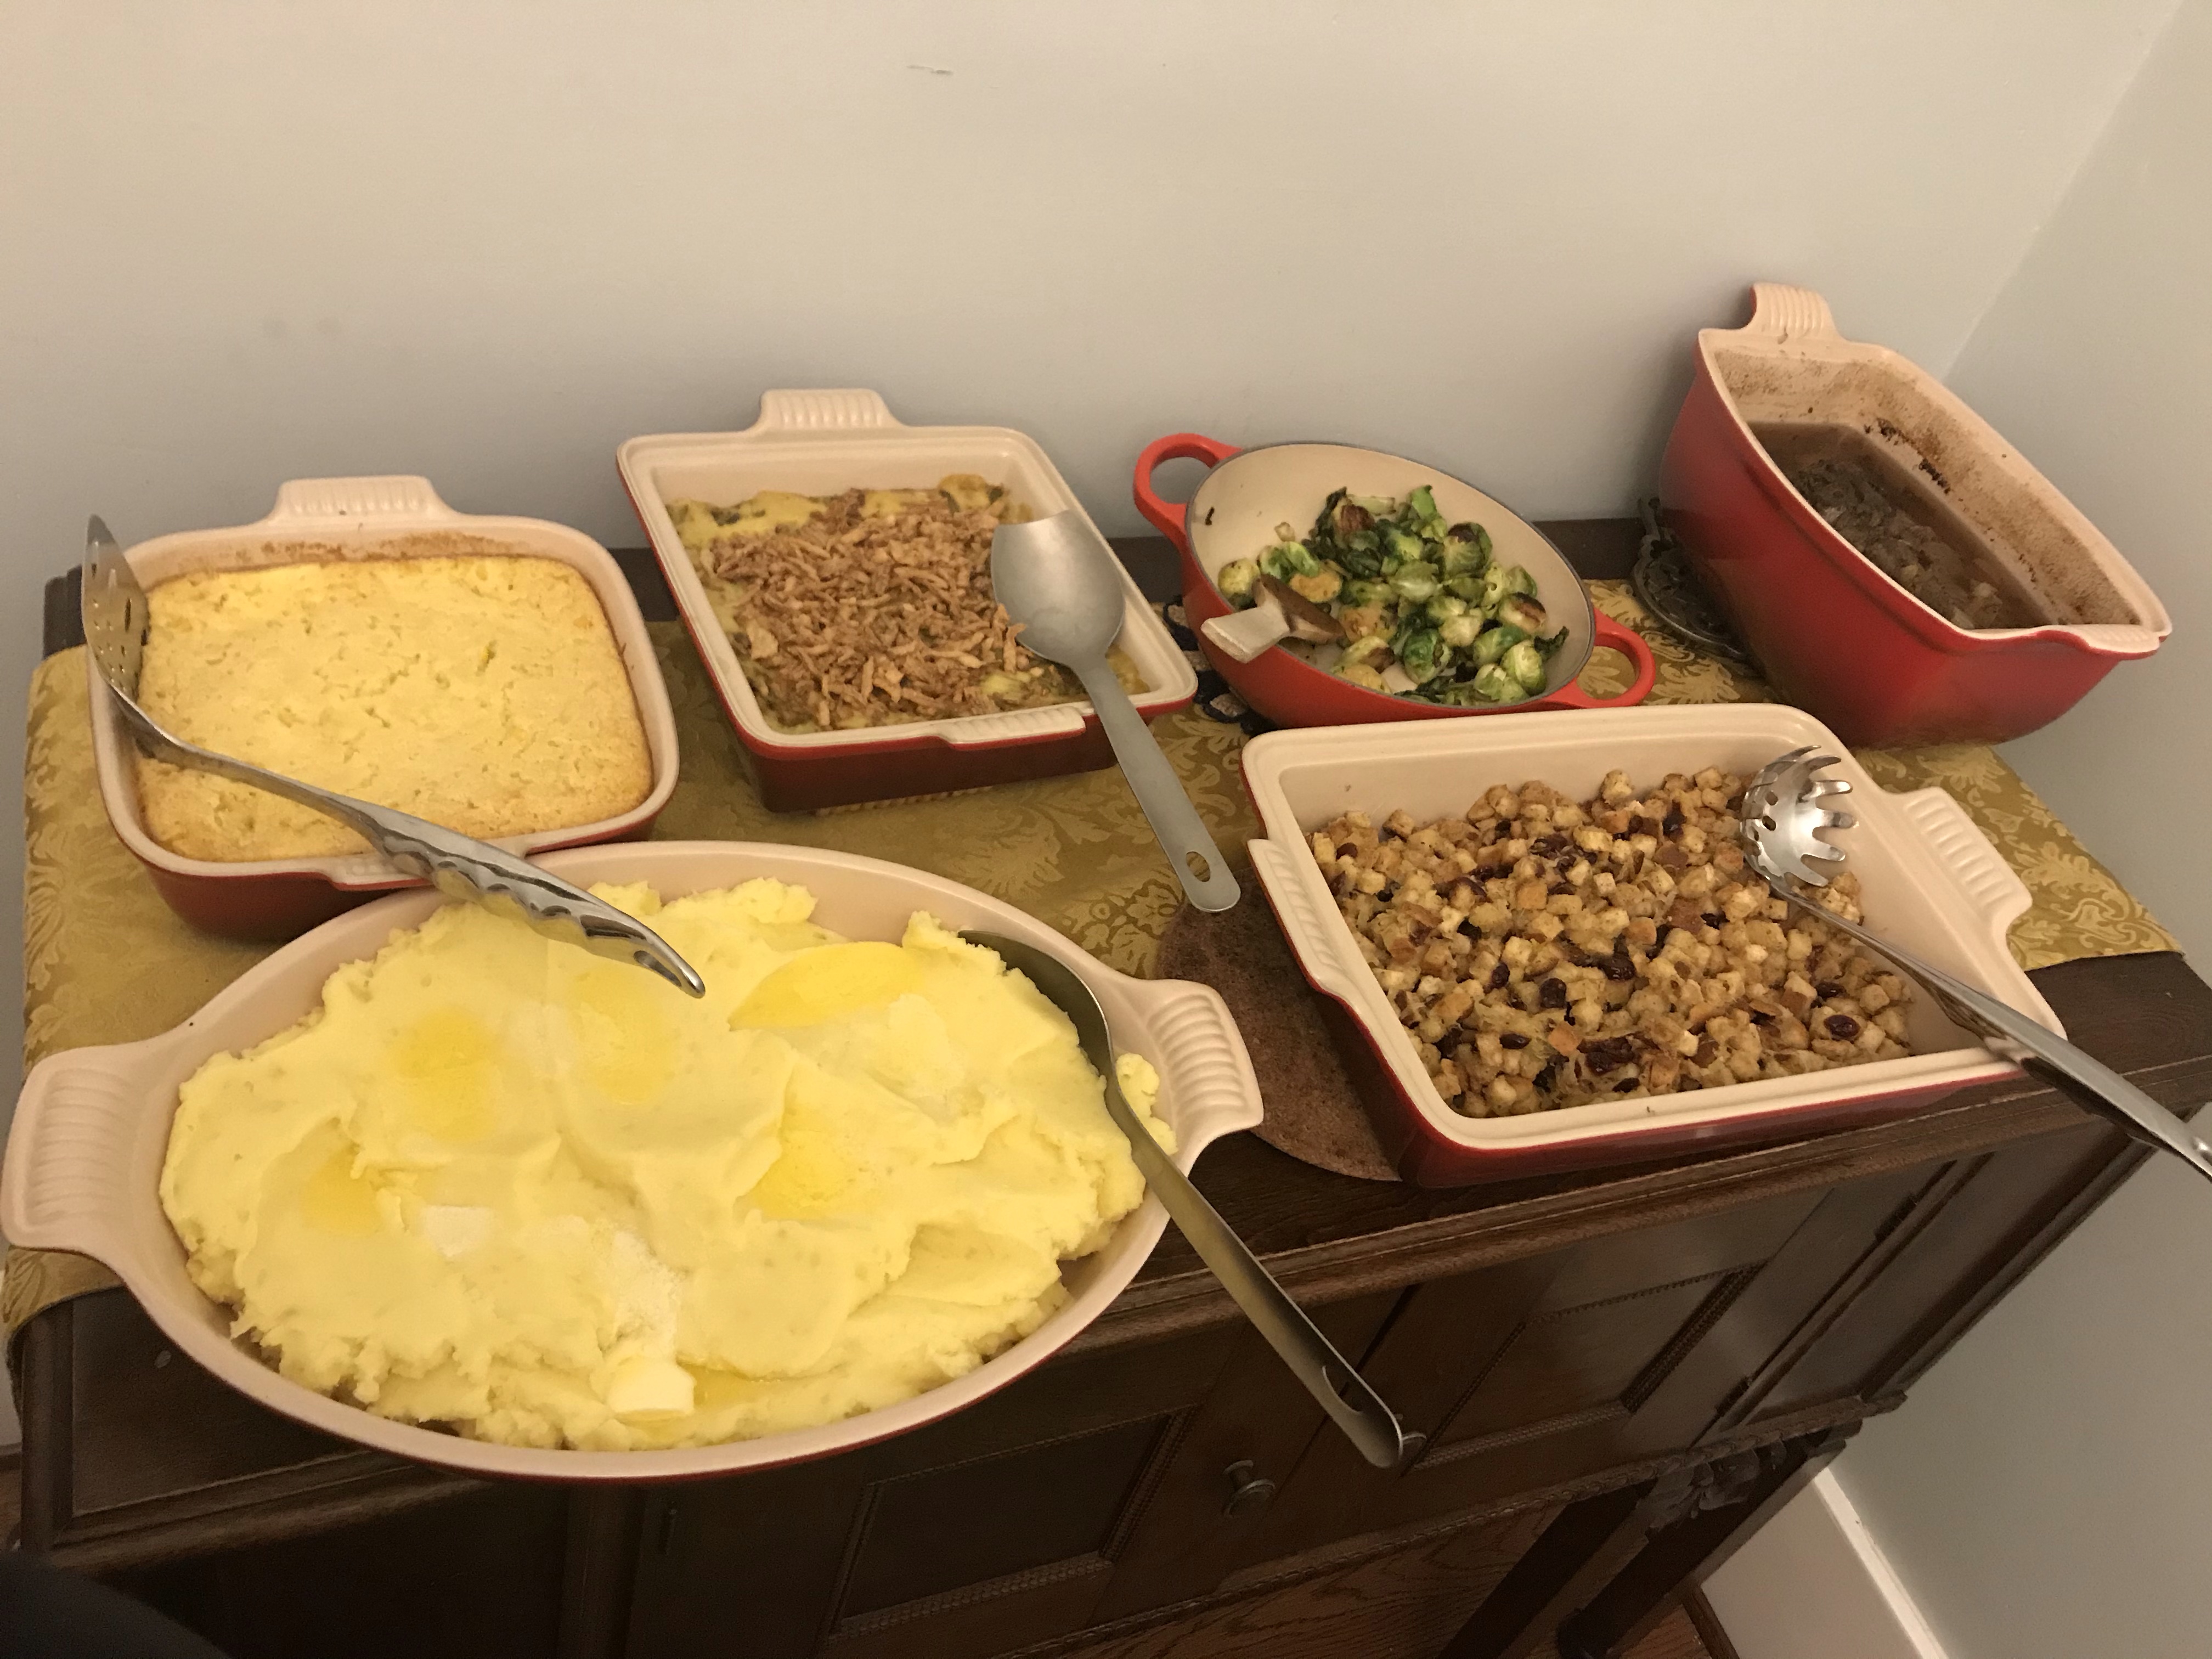
Christmas Eve dinner references my life back East, so, this year, crab mac and cheese. Christmas Dinner this year was themed “traditional Midwestern,” with roast beef replacing turkey. As usual, the sides are the star. (And, yes a 1:8 lb butter:potato recipe is entirely appropriate)
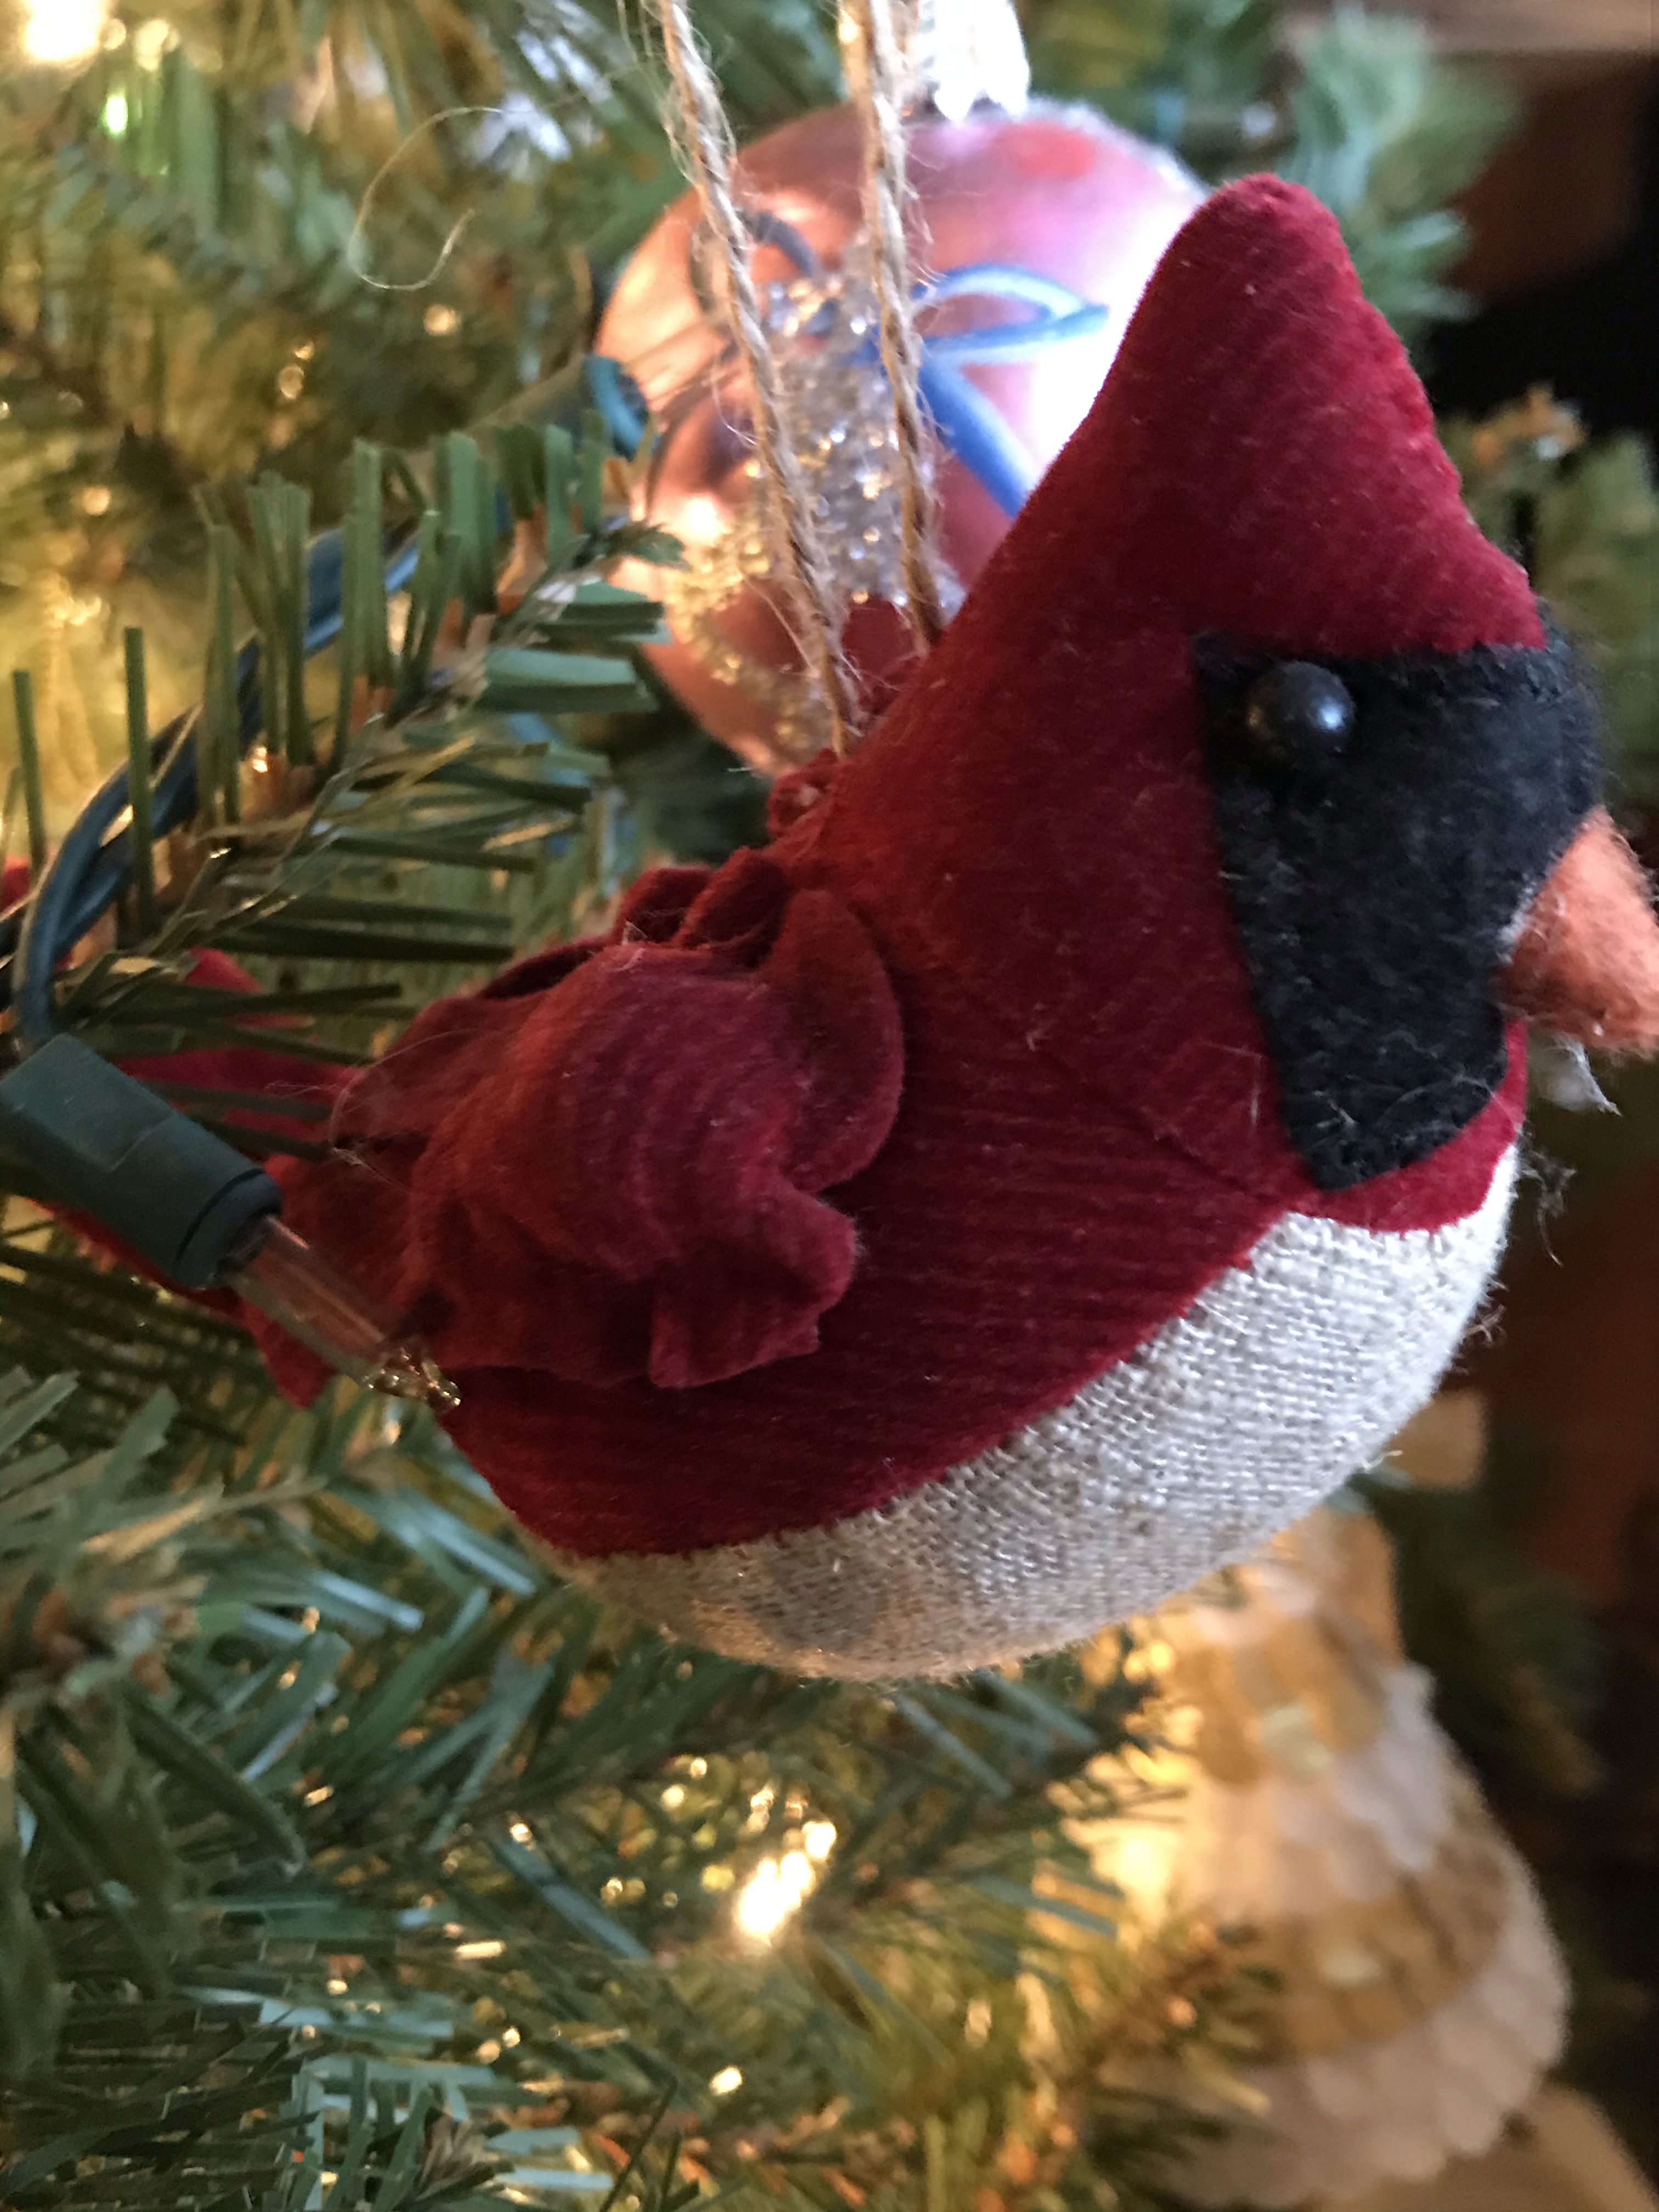
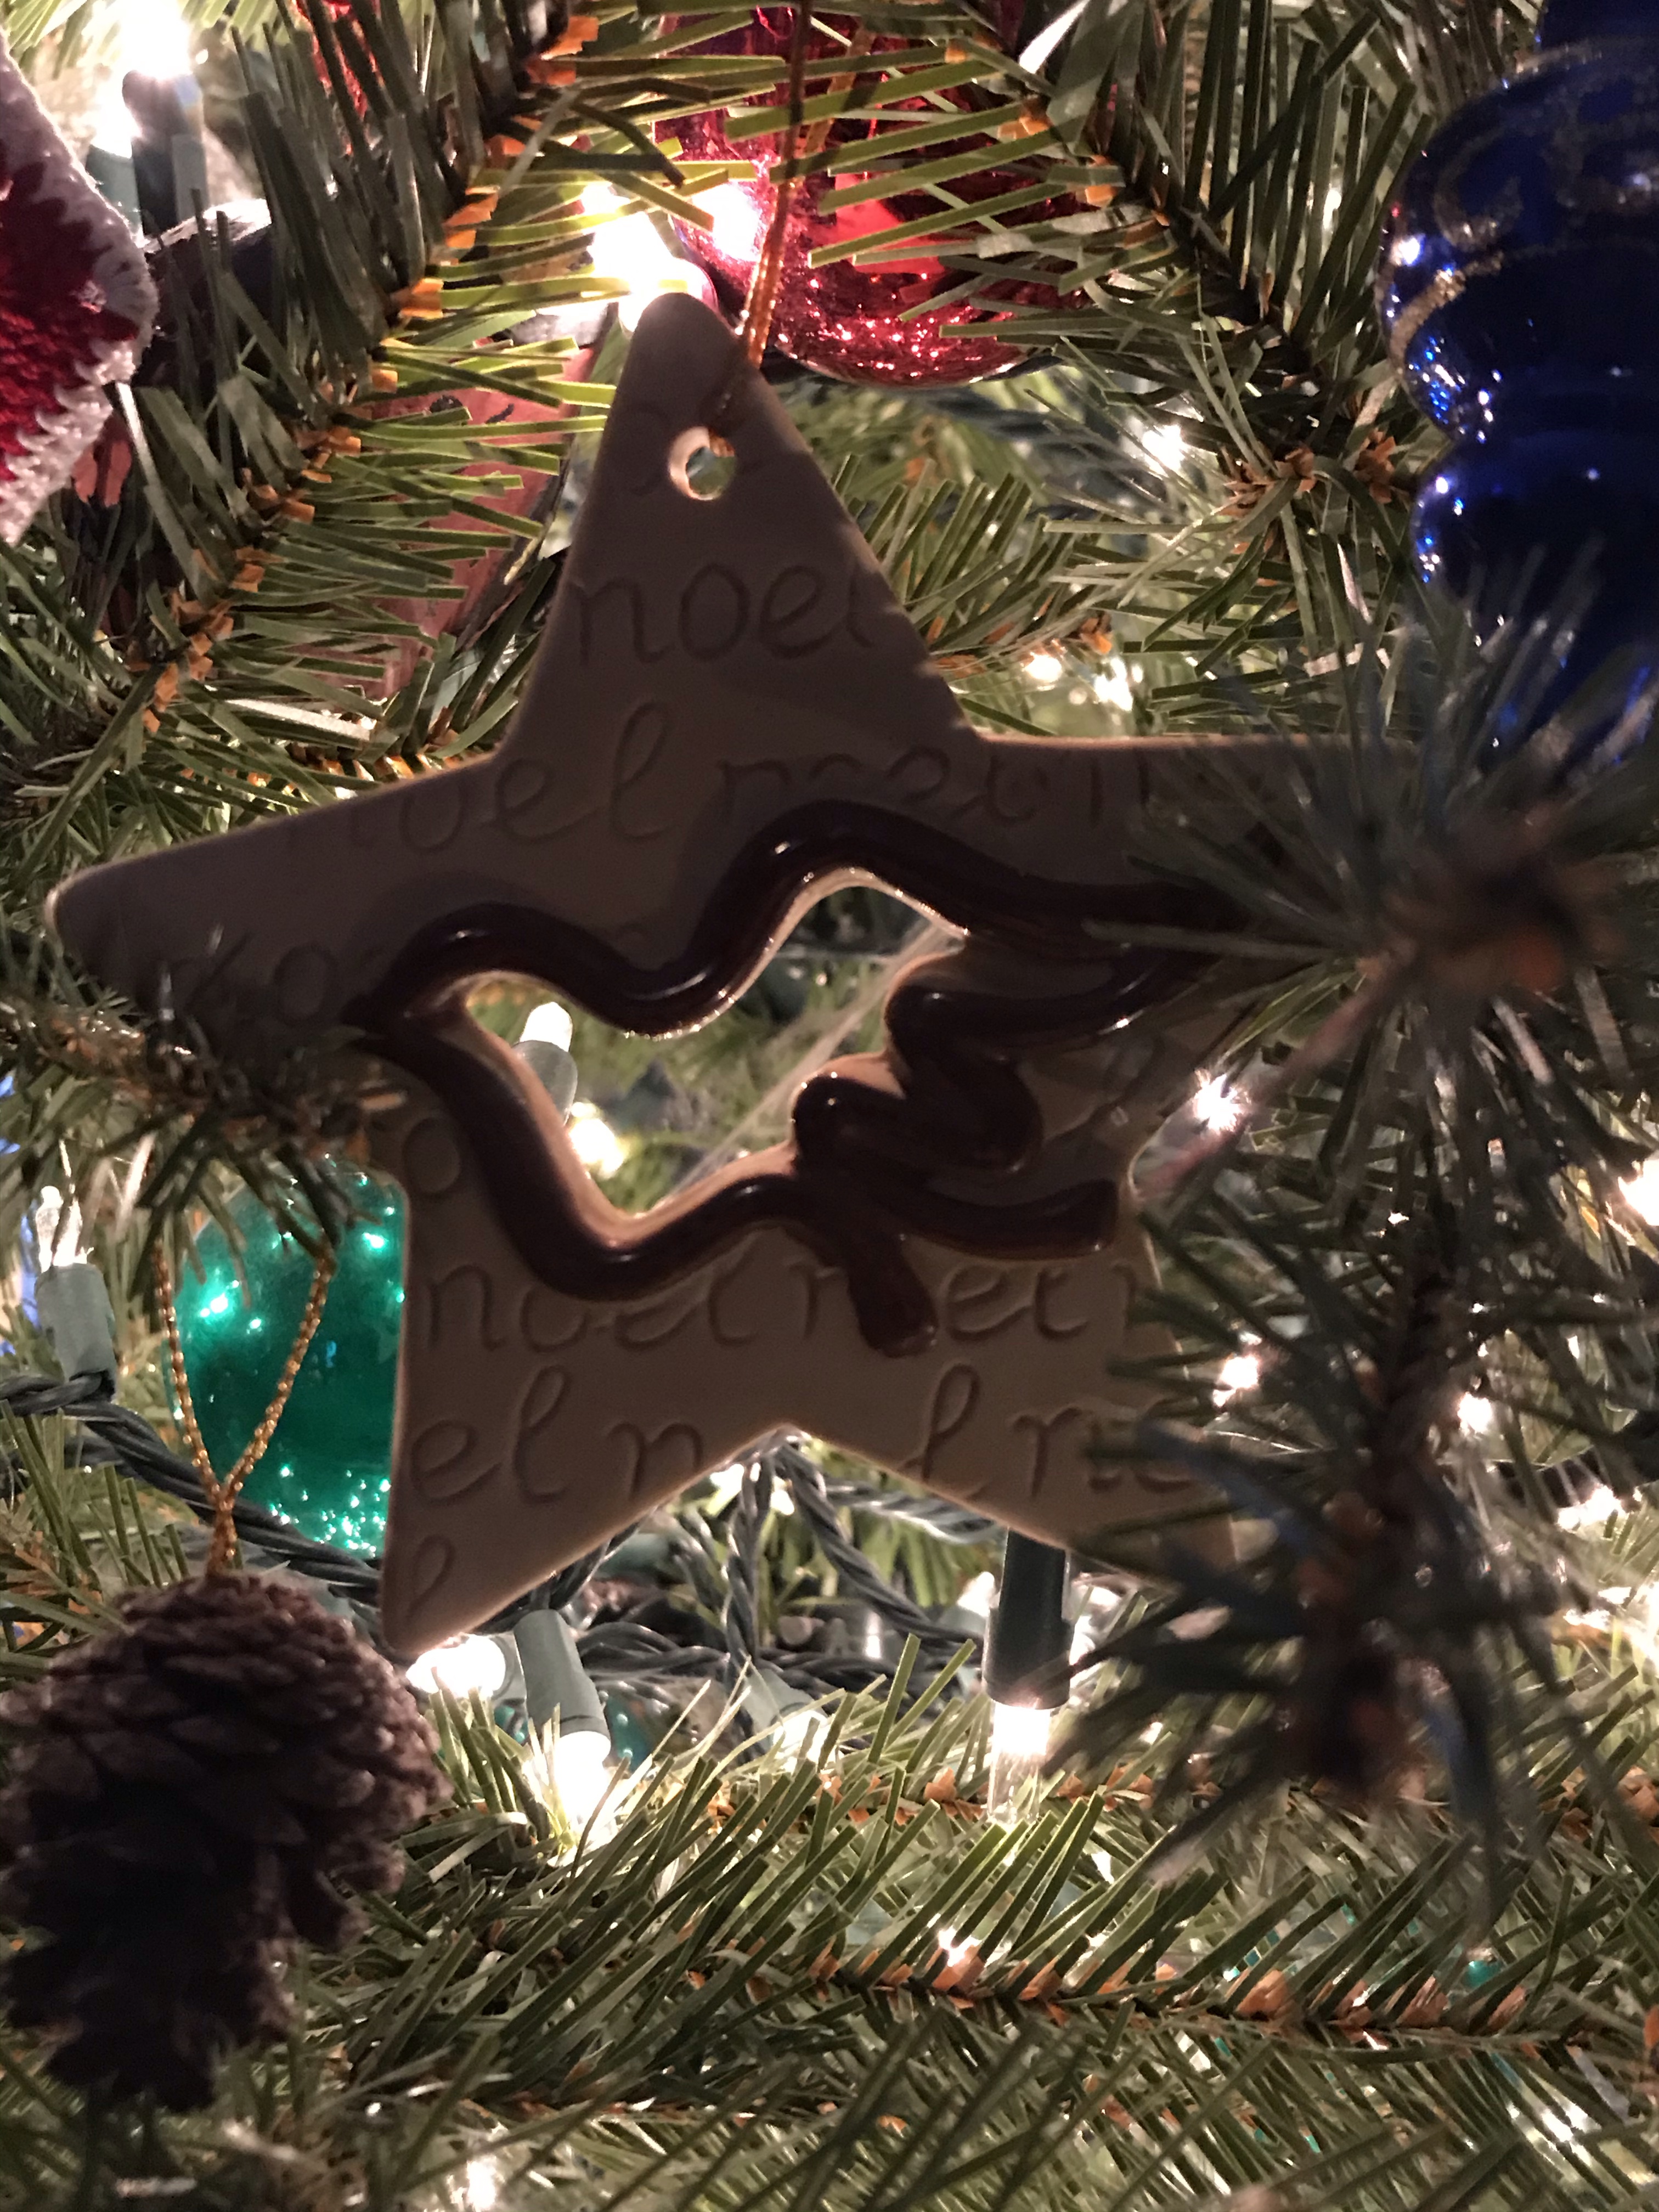
We love birds in our tree–and here are some additions for the year: a felt cardinal, a knitted cardinal, and a ceramic star with a dove cut from it.
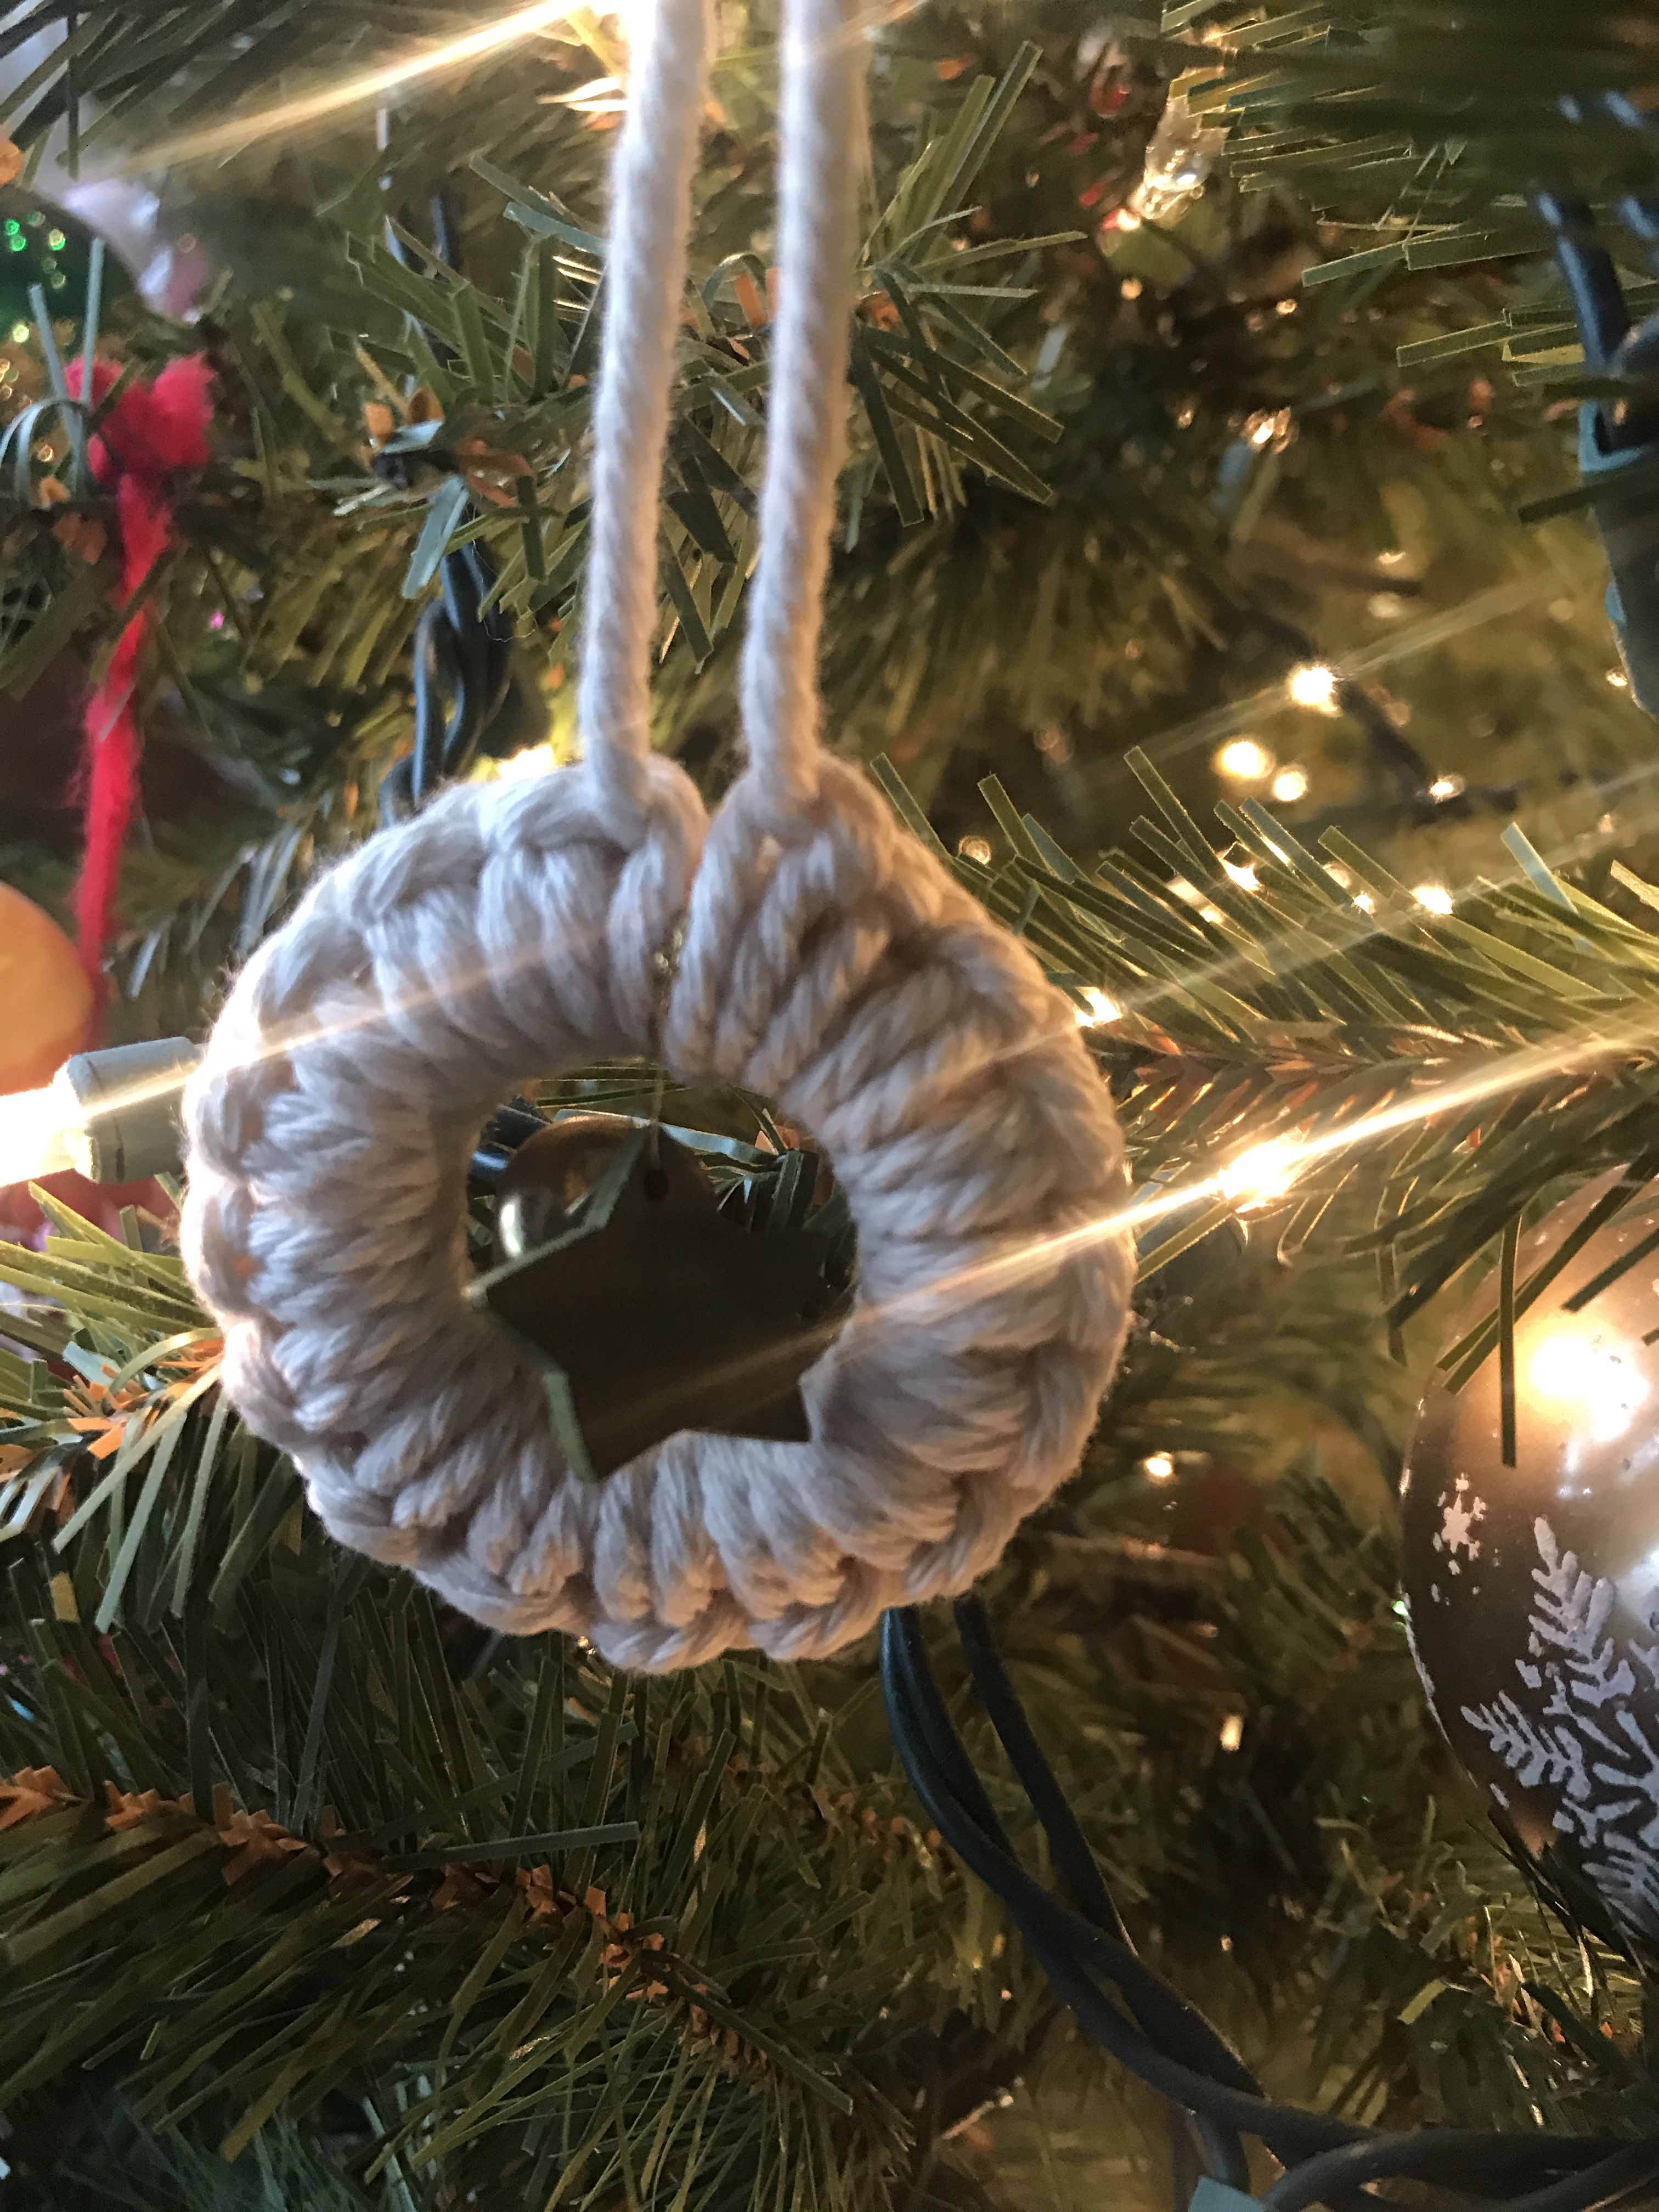
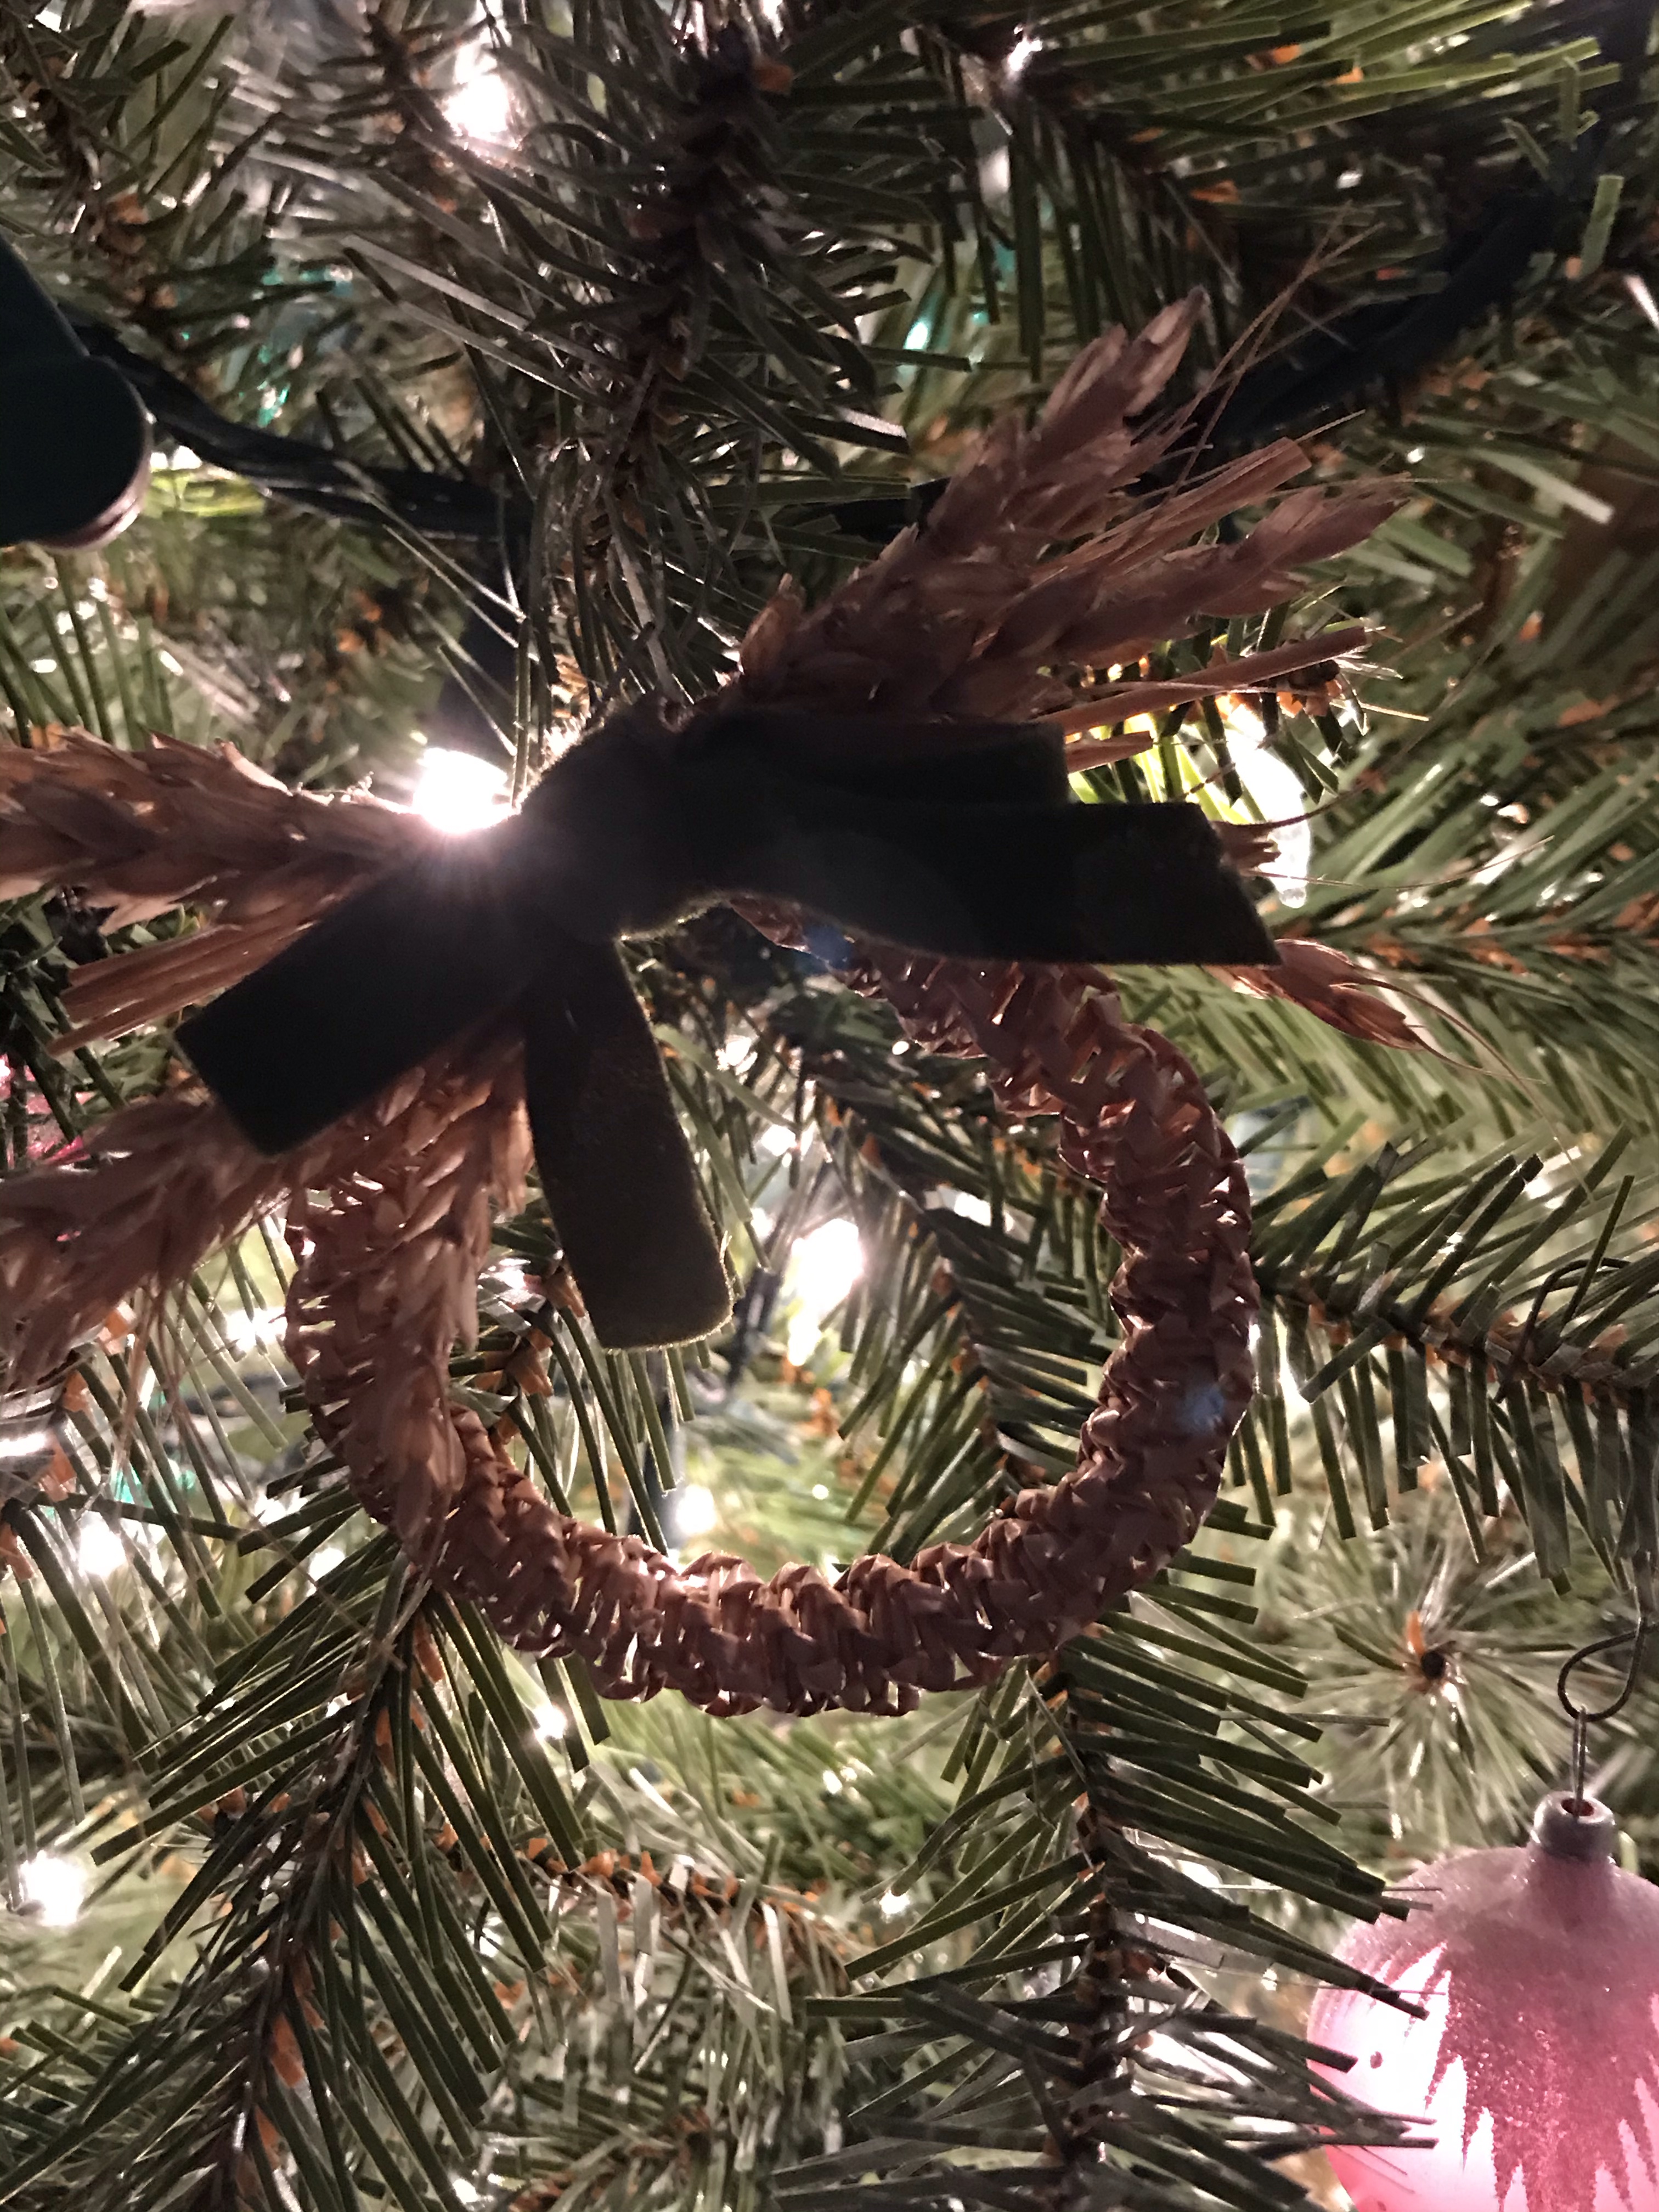
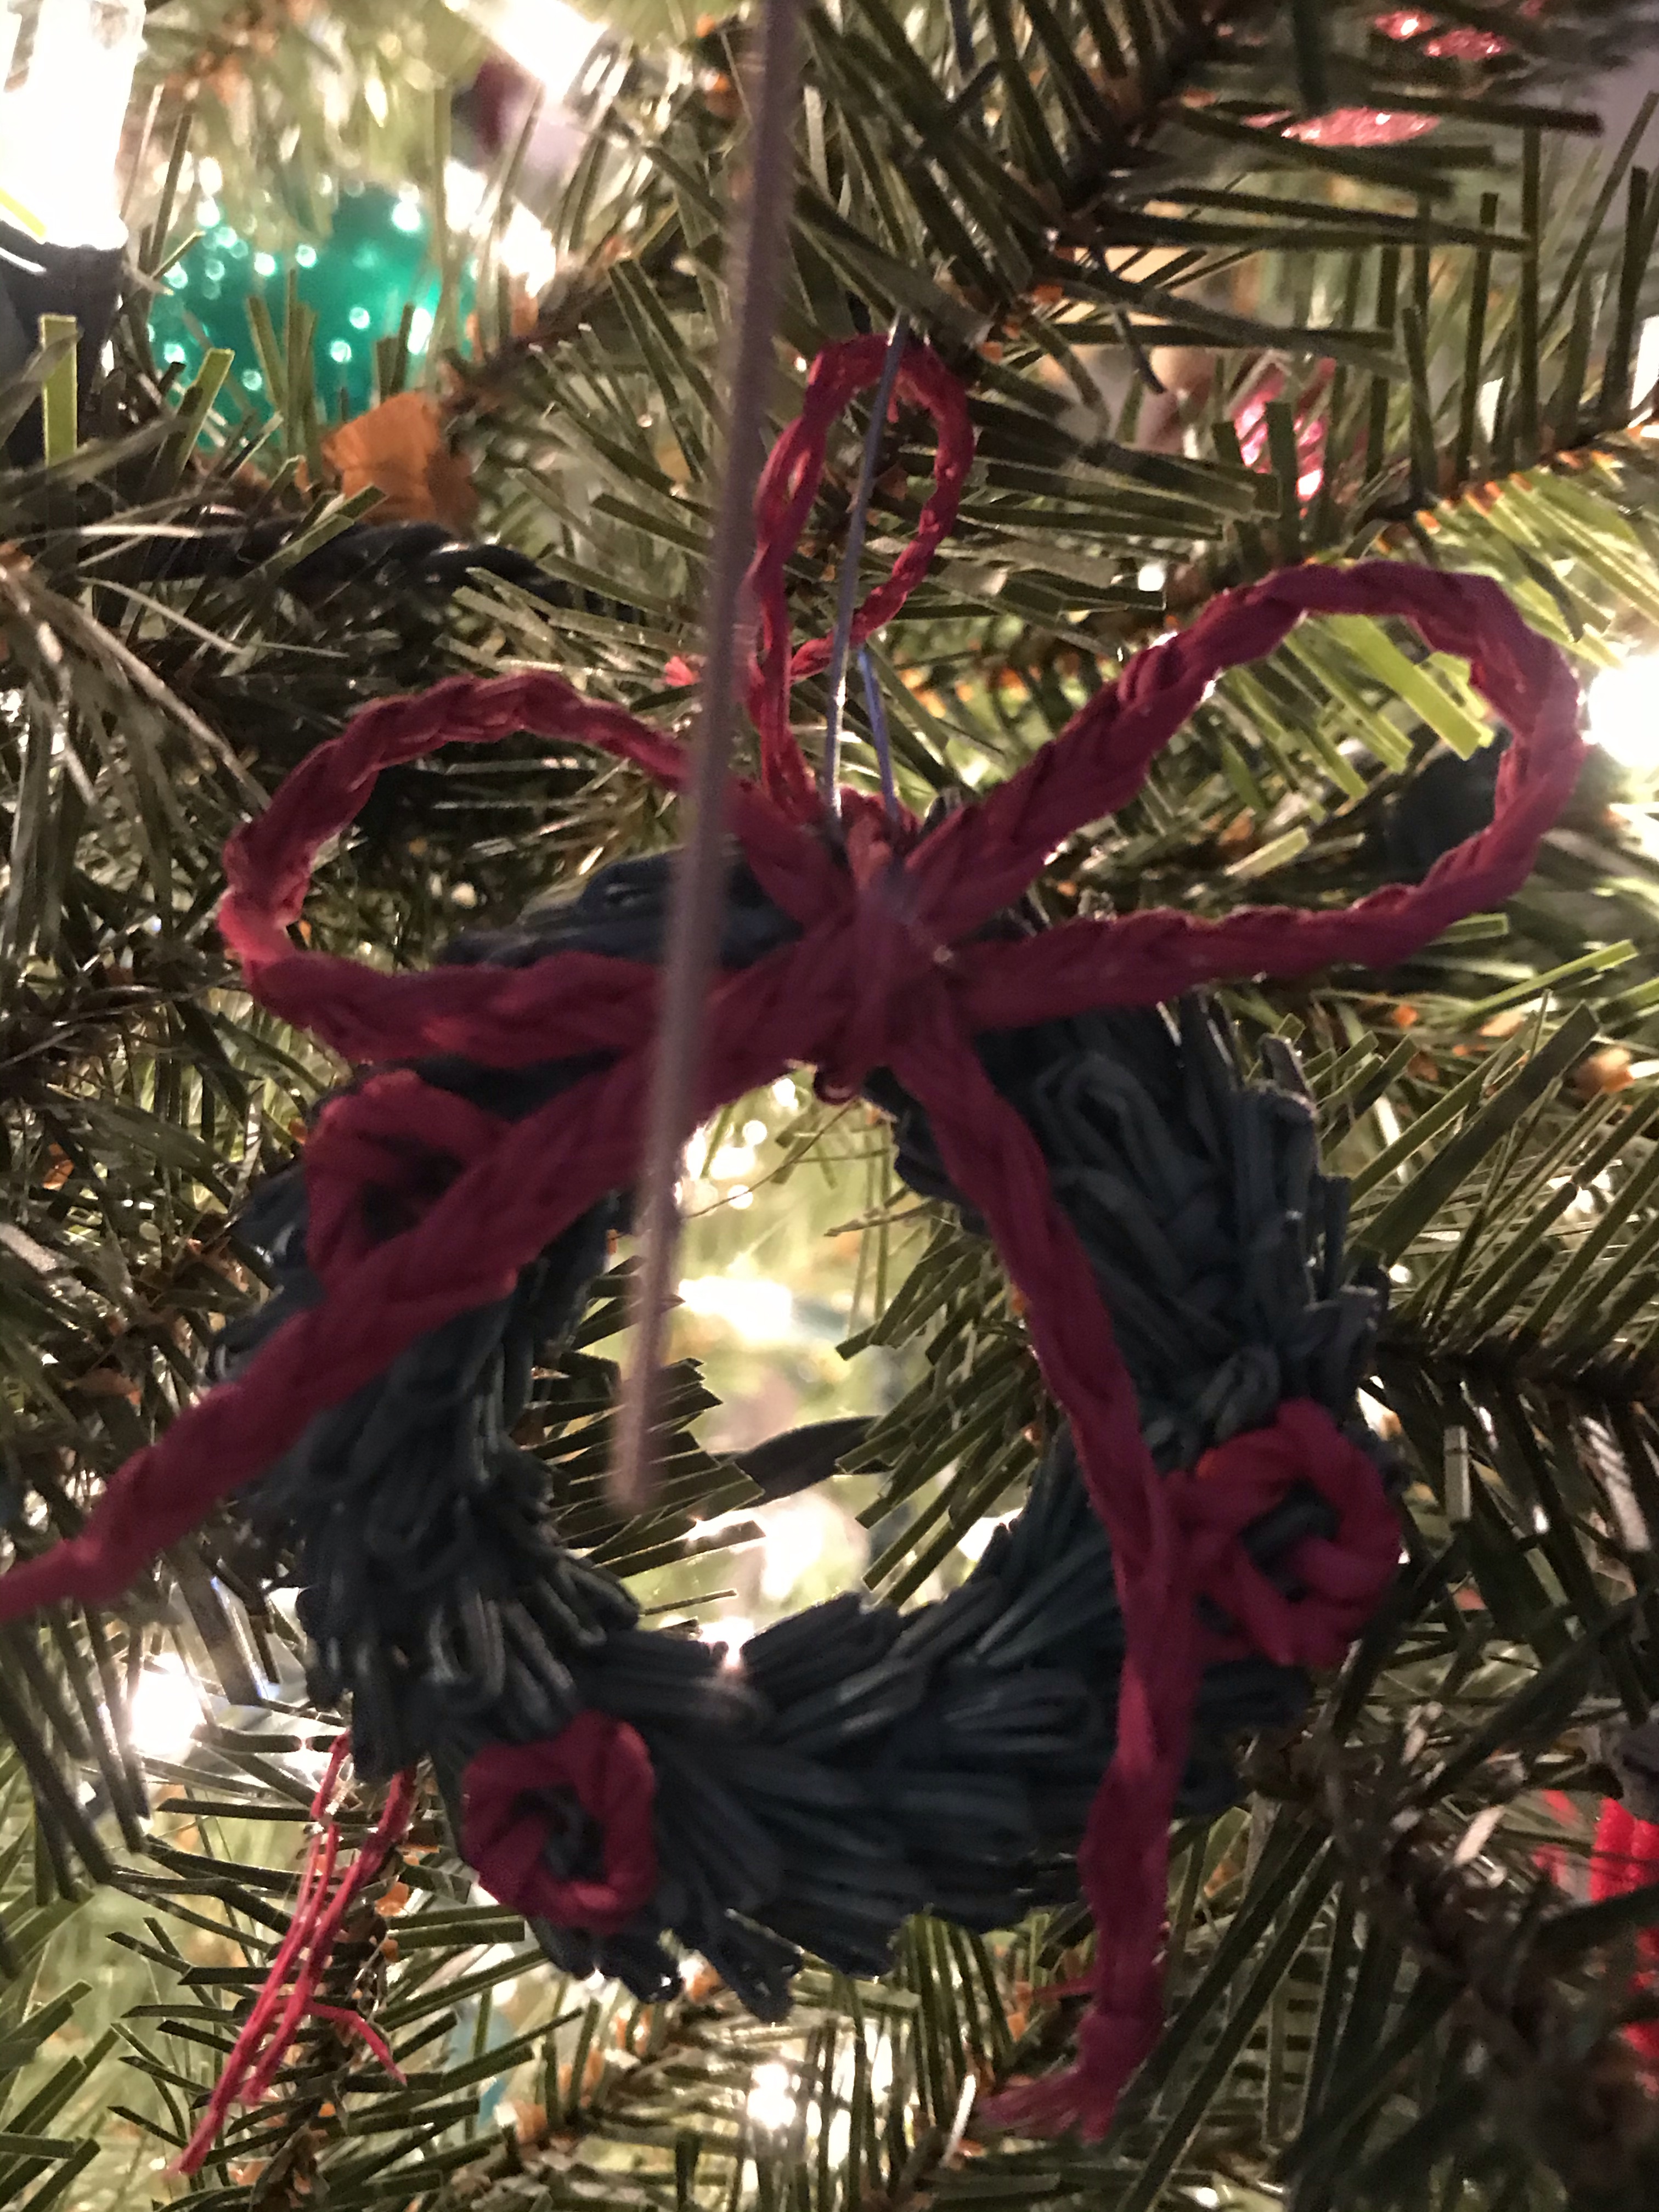
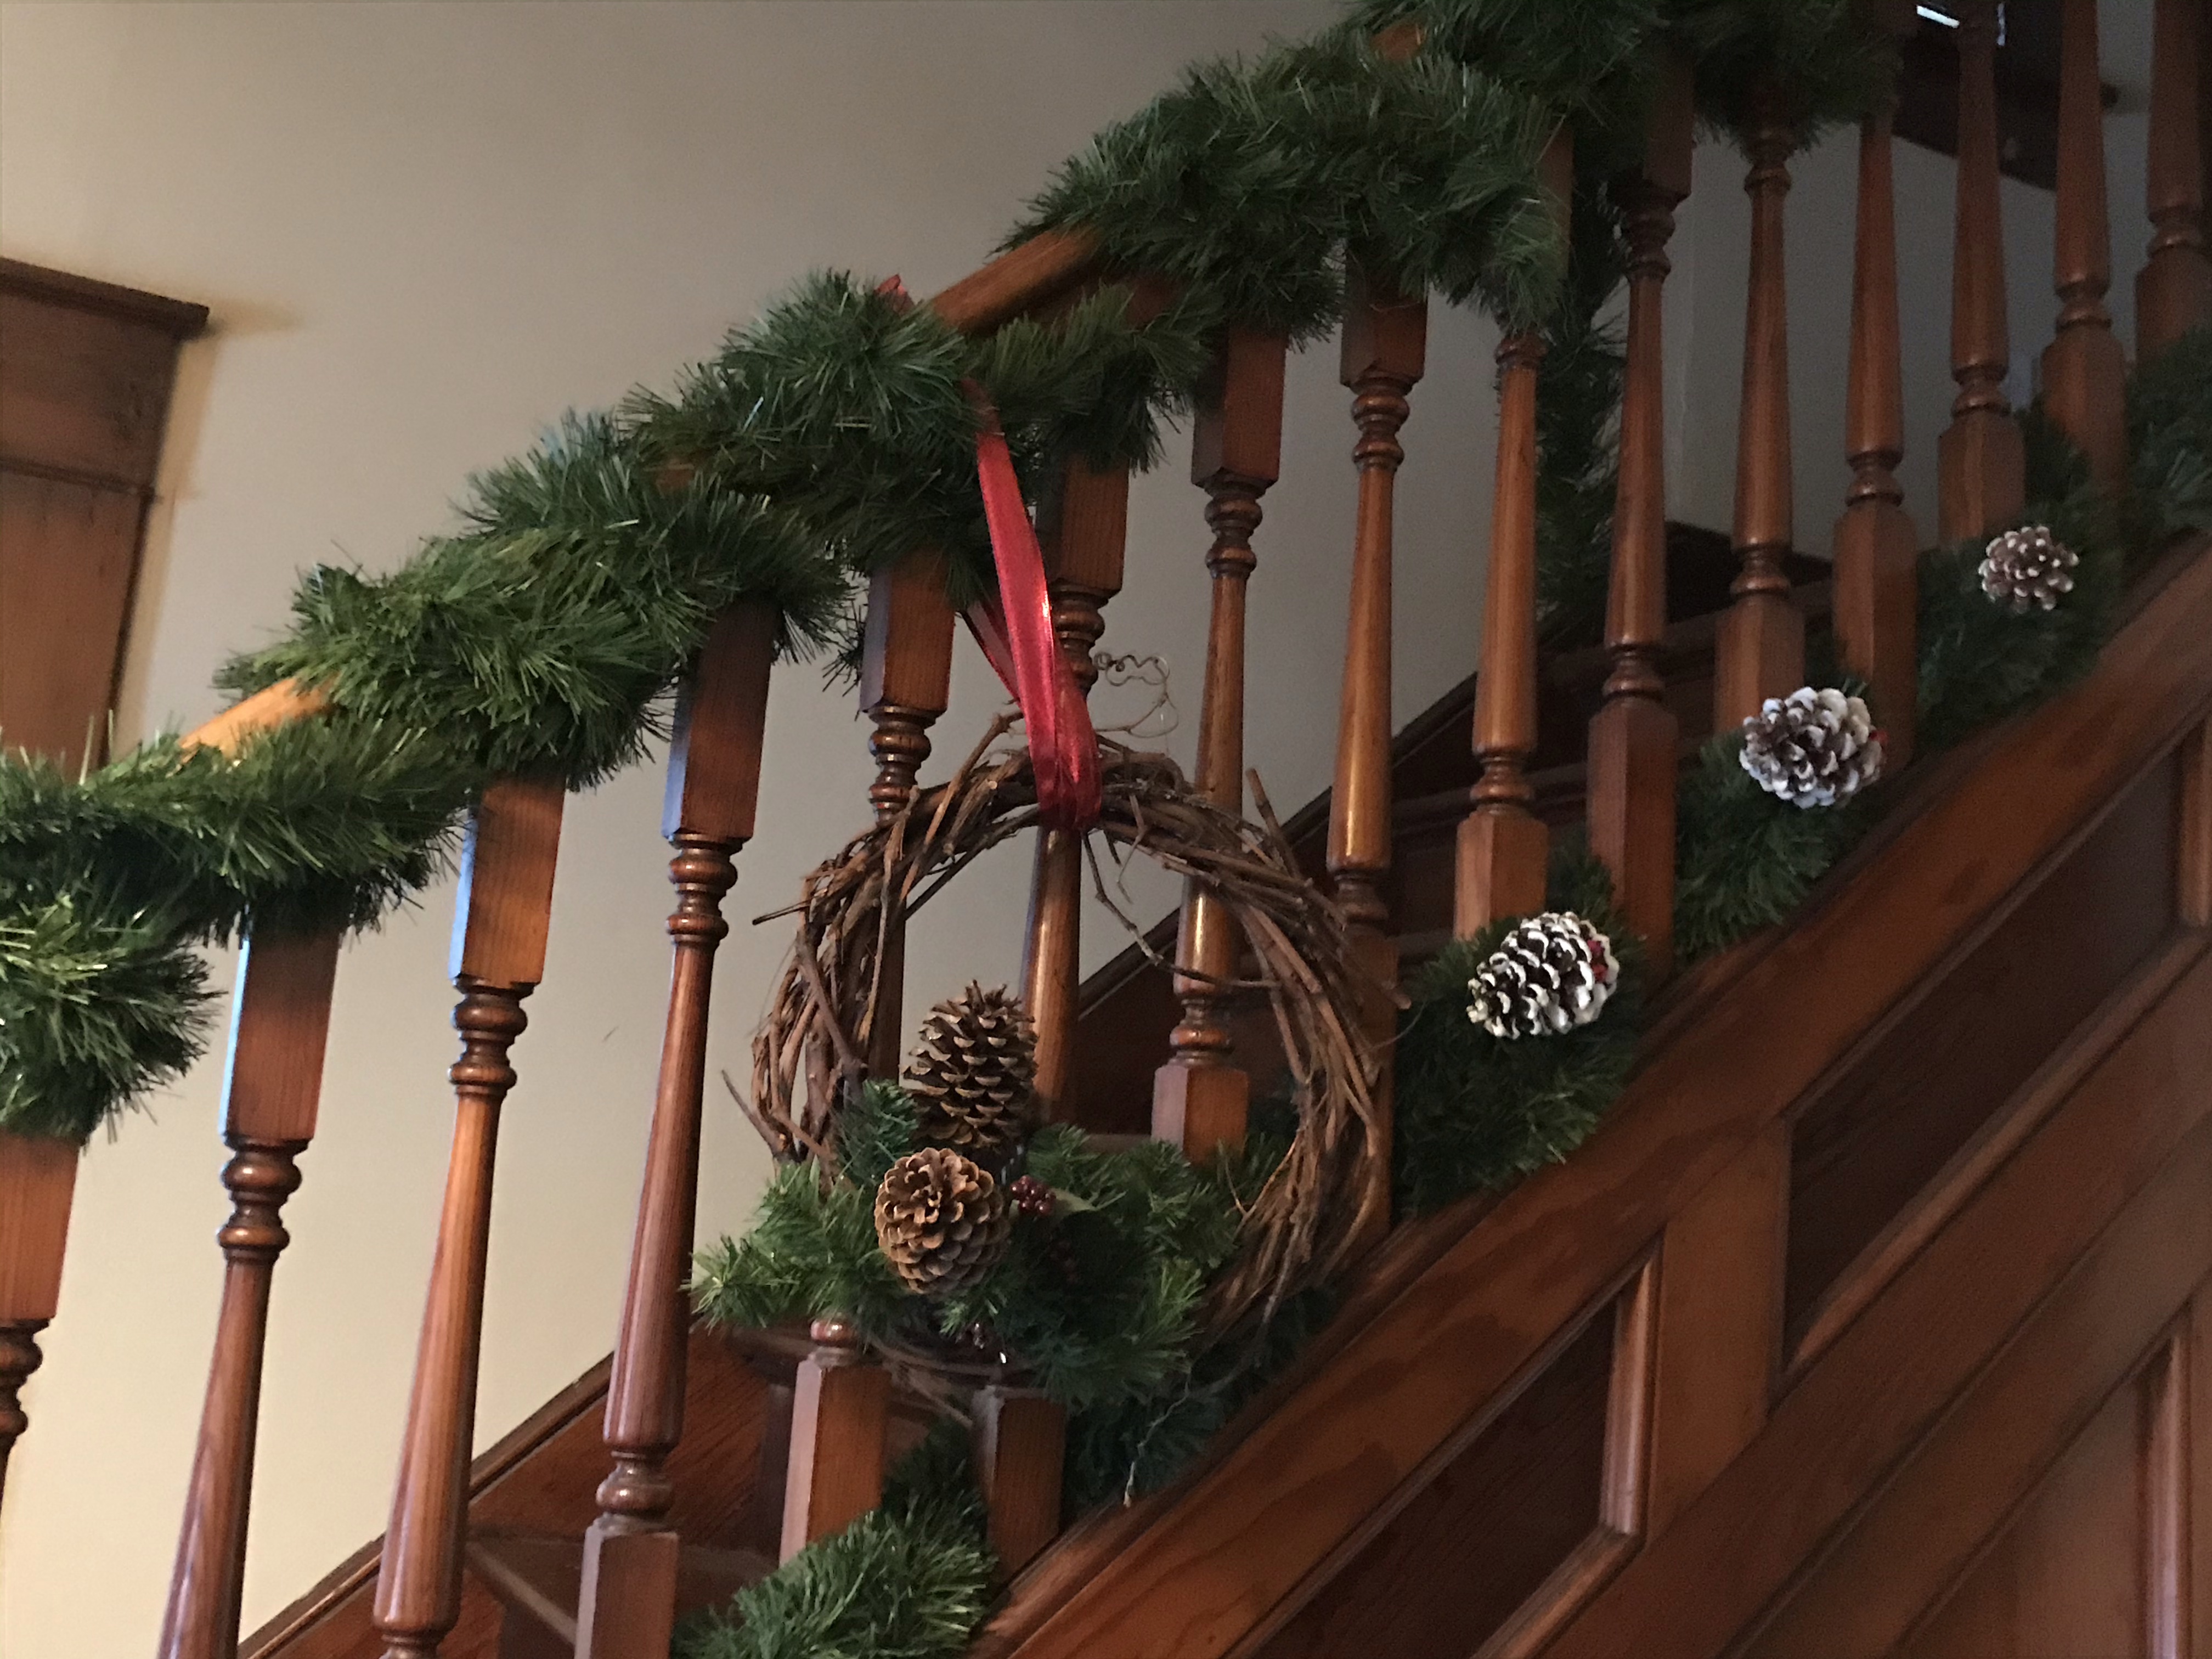
New wreaths, three on the tree (a yarn one by a friend and two woven from wheat), plus one we made from a grapevine wreath on the banister.
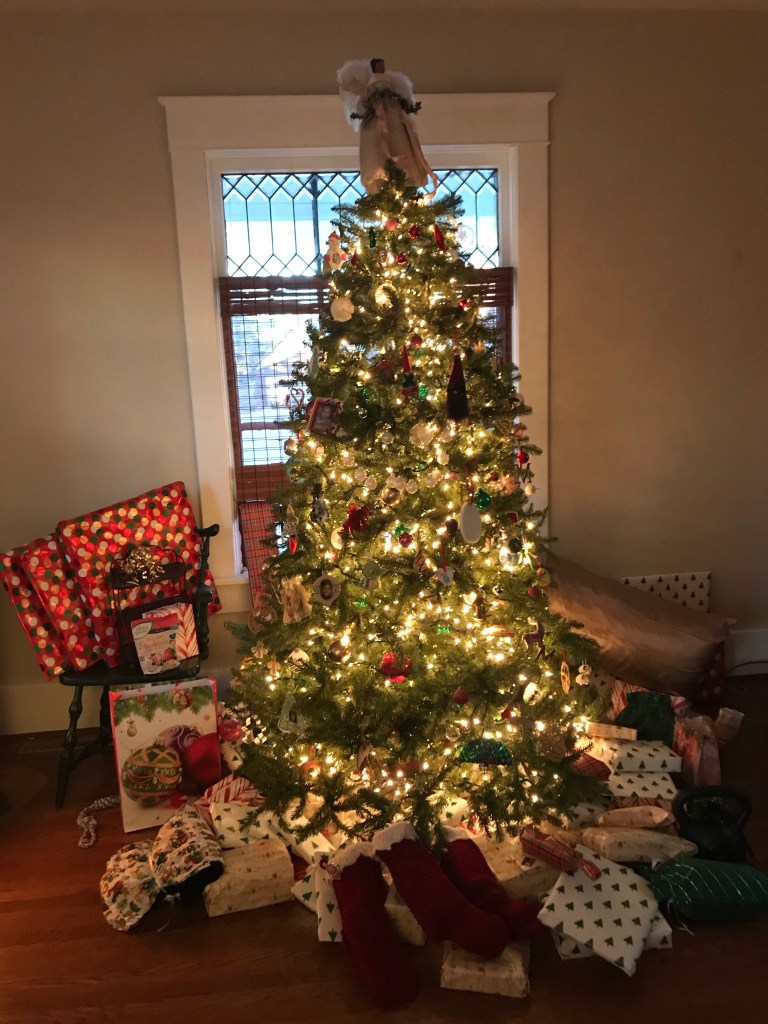
Our Christmas tree, overseen by Marian Zsofia, our angel.
During Advent, some friends and I gathered weekly to make seasonal crafts via Zoom. Every part of it was fun, but an especially endearing part was how many people accepted the invitation saying “I stink at crafts, but I’m willing to try.” I love that spirit, and I love that friends were confident that we could do crafts together poorly and still have fun.
To be inclusive, our crafts had to: 1) require few pre-existing skills, 2) require few tools or materials since I bagged them up and delivered them to my friends, 3) be adaptive since our group included children through older adults and people with various abilities. And while most of my friends were from my church, not everyone was, so I chose mostly crafts that were wintertime-themed, not holiday themed.
Our final craft was a wooden snowman. Everyone in our group got a head start because I cut the wood and gave it the base layer of paint before I delivered the supplies to them.
Supplies
3 pieces of scrap wood of the same width and depth, cut to different lengths. Pieces could be as short as 2″ and up to 8″.
black, gray, or dark blue craft paint
white craft paint
sand paper (optional)
orange craft paint or an orange Sharpie
assorted buttons, at least 3
fabric at least 8 inches long to create a scarf
twigs to create arms
materials to make a hat (black stock paper, children’s sock + a ribbon, felt + jingle bell or pom-pom) or ear muffs (chenille stems + pom-poms)
scissors
hot glue gun and hot glue stick
newspaper to create an area to work
Directions
Paint wooden blocks black, gray, or dark blue.
Paint again with white paint, allowing some of the darker color to peek through. Add as many layers of white paint as you prefer. When final coat is dry, use sandpaper to scruff it up a bit. The goal is to add depth to the wood by creating areas of darker and lighter wood.
Select which block will be the head, torso, and bottom, placing them on top of each other to create a thin, tall snowman. Experiment by arranging them in new orders and turning them a bit to different angles, so they are not perfectly stacked on top of each other.
Hot glue blocks on top of each other.
Use markers or paint to add eyes, a carrot nose, and a mouth.
Hot glue buttons in a vertical line on the torso.
Use hot glue to add sticks to either side of the torso for arms.
Create a fabric scarf by cutting a long piece of fabric or felt and then nipping the ends to create fringe. Circle around the neck and glue in place with a dot of glue on the rear of the neck. Tie the scarf in front, securing with a dab of glue.
Create a hat and glue in place.
Stocking cap: cut the toe off a child’s sock, then create fringe. Tie the fringe off with a ribbon and stuff the sock with scrap fabric or cotton balls.
Kerchief: Cut fabric into a equilateral triangle and secure with glue on top of the head and under the chin
Top hat: cut a circle slightly larger than the top of the head from black cardstock and another slightly larger. Cut a strip that is the circumference of the circle and as wide as you want the hat’s height. Create a ring from the long strip and hot glue it between the two circles to form a hat.
Ear muffs: double a chenille stem that is slightly more than the length of the width of the head. Hot glue a pom-pom to either end of the stem. Bend into an arc. Glue to head, one pom-pom over each ear.
During Advent, some friends and I gathered weekly to make seasonal crafts via Zoom. Every part of it was fun, but an especially endearing part was how many people accepted the invitation saying “I stink at crafts, but I’m willing to try.” I love that spirit, and I love that friends were confident that we could do crafts together poorly and still have fun.
To be inclusive, our crafts had to: 1) require few pre-existing skills, 2) require few tools or materials since I bagged them up and delivered them to my friends, 3) be adaptive since our group included children through older adults and people with various abilities. And while most of my friends were from my church, not everyone was, so I chose mostly crafts that were wintertime-themed, not holiday themed.
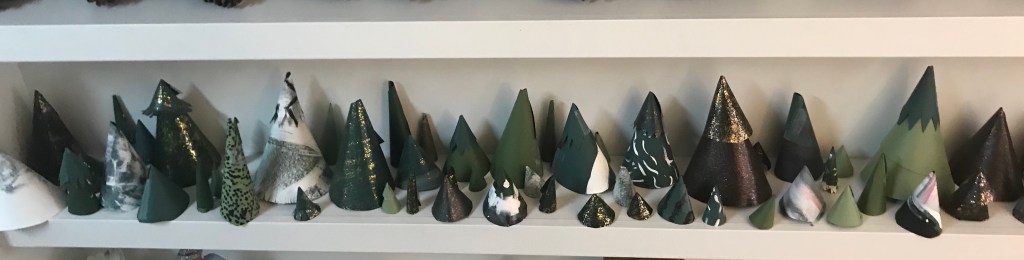
We build an evergreen forest every year at our house, often reusing old trees but in new combinations. Here is how we do it:
Above, two cone-shaped trees made from green cardstock. One is painted with white polka dots, the other white swirls.
Supplies:
green cardstock of various sizes, with some at least large enough to trace a plate on
pencil
compass for creating circles or circles to trace (cereal bowls, plates, containers, etc.)
scissors
white craft paint + paint of other colors, such as silver, gold, and rose gold glitter
hot glue gun and hot glue stick
newspaper for your workspace
Directions:
Paint your paper with fun designs. Try polka dots, stripes, leopard print, sponge paint, zig zags, etc.
When the paper is try, trace a circle on the non-painted side. Cut out.
Cut a Pac-Man mouth out of each circle. Roll into a cone shape. The larger your mouth, the taller and skinnier the tree. You can even cut each circle in half, then roll the half into a cone. This will create a small overlap of the edges; secure with a line of hot glue.
Experiment with circles of different sizes and different size cuts to create trees of different sizes.
Use scissors to cut a zig zag around the bottom edge, or for something softer and more whimsical, cut a wave shape.
Cut circles of slightly different sizes, then stack the finished cones on top of each other to create trees of multiple layers.
Use additional markers to draw cardinals or squirrels on the trees, or add Christmas lights.
Add individual trees to cookie plates, or group together for a centerpiece or to cover a mantle.
We sometimes hide candies under the trees to help countdown to Advent.
During Advent, some friends and I gathered weekly to make seasonal crafts via Zoom. Every part of it was fun, but an especially endearing part was how many people accepted the invitation saying “I stink at crafts, but I’m willing to try.” I love that spirit, and I love that friends were confident that we could do crafts together poorly and still have fun.
To be inclusive, our crafts had to: 1) require few pre-existing skills, 2) require few tools or materials since I bagged them up and delivered them to my friends, 3) be adaptive since our group included children through older adults and people with various abilities. And while most of my friends were from my church, not everyone was, so I chose mostly crafts that were wintertime-themed, not holiday themed, though this one is an elf. This elf much cuter and cheaper than a name-brand Elf on the Shelf, so if that’s a tradition you want to enjoy with your kids, consider this little cutie as an alternative.
Supplies:
pine cone (with or without white tips, as you prefer)
wooden ball for head
black Sharpie or other marker or paint and paintbrush
felt in 1-3 colors
mini-jingle bell or pom-pom
hot glue gun and glue stick
scissors
Directions
If the end of the pine cone is not flat, flatten by pulling off some scales.
Choose a felt color for your elf’s shoes. Cut a double thickness of material into a heart shape. Glue the two pieces of fabric together, one on top of the other. Then glue to the bottom of the pine cone, so the point of the heart faces the elf’s back.
Glue the wooden ball to the top of the pine cone. If it drips, don’t worry–you’ll cover it with Elfie’s scarf later.
Cut a large isosceles triangle (2 sides the same length) from a piece of felt, with the third side (which will form the opening of the hat) cut with a slight curve. Roll into a cone shape so that the opening fits over the wooden ball. Hot glue the seam shut.
Hot glue the jingle bell (or pom-pom, if you prefer) to the tip of the hat.
Cut a long strip of felt to serve as a scarf. Cut small nips into the end to create fringe. Wrap around Elfie’s neck. Add a dollop of glue to the back of Elfie’s neck to hold in place. Knot in front, or layer the ends, holding in place with glue.
Use a Sharpie to add a face, or paint on. Don’t forget the ears!
Create more for an elf community, or add a decorative string loop to hang from a tree or add to a garland. If you used a mini pinecone, you can even thread the elf onto ribbon decorating a gift.
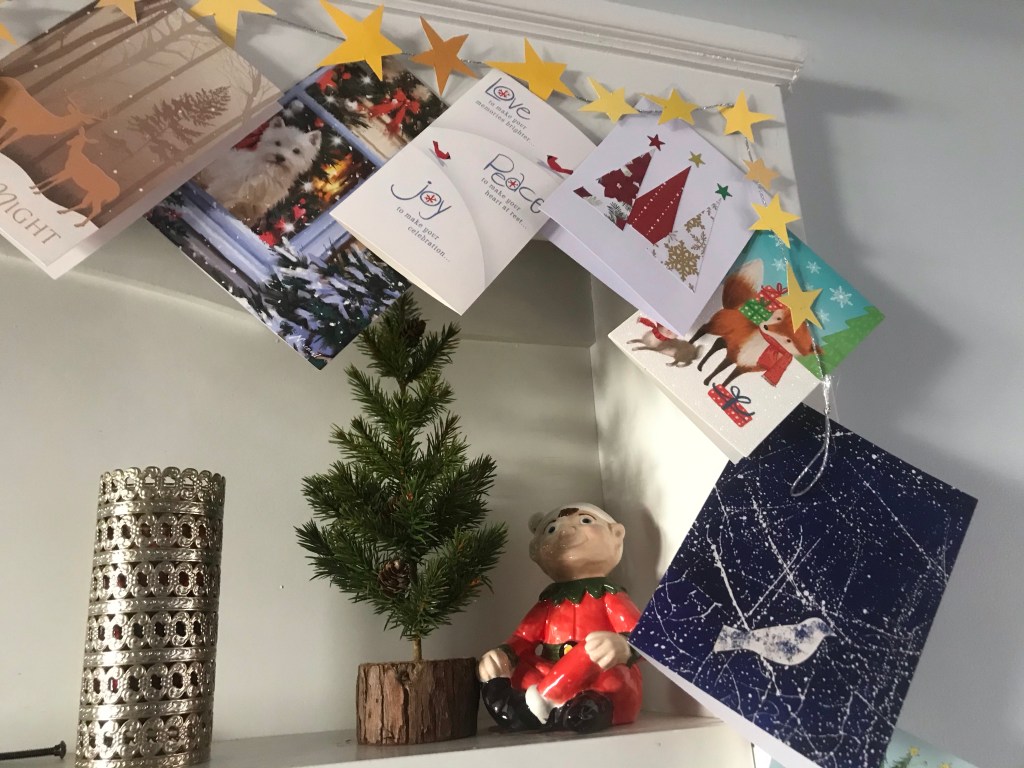
Above, a garland of stars, about 12 feet long with stars nearly touching, hangs over our bookcase, mixed with Christmas cards.
During Advent, some friends and I gathered weekly to make seasonal crafts via Zoom. Every part of it was fun, but an especially endearing part was how many people accepted the invitation saying “I stink at crafts, but I’m willing to try.” I love that spirit, and I love that friends were confident that we could do crafts together poorly and still have fun.
To be inclusive, our crafts had to: 1) require few pre-existing skills, 2) require few tools or materials since I bagged them up and delivered them to my friends, 3) be adaptive since our group included children through older adults and people with various abilities. And while most of my friends were from my church, not everyone was, so I chose mostly crafts that were wintertime-themed, not holiday themed.
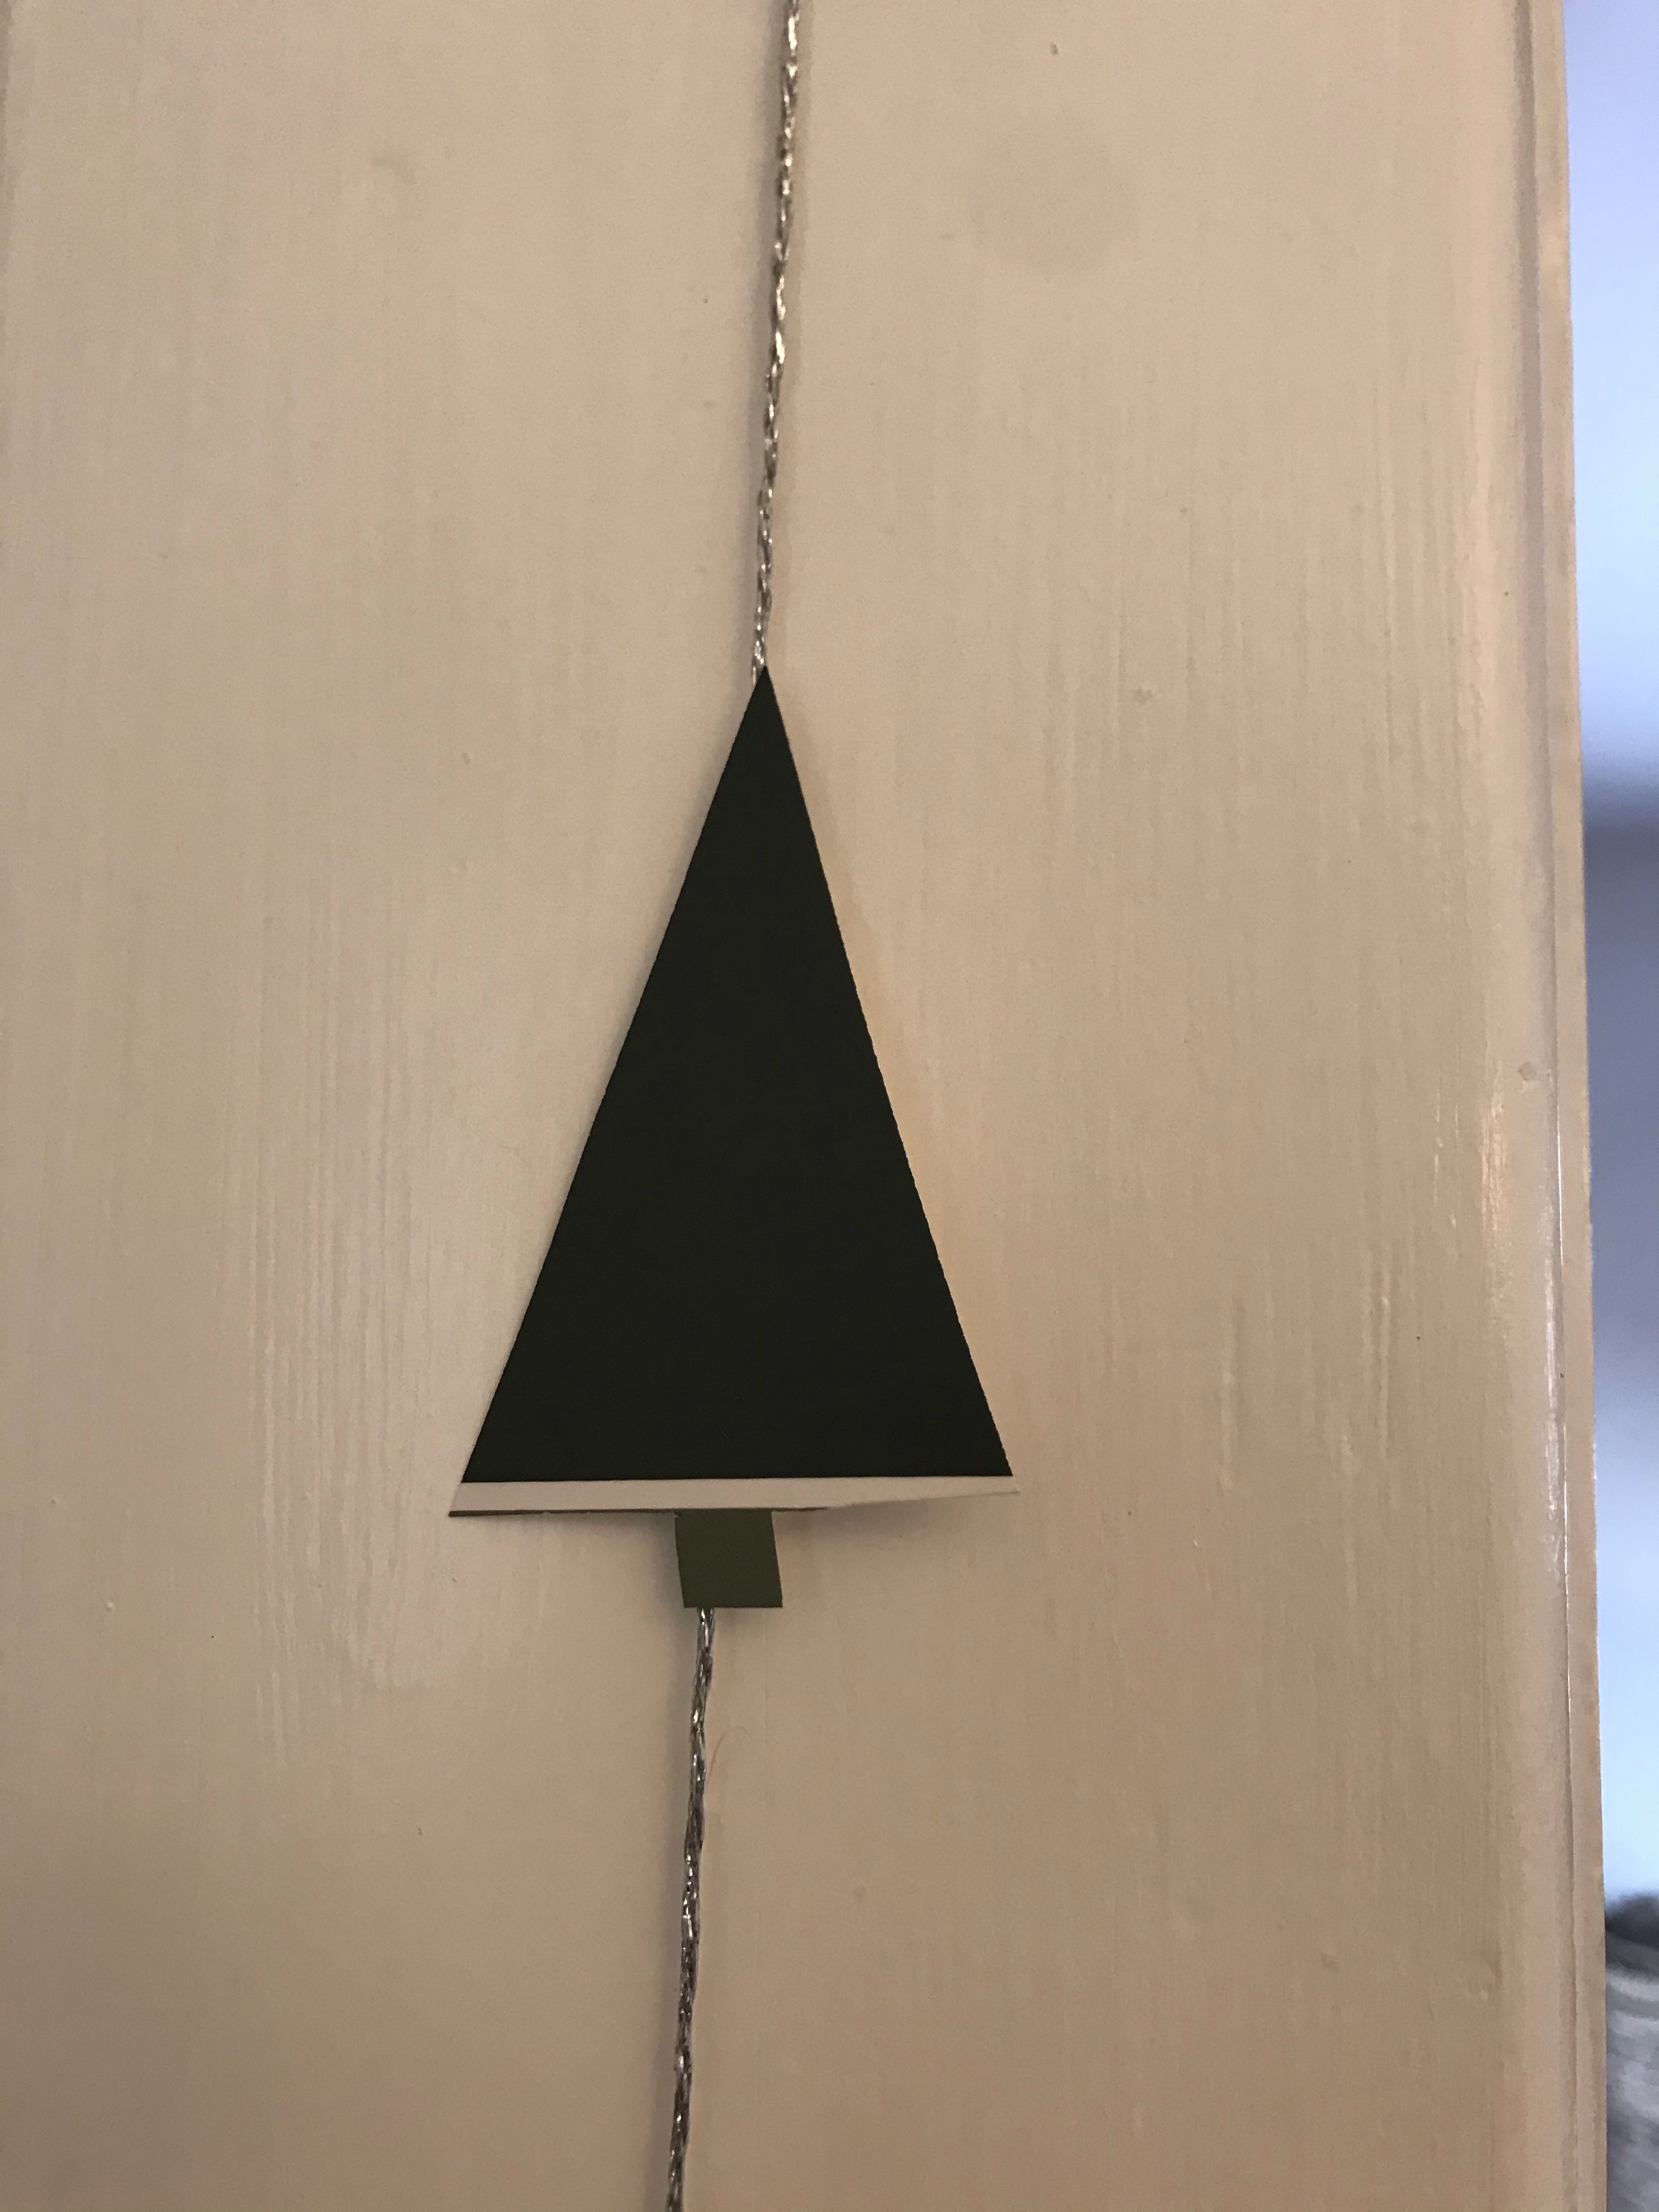
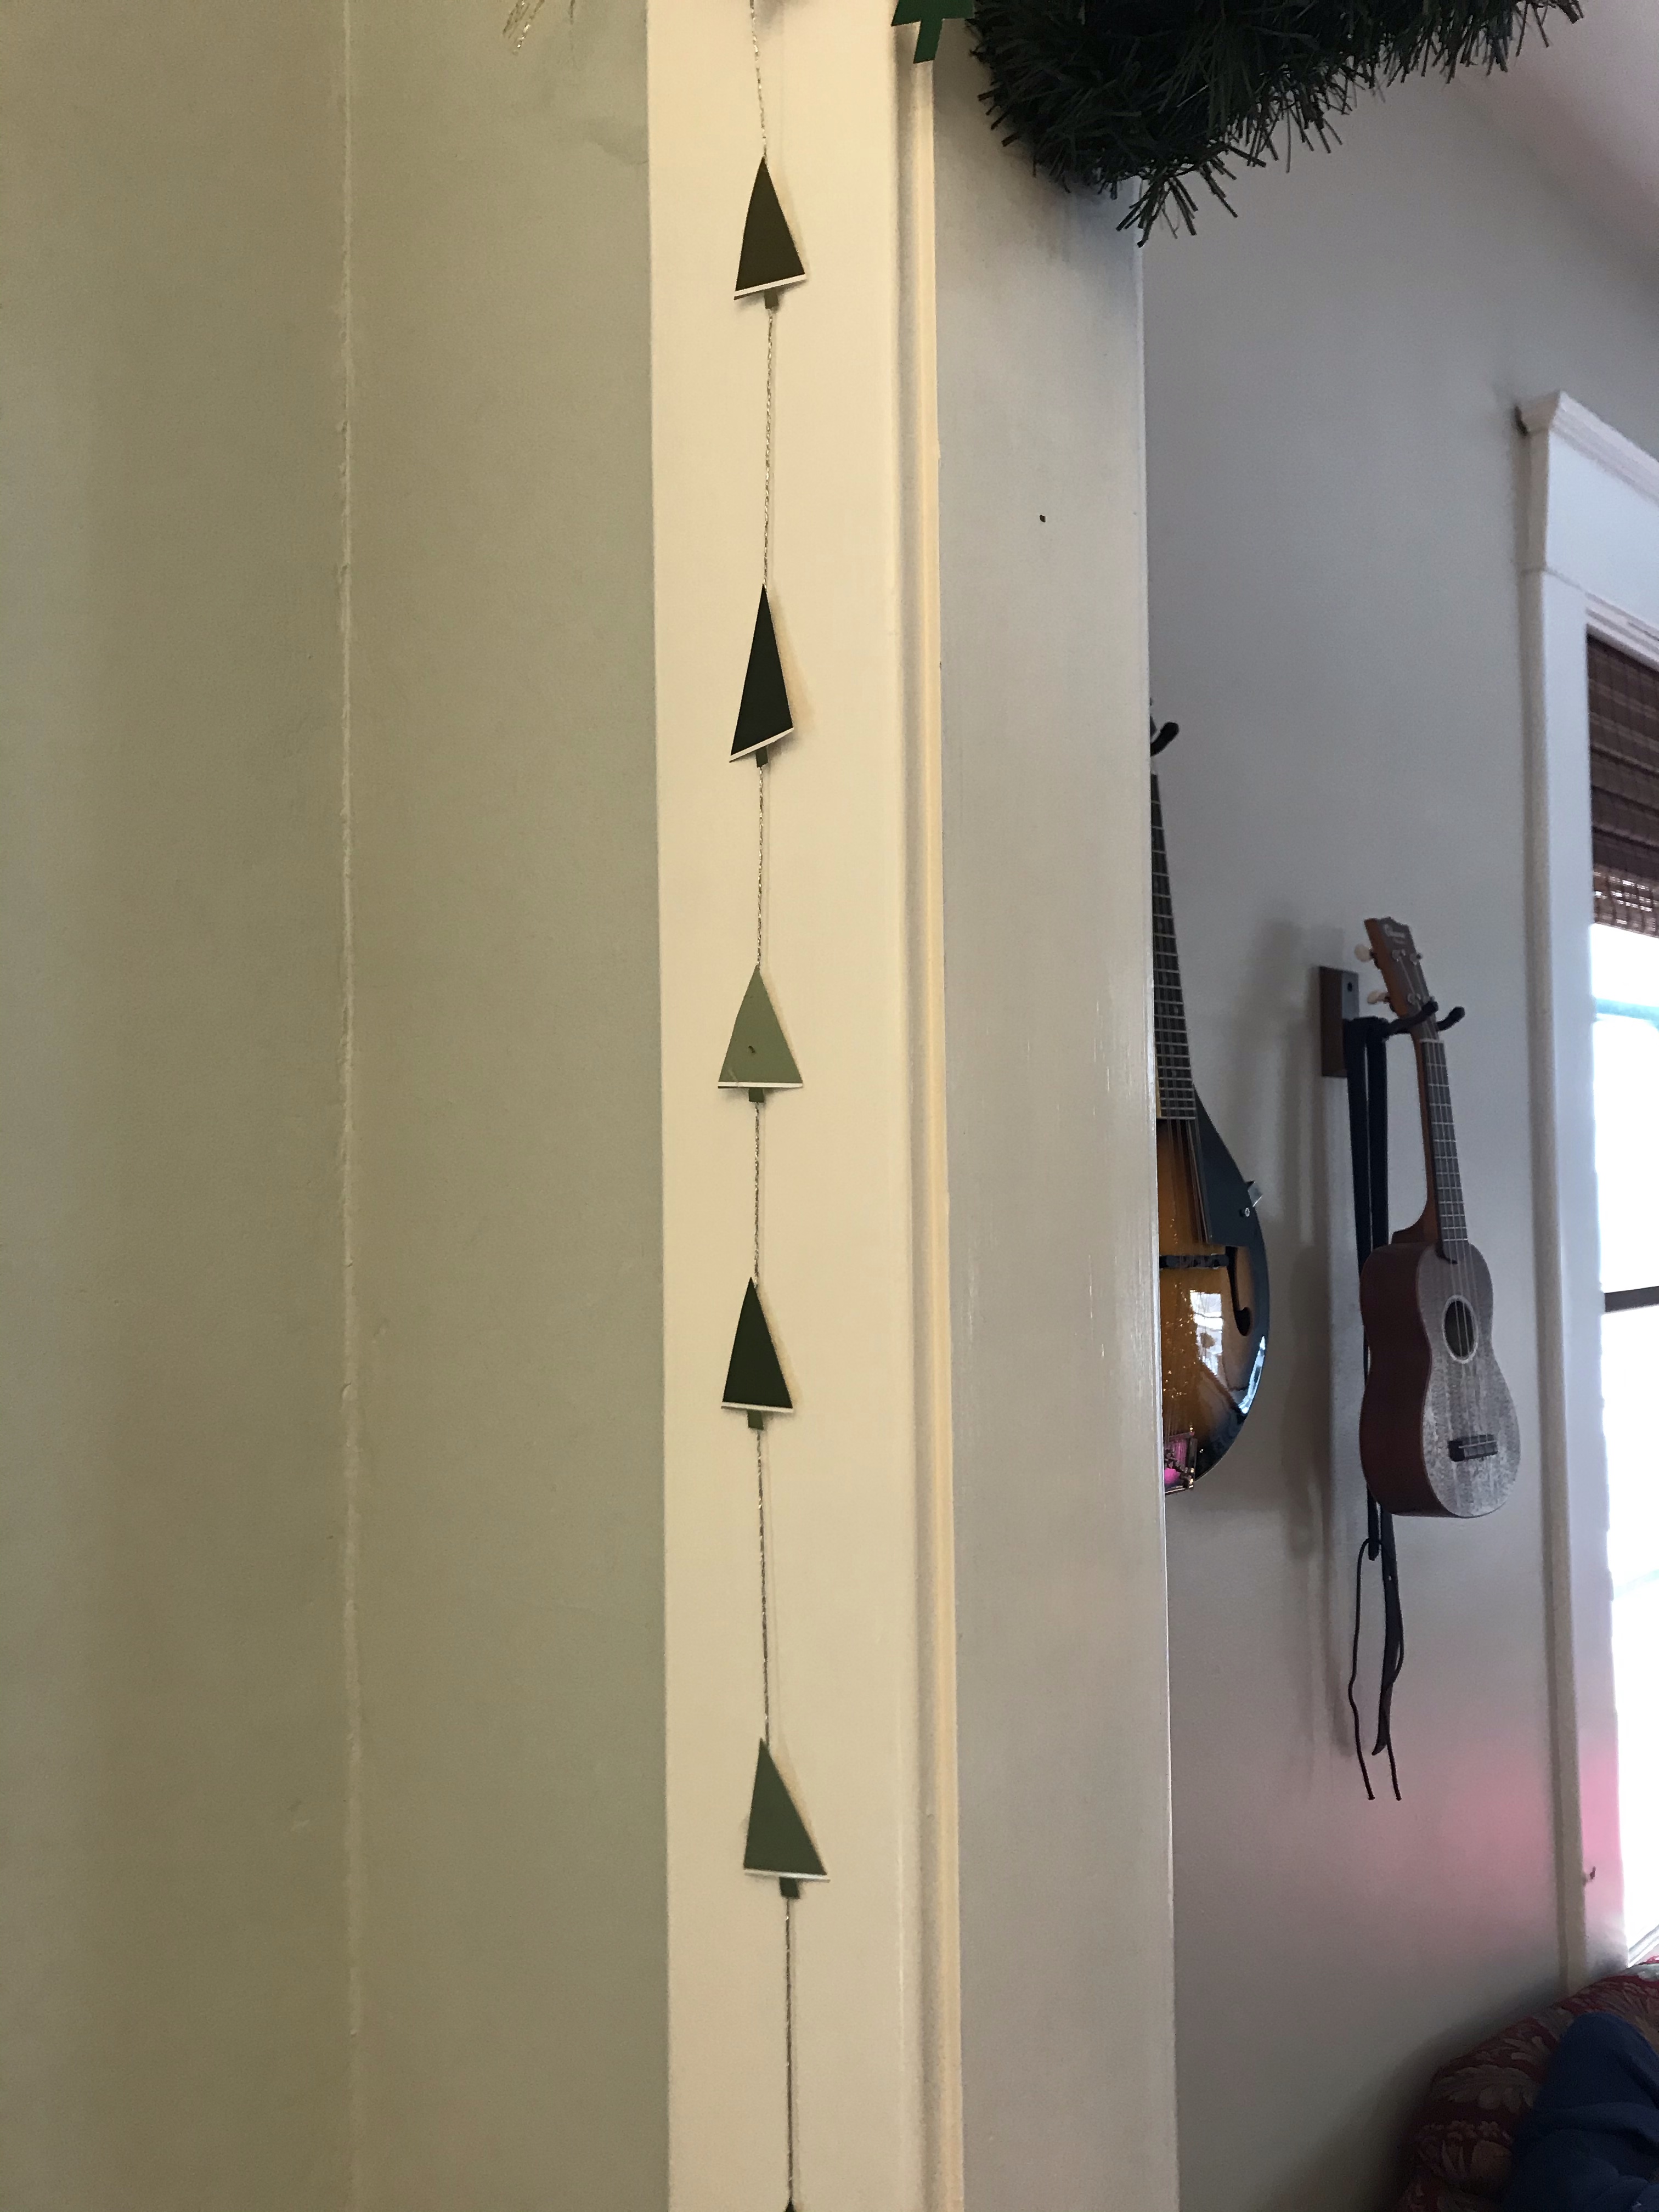
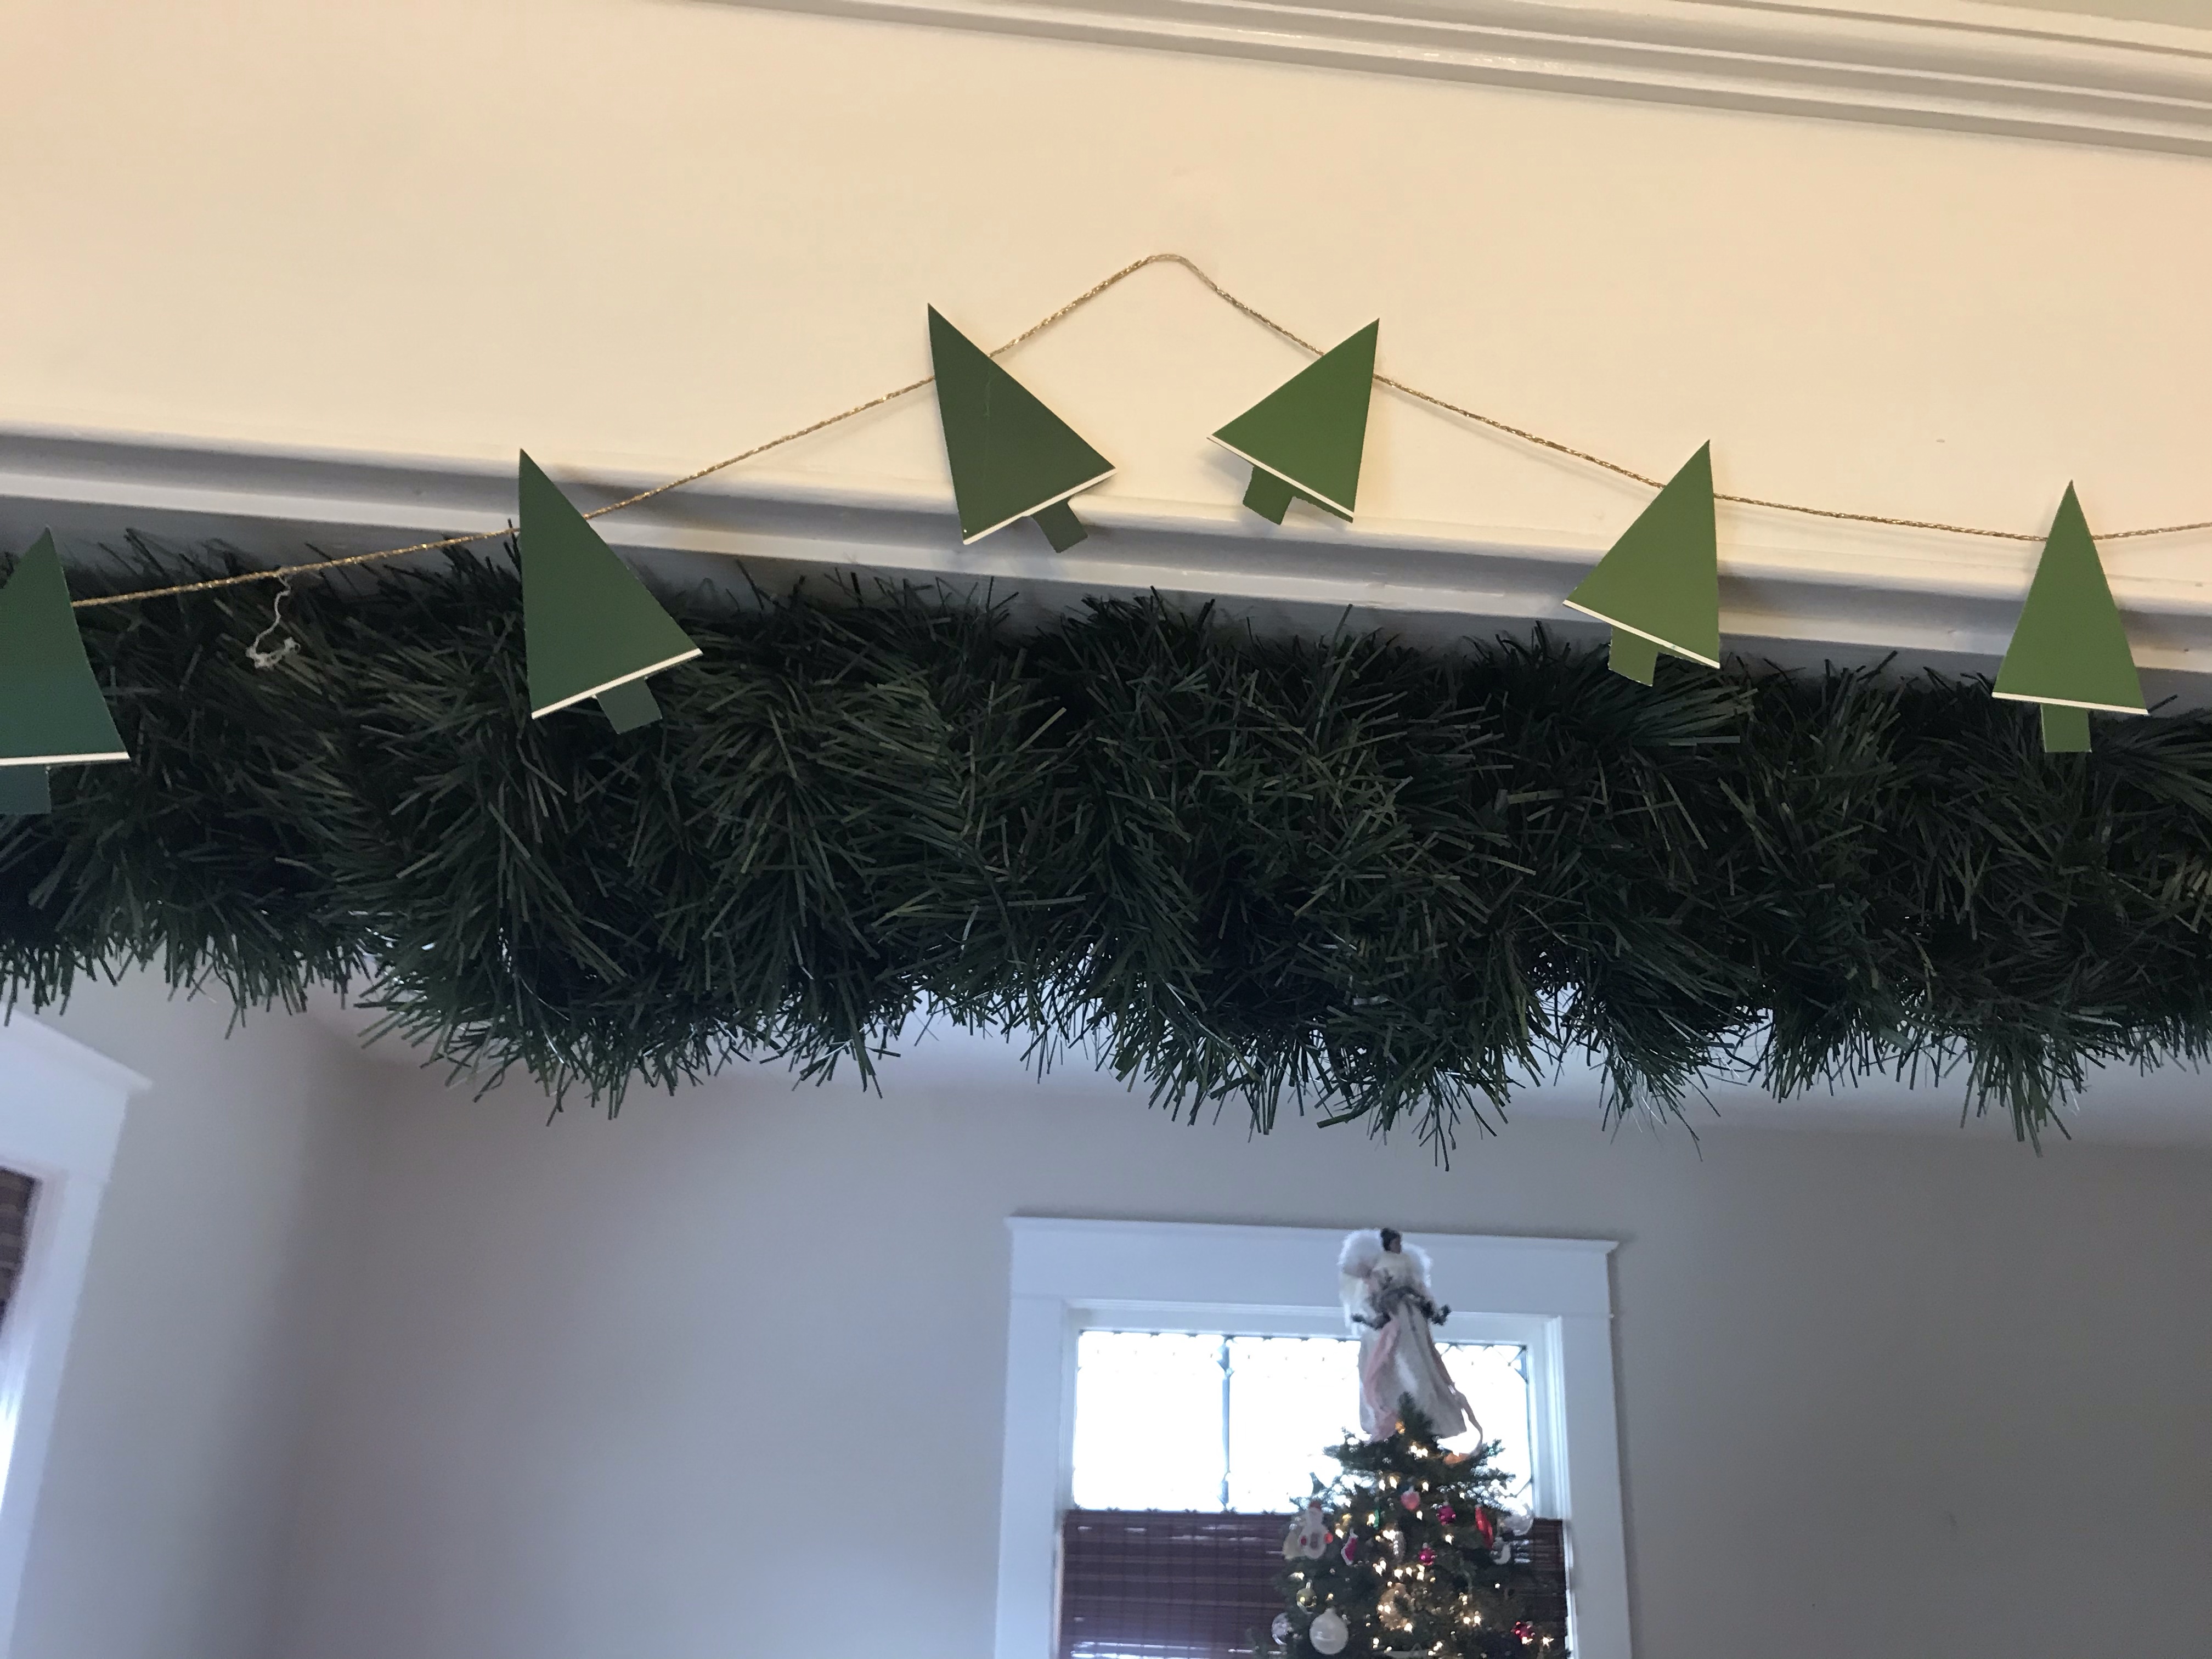
Above, we created both vertical and horizontal evergreen garlands so we could string them over the entry way between the dining room and living room. I used paint chips with two shades, creating a line between the trunk and the triangle-shape of the needles with the white line that divides the two colors. I kept it simple with a triangle shape, but you could use scissors to cut fringe into the tree for more texture, or create layers of needles.
This craft required just a few supplies:
Scissors
Decorative string (I chose gold and silver), cut to the length of garland you want. If you aren’t sure, try 8 feet.
16 paint chips from a hardware store*
Assorted pieces of light cardboard, like from a cereal box, cut to the size of the paint chips
pencil
newspaper
hot glue gun and hot glue sticks
*What color paint chips? It depends on shape you want to string on your garland. Good wintertime choices include evergreen trees (so choose one color of dark green or an assortment of greens), Christmas lights (so choose bright green and red, or the pinks, greens, and blues of echo the colors of Shiny Bright ornaments), or stars (various shades of yellow or all the same shade, if you prefer). You can pull in additional supplies to make stocking caps (red paint chips plus a small white puffball or tiny jingle bell on the end) or presents (any color you like + gel pens to draw in the ribbon).
Directions:
Draw a template of your design on a small piece of cardboard. If you prefer, you can print a simple shape from an online template. Simple is best. Cut it out.
Trace the template onto the back of the paint chip. If your chip includes two tones, consider working that into the decoration. For example, I used two-tone green chips for my trees, with one color for the trunk and the other the evergreen needs.
Cut your paint chips along the lines you traced.
Tie a small knot in each end of your decorative string.
Decide if you want your garland to hang horizontally or vertically. For some shapes (like stars), this might not matter. For others, it does.
Create a workstation on a piece of newspaper. Dab hot glue on the back of each decoration (tree, star, present, hat, etc.), then press string into the dab, without touching the glue. Repeat every 6 inches if you created 16 decorations for an 8 foot garland. Or add more if you like!
Mix and match decorations for a garland with a lot of variety, or string only one kind of decoration on a single garland.
Hang on your tree or over a mantle or shelf or around a door. These can be fun to add to a traditional green garland. Or wrap around a present.
Alternatively, you can cut the string to 4 inches and glue it in a loop on the back of one of the decoration and use as a gift tag.
During Advent, some friends and I gathered weekly to make seasonal crafts via Zoom. Every part of it was fun, but an especially endearing part was how many people accepted the invitation saying “I stink at crafts, but I’m willing to try.” I love that spirit, and I love that friends were confident that we could do crafts together poorly and still have fun.
To be inclusive, our crafts had to: 1) require few pre-existing skills, 2) require few tools or materials since I bagged them up and delivered them to my friends, 3) be adaptive since our group included children through older adults and people with various abilities. And while most of my friends were from my church, not everyone was, so I chose mostly crafts that were wintertime-themed, not holiday themed.
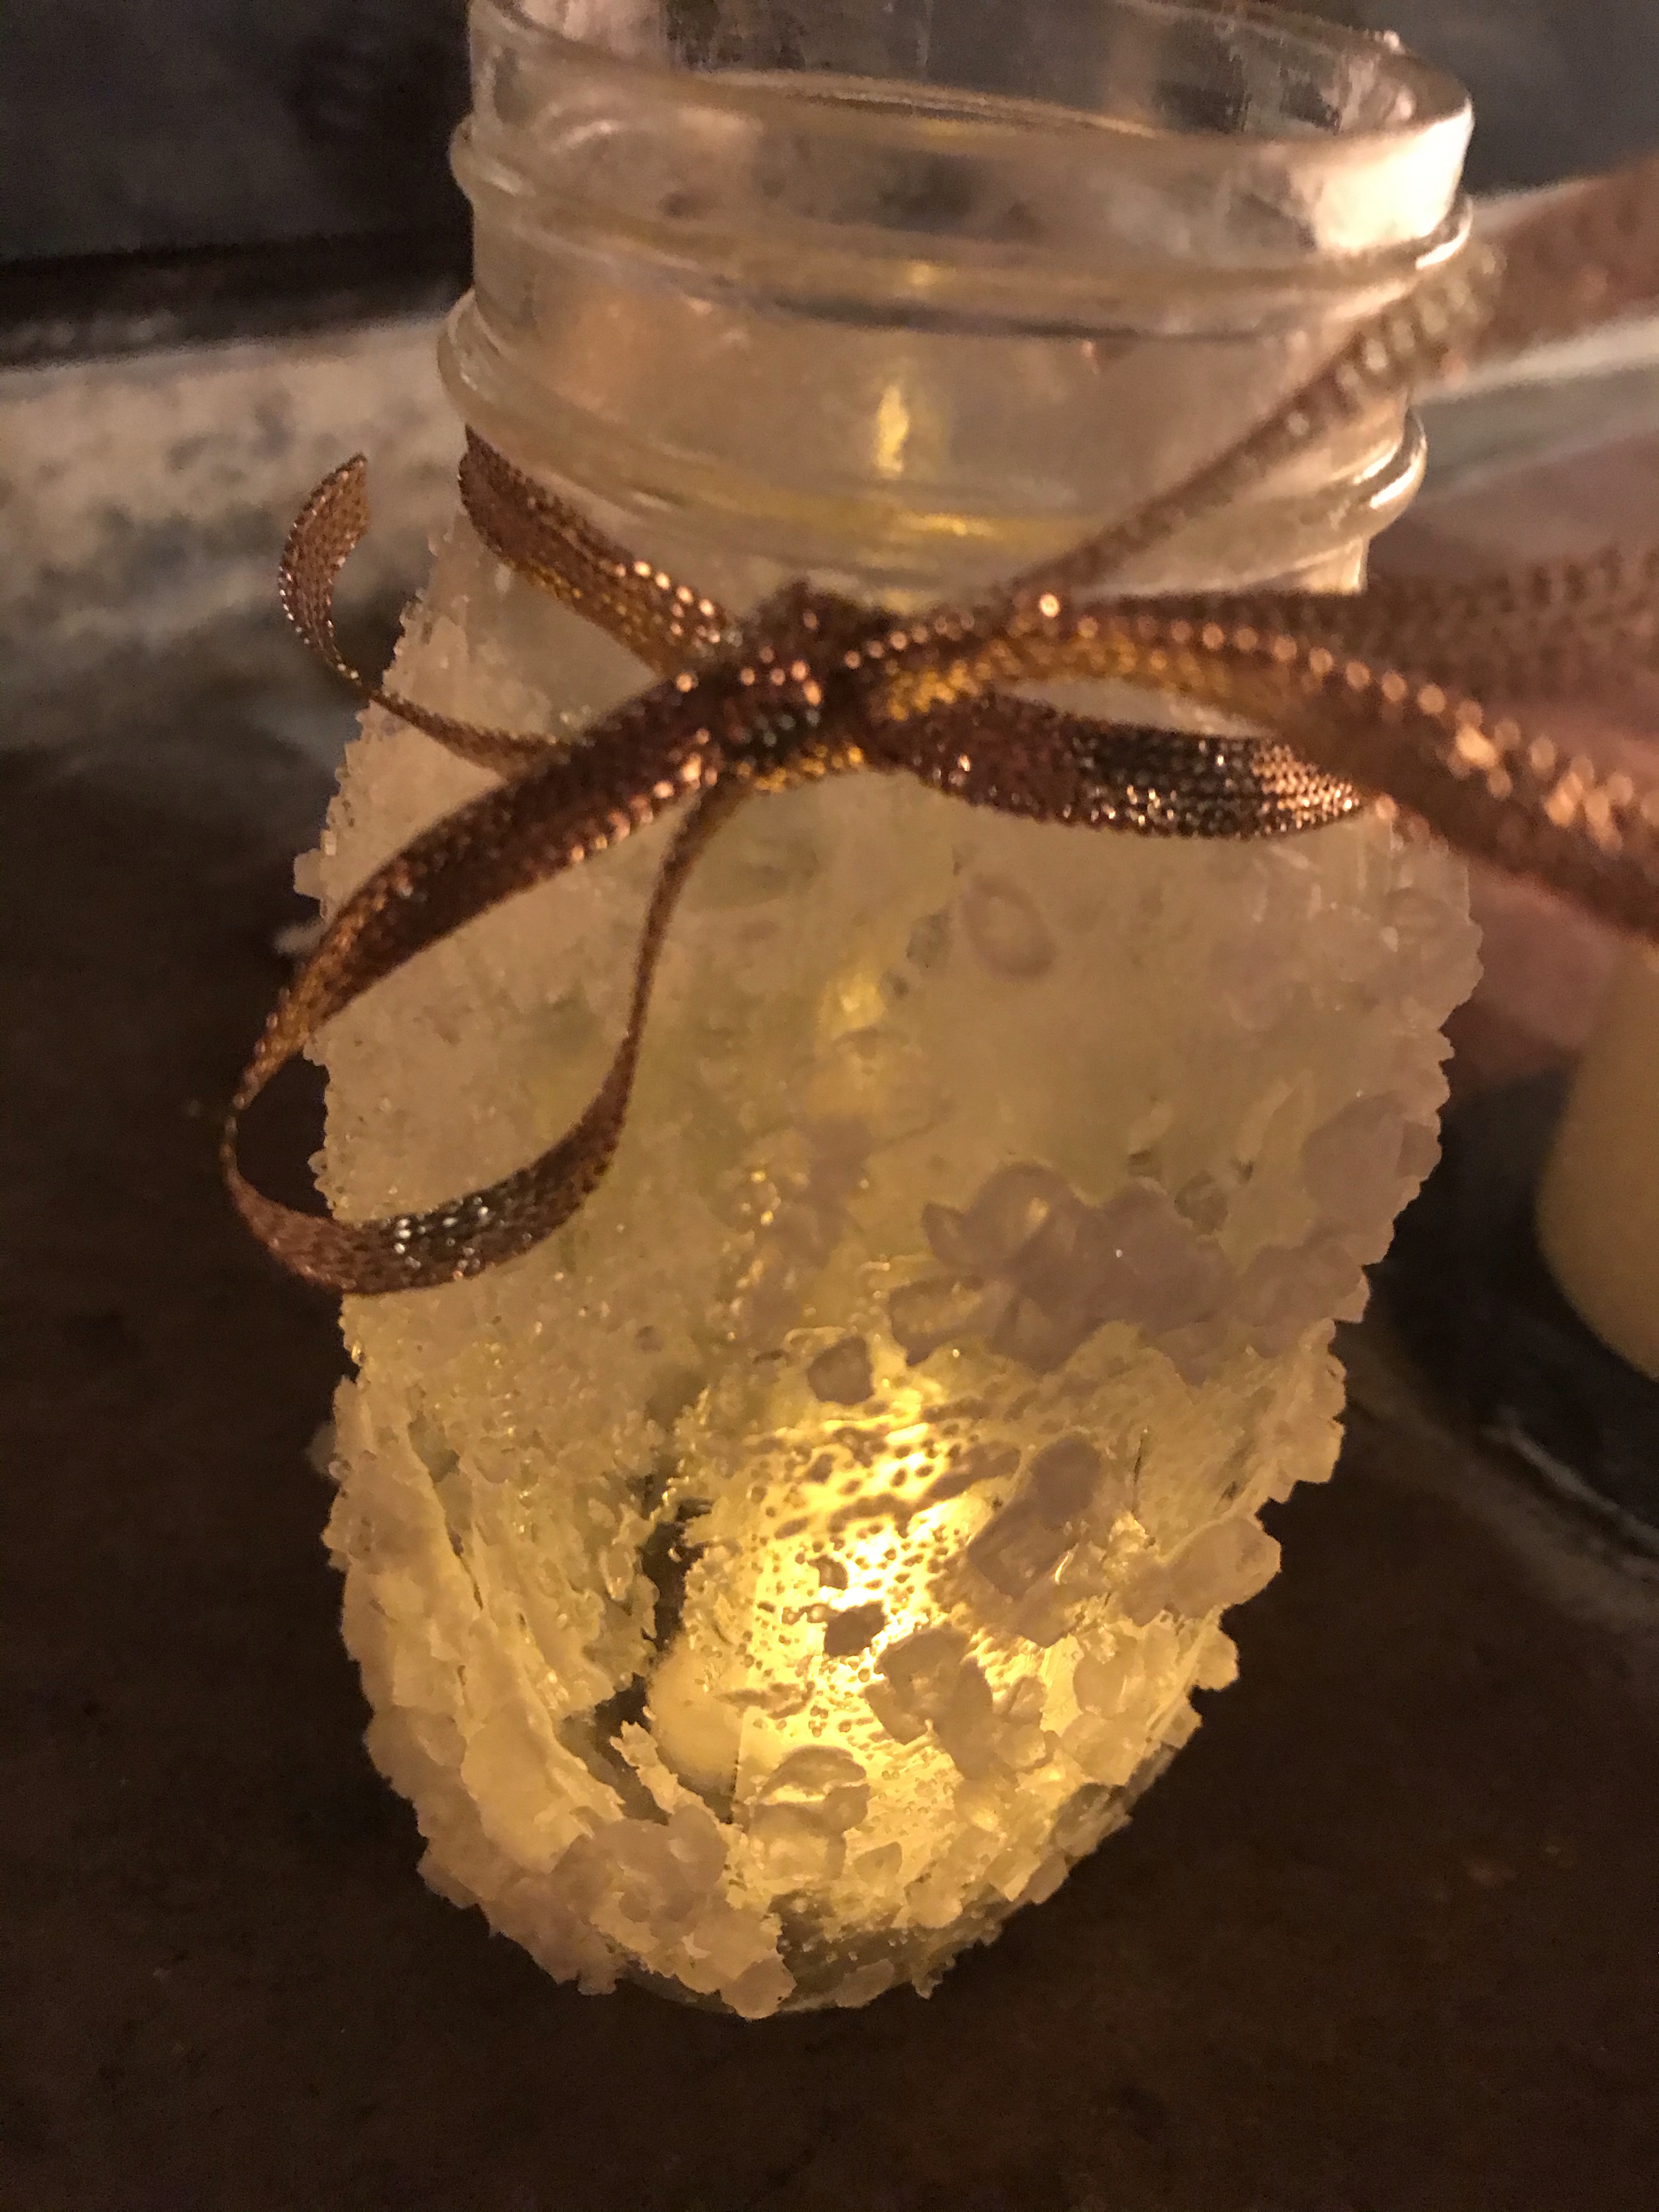
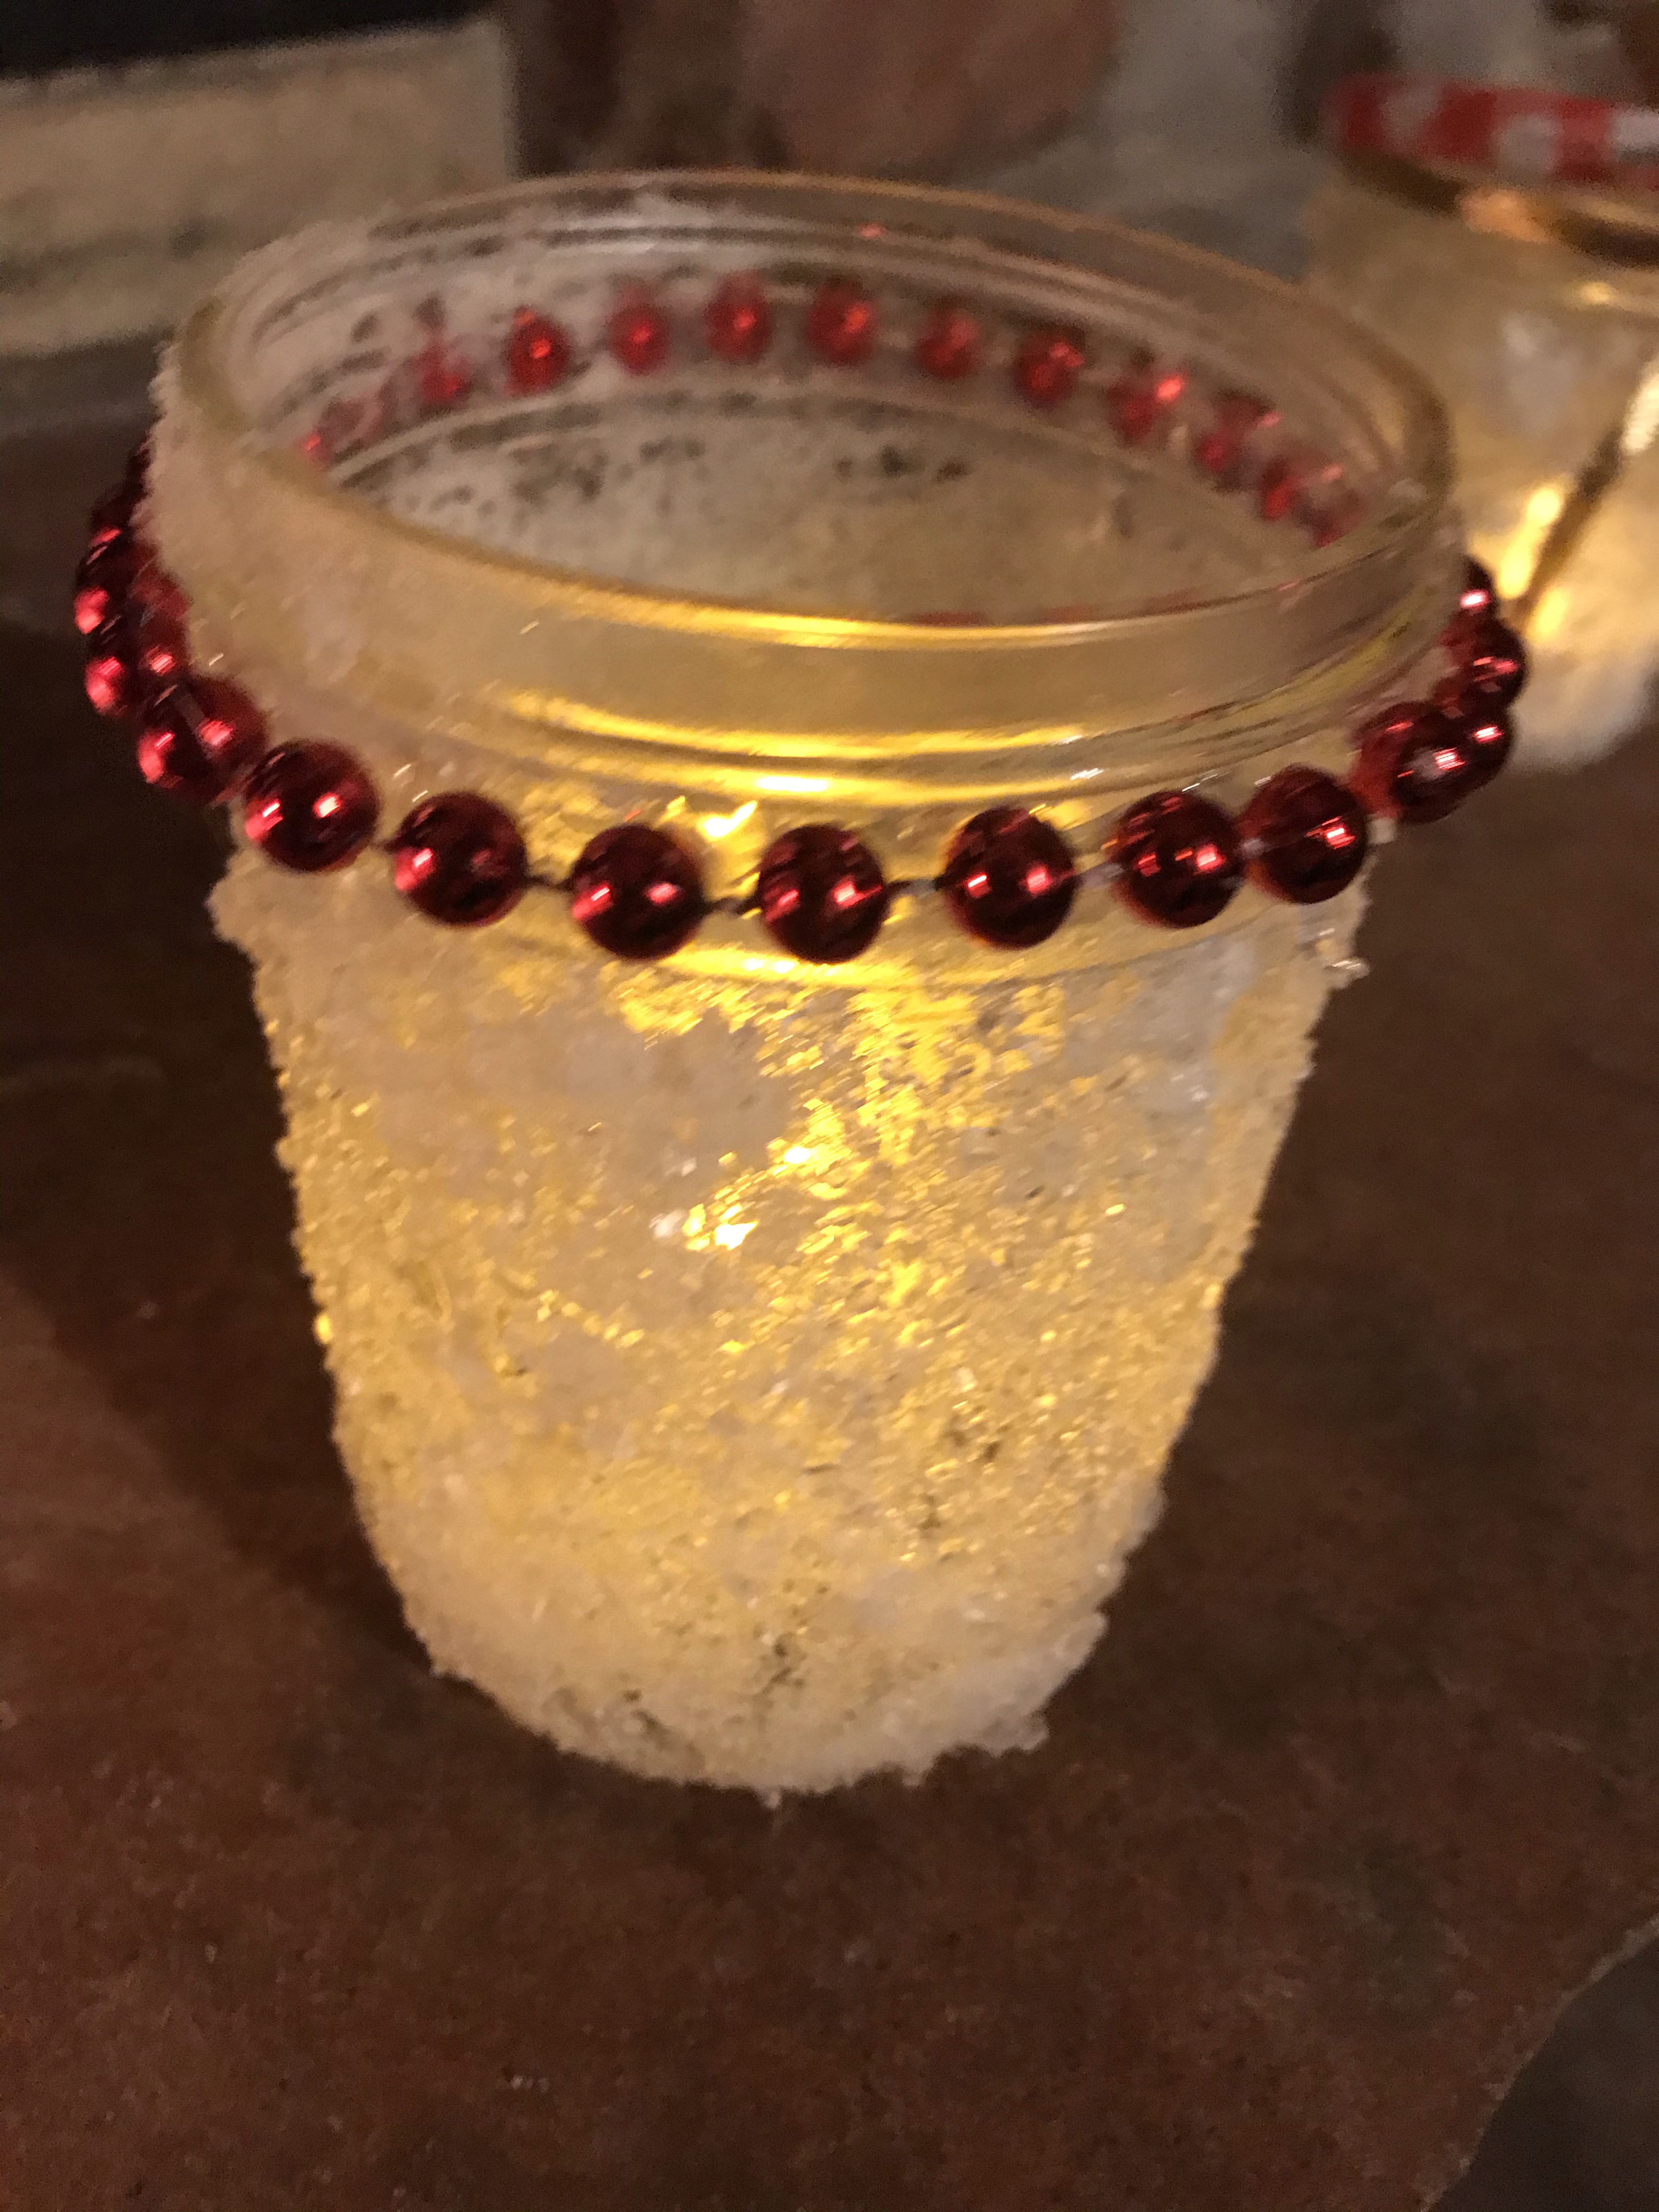
Here is our first one:
Supplies
A clean glass jar. We used some pint and half-pint jars, jam jars, a glass bottle that once had a coffee drink in it, and more. Baby food jars would also work. Just pay attention to the glass jars you use and which you like.
newspaper
white craft paint and/or mod podge + kosher salt or fine table salt
paint brush or sponge
hot glue gun with glue sticks
decorative string, beaded garland, ribbon, strip of flannel cloth, etc.
pine cones, bows, berries, sprigs of evergreen, or other Christmas picks
Epsom salt or ice cream salt
tea light
Directions
Paint the exterior of your jar with white paint, as you like. If using a brush, small asterisks to represent stars are a good choice. If using a sponge, have fun sponging the whole thing. OR cover exterior in mod podge, then roll in some of your Epsom salt, kosher salt, or fine table salt, depending on the look you want.
When the exterior has dried, tie (or hot glue if needed) a ribbon, decorative string, strip of flannel, etc. around the lip.
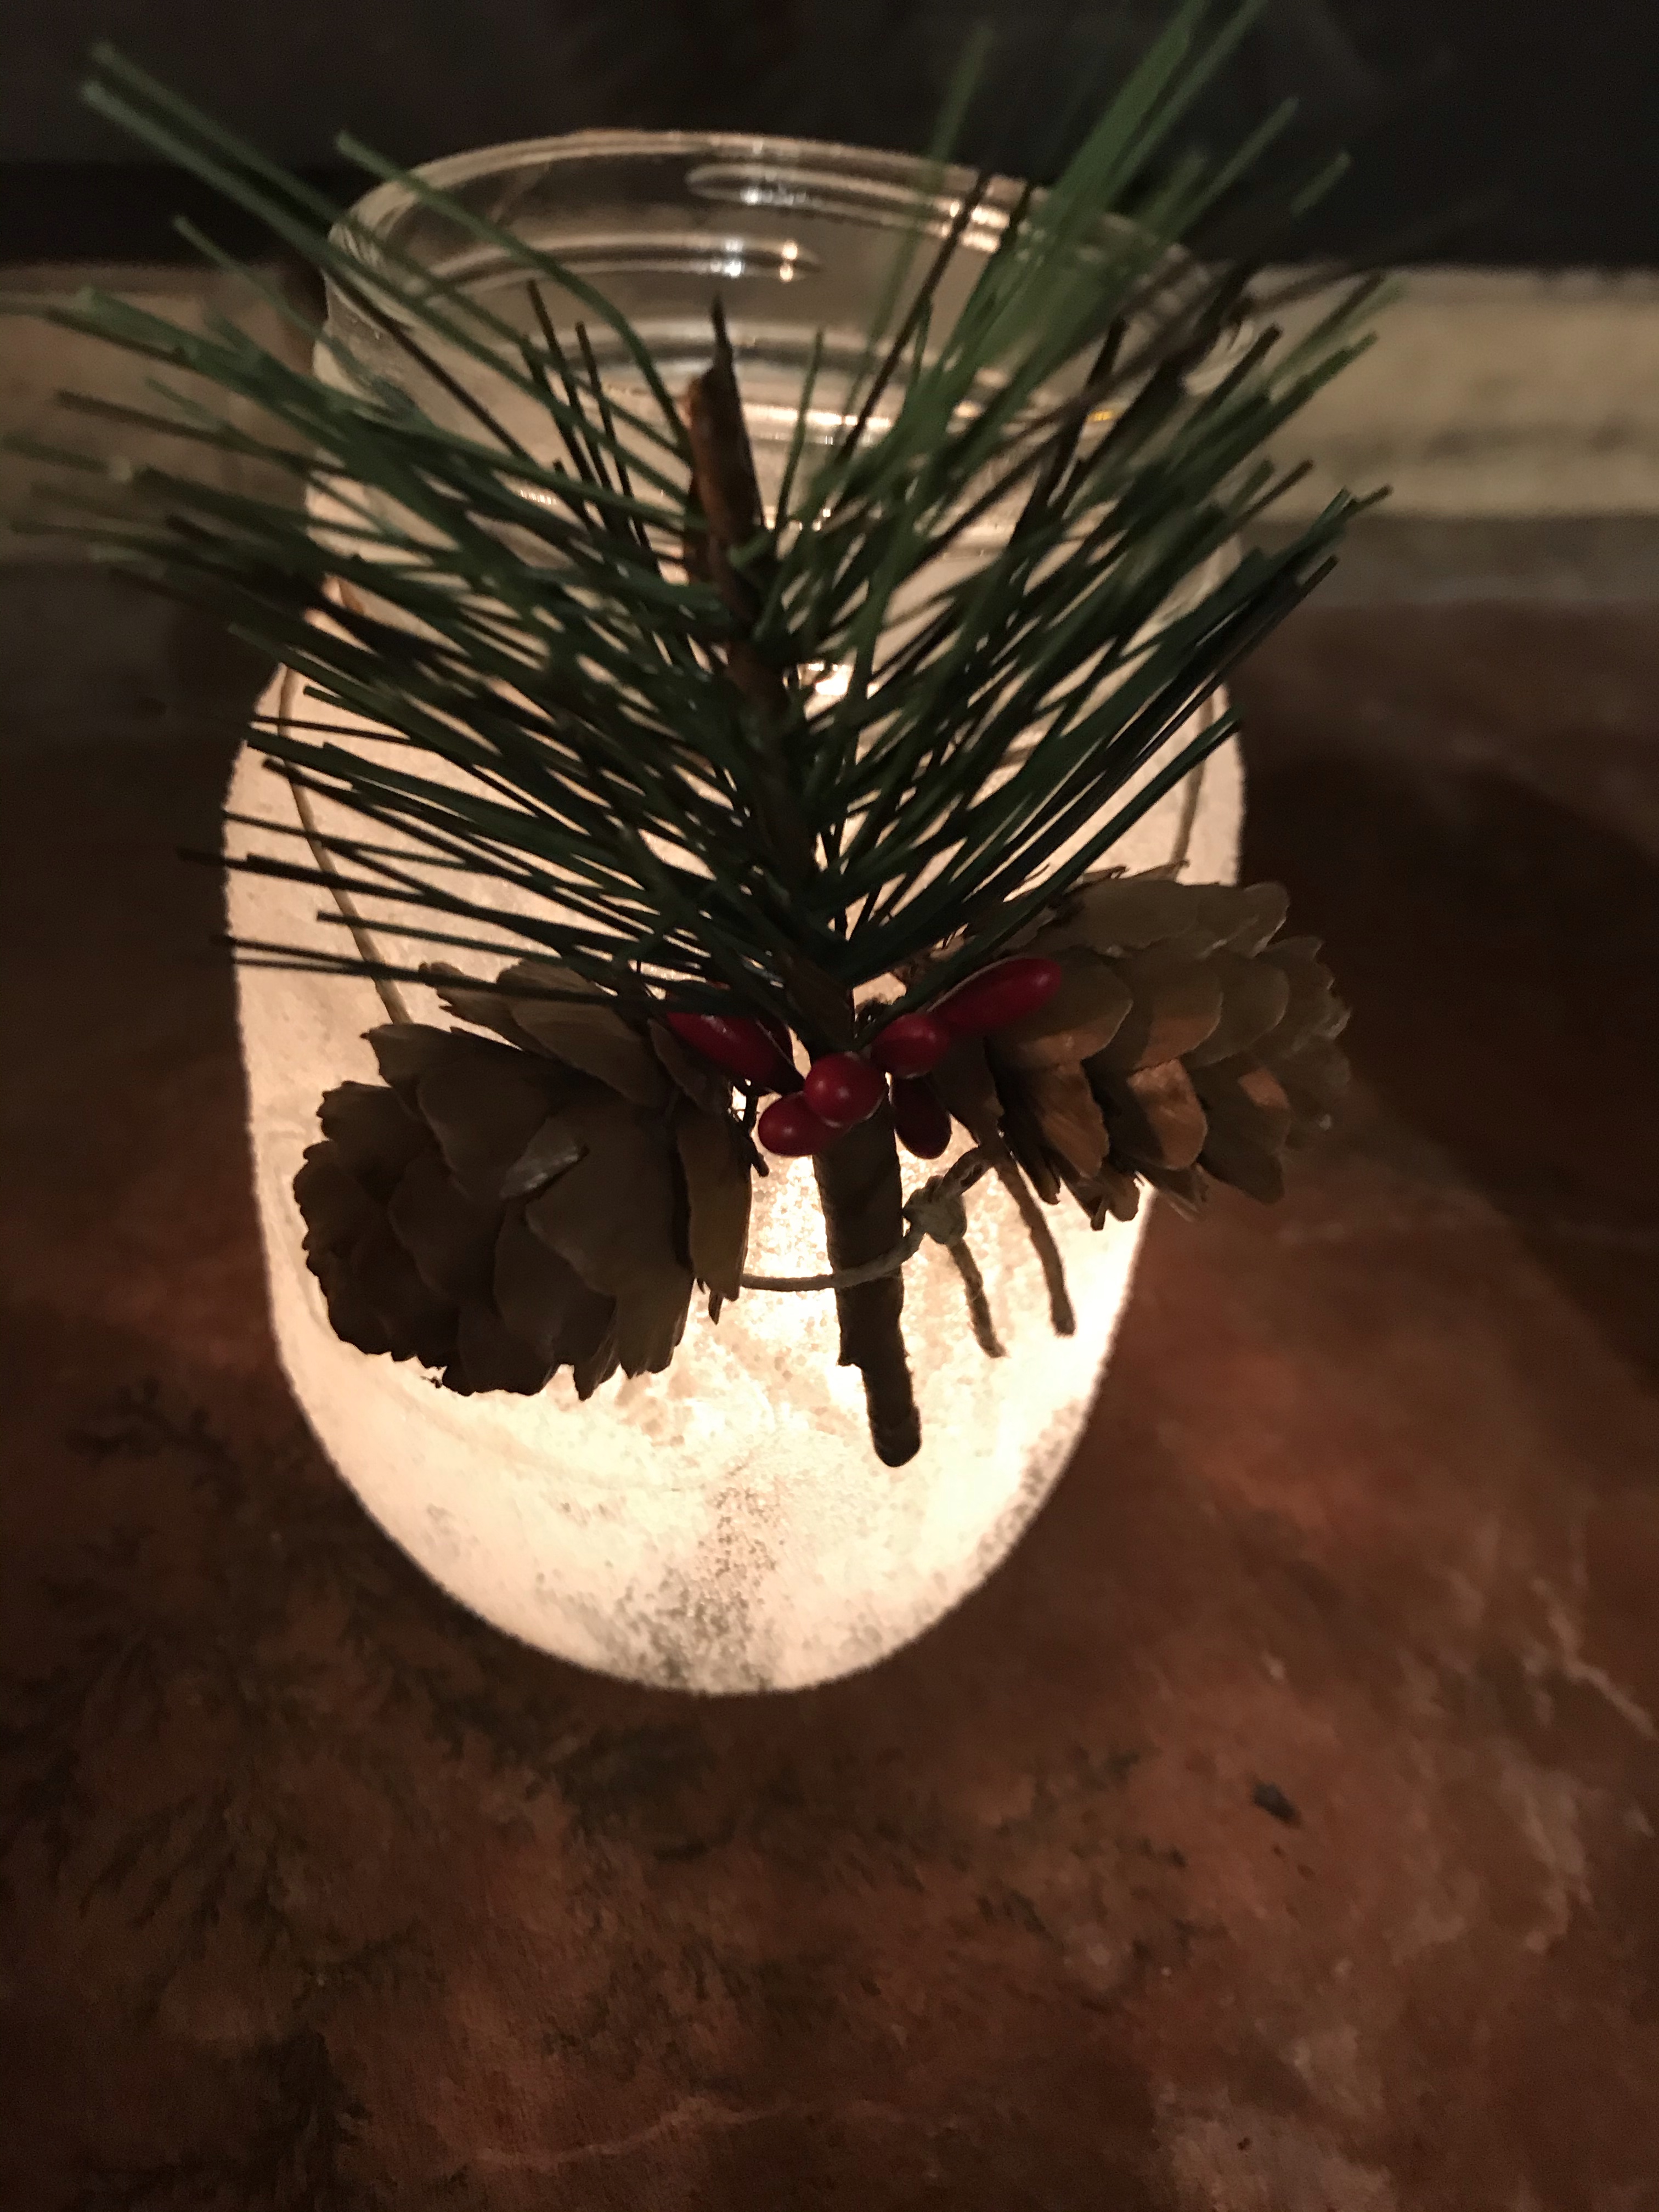
Tuck Christmas decorations, such as a pine cone or sprig of holly, into the ribbon,
Add some Epsom salt to the glass jar, then place the tea light inside.
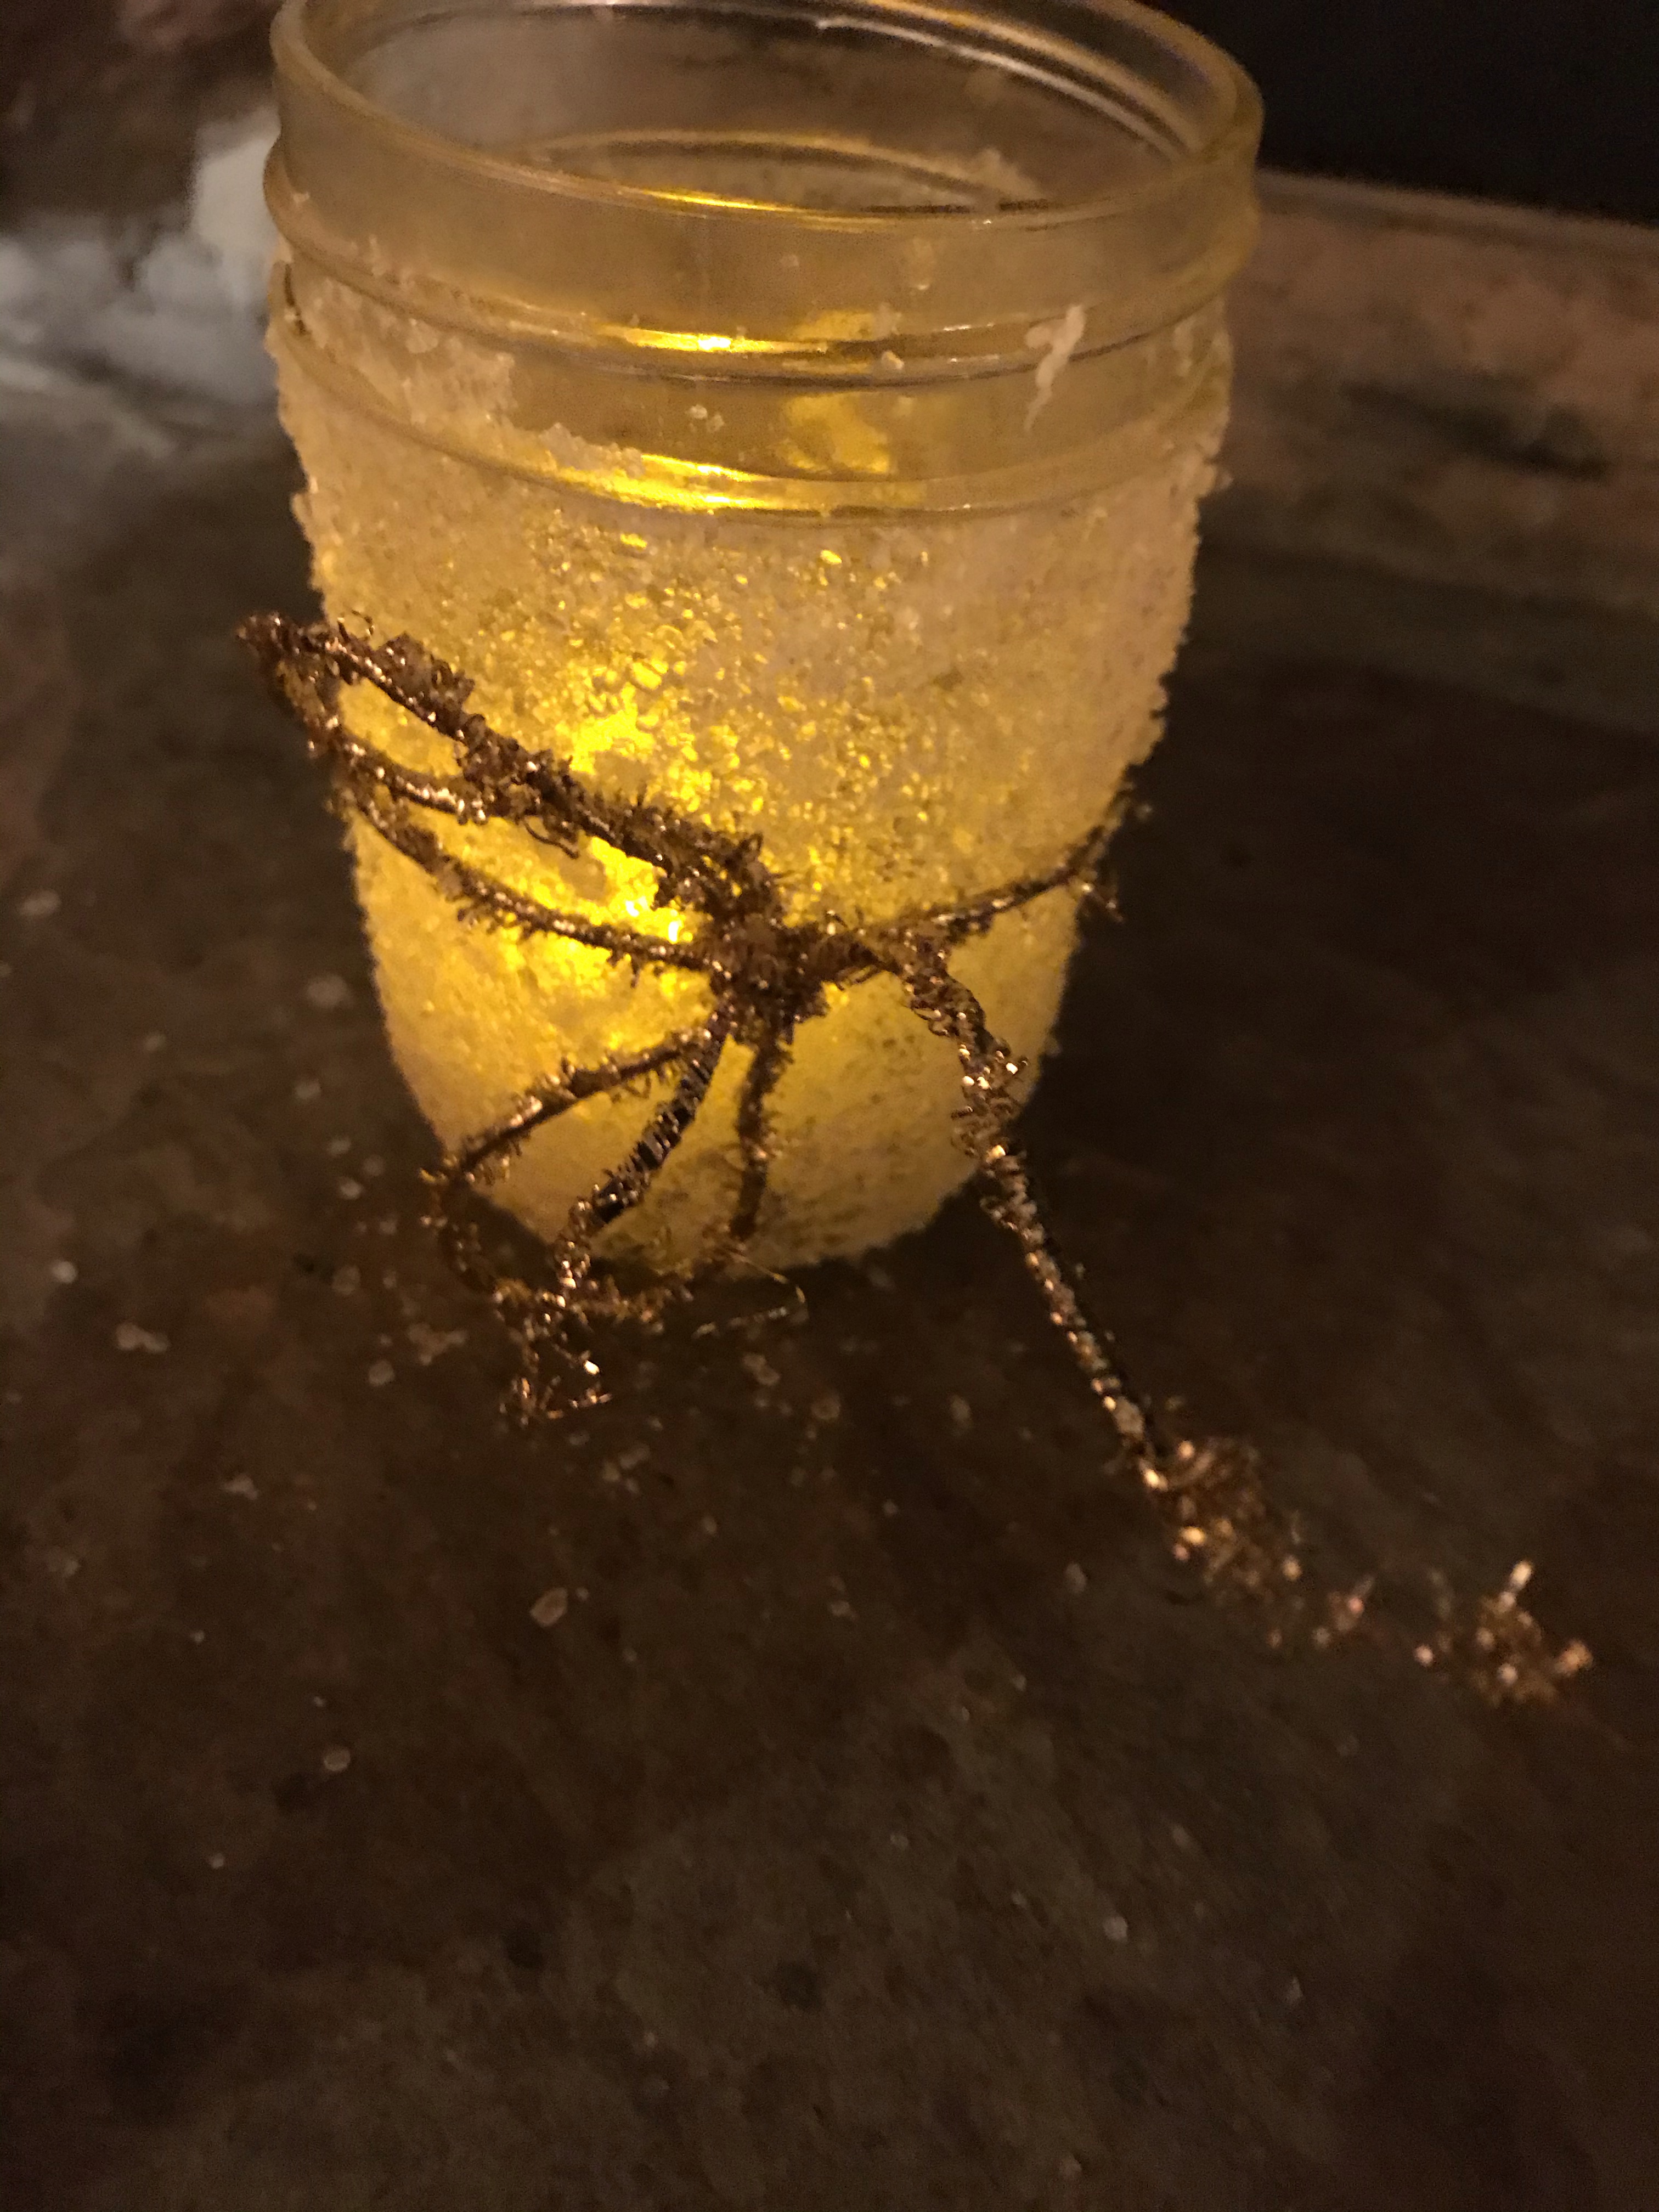
If you (like me) have a hard time throwing away adorable jelly jars, this is a good project to save them for year round. You can create a matching set of 6 or 12 to give away next year, or you can create unique ones for different friends. They are a sweet way to light your sidewalk for holiday parties (or even for Halloween, if you paint black spiders instead of white snowflakes and add orange, black or purple sand instead of Epsom salt).
The first Sunday of Advent is the first day of the year on the liturgical calendar. It’s also the the Sunday of Hope. You hear it in today’s readings, which include parts of Isaiah 64. Here is an excerpt from The Message:
Since before time began no one has ever imagined, No ear heard, no eye seen, a God like you who works for those who wait for him. You meet those who happily do what is right, who keep a good memory of the way you work. But how angry you’ve been with us! We’ve sinned and kept at it so long! Is there any hope for us? Can we be saved? We’re all sin-infected, sin-contaminated. Our best efforts are grease-stained rags. We dry up like autumn leaves— sin-dried, we’re blown off by the wind. No one prays to you or makes the effort to reach out to you Because you’ve turned away from us, left us to stew in our sins.
Still, God, you are our Father. We’re the clay and you’re our potter: All of us are what you made us. Don’t be too angry with us, O God. Don’t keep a permanent account of wrongdoing. Keep in mind, please, we are your people—all of us. Your holy cities are all ghost towns: Zion’s a ghost town, Jerusalem’s a field of weeds. Our holy and beautiful Temple, which our ancestors filled with your praises, Was burned down by fire, all our lovely parks and gardens in ruins. In the face of all this, are you going to sit there unmoved, God?
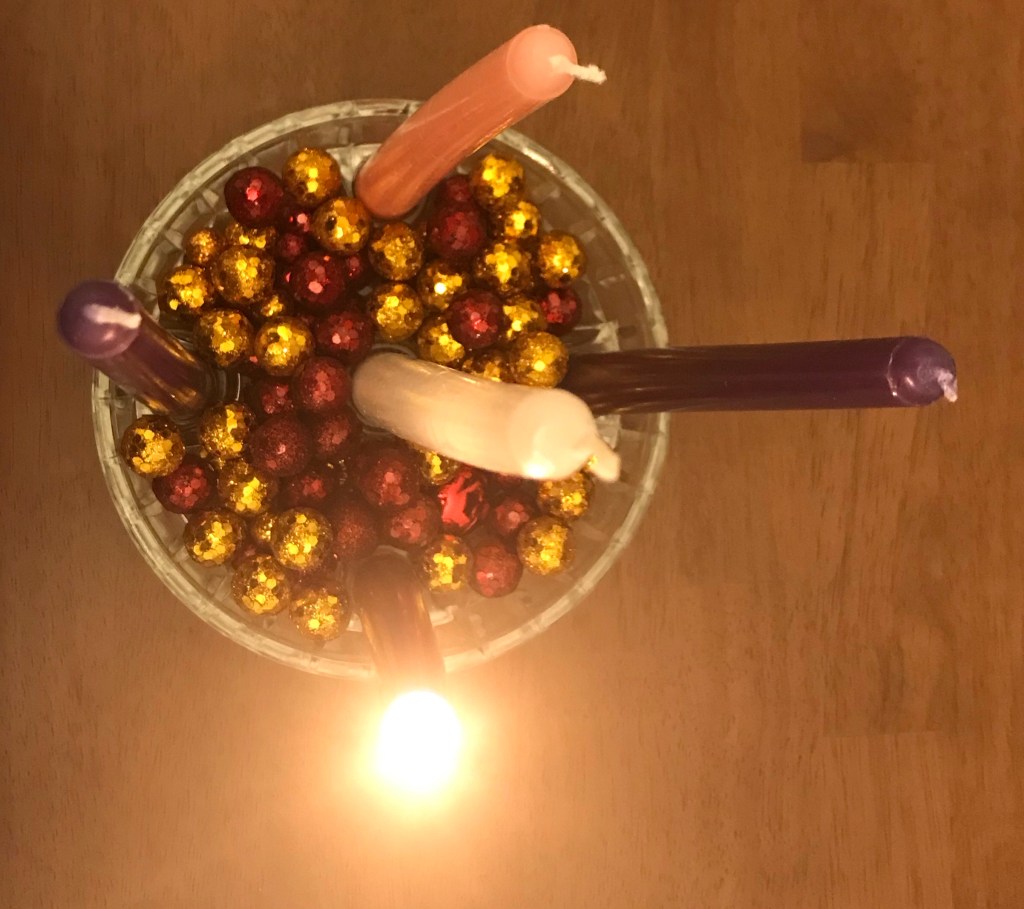
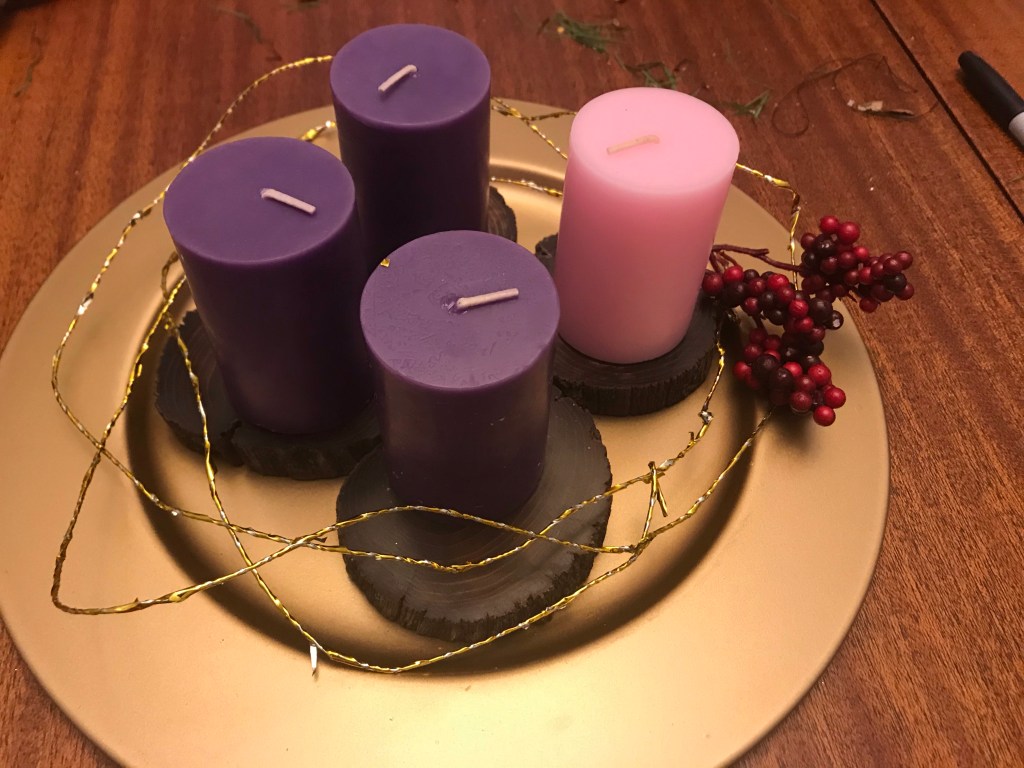
Like many families, we use an Advent wreath to guide us through the Sundays of Advent. Here is ours this year:
Above, we also made Advent wreaths for friends from church. Each was made from items thrifted from our favorite store, the Etc Shop, or salvaged items.