Hosting a Happy Thanksgiving: The Menu

This post is part of a series about hosting a happy holiday meal, one where you aren’t exhausted by or resentful of the work needed, everyone gets to participate in ways that satisfy, and your values and traditions–and energy and money–are respected.

As Bob Belcher joyfully reminds us in every Thanksgiving episode of Bob’s Burgers, Thanksgiving is a cook’s holiday–but a kind cook makes a meal that fits their guests. That means more than just the technical tasks of cooking: it means knowing your people, appreciating their needs and pleasures, then meal planning to make the meal pleasant and welcoming.

A parenting group I’m part of is exploring holidays right now, and it’s been fun to share our not just our menus but our approaches to the food part of the biggest food holiday of the year. Here’s mine–and I’d love to hear yours!

The Questions that Guide Our Menu

Who’s coming?

As the host, one of your jobs is to ensure that everyone feels welcome and appreciated. Can you solve the puzzle of making dishes that anyone can eat while also ensuring that everyone’s favorite food is served or a happy memory triggered? It might not be possible to it all perfectly–after all, someone is likely to follow a vegetarian diet while someone else’s favorite food is turkey–but do your best to ensure that everyone on the table can be enjoyed by almost everyone. And everyone should be able to eat most items on the table. If you invited someone, their need for gluten-free or dairy-free food should be important enough to you to meet it.

What themes will tie this meal together?

We like traditional holiday meals, but “traditional” varies across regions and groups. (Where I’m from, we eat neither dressing nor stuffing but a third thing called filling, which is like if mashed potatoes had a baby with stuffing.) So consider focusing on a tradition–like a New England or Southern or Southwestern focus. Or maybe your theme is childhood memories or indigenous local foods. Or maybe the theme is “subtle tweaks on our family’s traditions.” Whatever it is, a theme gives you some guardrails so you don’t got lost in the options while menu planning and so that, if someone asks what they can bring, you can give them suggestions that keep the final spread focused rather than being a hodgepodge.

What will we most enjoy making? What items will be appreciated if purchased or semi-homemade instead?

If you don’t enjoy making it, don’t make it. Either don’t serve it at all or buy it. I love baking–but not yeast rolls, pies, or pumpkin rolls, though I love to eat them all and have engaged in questionable Facebook Marketplace exchanges for a pumpkin roll. (Seriously, this is how a kidnapper is gonna get me.) Support your economy by buying the things you don’t like to cook from local bakeries or cottage bakers. If you want to serve a turkey but don’t want to cook one, see if local restaurants will sell you one fully ready-to-serve. There is ZERO shame in that, but as I tell judgmental old ladies in the family who ask me if I made the pie myself, “I made the money that bought the pie.” (Or, “Yes, but the recipe is a family secret, and if I tell, my great-grandma’s ghost will haunt me forever.”)

Spend your time cooking the things that are fun for you–including new recipes! (Yes, I try new recipes at holidays, if I trust the source. Because I’m not going to do a dry run of a croquembouche for dinner for three of us! Just be sure you have a backup dish on hand in case it really goes wrong.)

Either skip, delegate, buy, or go semi-homemade for the rest.

And showcase what you truly love to make, including what you’ve grown or preserved yourself already.

What’s non-negotiable? Where can we push tradition a bit?

If everyone on your guest list is down to drop tradition, feel free–but otherwise, let the people who like traditional holiday foods enjoy their day. Find out what is really important to your guests and do your best to meet it. Tinker with recipes within a range that your guests will still find enjoyable, or make two versions of the same dish that share the same prep until the final few steps–for example, plain cranberry sauce and cranberry sauce with oranges and anise, or Brussels sprouts with a dusting of parmesan and another with blue cheese and bacon. And if you personally dislike a dish, rather than futzing with it to increase the chances that you will (since you might not), focus on improving your own technique so that it’s the best version of the dish your guests will appreciate (I’m looking at you, oyster dressing).

Our Menu

  • Appetizers brought by guests OR crudités and cheese and crackers platter
  • Pickle plate, with at least 3 items, including one non-cucumber pickle (beets, cocktail onions, etc), plus olives
  • Cranberry sauce, in all the ways your guests like it: jellied and whole, with an without any added anise, orange peel, walnuts, maple syrup, cinnamon or crushed pineapple
  • Rolls, biscuits, bread, buns, or a fancy, savory tart
  • Turkey; if a vegan or vegetarian is included, add a stuffed acorn or honeynut squash
  • Stuffing, sweet potato casserole, or corn casserole
  • Mashed potatoes, Duchess potatoes, au gratin potatoes, or an ombre of pureed sweet potatoes, mashed parsnips, and mash potatoes in a casserole dish
  • Brussels sprouts or green beans
  • A Jello salad (Why? Because I inherited my great-grandma’s molds and like to use them, plus I live in the Midwest and see assembling fancy Jello salads as an intangible culture tradition)
  • A green salad of winter greens with a bold dressing
  • A candy, nut, or snack mix
  • A chocolate dessert
  • A fall dessert: pumpkin pie, caramel apple pie, apple crisp with cheddar cheese in the crust, pumpkin whoopie pies, a chocolate pecan pie, etc.

What is your menu planning approach? Menu must-haves? Please share!
Soup’s On: First Snowfall Chili, a Vegan Chili

We had our first snowfall today, which means we make chili! We love all kinds of chili around here, but this one isn’t just our favorite vegetarian or vegan chili–it’s our overall favorite. It’s hearty, gloppy and warming without being one-note spicy. Even if you think you don’t like squash or sweet potatoes, give them a try here–they don’t taste like what you might expect.

First Snowfall Chili

Our ingredient list includes convenience items, but you can easily make this using dried beans and fresh tomatoes, squash, and sweet potatoes if you prefer, especially as squash and sweet potatoes are in season and you might have the last of the green tomatoes ripening in your garage or basement when the first snow comes; if using the last of those tomatoes, add a 1-2 inch squeeze of double-concentrated tomato paste to improve their flavor.

You can easily halve or even quarter this recipe if you want to make a smaller batch.

  • 2 glugs of olive oil, to saute onions
  • 2 large yellow onions, chopped or, if you have diners who don’t like the texture of onions, 1-2 onions blended into a liquid
  • ▢ 4 tablespoons chili powder
  • ▢ 2 tablespoons cumin
  • ▢ 2 teaspoons salt
  • ▢ 2 teaspoons smoked paprika
  • ▢ 1/2 – 1 teaspoon cayenne powder, optional
  • 8 cloves of garlic, minced or chopped fine
  • 4 28-oz cans of diced tomatoes
  • 2 tablespoons light brown sugar
  • 4 19-oz cans of beans, mixing as many as you prefer: dark red kidney, light red kidney, pinto, black beans, cannellini beans, Italian northern beans, or garbanzo beans. We use whatever we have on hand but always include at least one kind of kidney bean, at least one dark bean, and at least one light bean.
  • 1 bag (10-12 oz) frozen, steam-in-the-bag sweet potatoes
  • 1 bag (10-12 oz) frozen, steam-in-the-bag butternut squash
  1. In a Dutch oven, heat oil to glistening and add onions; cook until golden. Add spices, stirring constantly, for about 30 seconds. Add garlic and stir another 30 seconds.
  2. Quickly, so that spices do not burn, add tomatoes and brown sugar. Add up to 1/2 can of water if the mixture is thick.
  3. Add beans, including liquid in can. Bring to a boil, reduce to a simmer, and cook, uncovered for about an hour, stirring occasionally to avoid beans sticking to the bottom of the pot.
  4. During this time, cook sweet potatoes and butternut squash according to package directions. Drain of any excess liquid, then add to chili. Be sure that the chili cooks with the sweet potatoes and the squash for at least half an hour.
  5. While you can cook this chili for longer, the longer you cook it, the higher the risk that the beans will become mushy.

Serve with your favorite chili toppings, like Fritos, lime-flavored corn chips, and hot sauce.

Some ways to enjoy leftover ham

Easter means ham, and that means leftover ham, which makes me very happy. At the request of a friend, I’m sharing some of our favorite ways to enjoy it:

  • Ham and cheese quiche. Swiss, cheddar, and muenster are all lovely. Use a potato crust if, like us, you’re meh on pastry crusts.
  • Macaroni and cheese with cubed ham. Make it fancy with asparagus (also an Easter leftover) and panko breadcrumbs on top.
  • Fry ham slices with onions and pierogies.
  • Breakfast cups. Shape biscuit dough into a cup in a muffin tin, then top with beaten eggs, ham, cheese, and ground pepper.
  • Ham loaf. Yes, I mean it.
  • Ham balls. A throwback recipe that pairs well with pineapple upside down cake and Kansas Public Radio’s Retro Cocktail Hour.
  • Ham salad. Variations are endless.
  • Potato hash. Use leftover boiled potatoes or shredded hashbrowns. Top with a jammy egg and a wilted bitter green like Swiss chard.
  • Fettuccine alfredo with cubed ham and peas.
  • Ham and potato soup–creamy, with crunchy bacon bits, sour cream, green onions, and cheddar cheese.
  • Boiled red potatoes, cubed ham, and green beans in Italian dressing, served warm or cold.
  • Ham and cheese scones.
  • Ham, egg, and cheese bierocks.
  • Grilled cheese with ham. Make it fancy with thinly sliced green apples.
  • Buttered egg noodles with cubed ham and asparagus.
  • Baked potatoes with ham, cheese, and broccoli.
  • Dutch pancake with ham and gravy.
  • Calzones with ham and ricotta
  • Black beans with cubed ham.
  • Scalloped potatoes with ham.
  • Pineapple and ham kabobs
  • Chef’s salad with ham, turkey, hard boiled eggs, and blue cheese


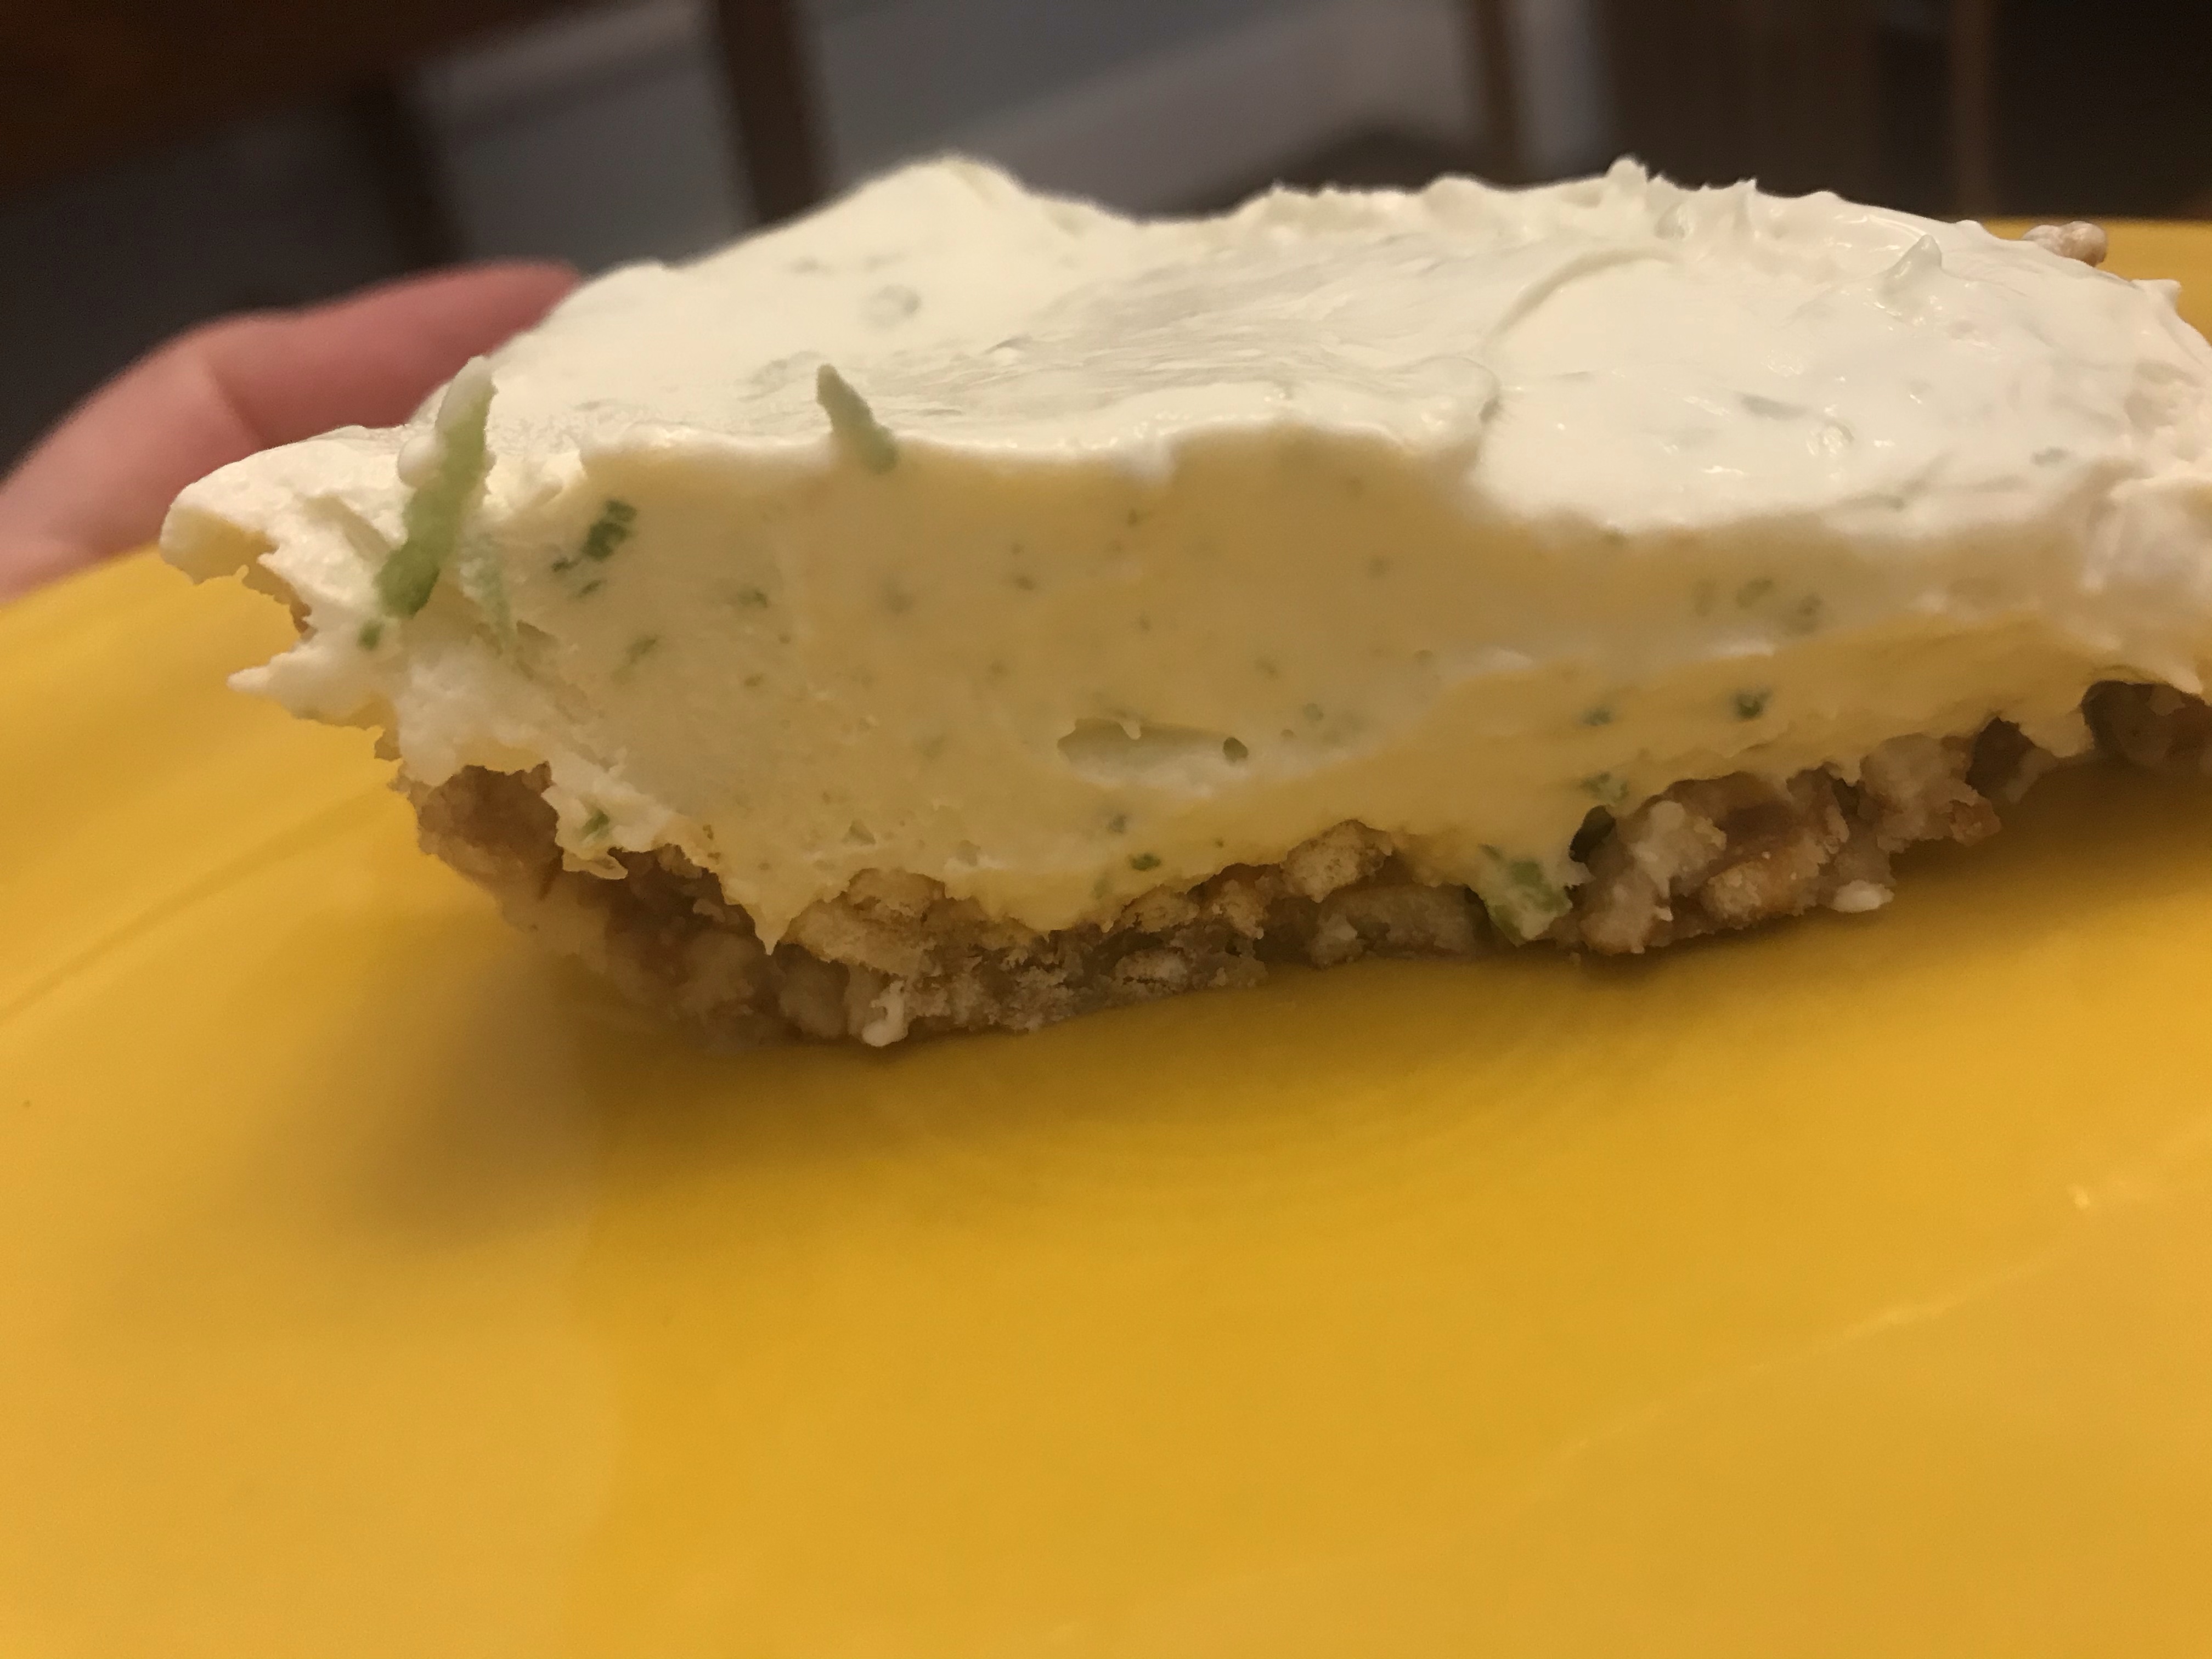
An Occasional Pie: Frozen Key Lime

When I accidentally opened two cans of sweetened condensed milk last week (I was aiming for the evaporated milk and wasn’t paying attention when I reached into the pantry), it was an invitation to make my two favorite pies. I made my second favorite pie last week. This week, I share with you my all-time favorite, a cheesecake-ice cream-salty-citrus confection that I learned to make from my Great Uncle Gene and Great Aunt Sharon.

Crust:

Mix together 1/4 c. sugar, 1/2 c. melted butter, and 1 1/2 c. crushed pretzels; press into a glass 9″ pie plate. Chill until firm, at least 15 minutes. (The crust will not release easily from a metal pie plate.)

Filling:

Use an electric mixer to mix together 2 bars softened cream cheese, 1/2 c. lime juice, lime zest (as much as you like but at least 1 tsp), and 1 can sweetened condensed milk.

Pour into pretzel crust and freeze thoroughly.


Pantry Staples: Oven-baked Rice

Apparently, I have never fully embraced the possibilities of my InstantPot. Which is mostly okay with me because it makes two things I love so well that it was worth the cost and cabinet space: hard boiled eggs and rice.

But now the seal is busted and because I take essential to truly mean food, medicine, and emergency services, I’m not going to the hardware store to buy a new one. So I had to figure out how to make rice a different way. Stovetop has always produced uneven results for me, plus if I’m making rice, I am usually making other dishes that require me lots of stove space.

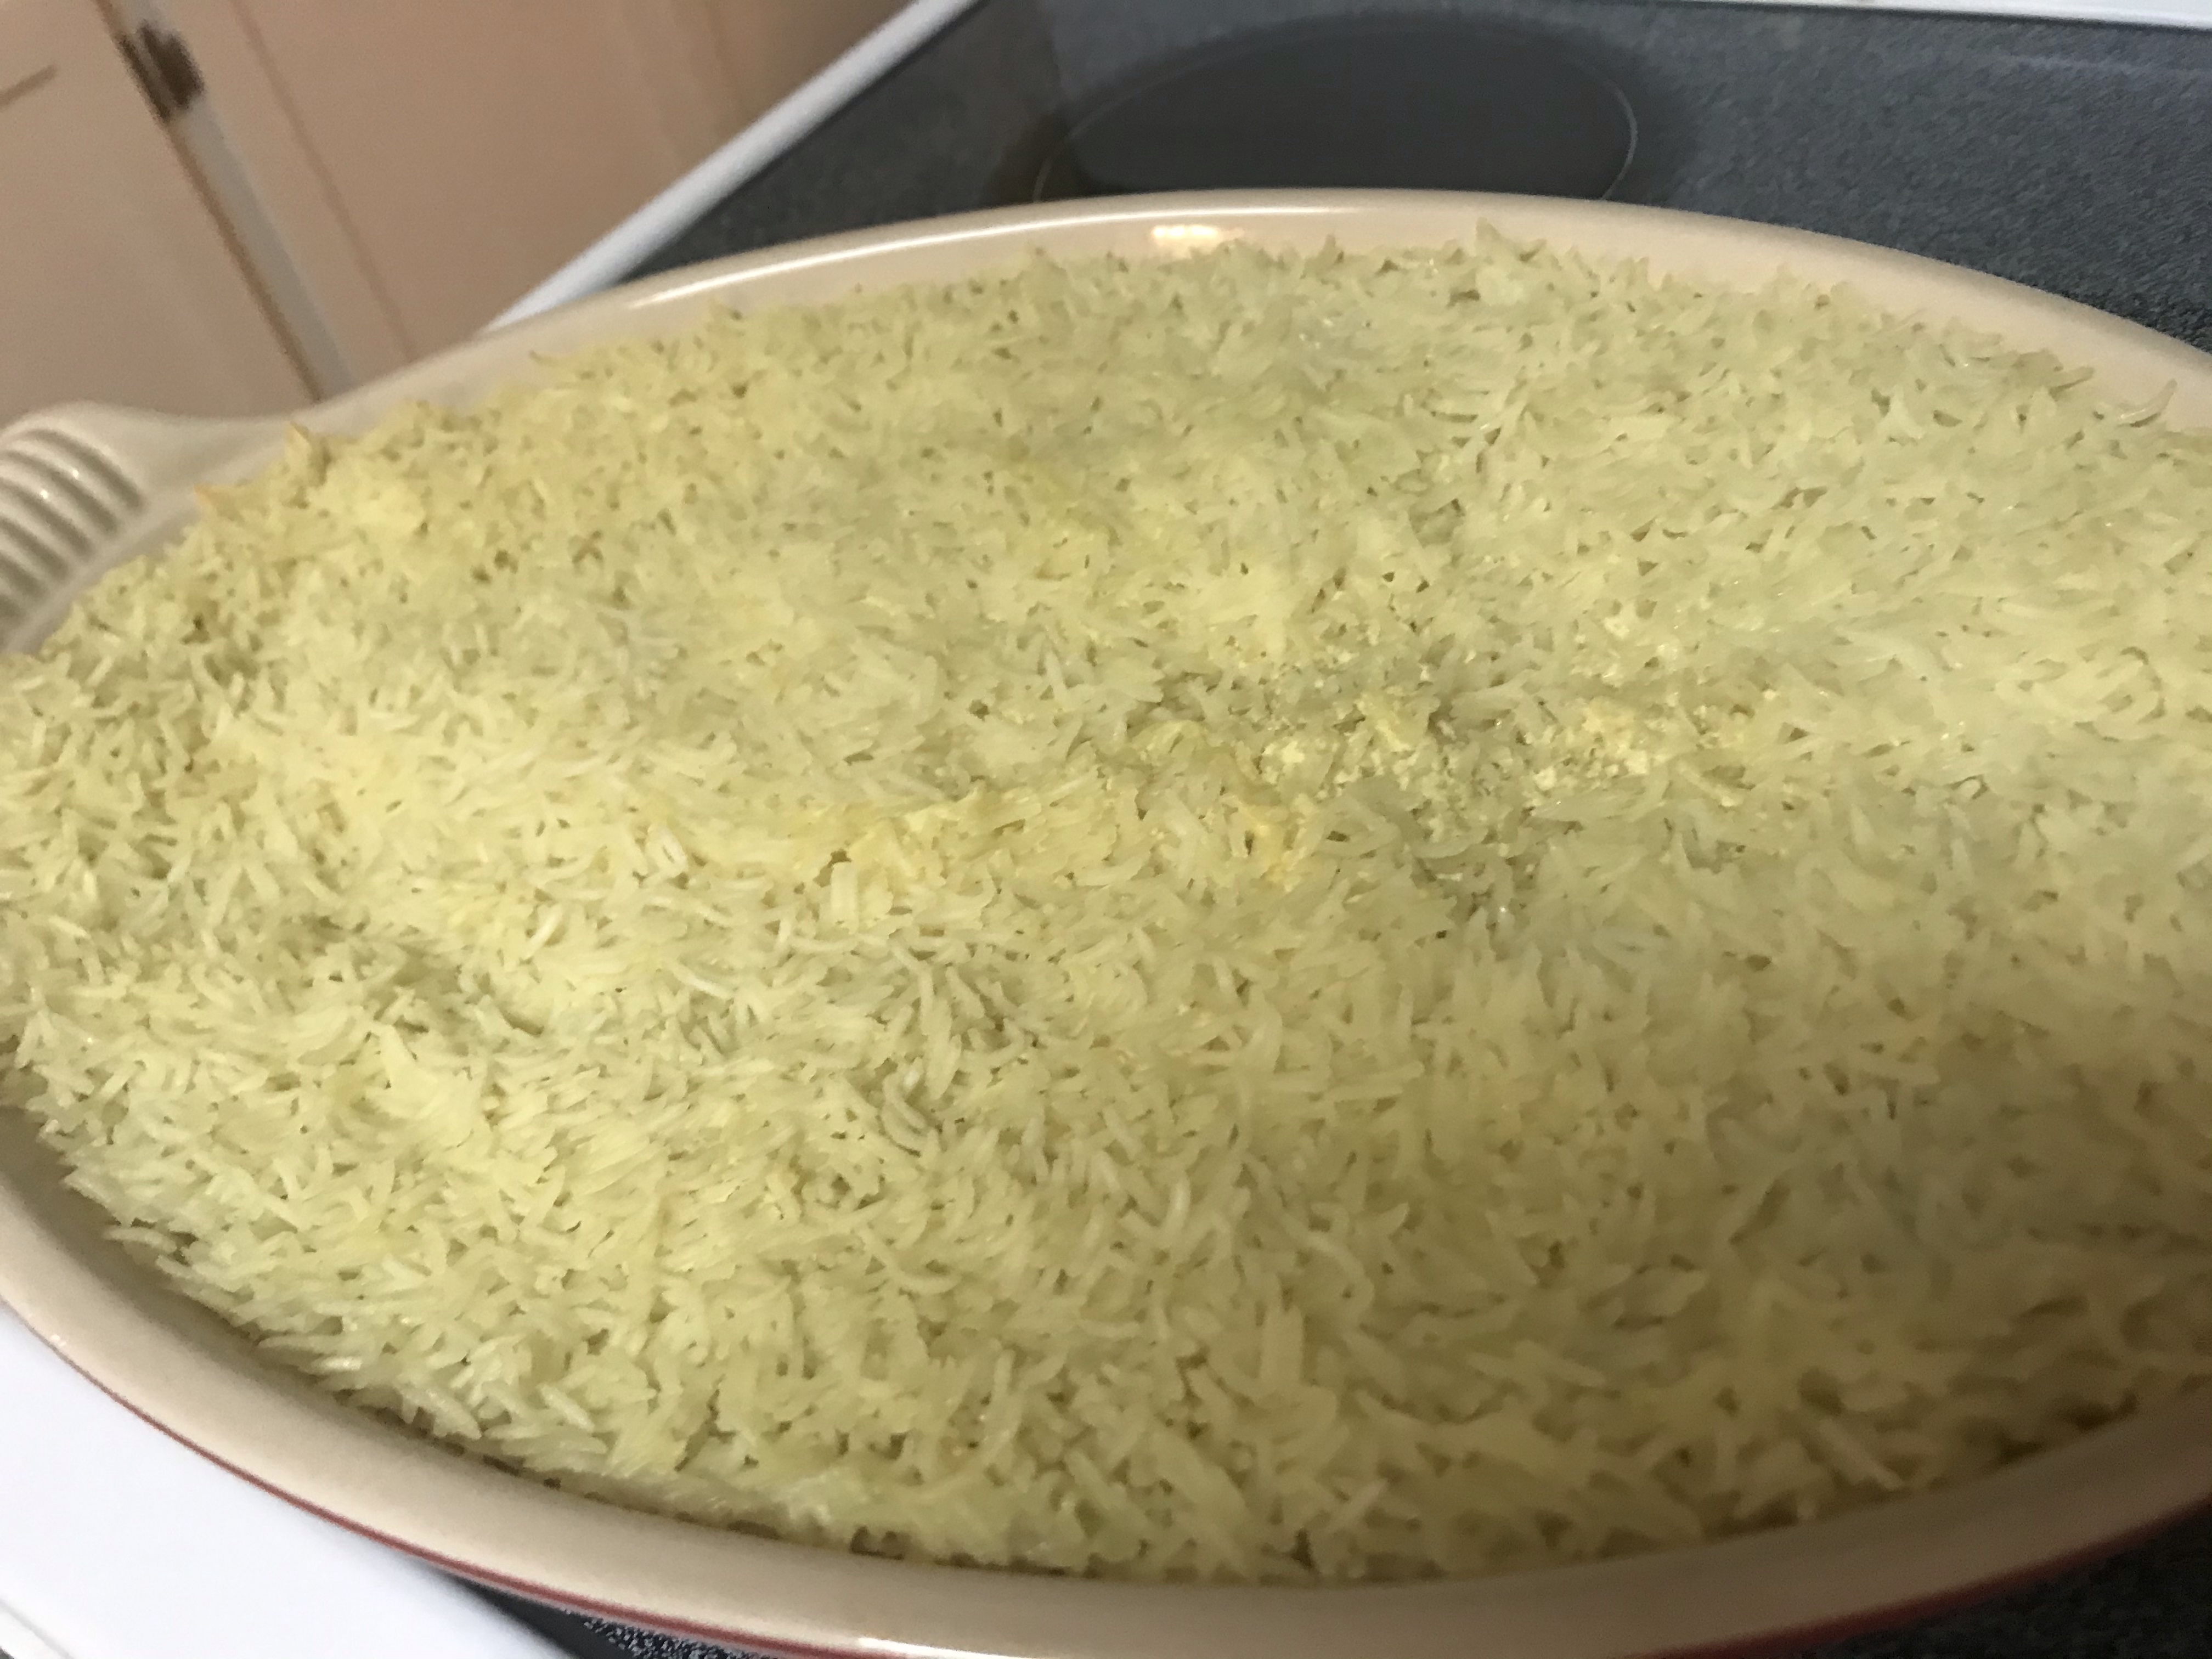
But I’ve been making rice in the oven for a few weeks now, at least 3 times per week, and it’s better than I’ve ever made before. Rice requires both accurate measuring and decent technique; thankfully, in this recipe, both are easy.

It also makes a bunch, which I need, because we eat a lot of it. This is enough for 4 people to eat a meal and plenty of leftovers. (For what? Egg-and-kimchi fried rice for breakfast.)

Ingredients:

  • 3 cups rice, soaked and drained or rinsed until water runs clear
  • 2-3 Tbs butter, sliced into pats
  • dash of salt
  • 5 c. boiling liquid: water, almond milk, coconut milk, chicken, mushroom, or vegetable broth OR some combination of thereof (I typically use some kind of milk + chicken broth)
  • Add ins: cashews, rehydrated golden raisins, pistachios, diced carrots, diced onions, diced celery, peas

Directions

  • Heat oven to 350 degrees.
  • Bring salted liquid to a boil.
  • Place rice in a baking dish or Dutch oven. The more surface area, the better.
  • Place pats of butter on top of rice.
  • Place baking dish on oven rack. Pour boiling water into dish.
  • Seal tightly with foil.
  • Bake for 30-45 minutes, depending on surface area of the dish and kind of rice. Basmati rice (the most common we prepare) takes the least amount of time, whereas brown rice takes much more.
  • Remove from oven; remove foil, and serve.

Breakfast Carrot Cake

Are you eating leftover carrot cake from Easter for breakfast today?

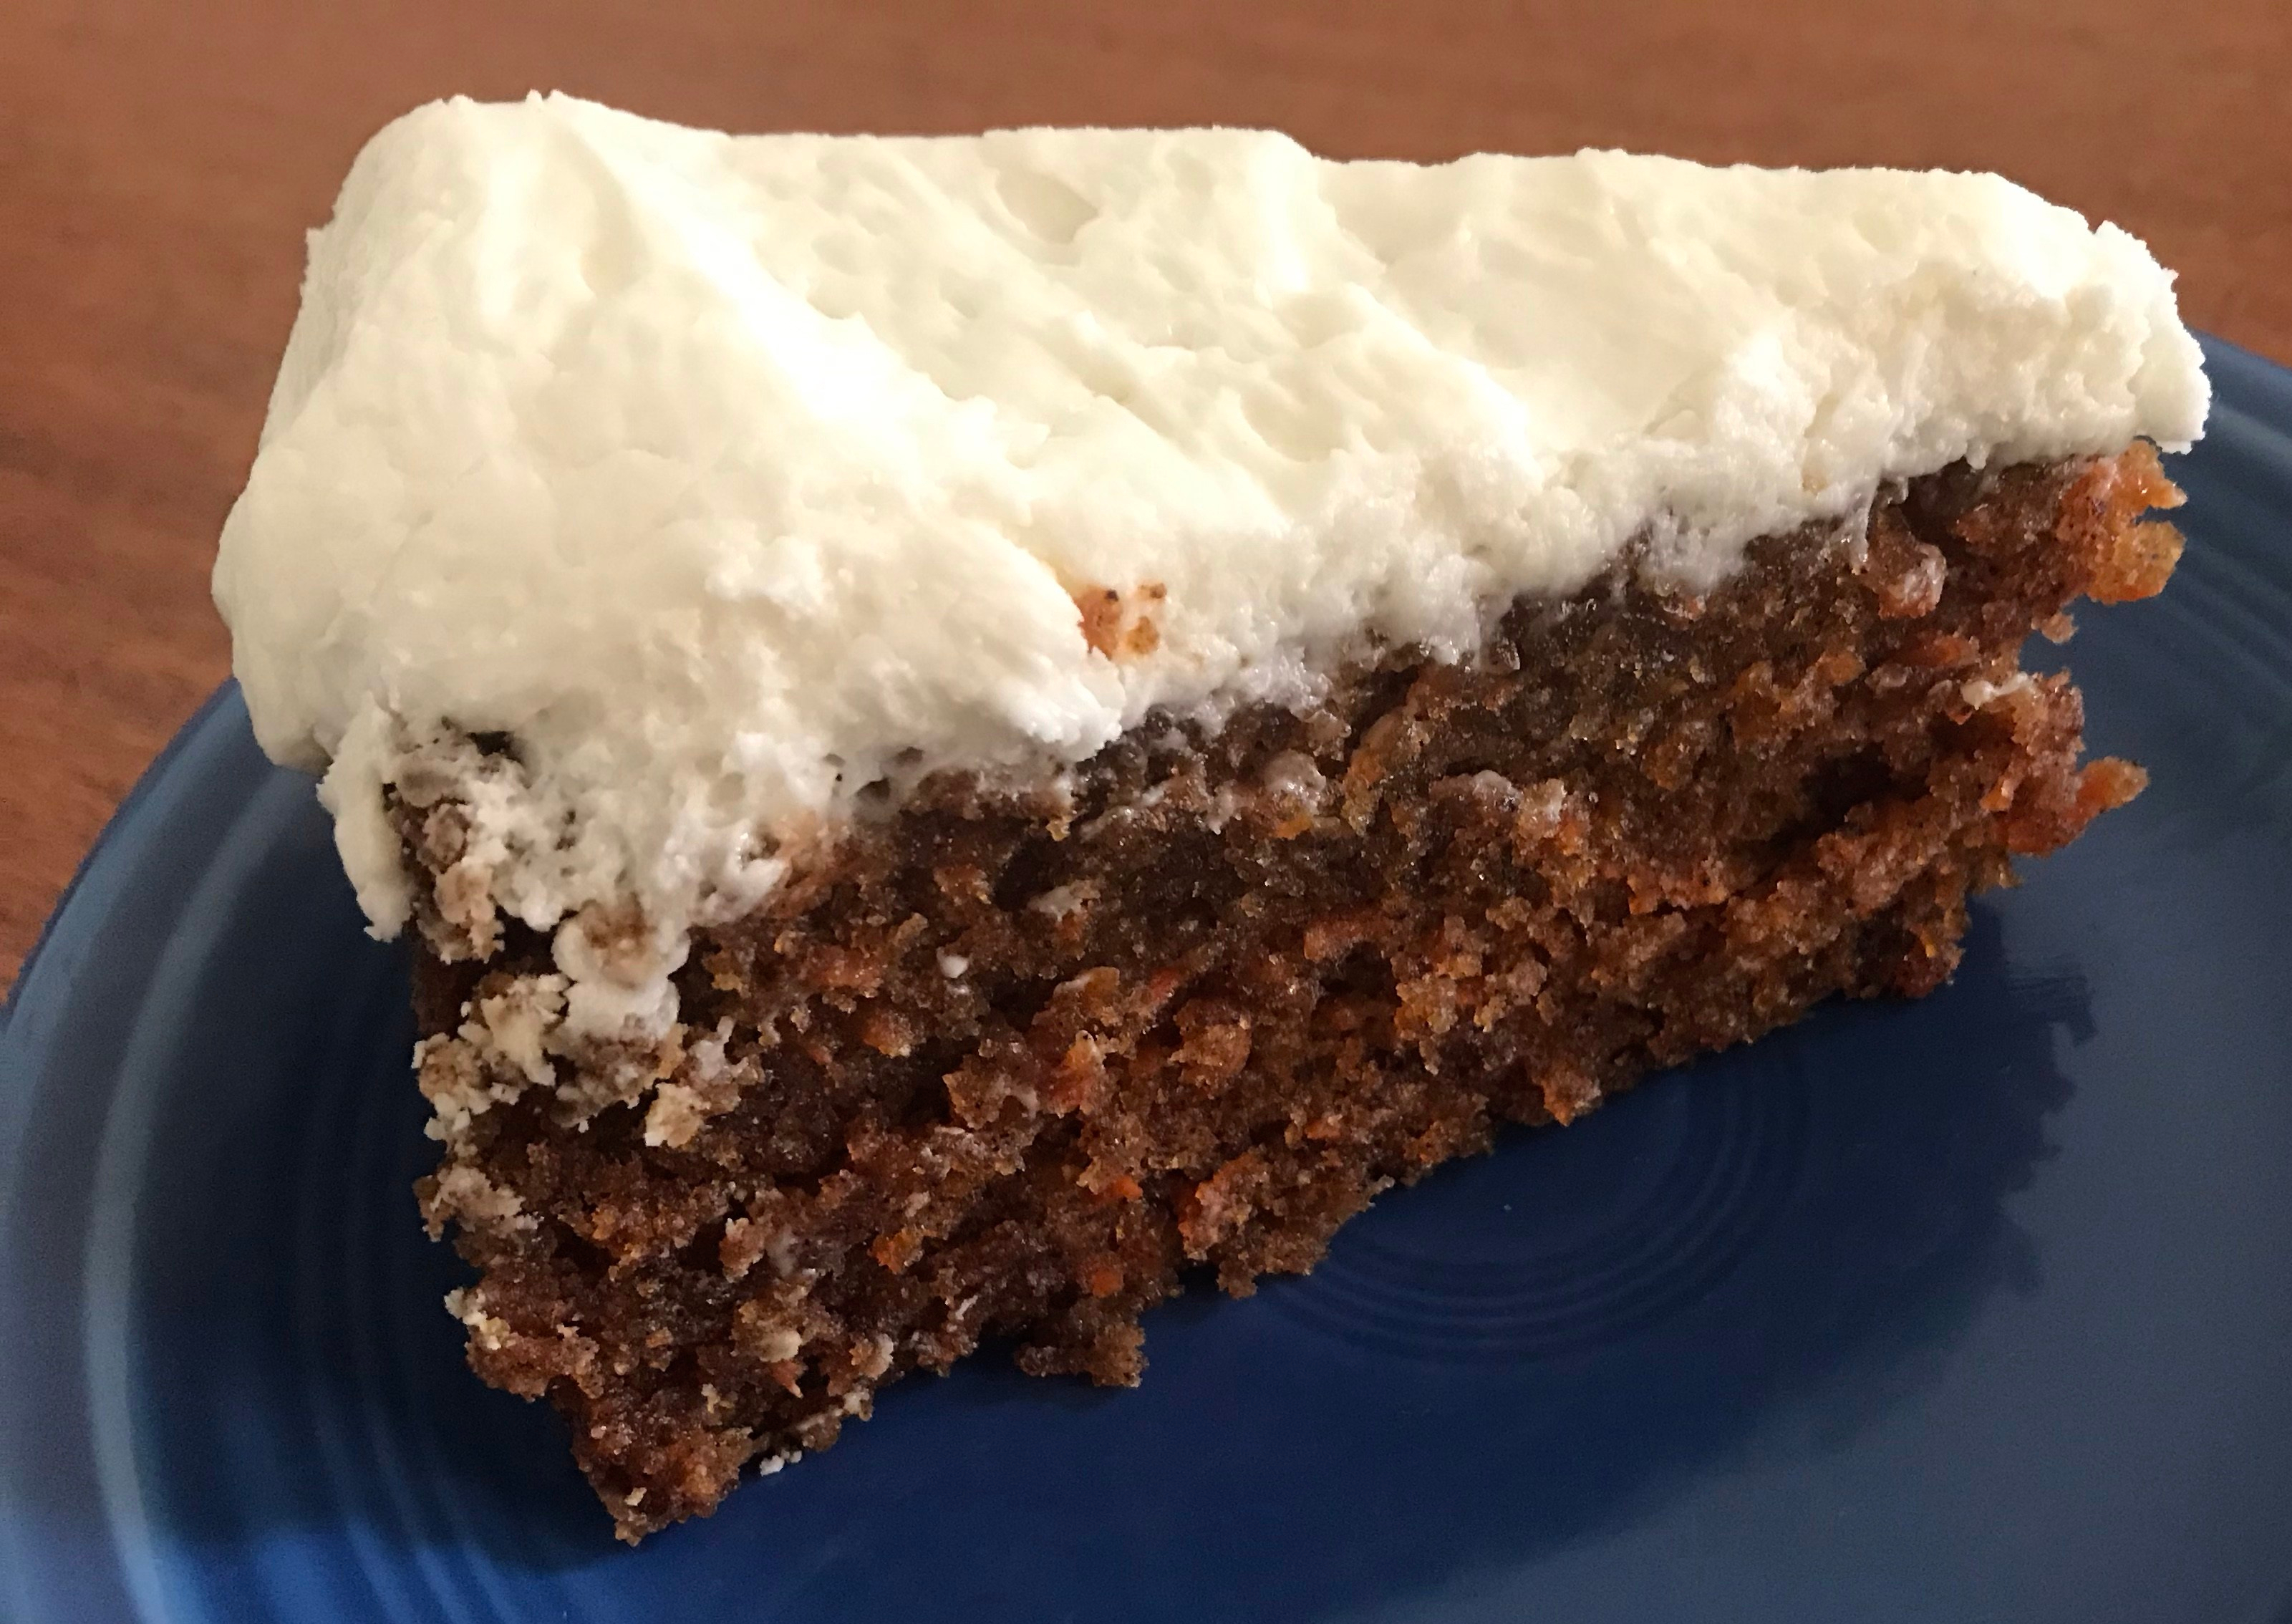
If not, you know what they say: The best day to make a carrot cake was two days ago. The second best day is today. (And yes, I know that this is not really a breakfast recipe. But the rules about such things disappeared weeks ago.)

img_3905

Above, carrot cake in its most simple form. Why? Because I have children. You can bake a more exciting carrot cake using the variations below.

Ingredients:

Cake

  • 4 eggs
  • 1 1/2 c. oil
  • 2 c. sugar
  • 2 c. flour, sifted (Spoon it in your measuring cup and level it off–this takes 30 more seconds and always produces better results)
  • 2 tsp. cinnamon
  • 2 tsp. baking soda
  • 1 tsp. salt
  • 3 c. shredded carrots

Frosting*

  • 1 lb confectioner sugar, sifted
  • 1 stick butter, softened
  • 1 bar cream cheese, softened
  • 1 tsp. vanilla

Directions:

Cake:

  • Grease round cake pan of size of your choice or 9×13 pan. Heat oven to 350 degrees.
  • In a large bowl, beat eggs; add oil and beat further.
  • In a separate bowl, sift together dry ingredients.
  • Combine wet and dry ingredients. Add carrots, being careful not to overstir.
  • Spread into pan and cook 30-50 minutes, depending on the size of the pan.
  • Allow to cool briefly in the pan, then turn out to cool further before frosting.

Frosting:

  • Beat butter and cream cheese until smooth. Add vanilla and beat further.
  • Add sifted powdered sugar and beat thoroughly.

*This recipe makes enough frosting to frost the top and sides of a single layer cake or the top and interior of a double layer cake. To frost only the top of a single layer cake, reduce ingredients by half; to frost top, interior, and sides of a double layer cake, add half a stick of butter, half a bar of cream cheese, half a pound of powdered sugar, and half a tsp. vanilla.

Variations:

  • To add raisins, soak 3/4 c raisins (golden ones or a mix of regular and golden) in hot water or orange or pineapple juice until they re-hydrate; then add to cake batter with carrots. Failure to re-hydrate raisins means they will suck moisture from the cake, leading to dreadful consequences.
  • Add 3/4 chopped pecans or walnuts to the batter or top with toasted nuts.
  • Add 3/4 c. crushed pineapple, reducing sugar by 1/4 c.
  • Add up to 2 tsp total of ground cloves, ginger, and/or nutmeg.
  • Top with shredded coconut, if you hate the people you are serving it to.


Popcorn Time: Gochujang Caramel Corn

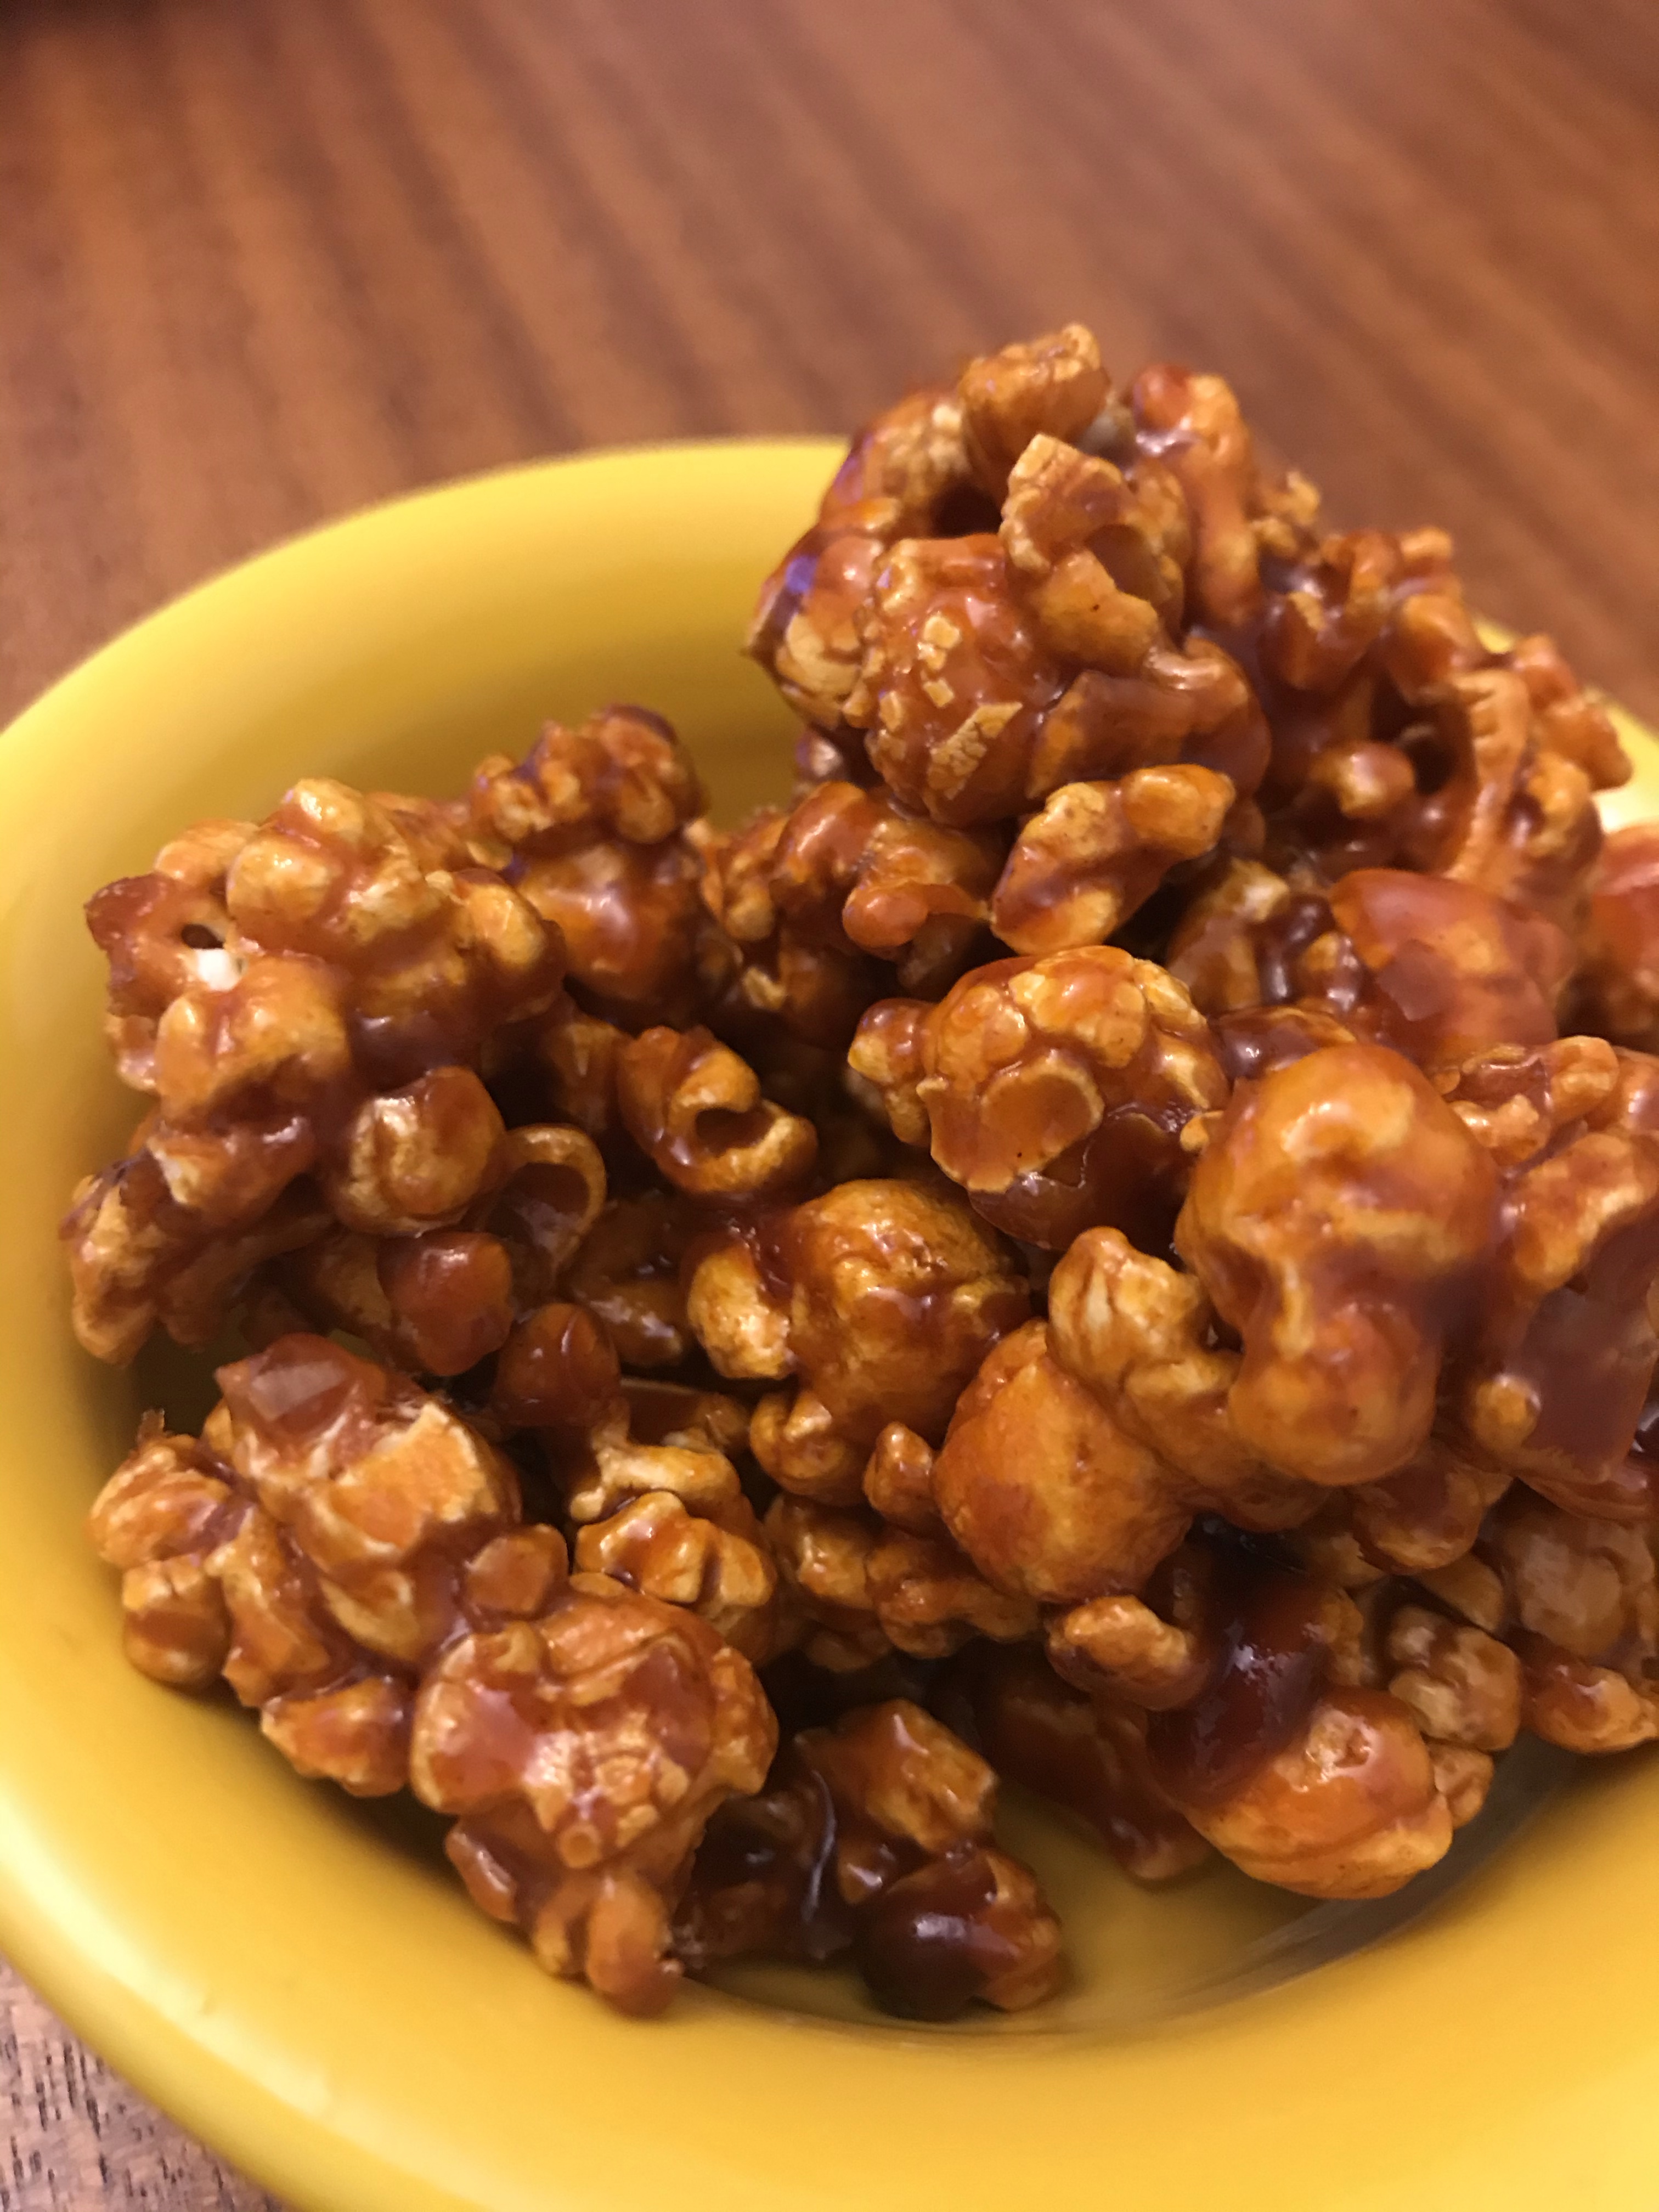
Regular readers of this blog know that we love popcorn in just about every form–including spicy caramel corn! Tonight, we imagined Korean fried chicken as popcorn by making use of gochujang paste, a slightly sweet and spicy paste made from chili peppers, fermented soybeans, barley, and glutinous rice. You can find it in the Asian aisle of the supermarket.

Ingredients:

  • 12 c. popped popcorn
  • 1 bag of Kraft caramels, unwrapped
  • 3 Tbs butter
  • 1/4 c. gochujang powder
  • 1/8 c. soy sauce

Directions:

  • Heat oven to 300 degrees. Grease roasting pan or 9x 13 pan.
  • Melt caramels and butter over low heat; add gochujang paste and soy sauce, stirring until smooth.
  • Pour caramel sauce over popcorn. Stir until coated.
  • Bake for 10 minutes, then stir, and bake 10 minutes further.
  • Turn out onto greased wax paper, breaking up any big clumps. Allow to cool completely before eating.


Popcorn Time! Gochujang Popcorn

Regular readers of this blog know that we love popcorn in just about every form. Tonight’s recipe was inspired by the fact that I was also making Brussel sprout kimchi and had just opened a new container of gochujang, a spicy paste of fermented soy beans, glutinous rice (the kind for making sticky rice), barley malt, and chili peppers.

Ingredients & Directions

Pop 1/3 c. of popcorn.

Whisk together 2 Tbs melted butter, 2 tsp gochujang paste, 1 tsp sesame oil, 1 tsp light corn syrup. Pour over popcorn.

Add a light dusting of salt mixed with red cayenne pepper to taste.

Baked Oatmeal, custardy bottom version

Channeling your Depression Era ancestors during a time of economic collapse? Pandemic boredom/anxiety have you cooking with more staples? Just love oatmeal?

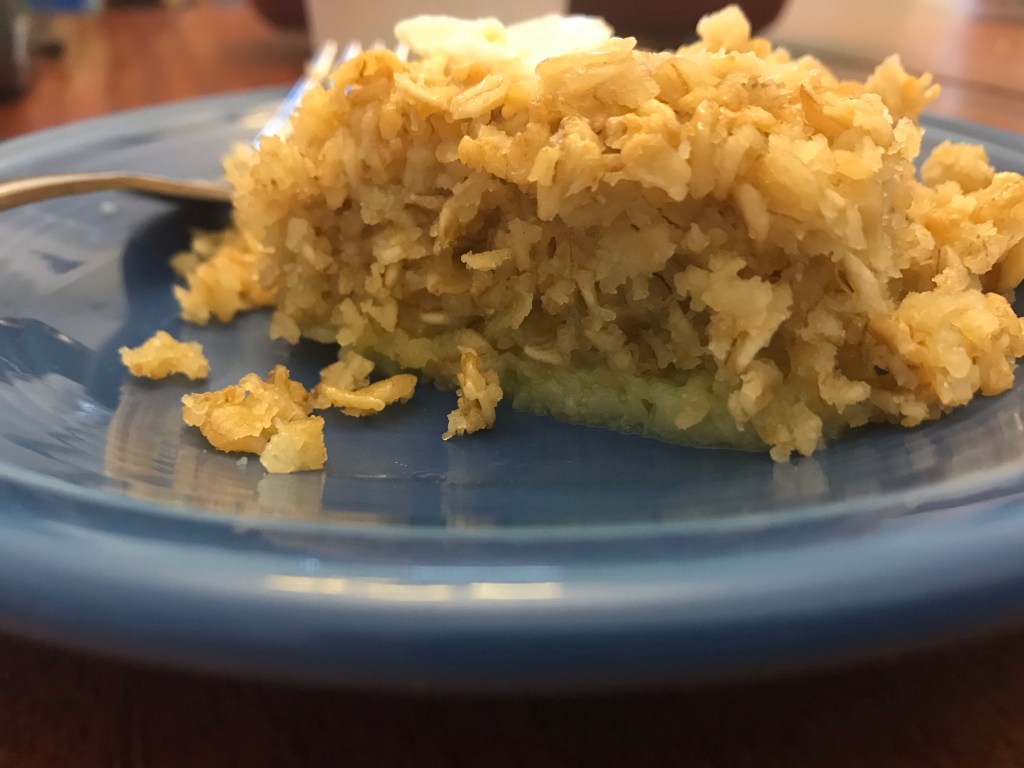
Baked oatmeal is one of my favorites. Prep takes about 10 minutes, so I like to put it in the oven, then get a shower or go for a walk, then return for a delicious warm breakfast.

This version makes a baked oatmeal with a custardy base, which I love. If it’s not your thing, don’t give up on baked oatmeal, though, as other versions are a more consistent in their texture. You can also add apples or dried fruit.

Ingredients:

  • 3 eggs
  • 1/2 c. oil
  • 1 c. sugar
  • 2 tsp. baking powder
  • 1 tsp. salt
  • 3 c. oatmeal
  • 1 1/4 c. milk

Directions:

  • Grease a 9×13 pan. Heat oven to 350 degrees.
  • Beat oil, eggs, and sugar until well blended.
  • Combine remaining dry ingredients separately, then add to wet and mix further.
  • Stir in milk and mix until smooth.
  • Pour into 9×13 pan and bake for 30 minutes.


Blood Orange Curd

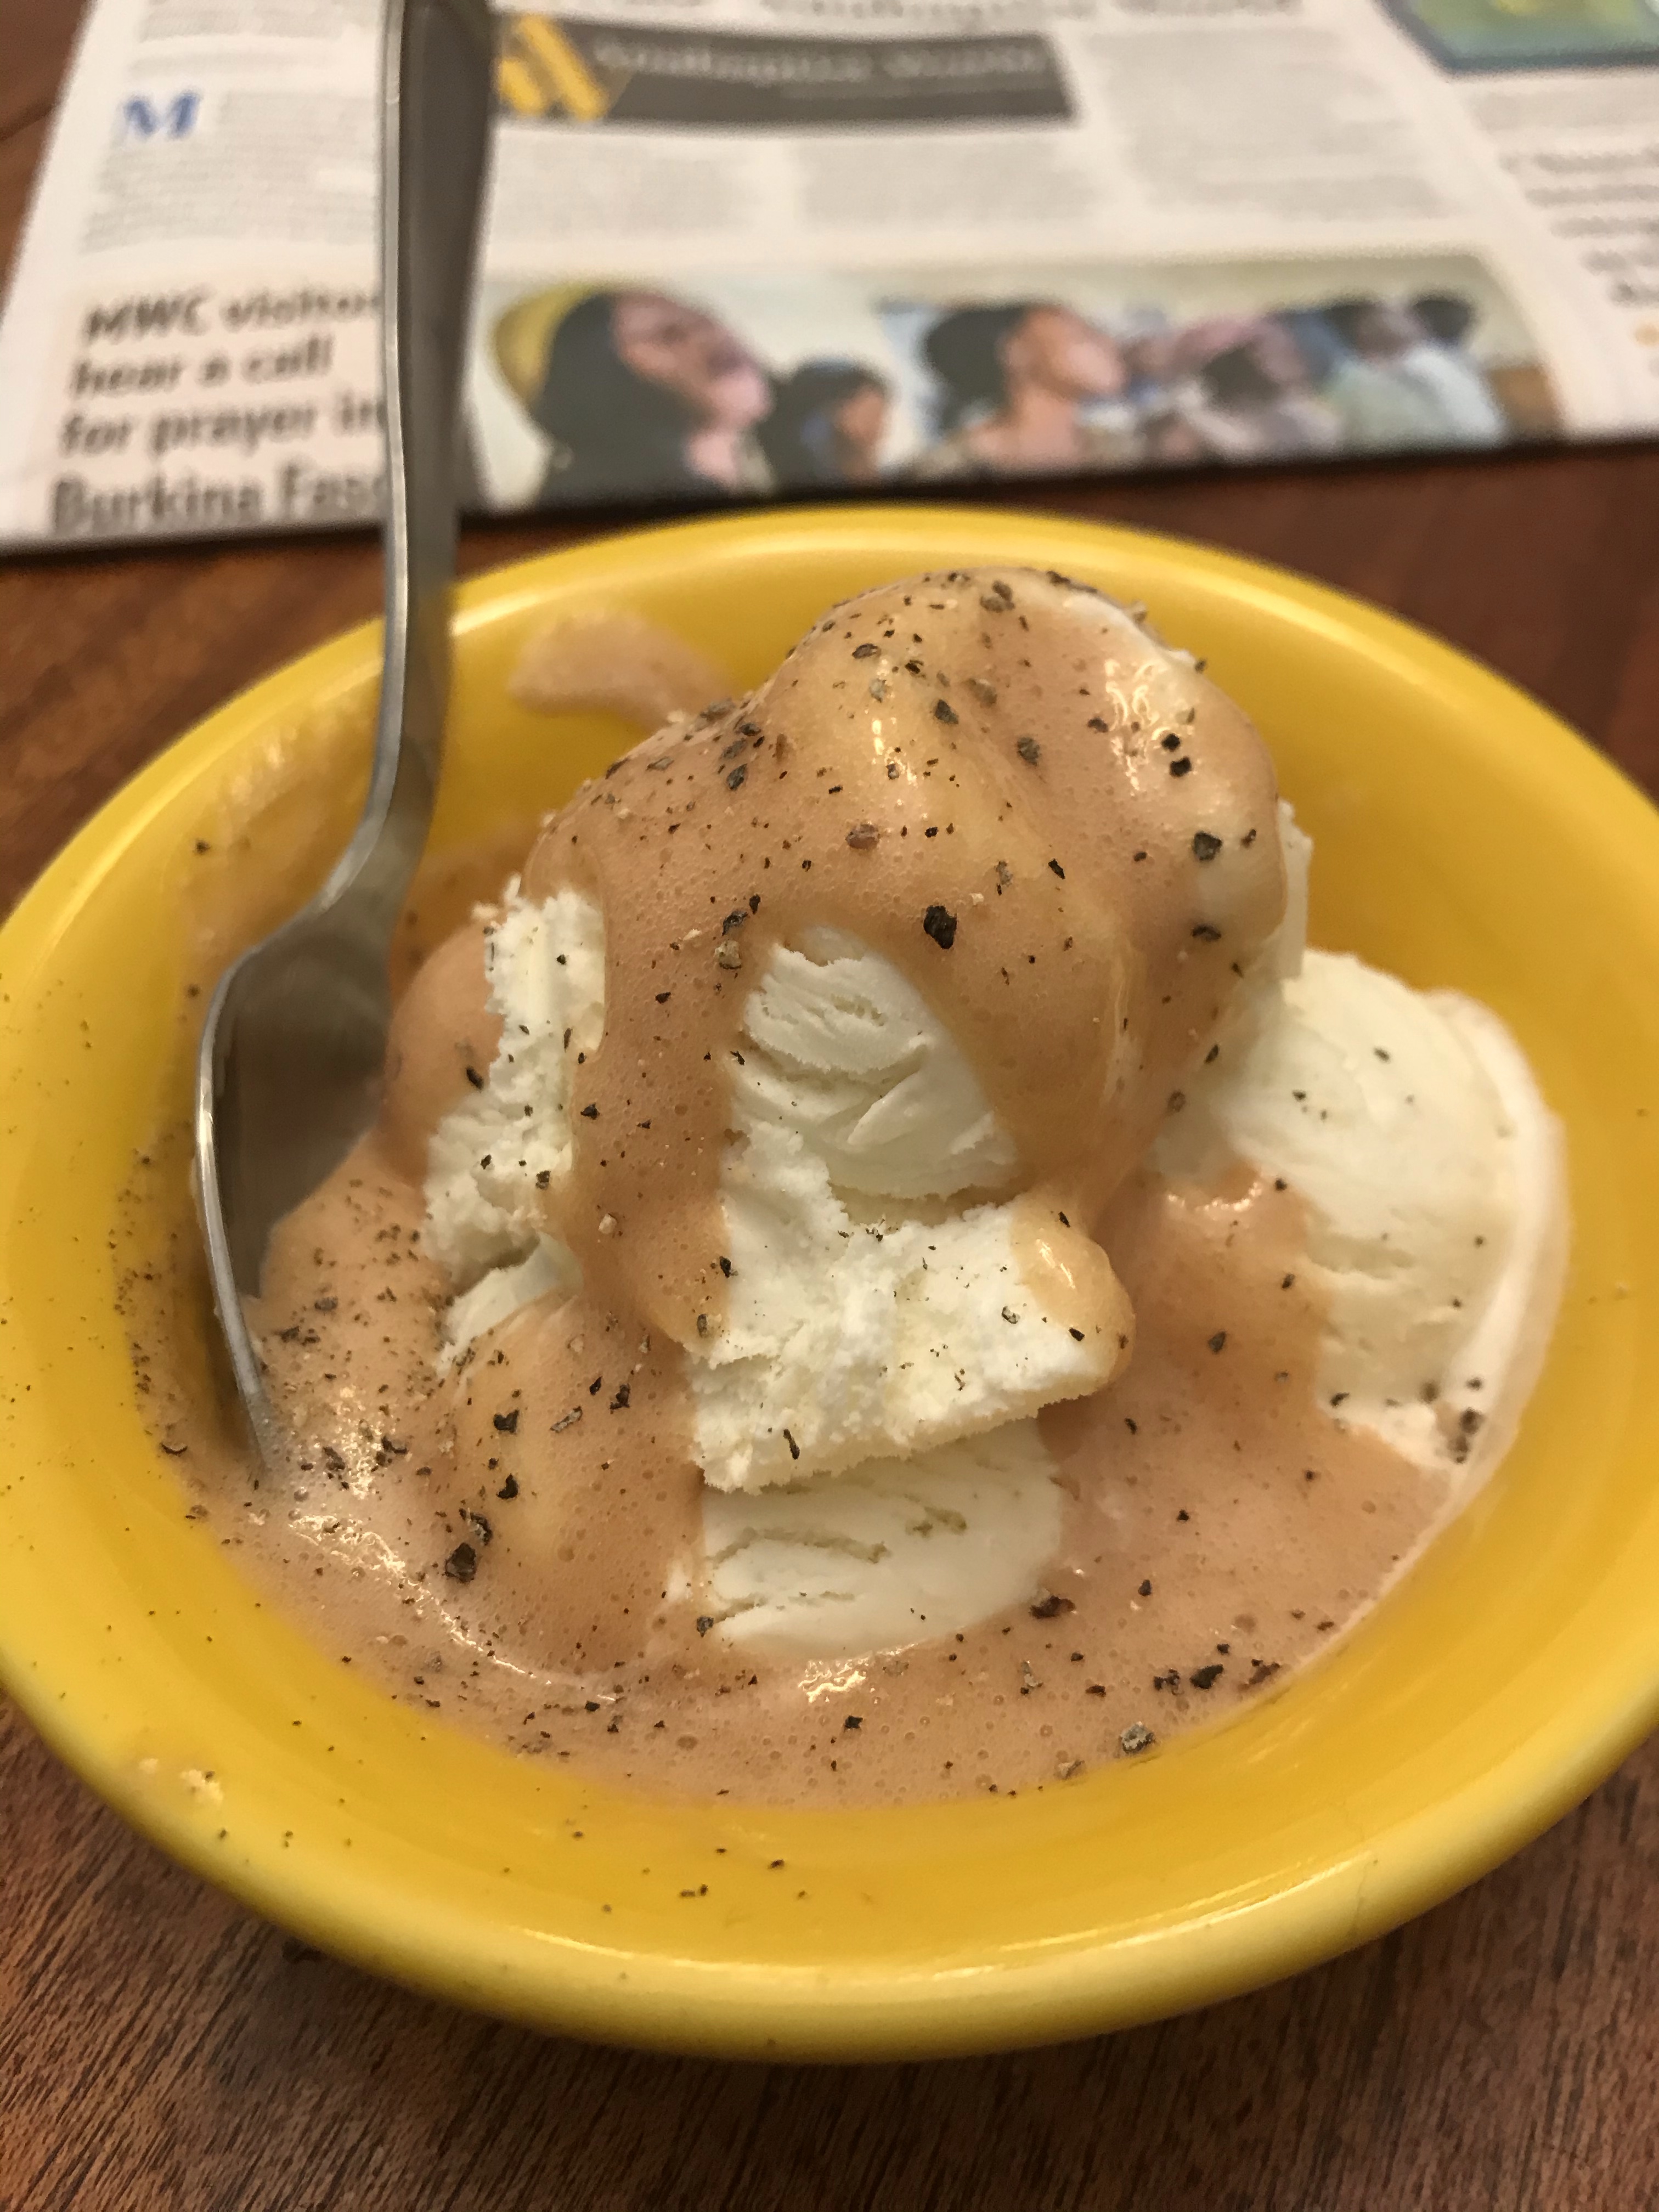
We recently had a porch visit from friends who gifted us with pickles (our favorite!), olives (also our favorite!), and blood oranges, which are nearing the end of their season so you must enjoy them while you can. I mostly use them in salads, but since we hadn’t recently gone out for our once-a-week trip to the grocery store, we were short on greens. Instead, we made blood orange curd. It’s delicious snuck out of the jar on a spoon (no double dipping, of course!) or spread on soft slices of white bread or stirred into oatmeal. Or, let’s be honest, topping vanilla ice cream, with a sprinkle of black pepper. (Trust me.)

Ingredients:

  • 8-10 blood oranges, or enough to yield 1 1/2 c. juice (If you need to supplement with other citrus, do)
  • zest of 4-5 blood oranges
  • 2/3 c. sugar
  • 5 egg yolks
  • 1/4 tsp salt
  • 7 Tbs butter, cut into pats

Directions:

  • Reduce juice to 2/3 c. on stove.
  • In mixing bowl, combine zest, sugar, and egg yolks. Mix until pale yellow.
  • Slowly add juice to mixing bowl, continuing to mix. Add salt and mix further.
  • Return to stovetop and heat over medium high heat, stirring constantly with a wooden spoon, until curd is thickened. To test, lift spoon from curd and run a knife down the back of the spoon to create a line. The line should remain, revealing the wooden spoon.
  • Remove from heat and add butter, stirring constantly until melted.
  • Store in glass jars in the refrigerator.