Christmas was last week–but it’s also every day until January 6! Here is how some people we love have been celebrating it!
What was Jesus’ birth like? (8:02)
This children’s time teaching shares information about childbirth in first century Palestine. Learn about what Mary might have experienced, how she was supported, and how baby Jesus was cared for when he was just born.
Where as Jesus born? (8:32)
Jesus probably wasn’t born in a barn, far away from his family. So why is that part of our Christmas story? Find out more in this children’s teaching.
Where is Bethlehem? (7:28)
What makes Bethlehem such a special city? Learn a little bit more about the place where Jesus was said to be born in this children’s teaching.
Some ways to enjoy leftover ham
Easter means ham, and that means leftover ham, which makes me very happy. At the request of a friend, I’m sharing some of our favorite ways to enjoy it:
- Ham and cheese quiche. Swiss, cheddar, and muenster are all lovely. Use a potato crust if, like us, you’re meh on pastry crusts.
- Macaroni and cheese with cubed ham. Make it fancy with asparagus (also an Easter leftover) and panko breadcrumbs on top.
- Fry ham slices with onions and pierogies.
- Breakfast cups. Shape biscuit dough into a cup in a muffin tin, then top with beaten eggs, ham, cheese, and ground pepper.
- Ham loaf. Yes, I mean it.
- Ham balls. A throwback recipe that pairs well with pineapple upside down cake and Kansas Public Radio’s Retro Cocktail Hour.
- Ham salad. Variations are endless.
- Potato hash. Use leftover boiled potatoes or shredded hashbrowns. Top with a jammy egg and a wilted bitter green like Swiss chard.
- Fettuccine alfredo with cubed ham and peas.
- Ham and potato soup–creamy, with crunchy bacon bits, sour cream, green onions, and cheddar cheese.
- Boiled red potatoes, cubed ham, and green beans in Italian dressing, served warm or cold.
- Ham and cheese scones.
- Ham, egg, and cheese bierocks.
- Grilled cheese with ham. Make it fancy with thinly sliced green apples.
- Buttered egg noodles with cubed ham and asparagus.
- Baked potatoes with ham, cheese, and broccoli.
- Dutch pancake with ham and gravy.
- Calzones with ham and ricotta
- Black beans with cubed ham.
- Scalloped potatoes with ham.
- Pineapple and ham kabobs
- Chef’s salad with ham, turkey, hard boiled eggs, and blue cheese
A little snow makes it easier to say goodbye to Christmas
I’ve been a little jealous these last few weeks as friends in different parts of the country have gotten snow and we’ve gotten warnings about snow and then… nothing. But today, a little snow landed and stuck–nothing serious, but enough to make it feel like winter for a bit. Which also means it’s easier to say goodbye to Christmas, which we’ve started celebrating through the 40th day after December 25th, because it still feels like winter (which it is).
Here are some highlights from our house this Christmas season.


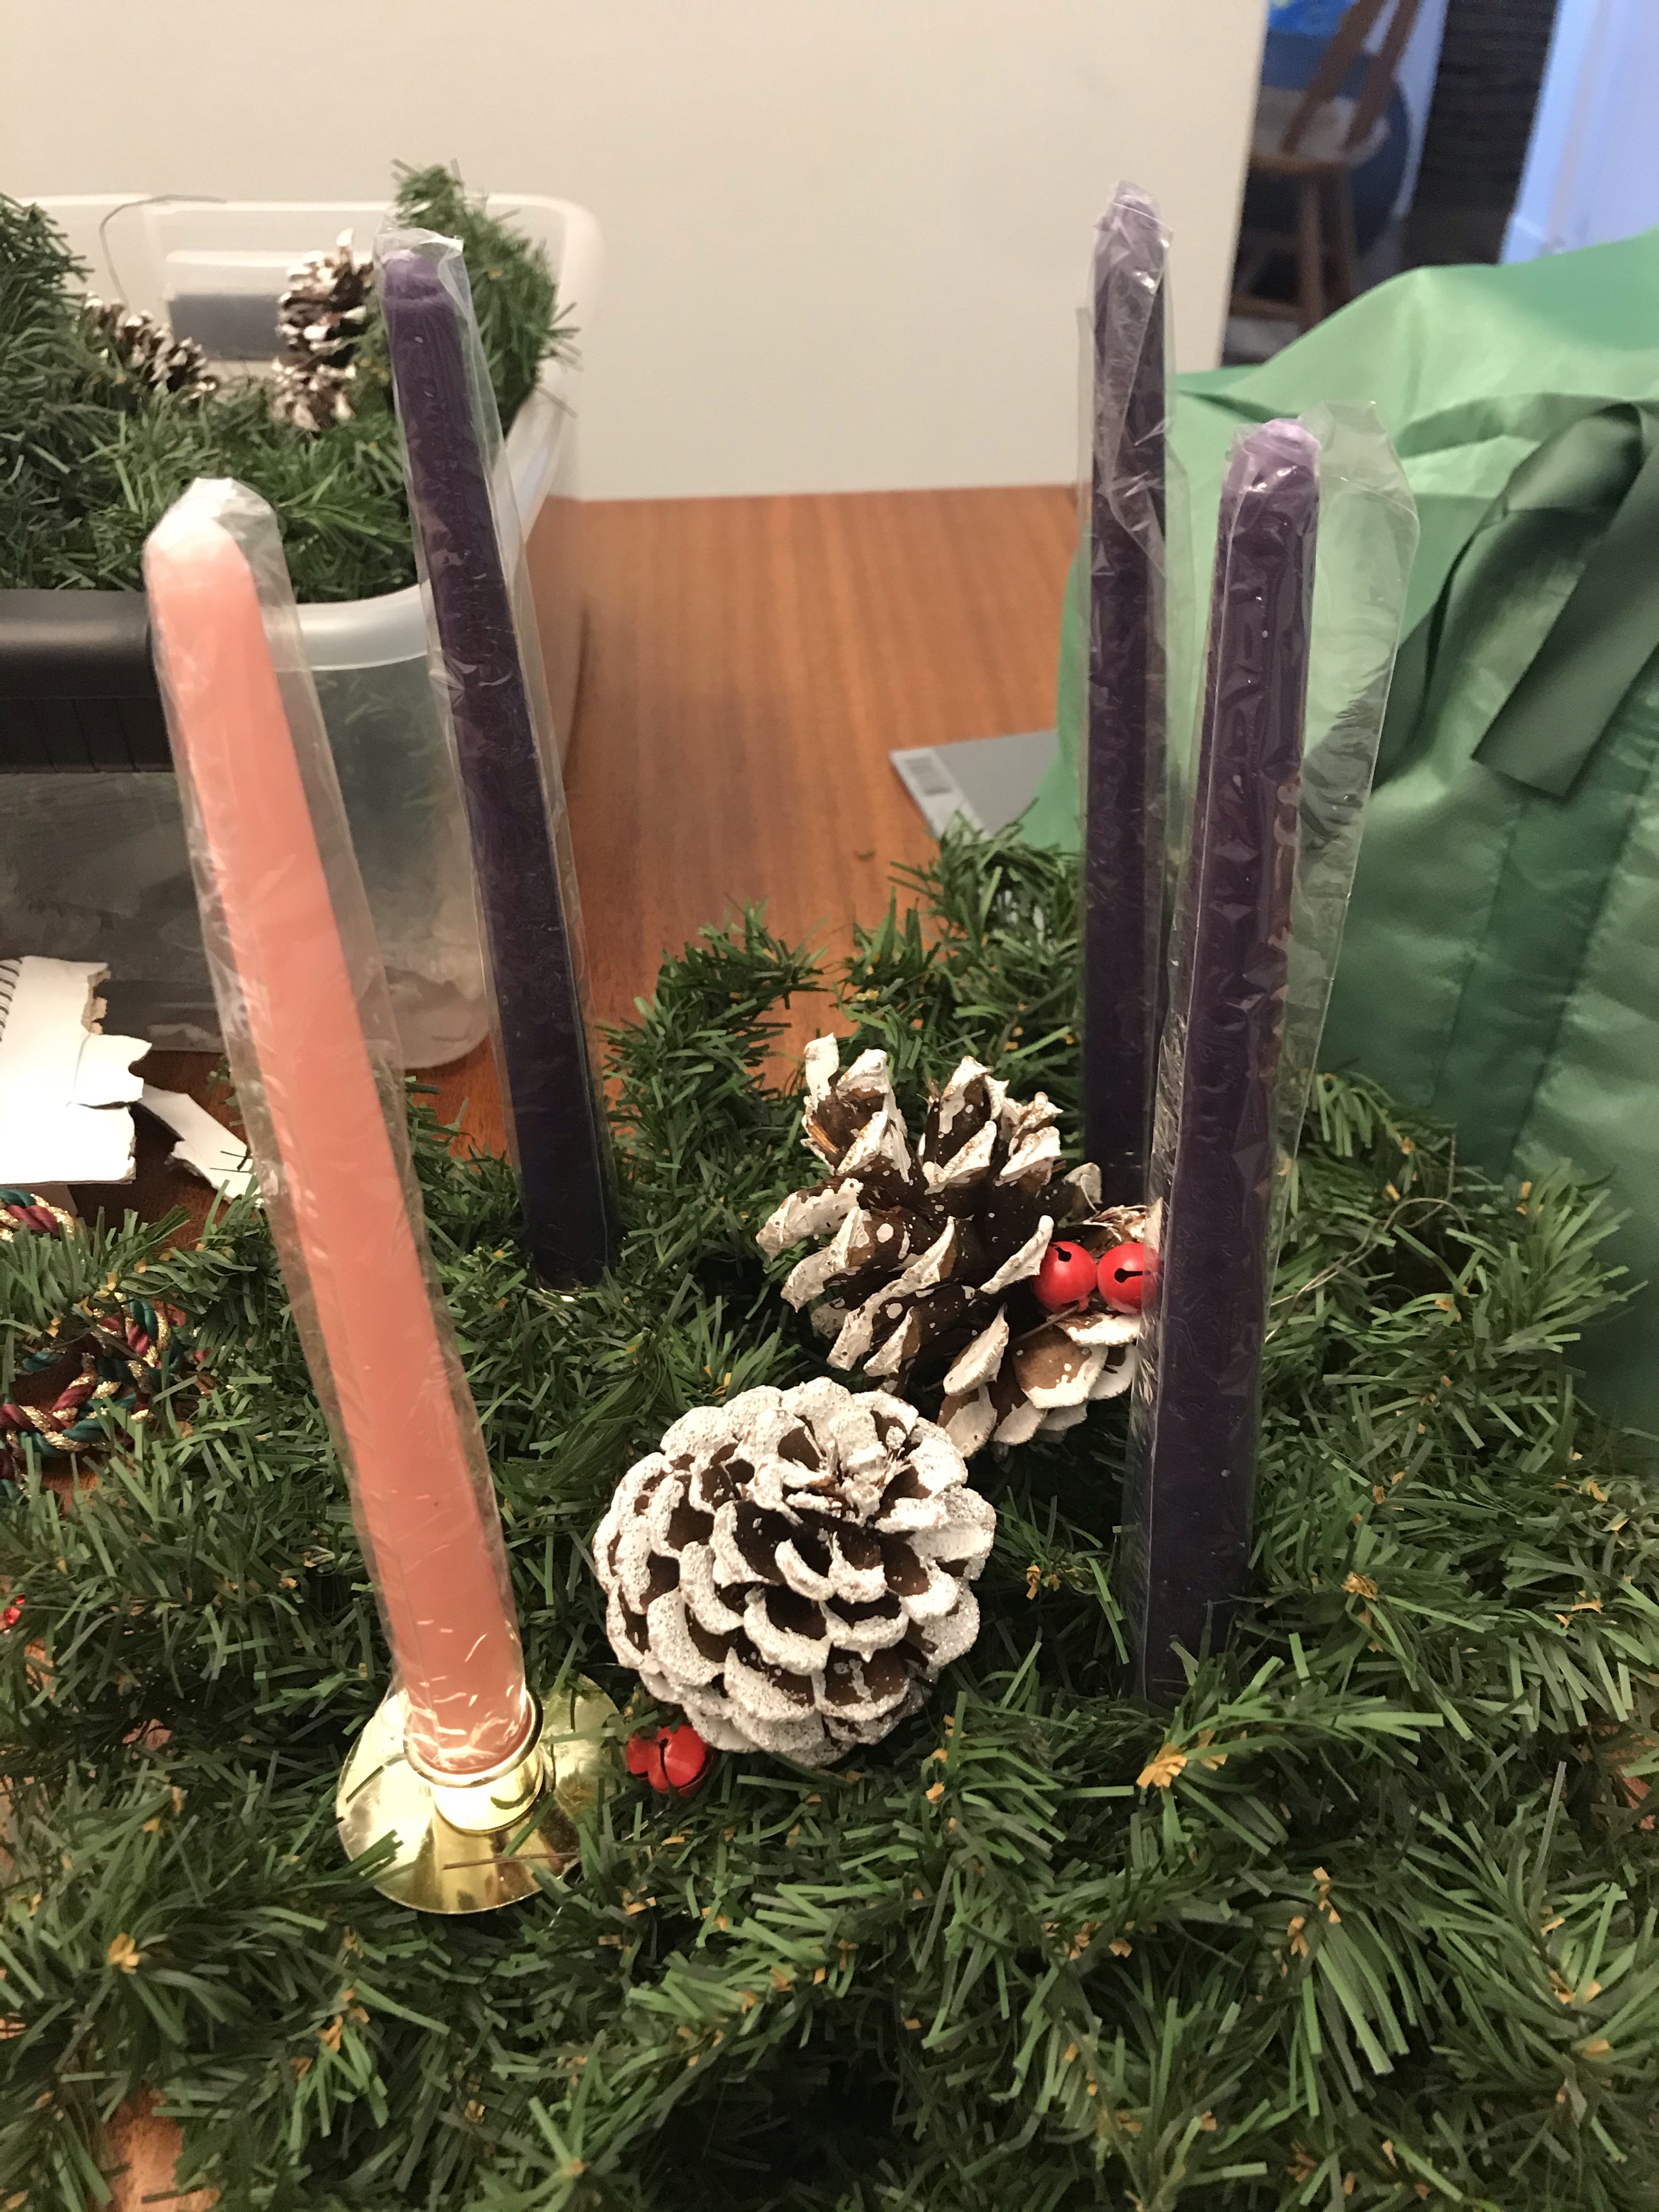
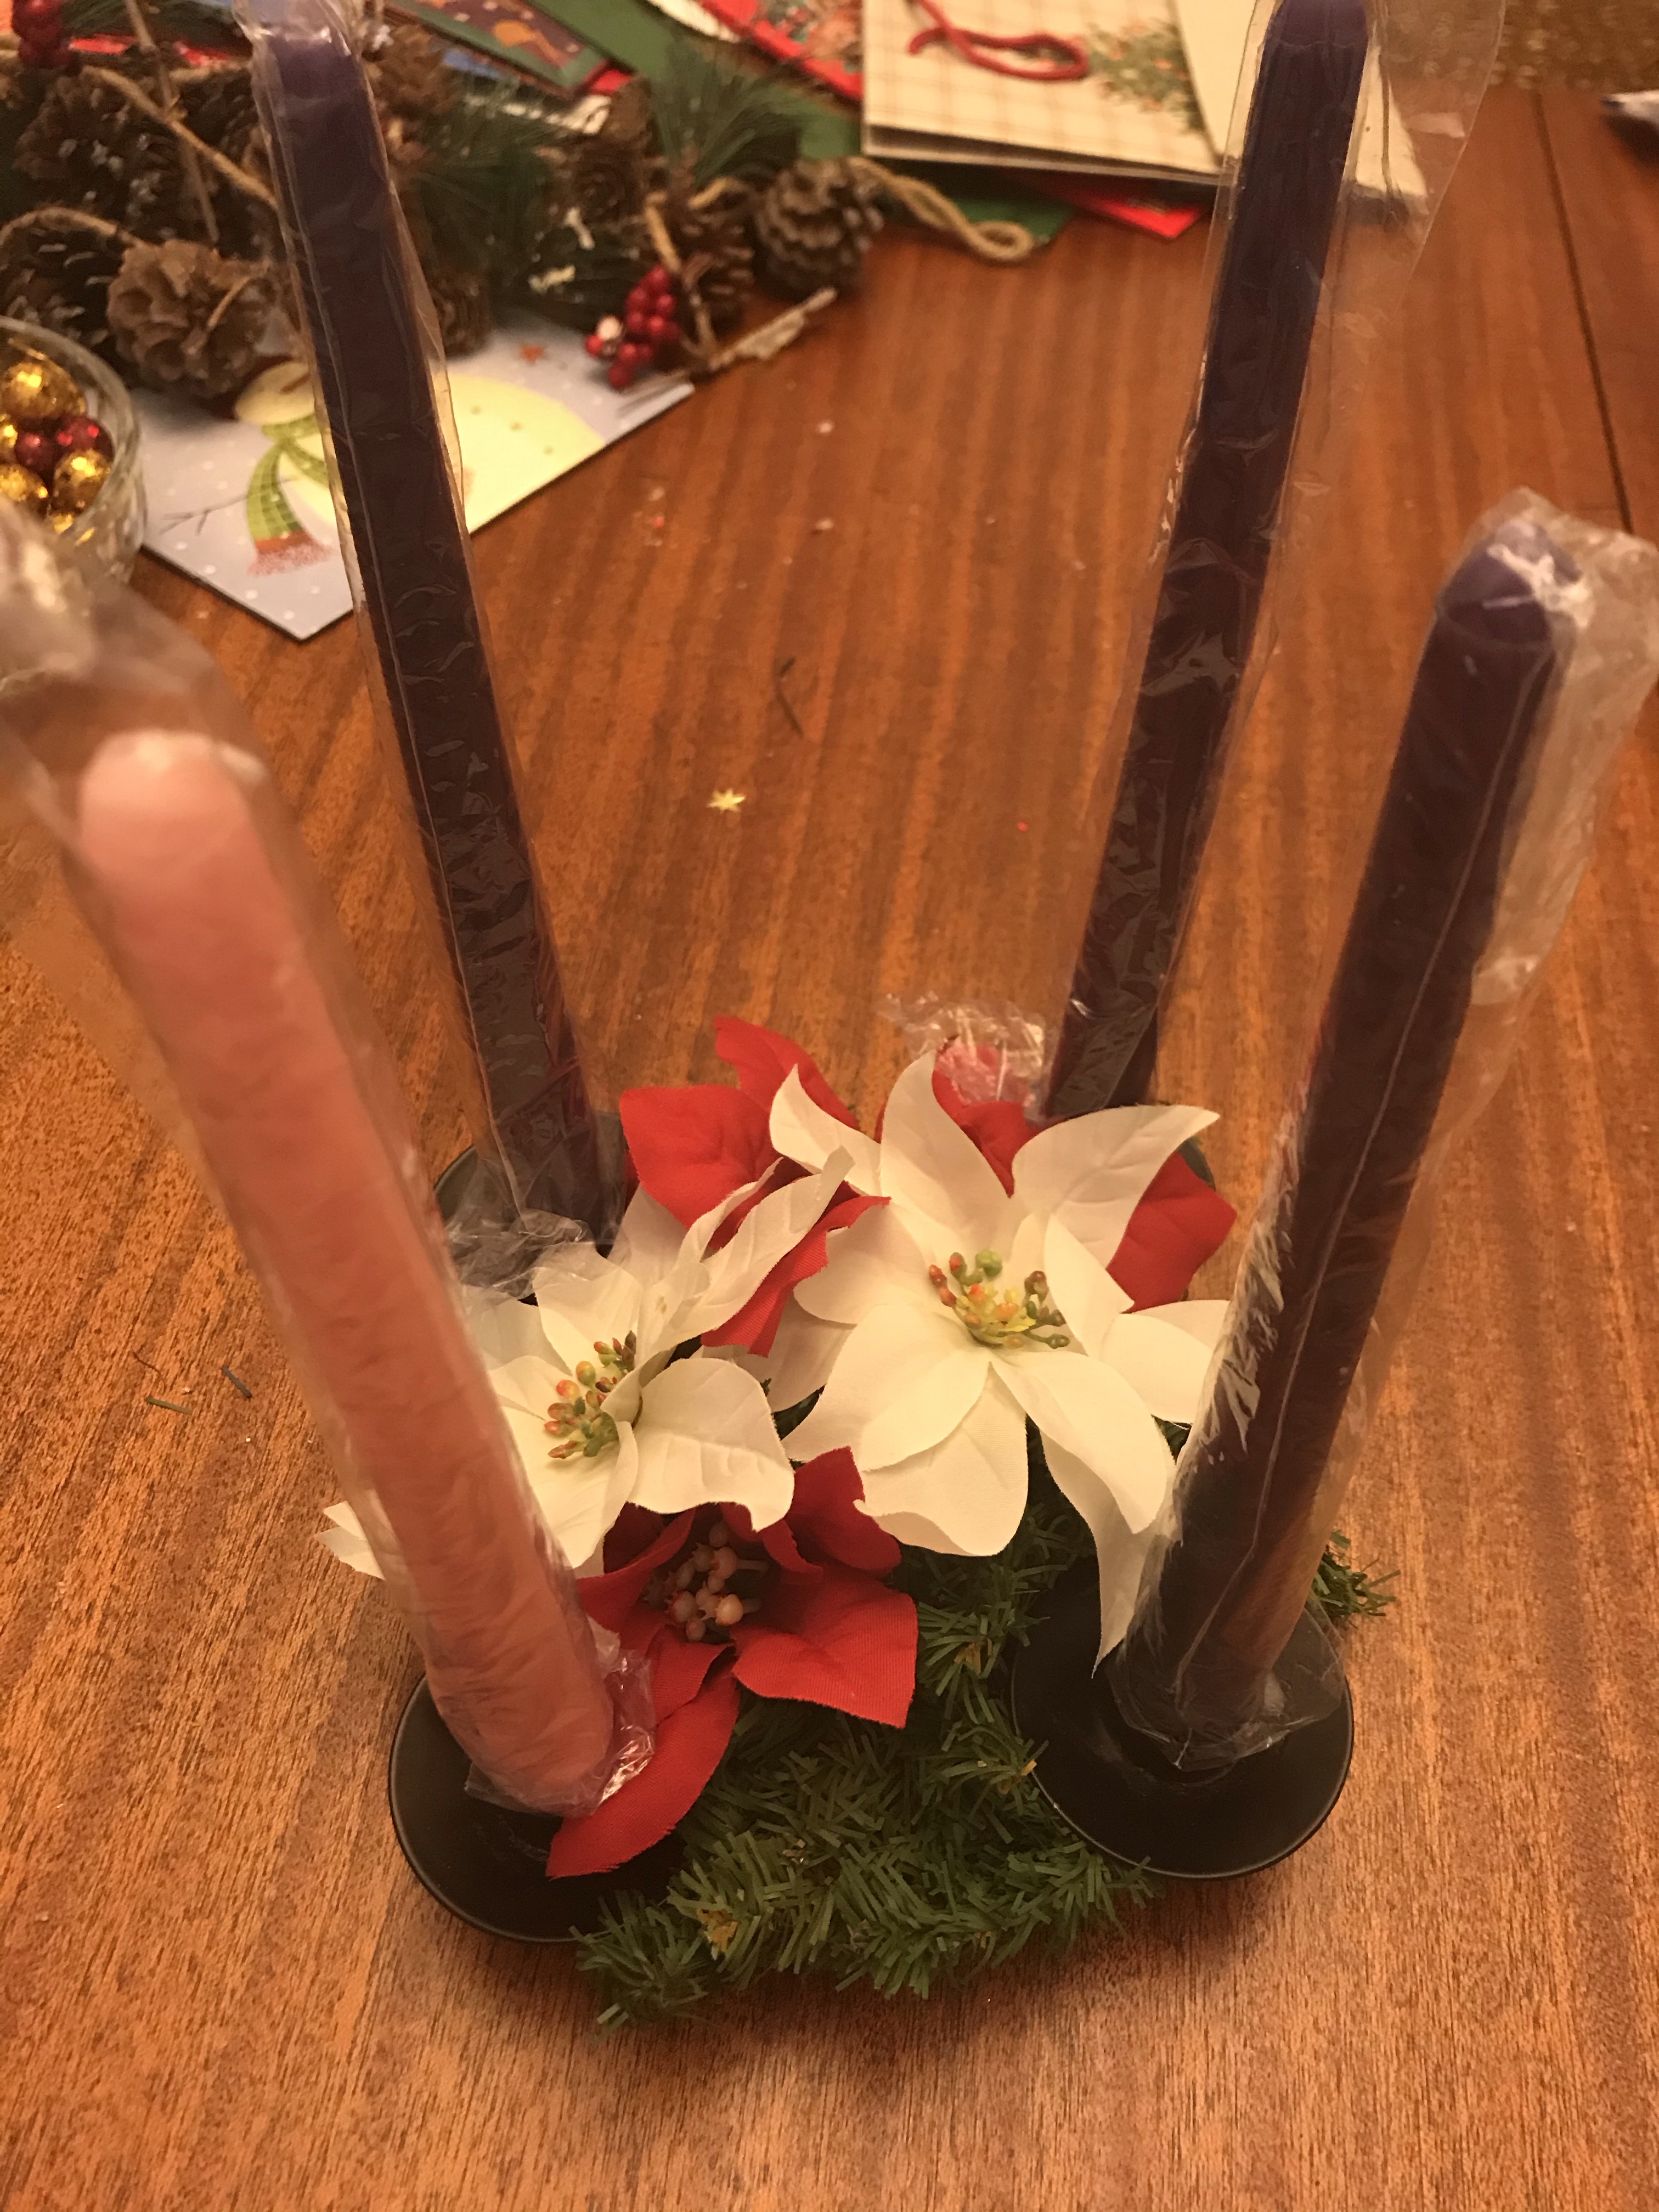
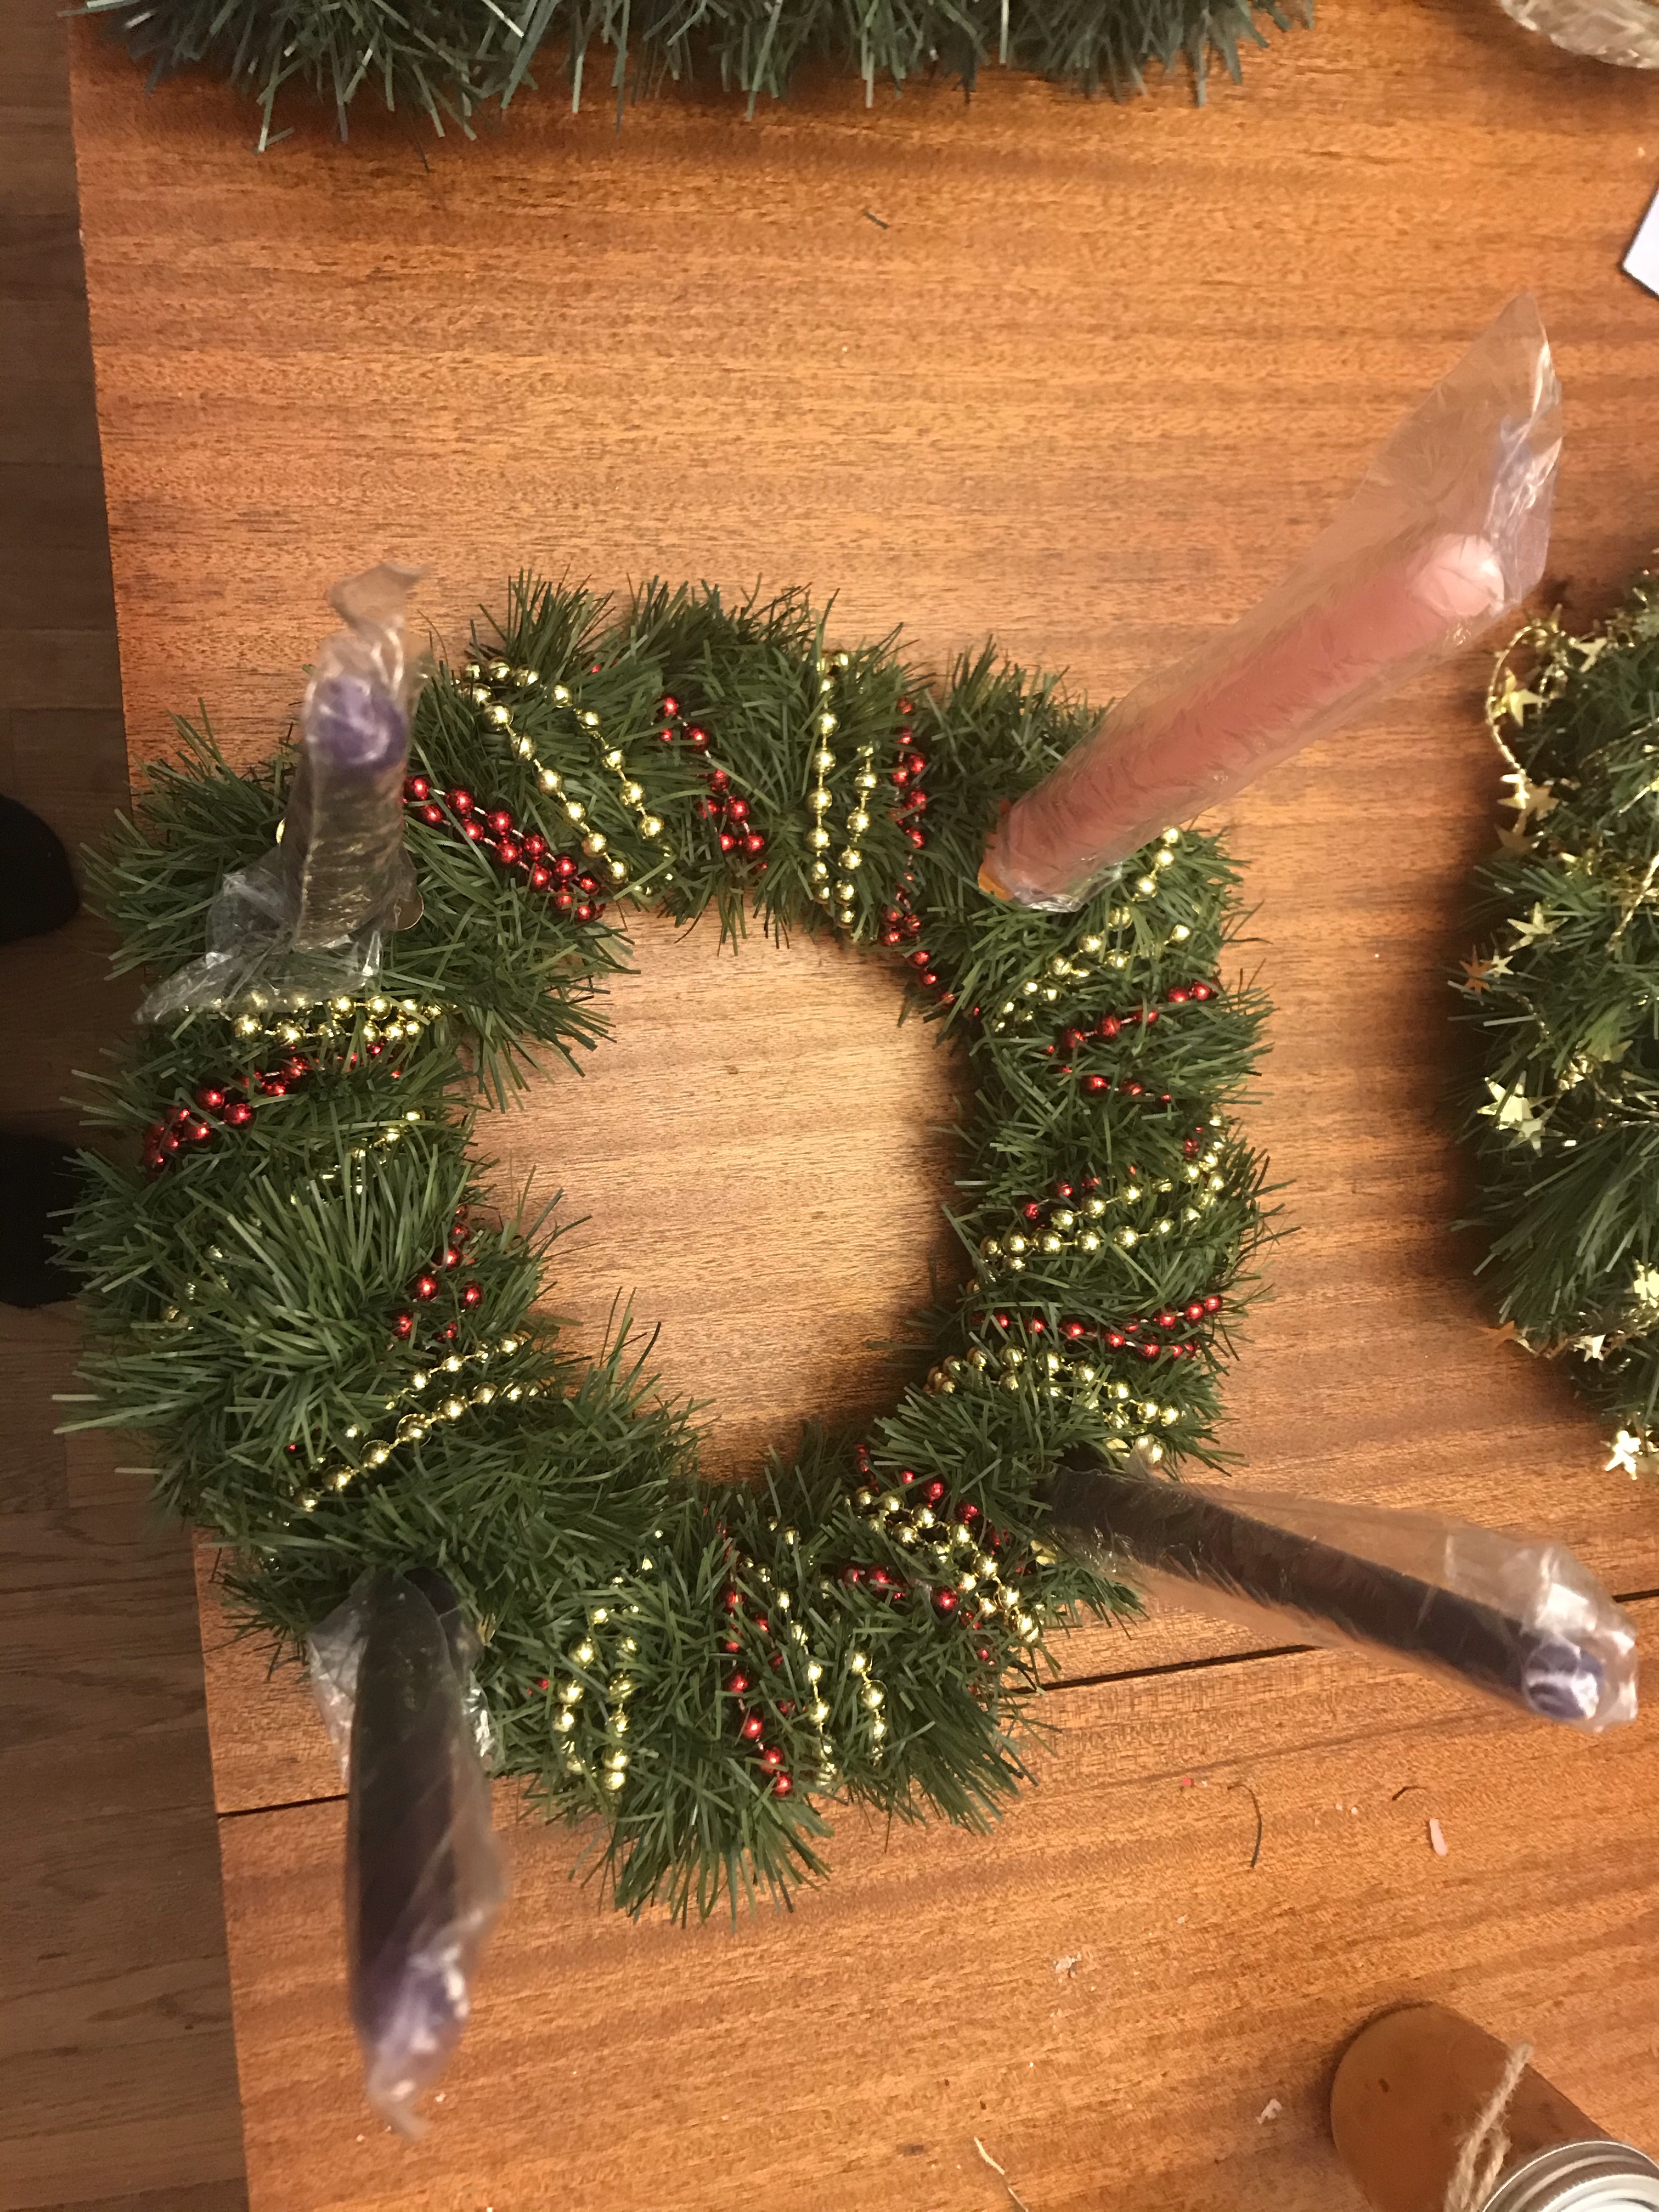
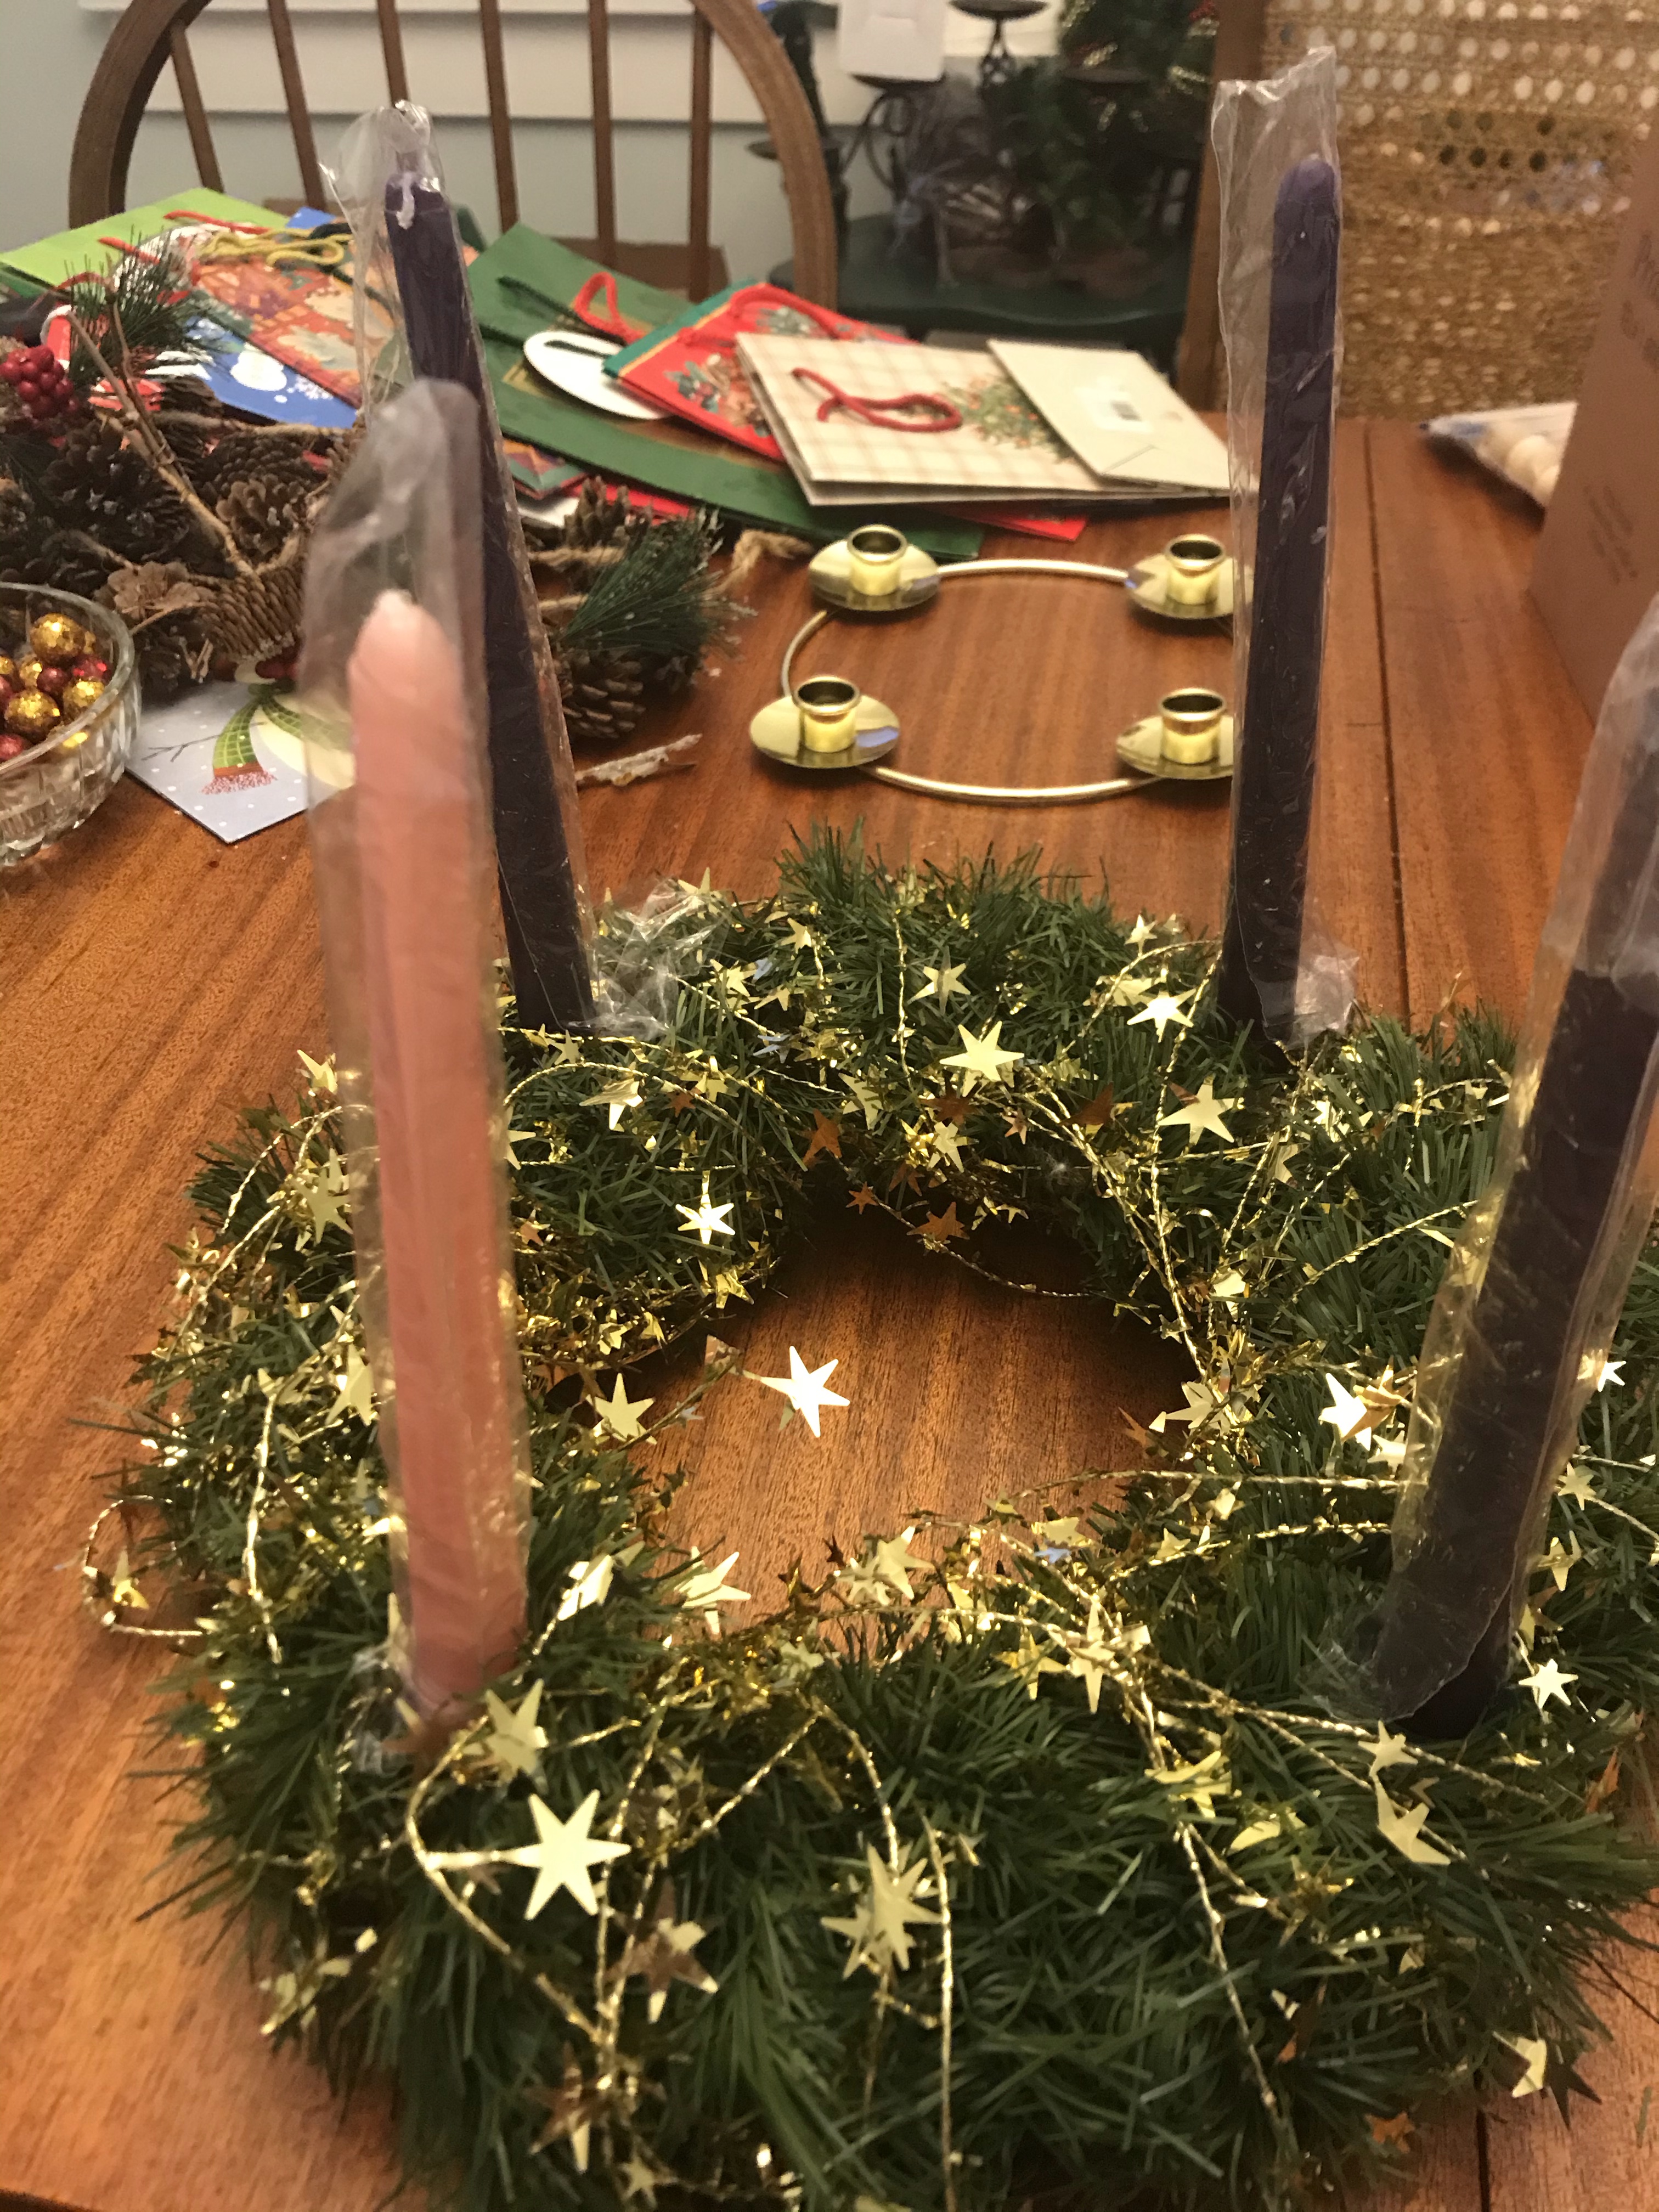
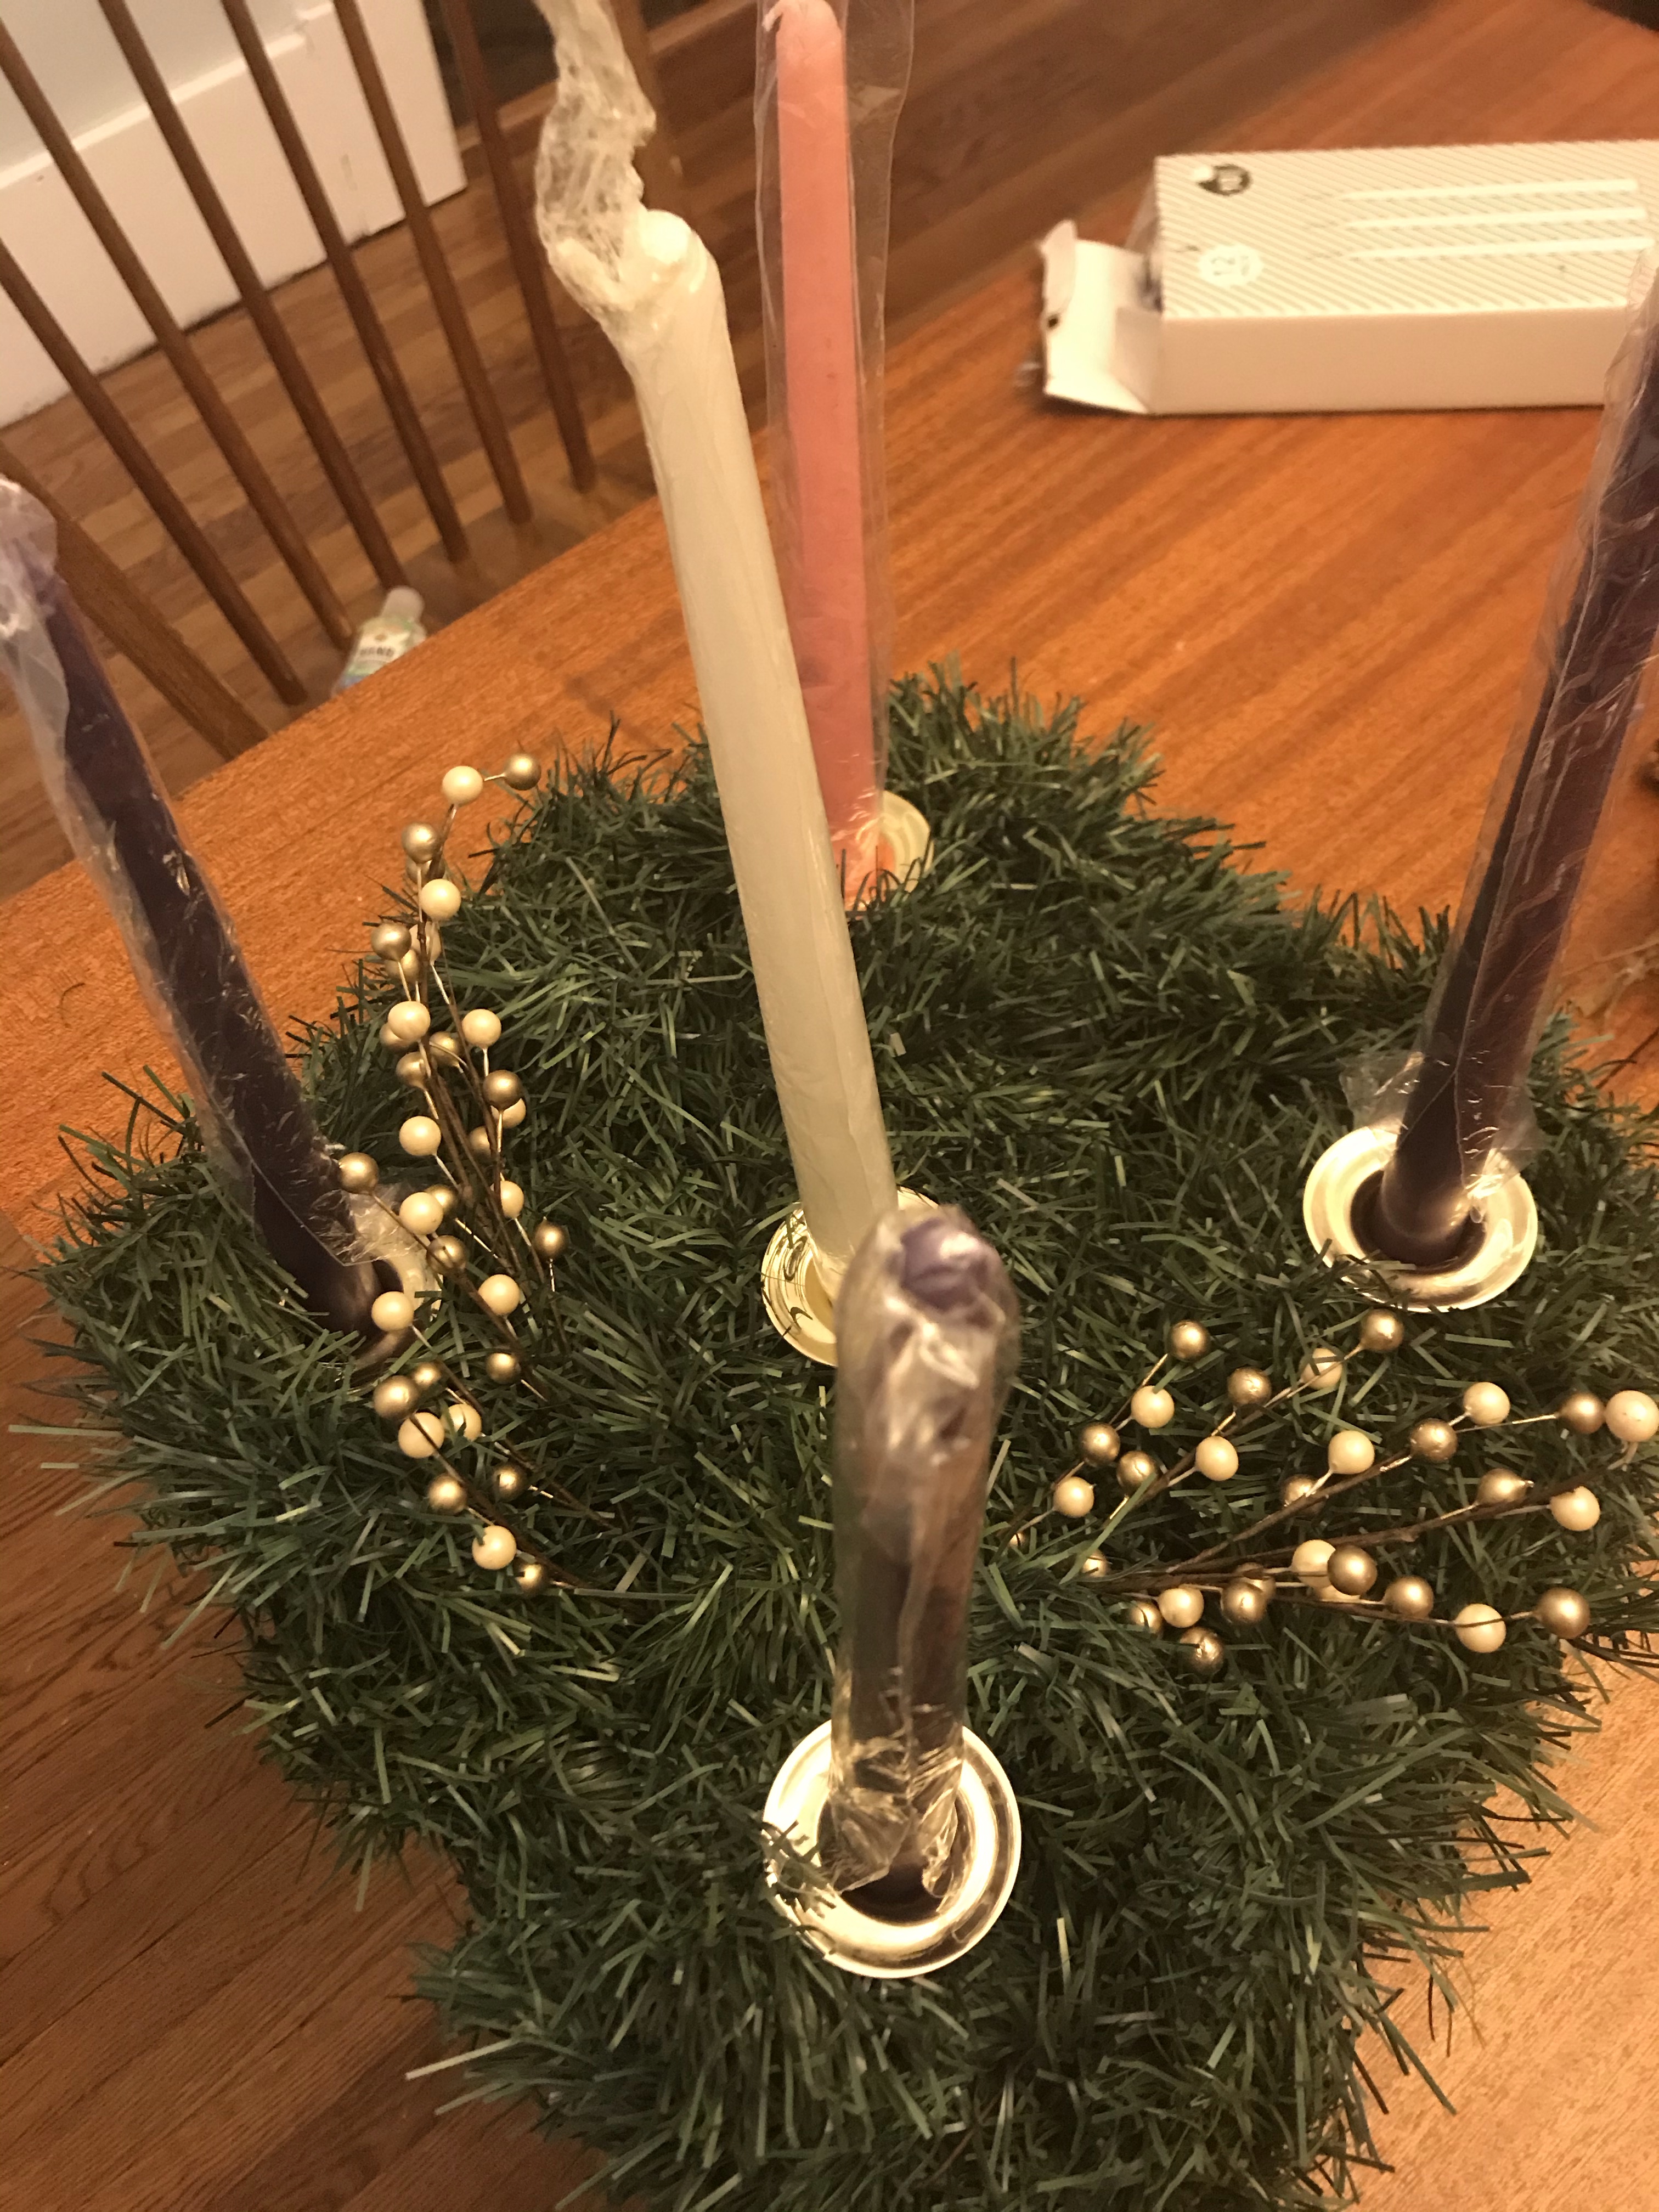
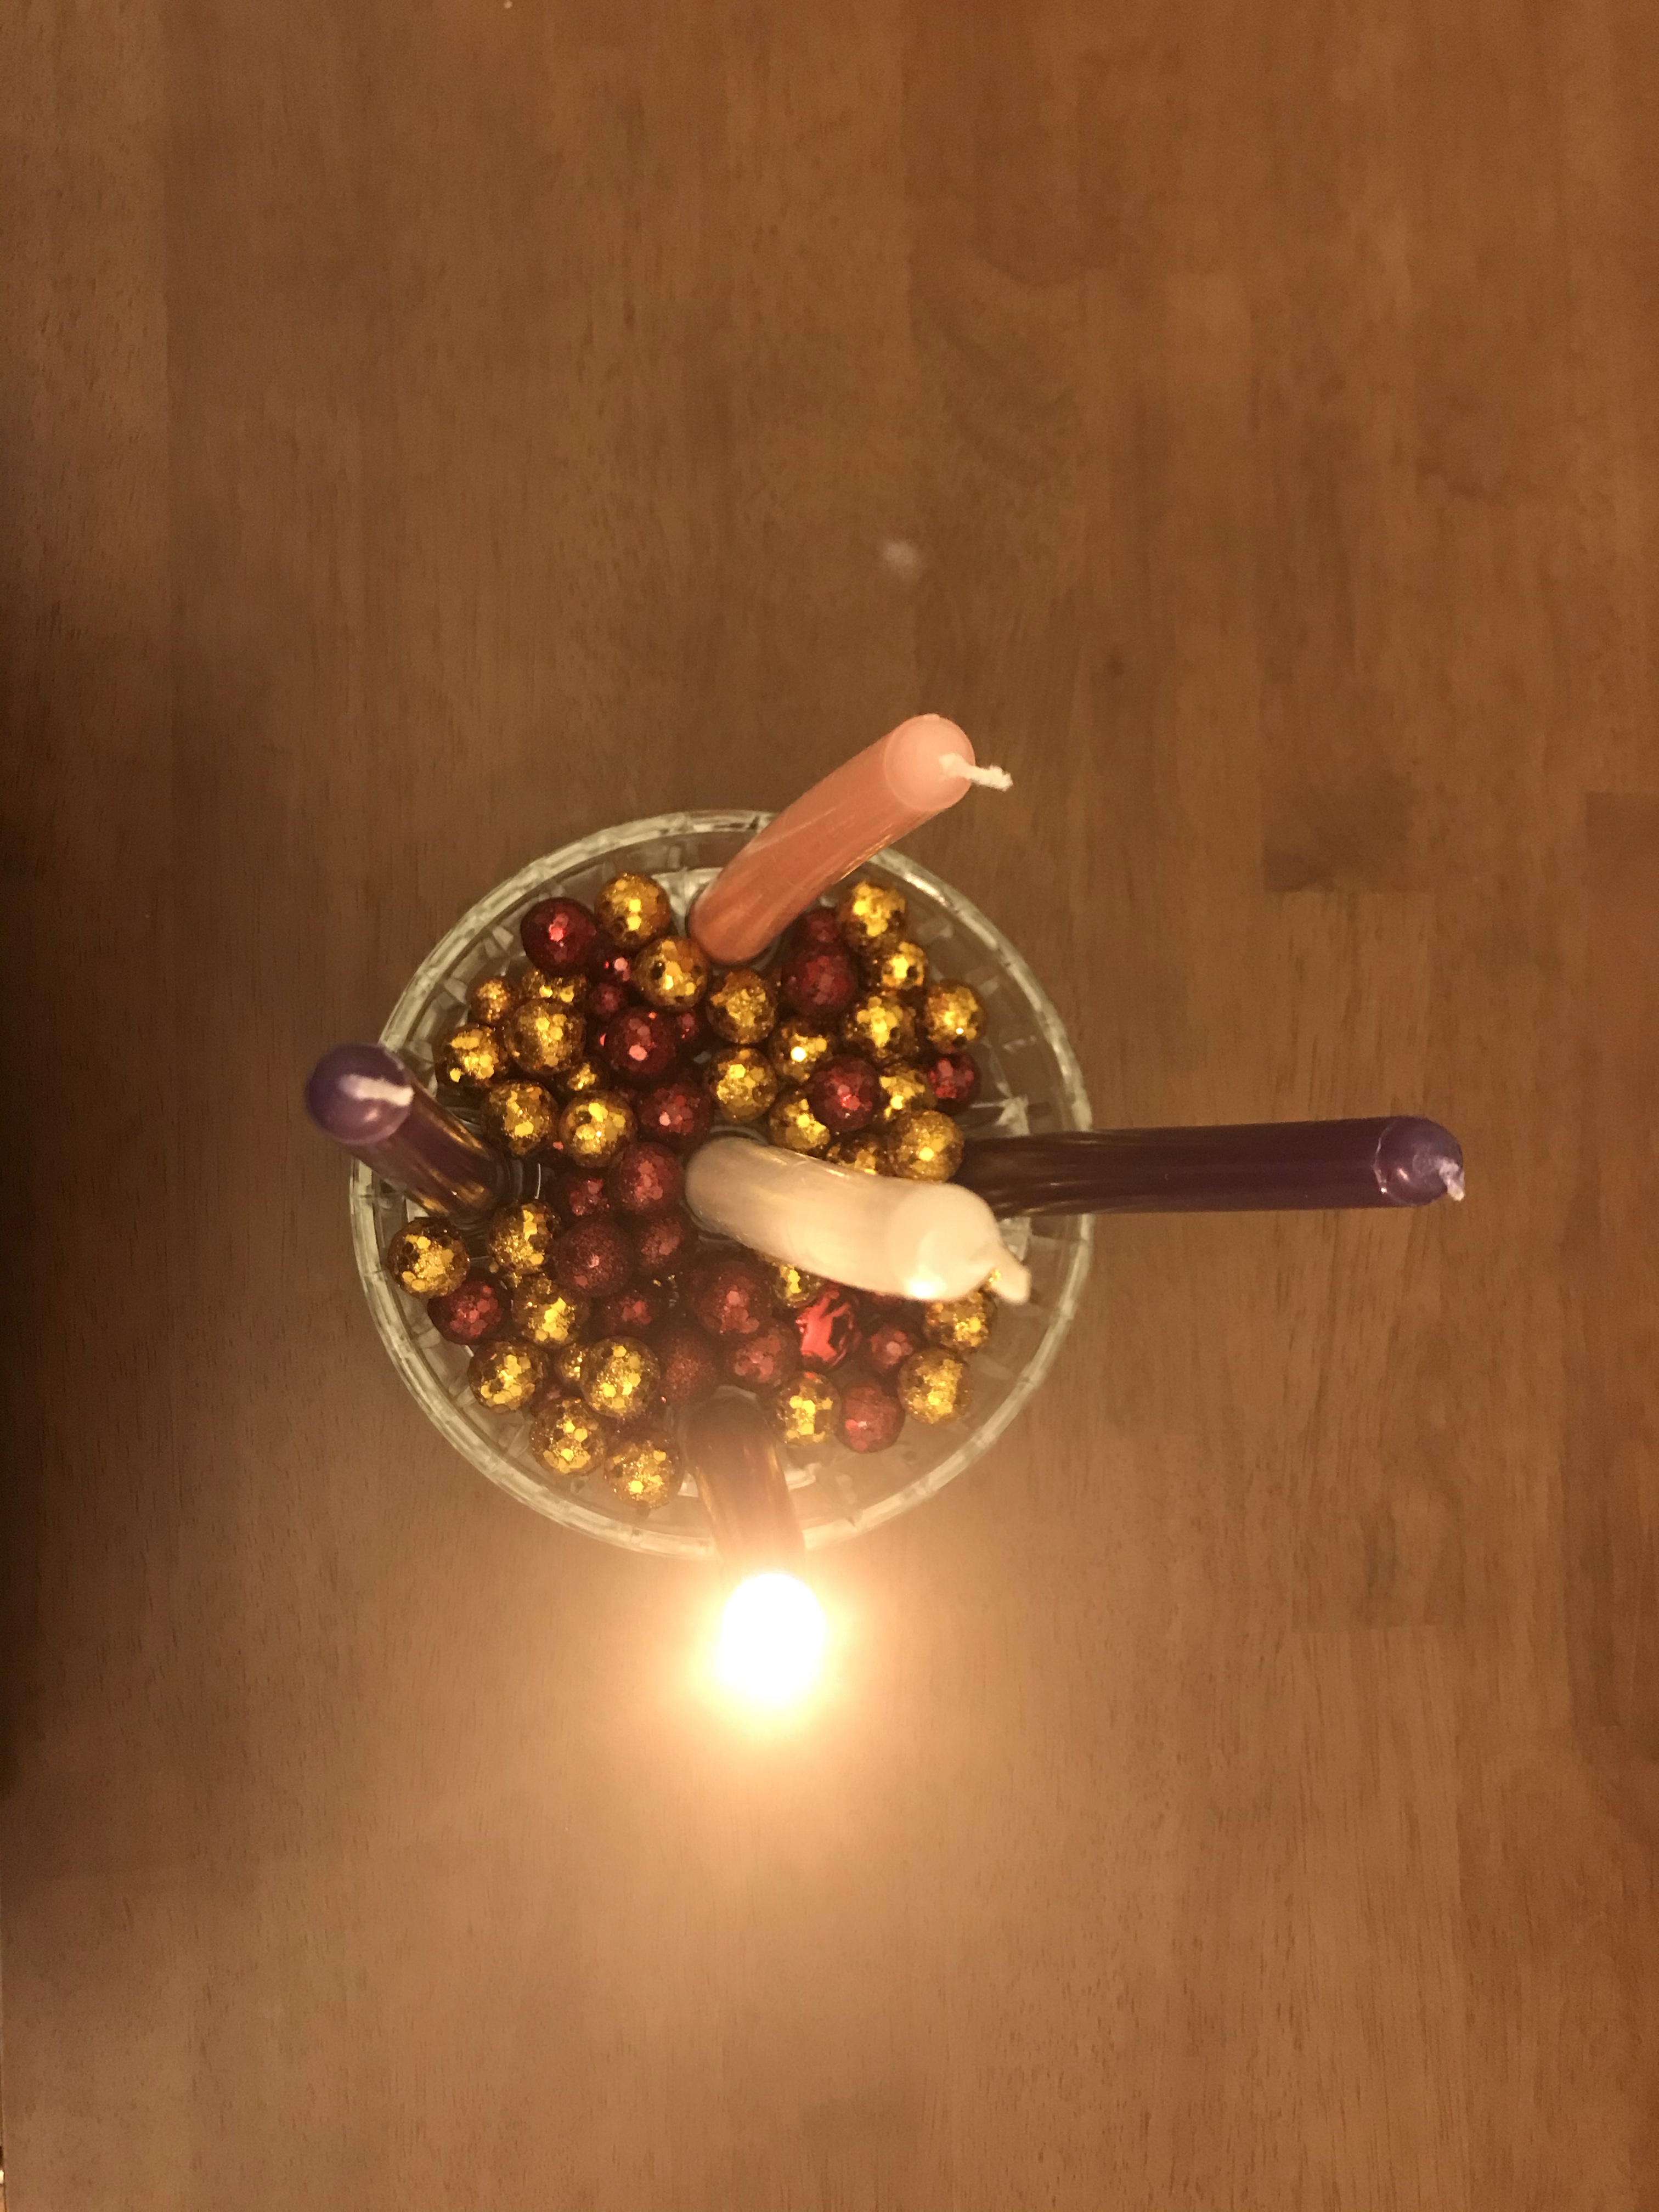
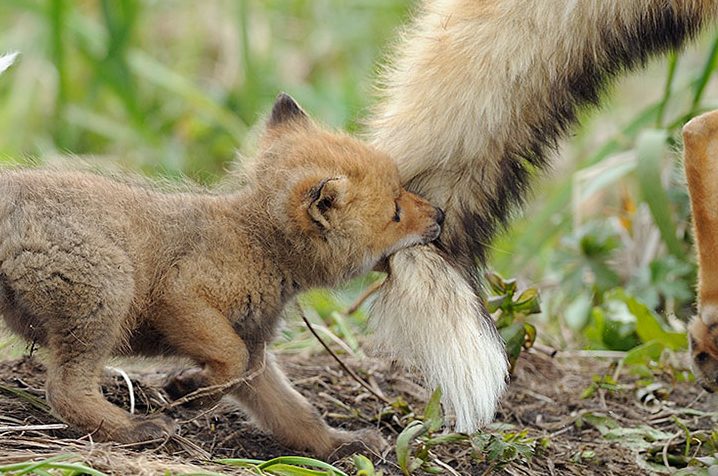
Above, scenes from our Advent wreath making project. Using recycled parts but new candles, we made an Advent wreath for everyone at church who asked, about 10 in all.
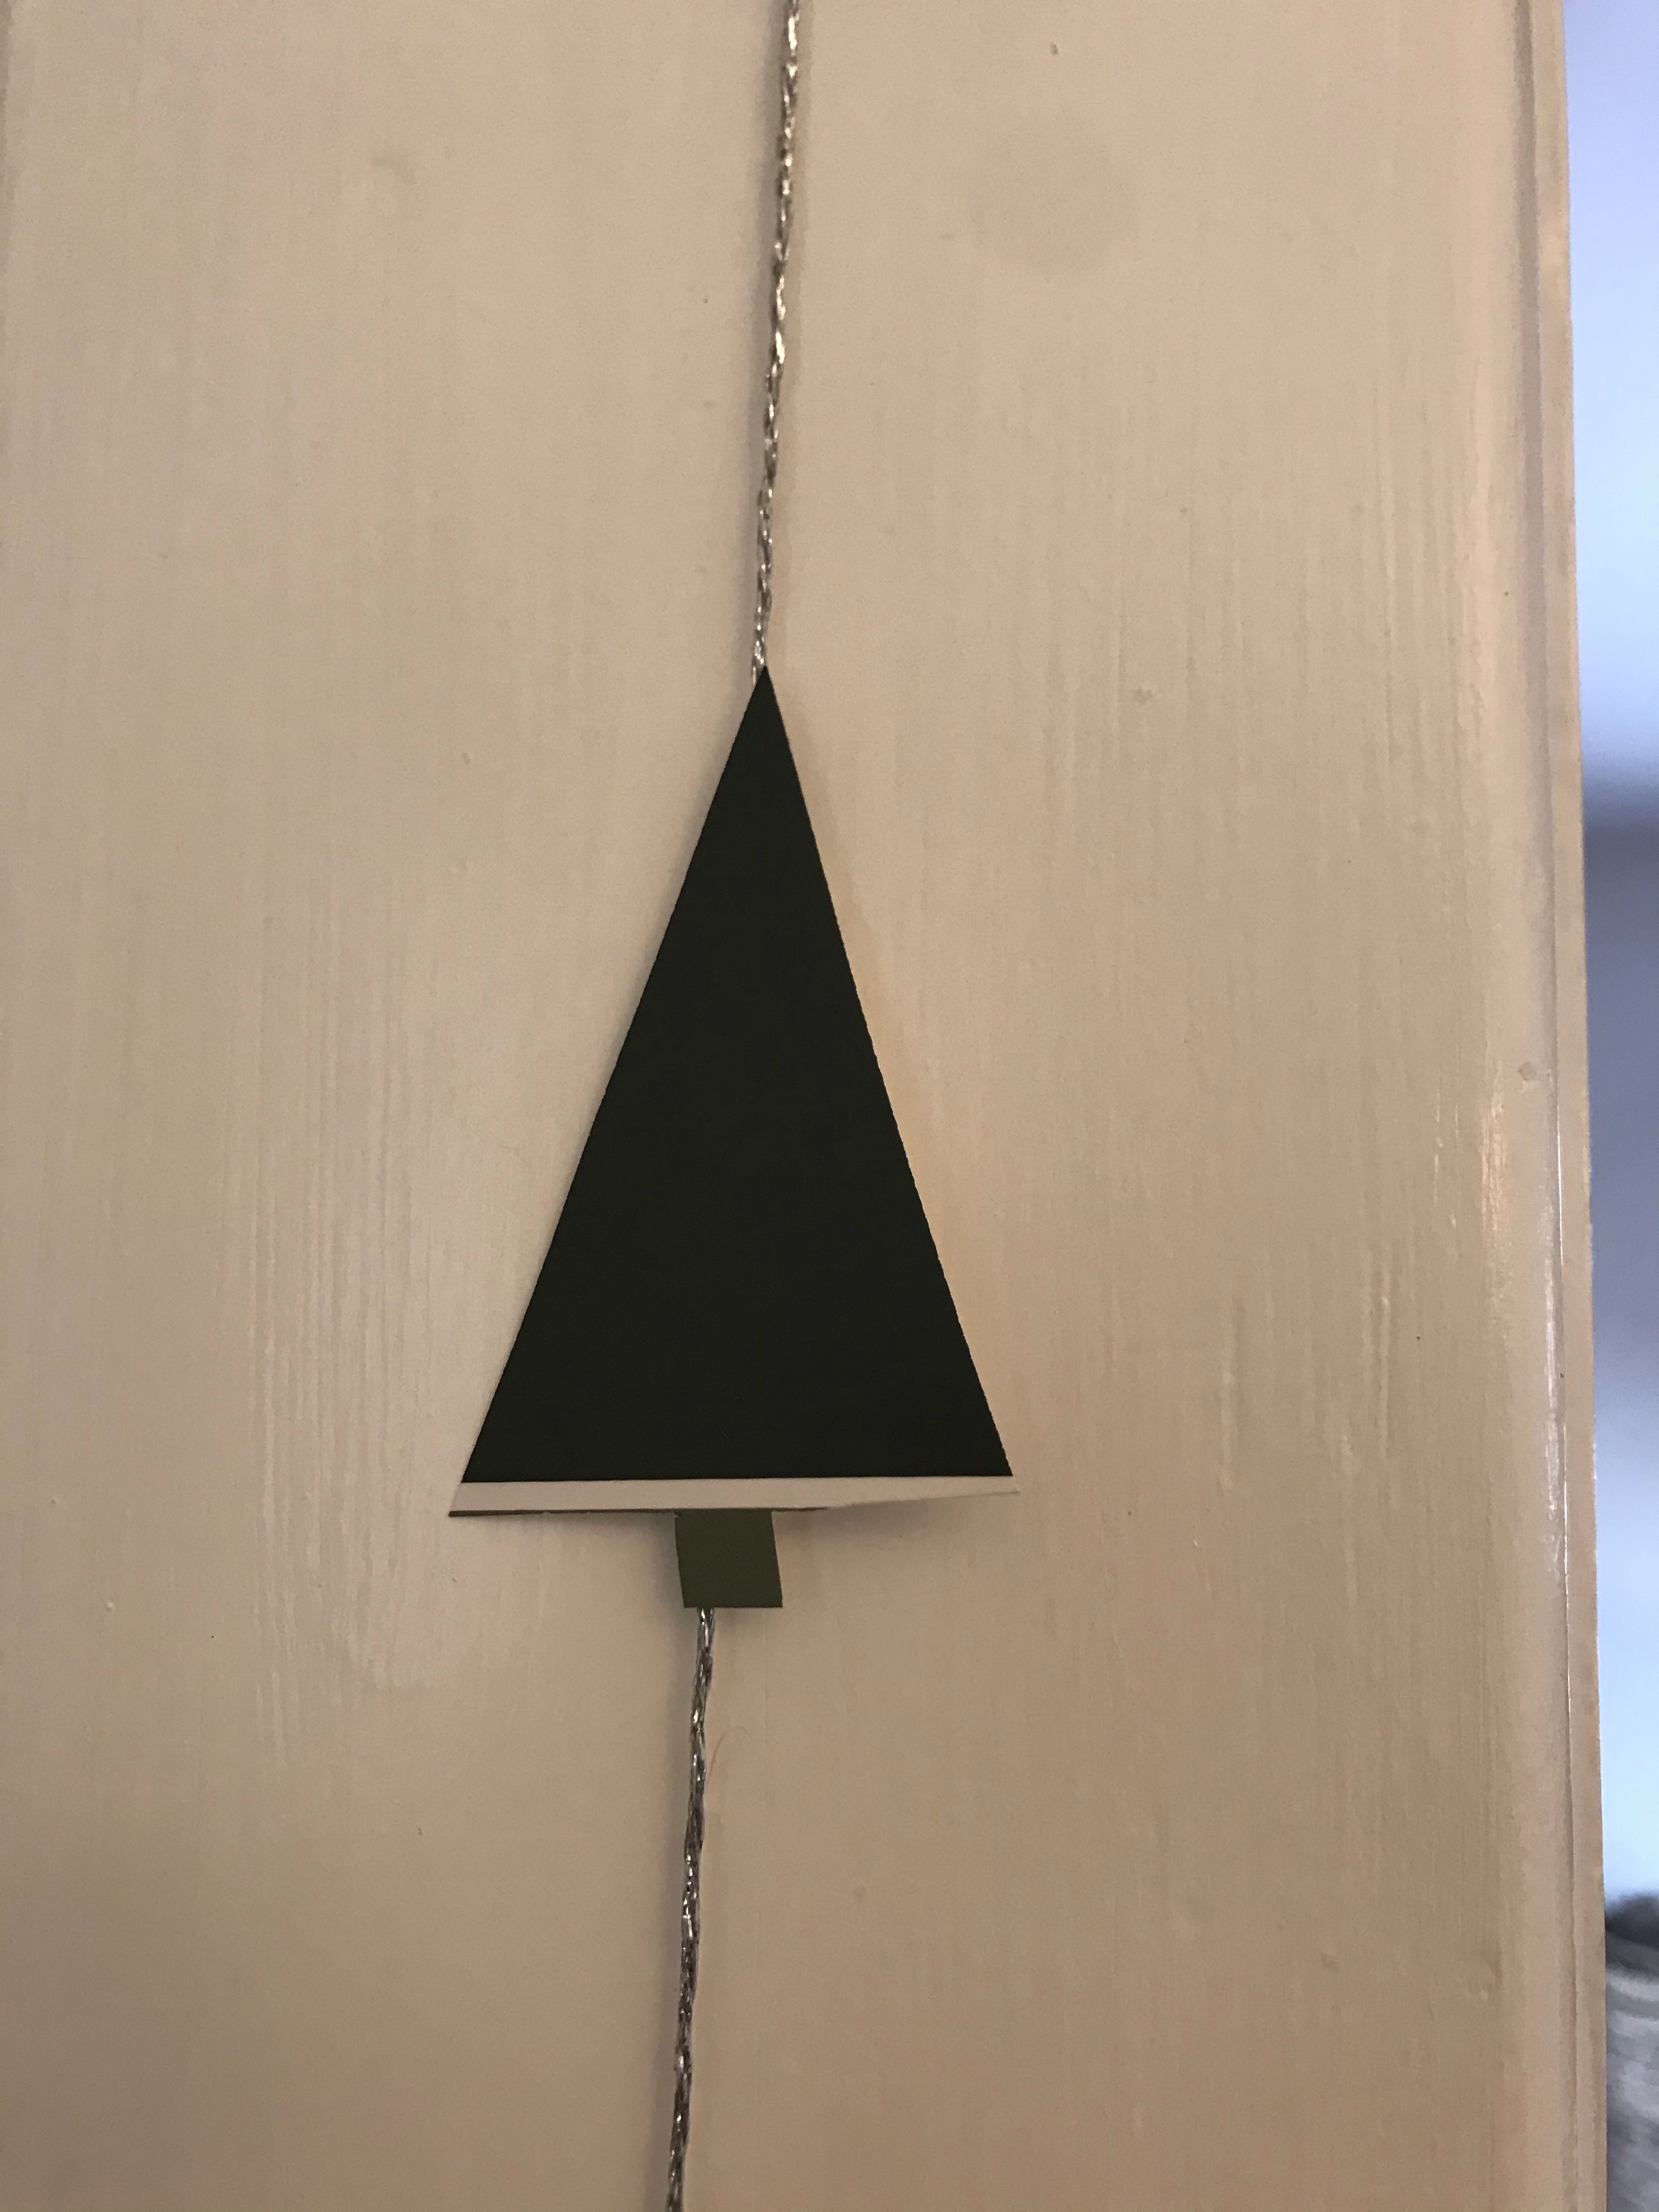
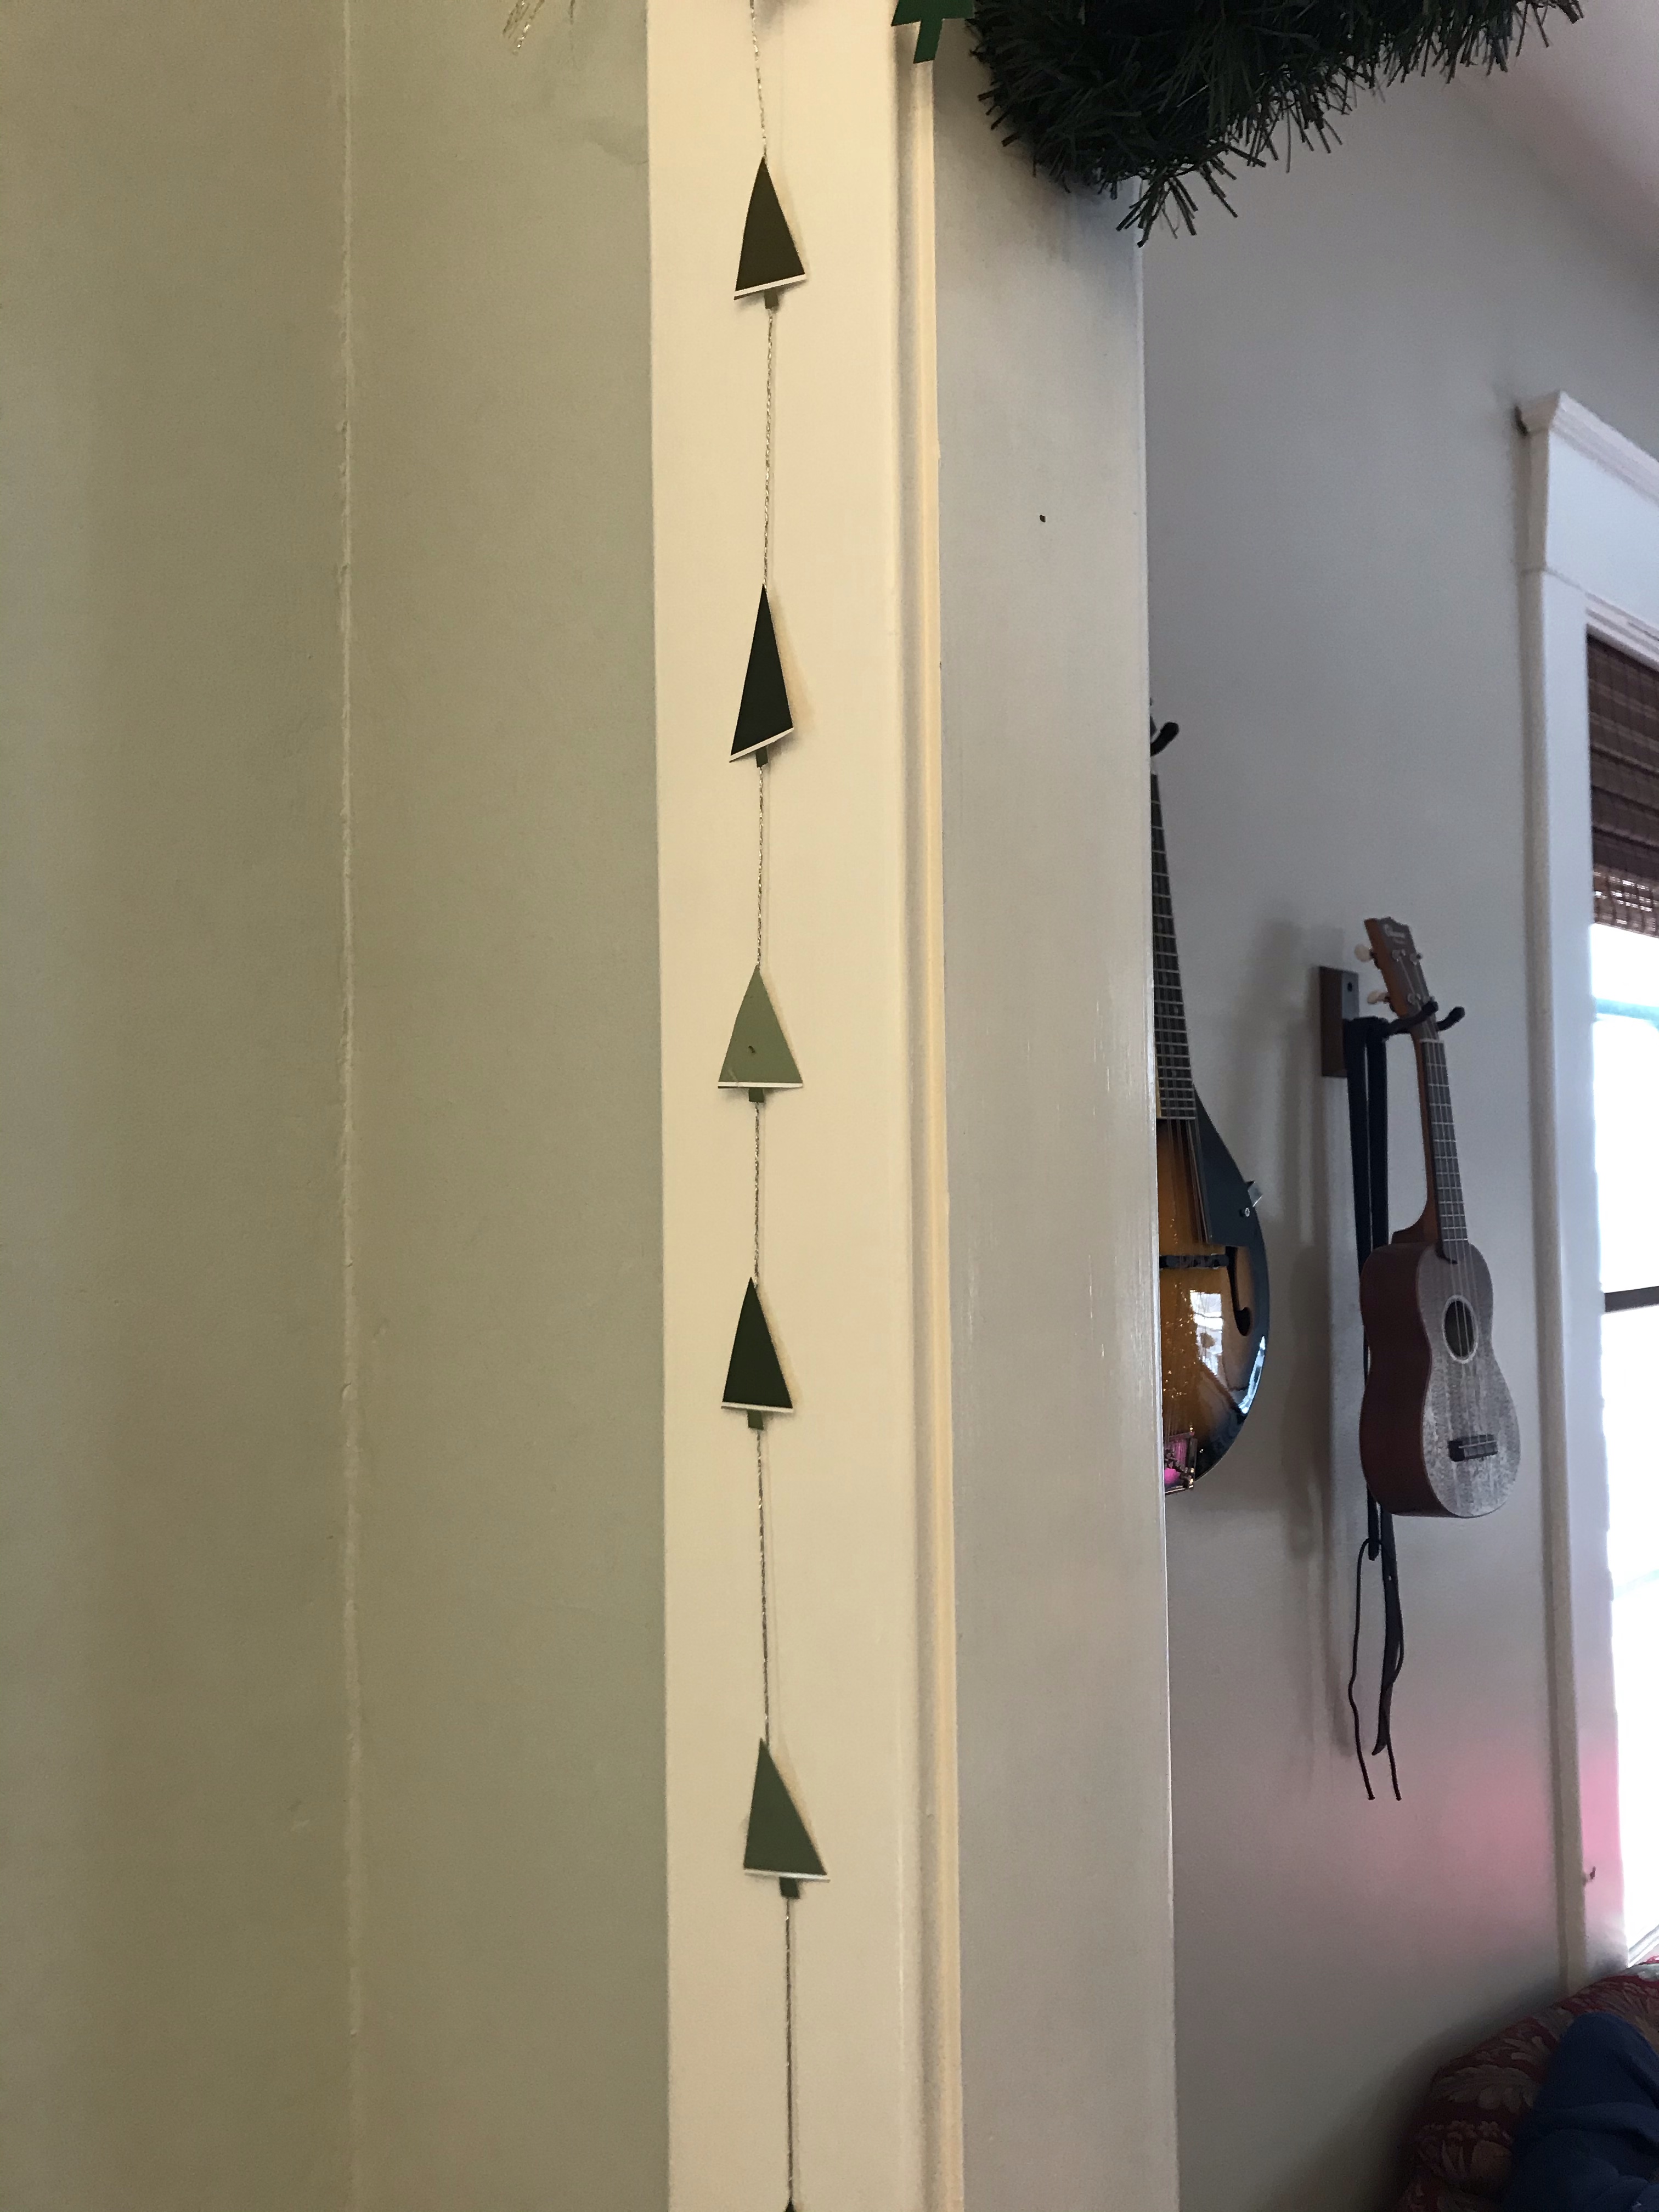
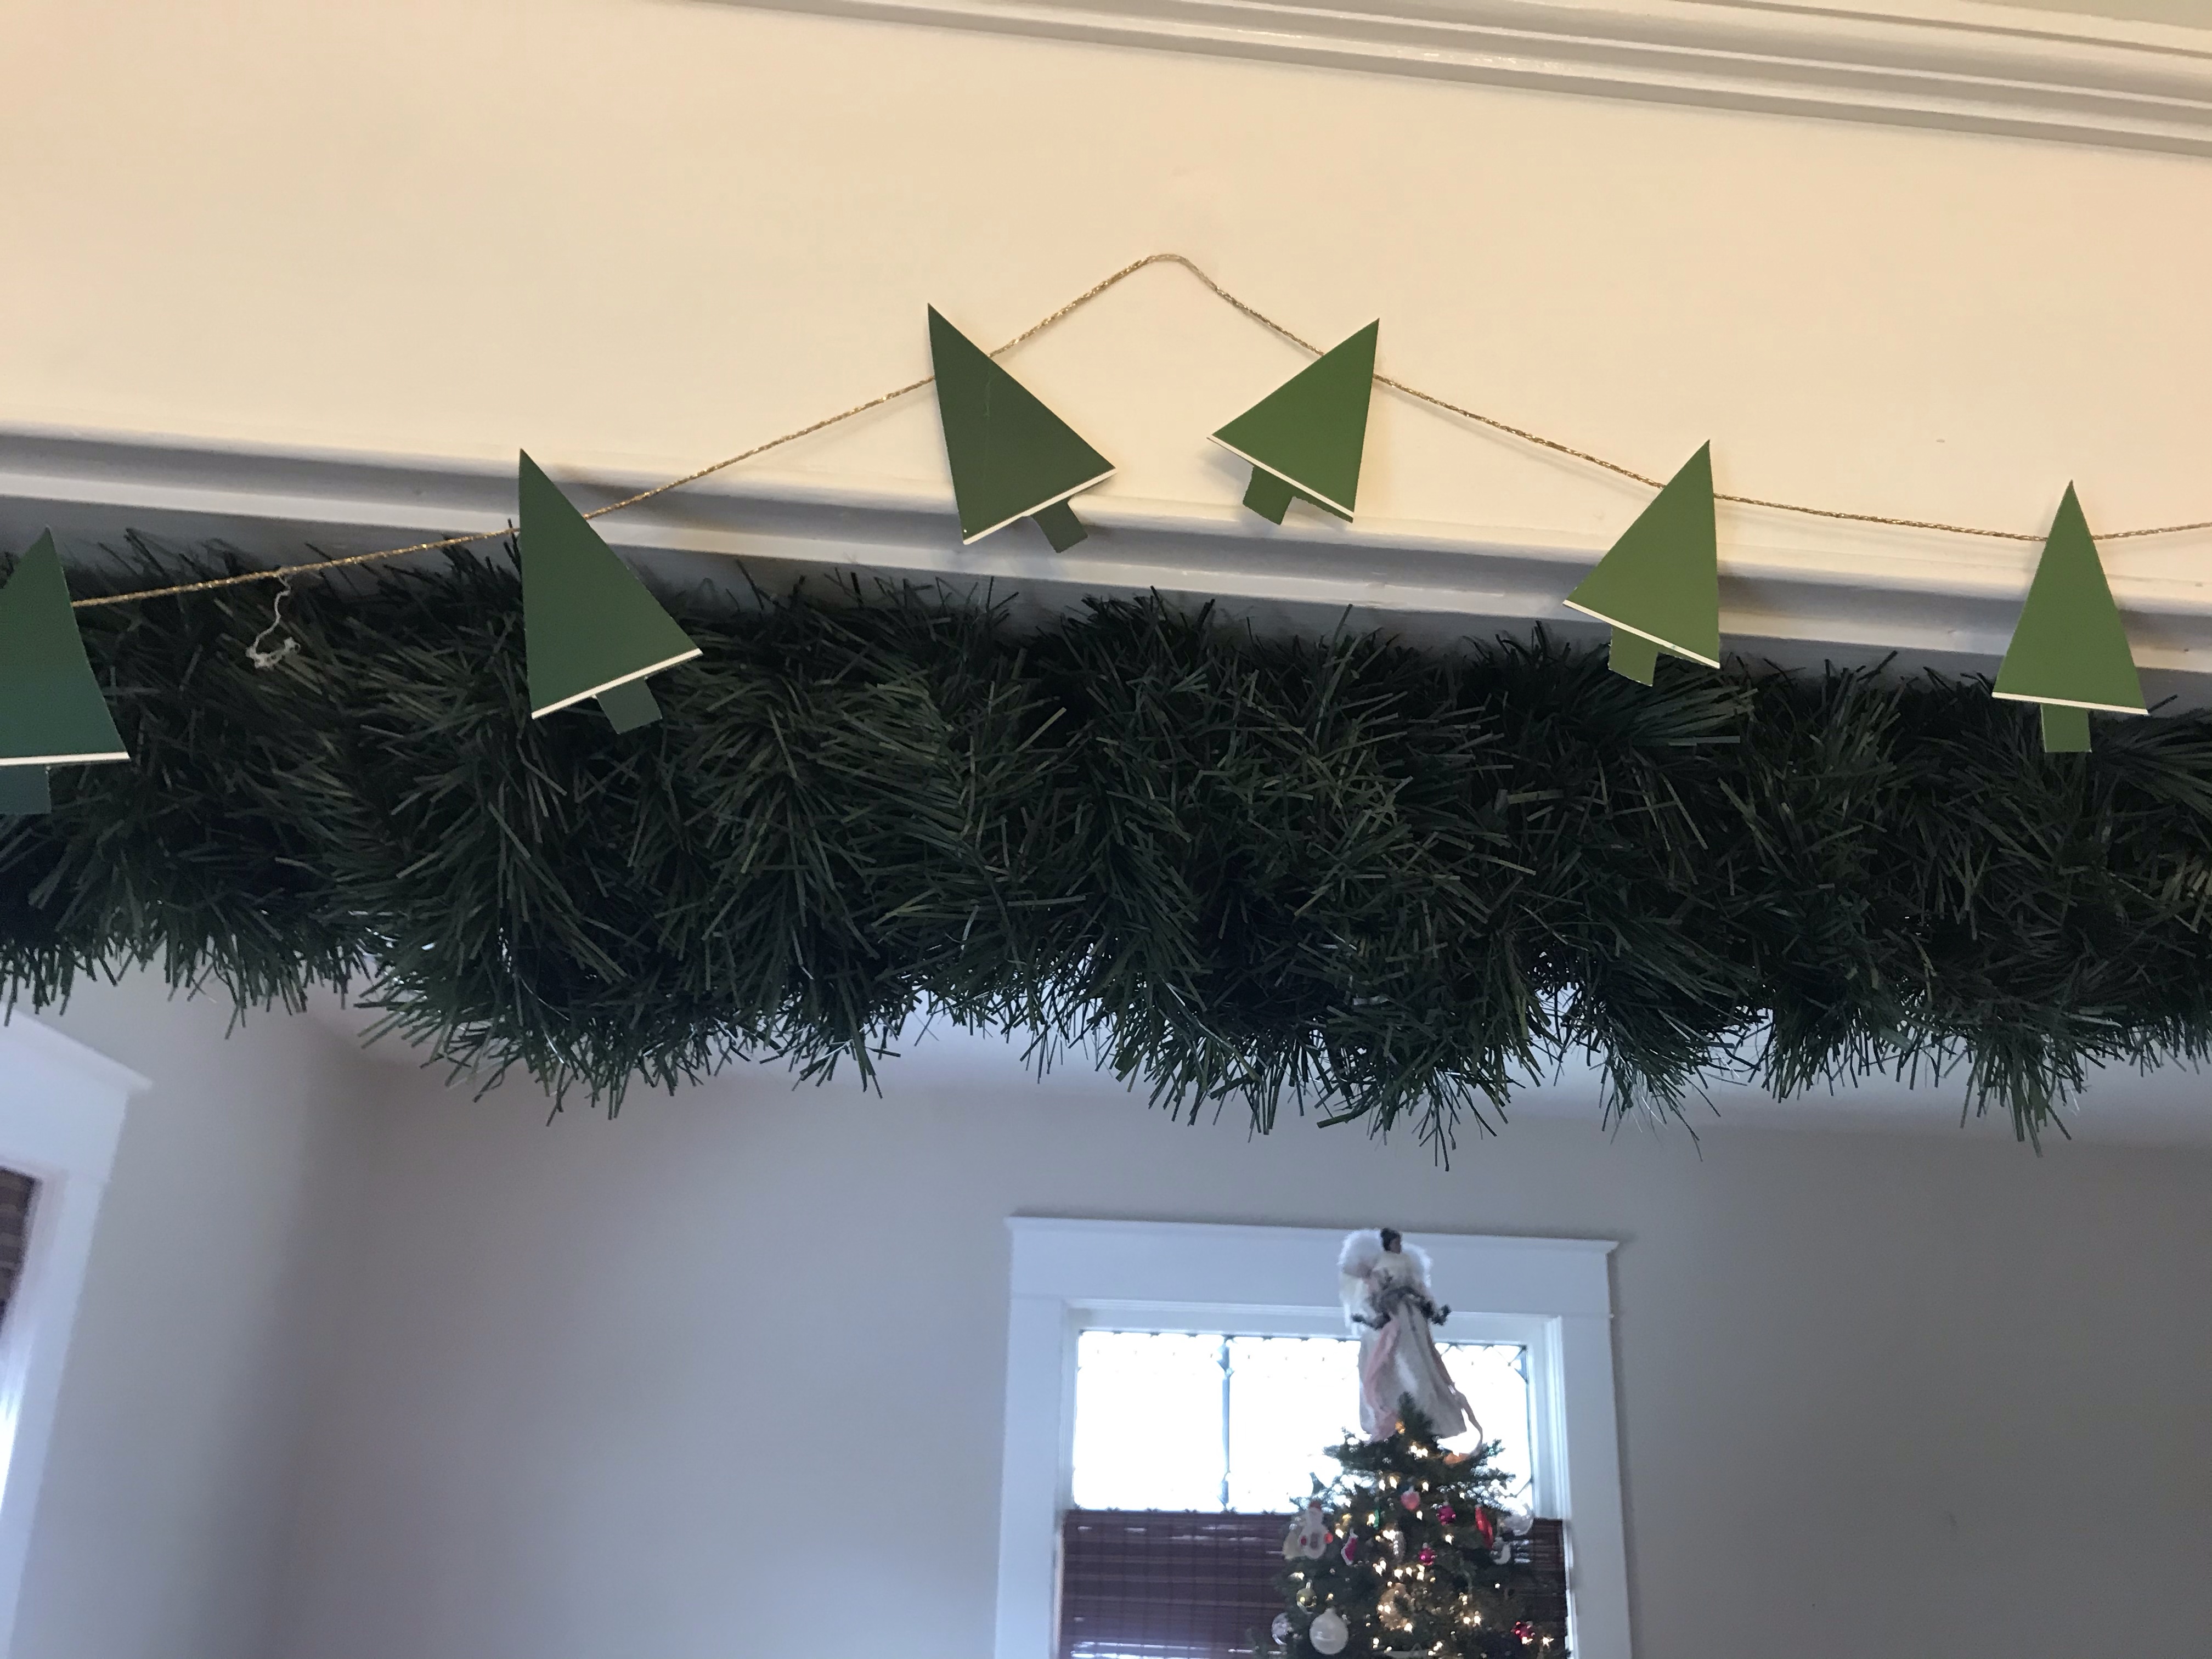

During one of our weekly Christmas crafts, we made garland from paint chip samples–trees and stars.
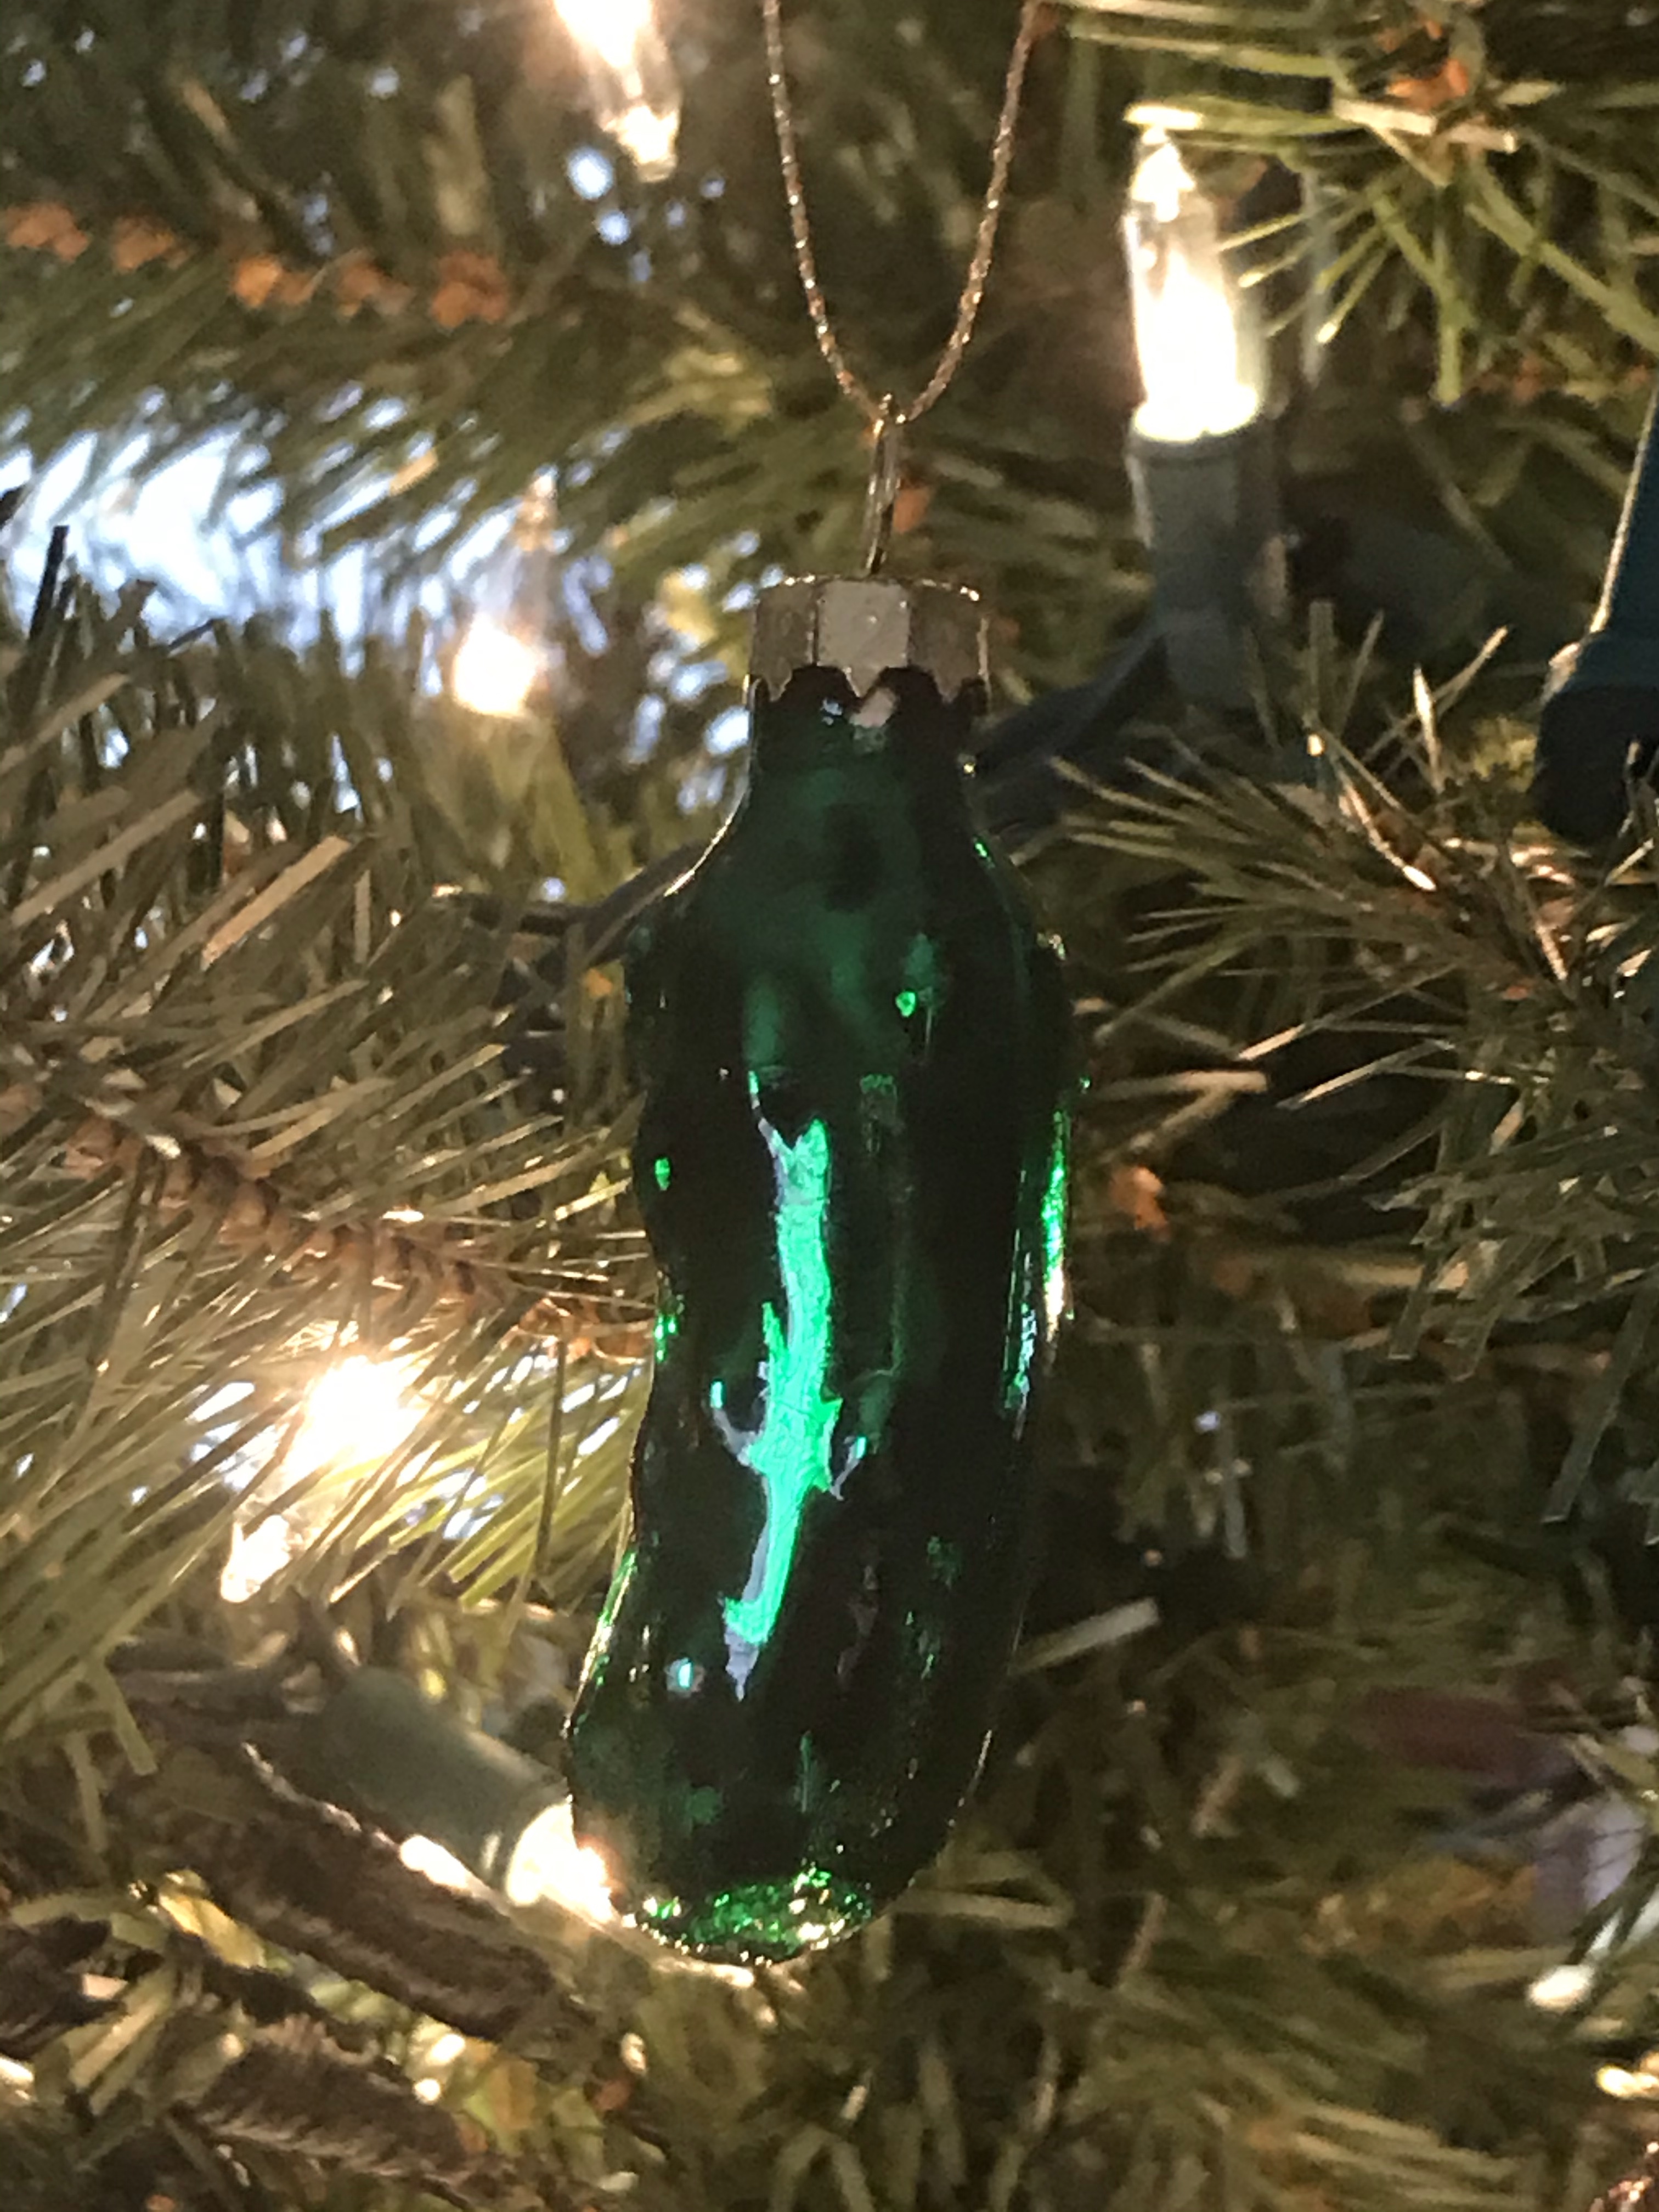
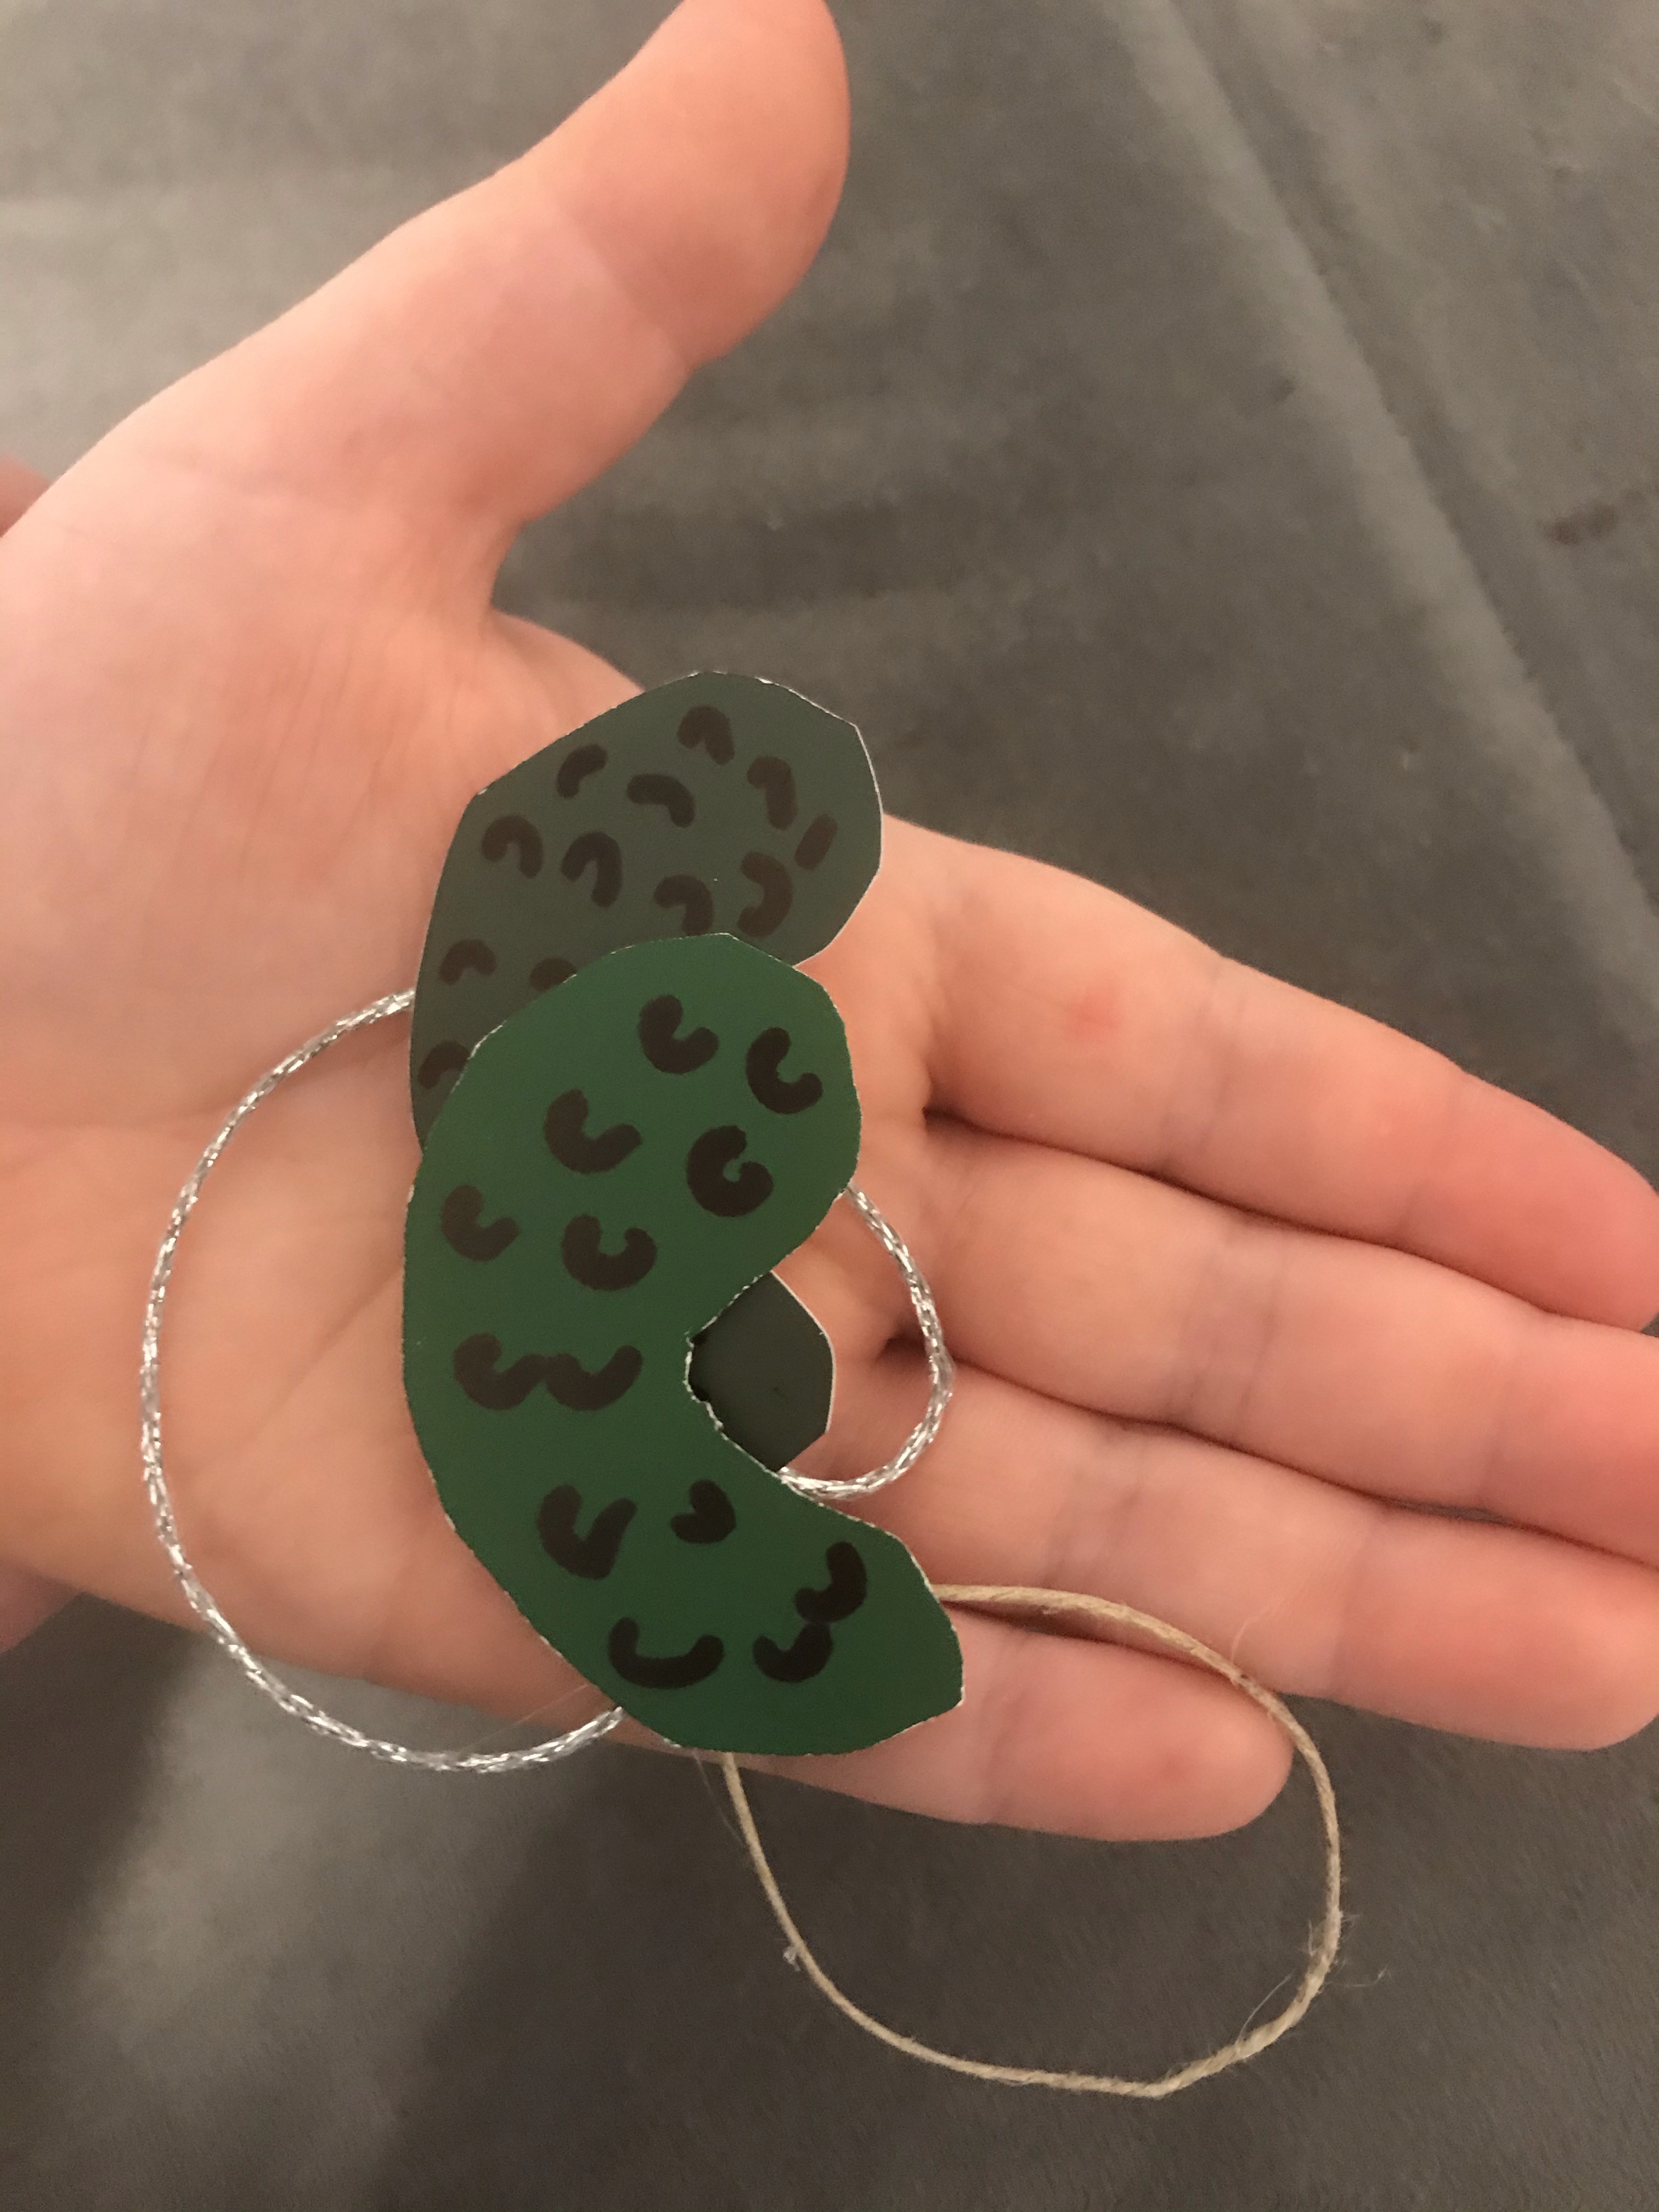
Do you have a Christmas pickle on your tree? We used paint chips to make 3 dozen of them to share with neighborhood friends.

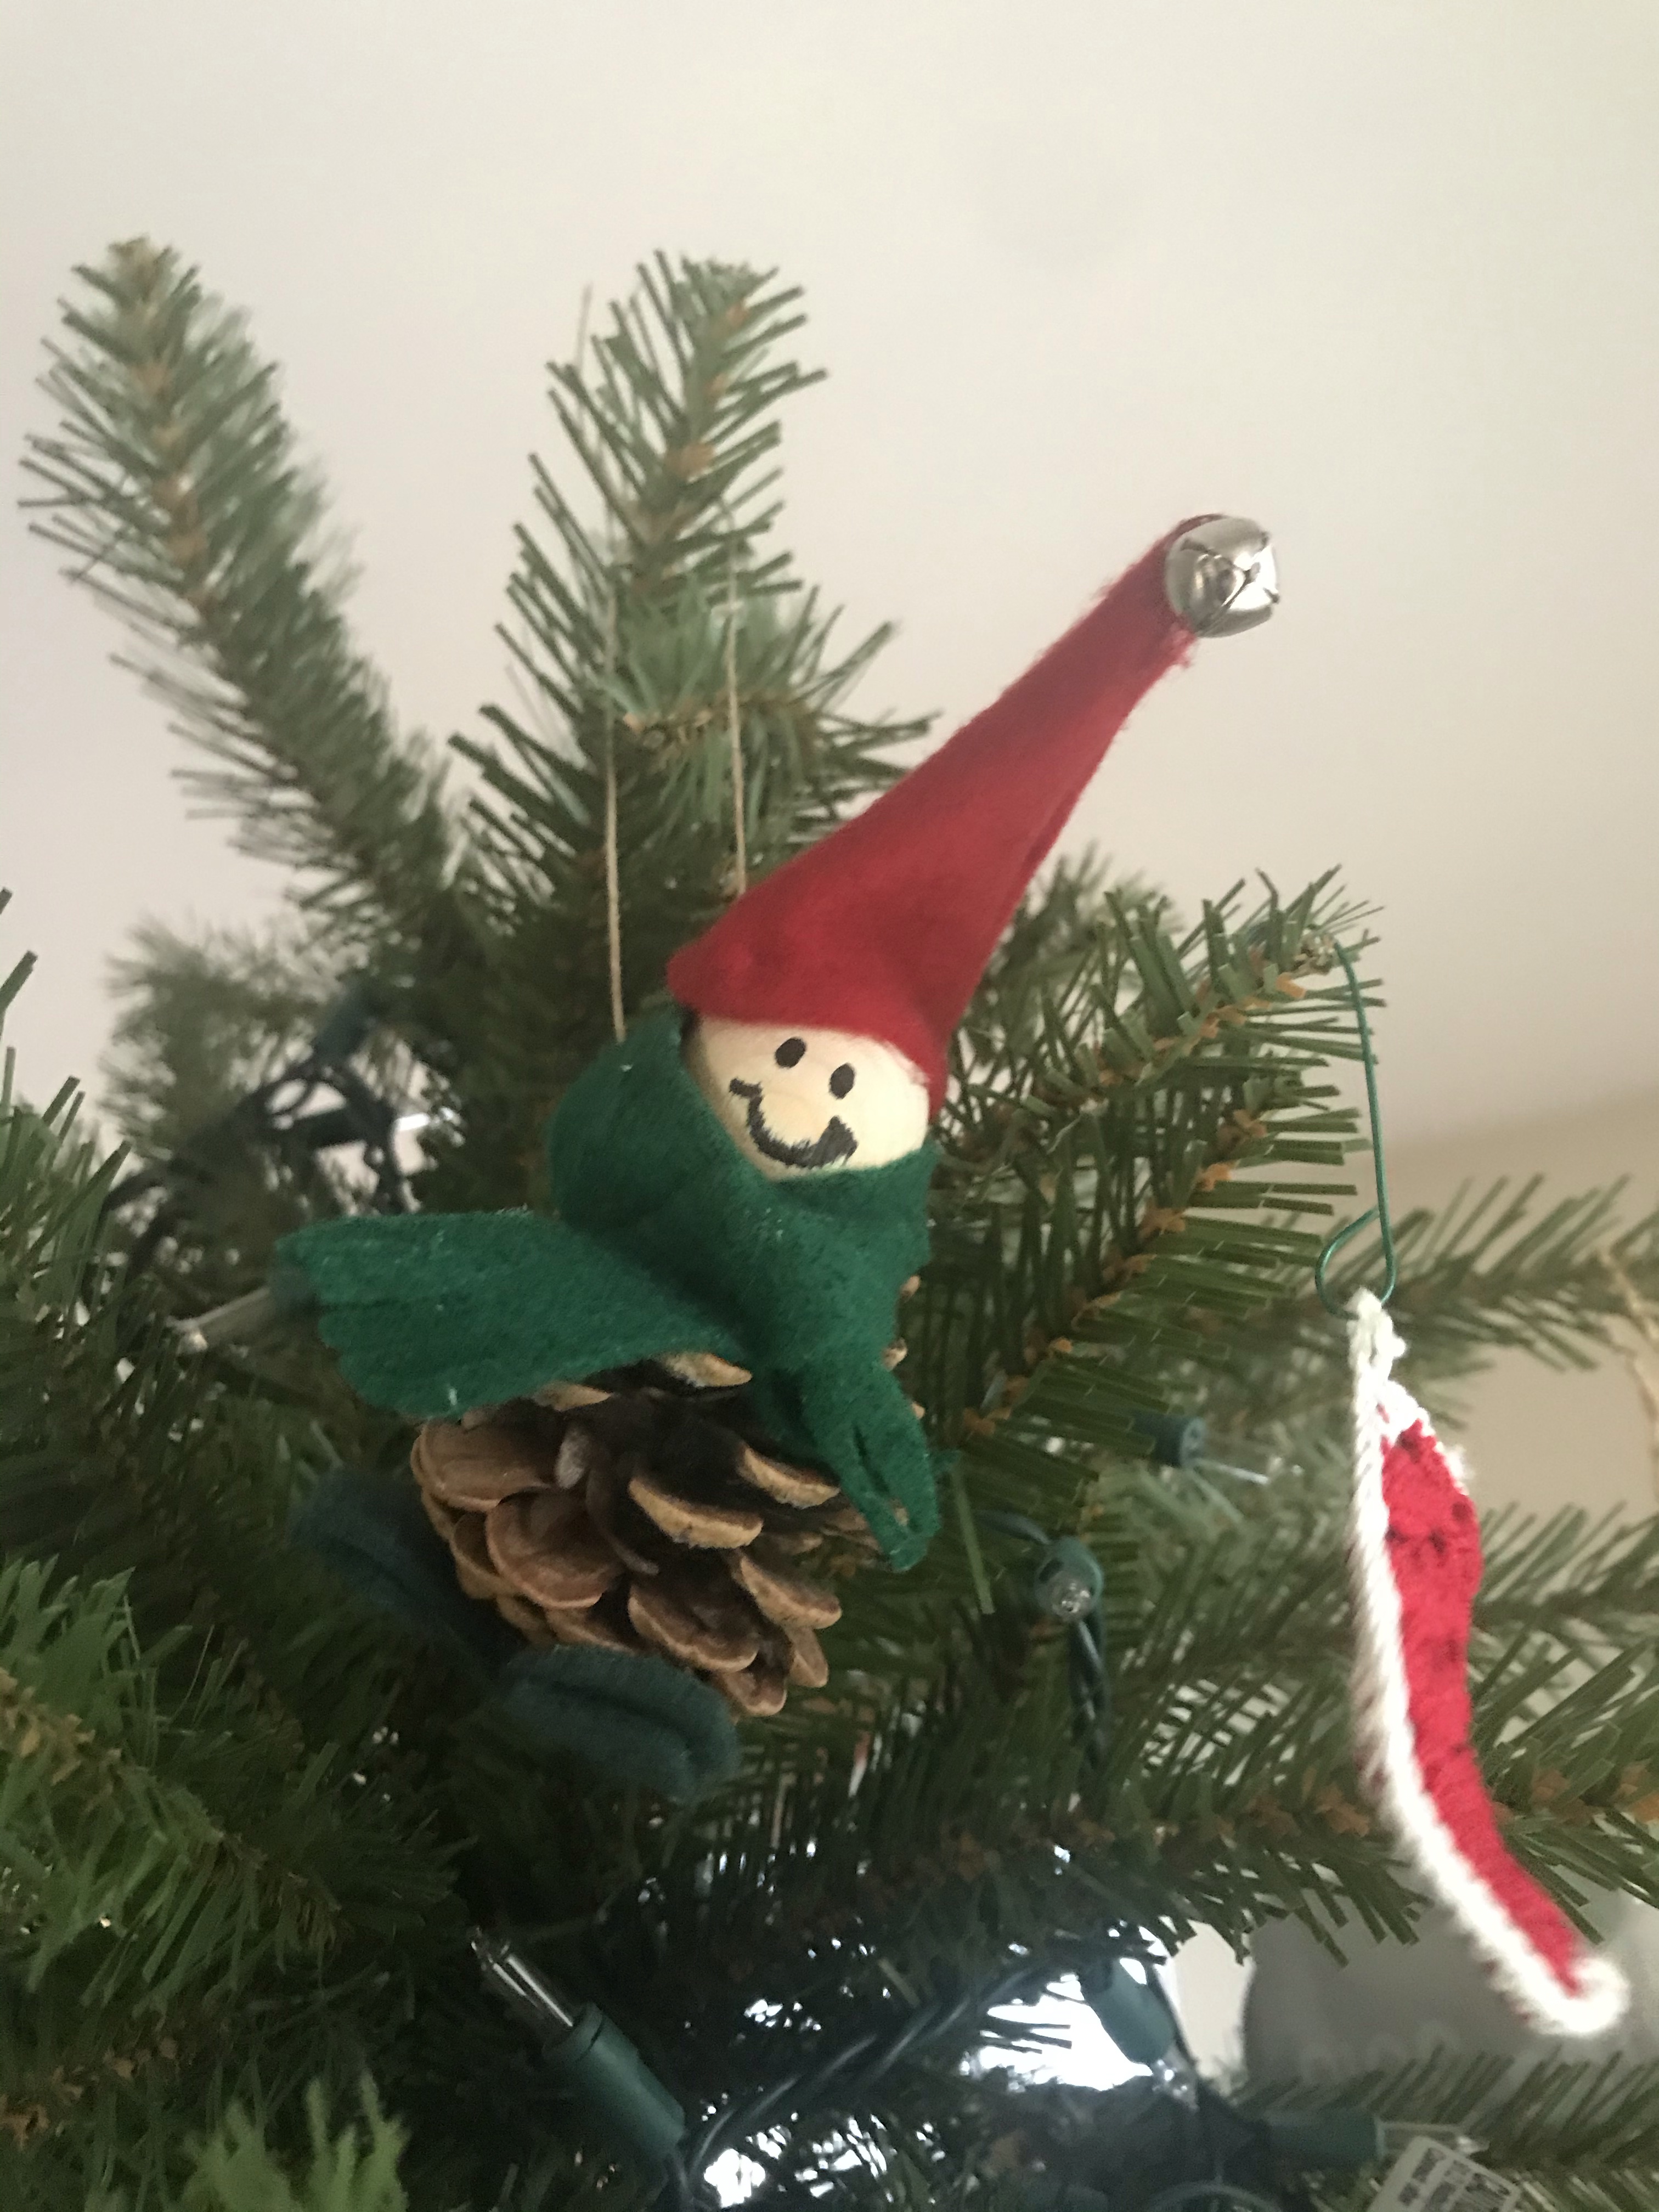


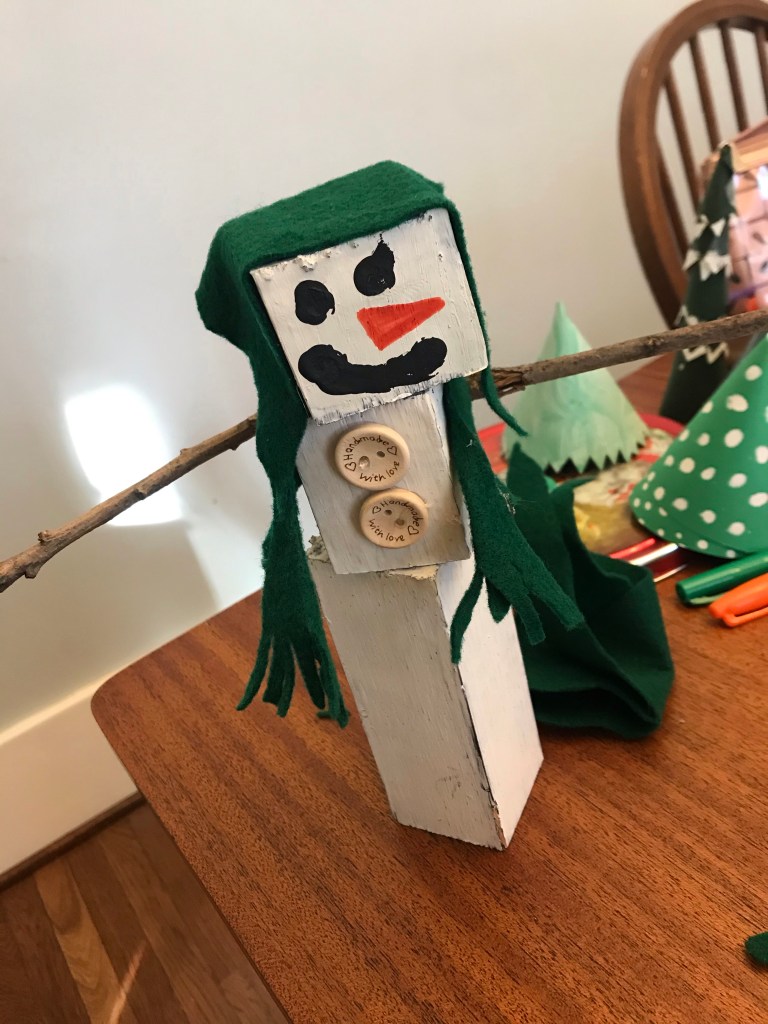
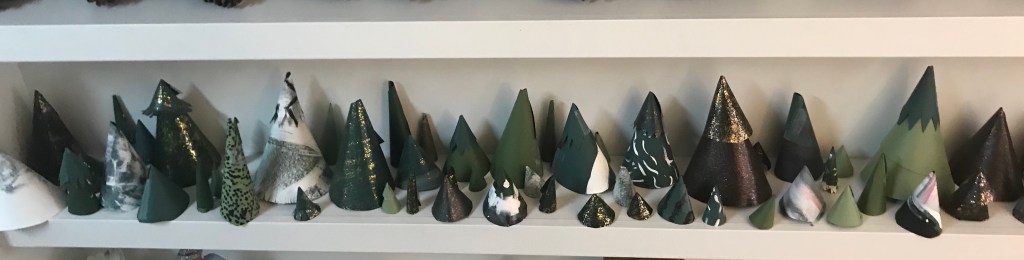
More Christmas crafts! Trees from a paper forest, a pinecone elf, and snowpeople made from wooden blocks.

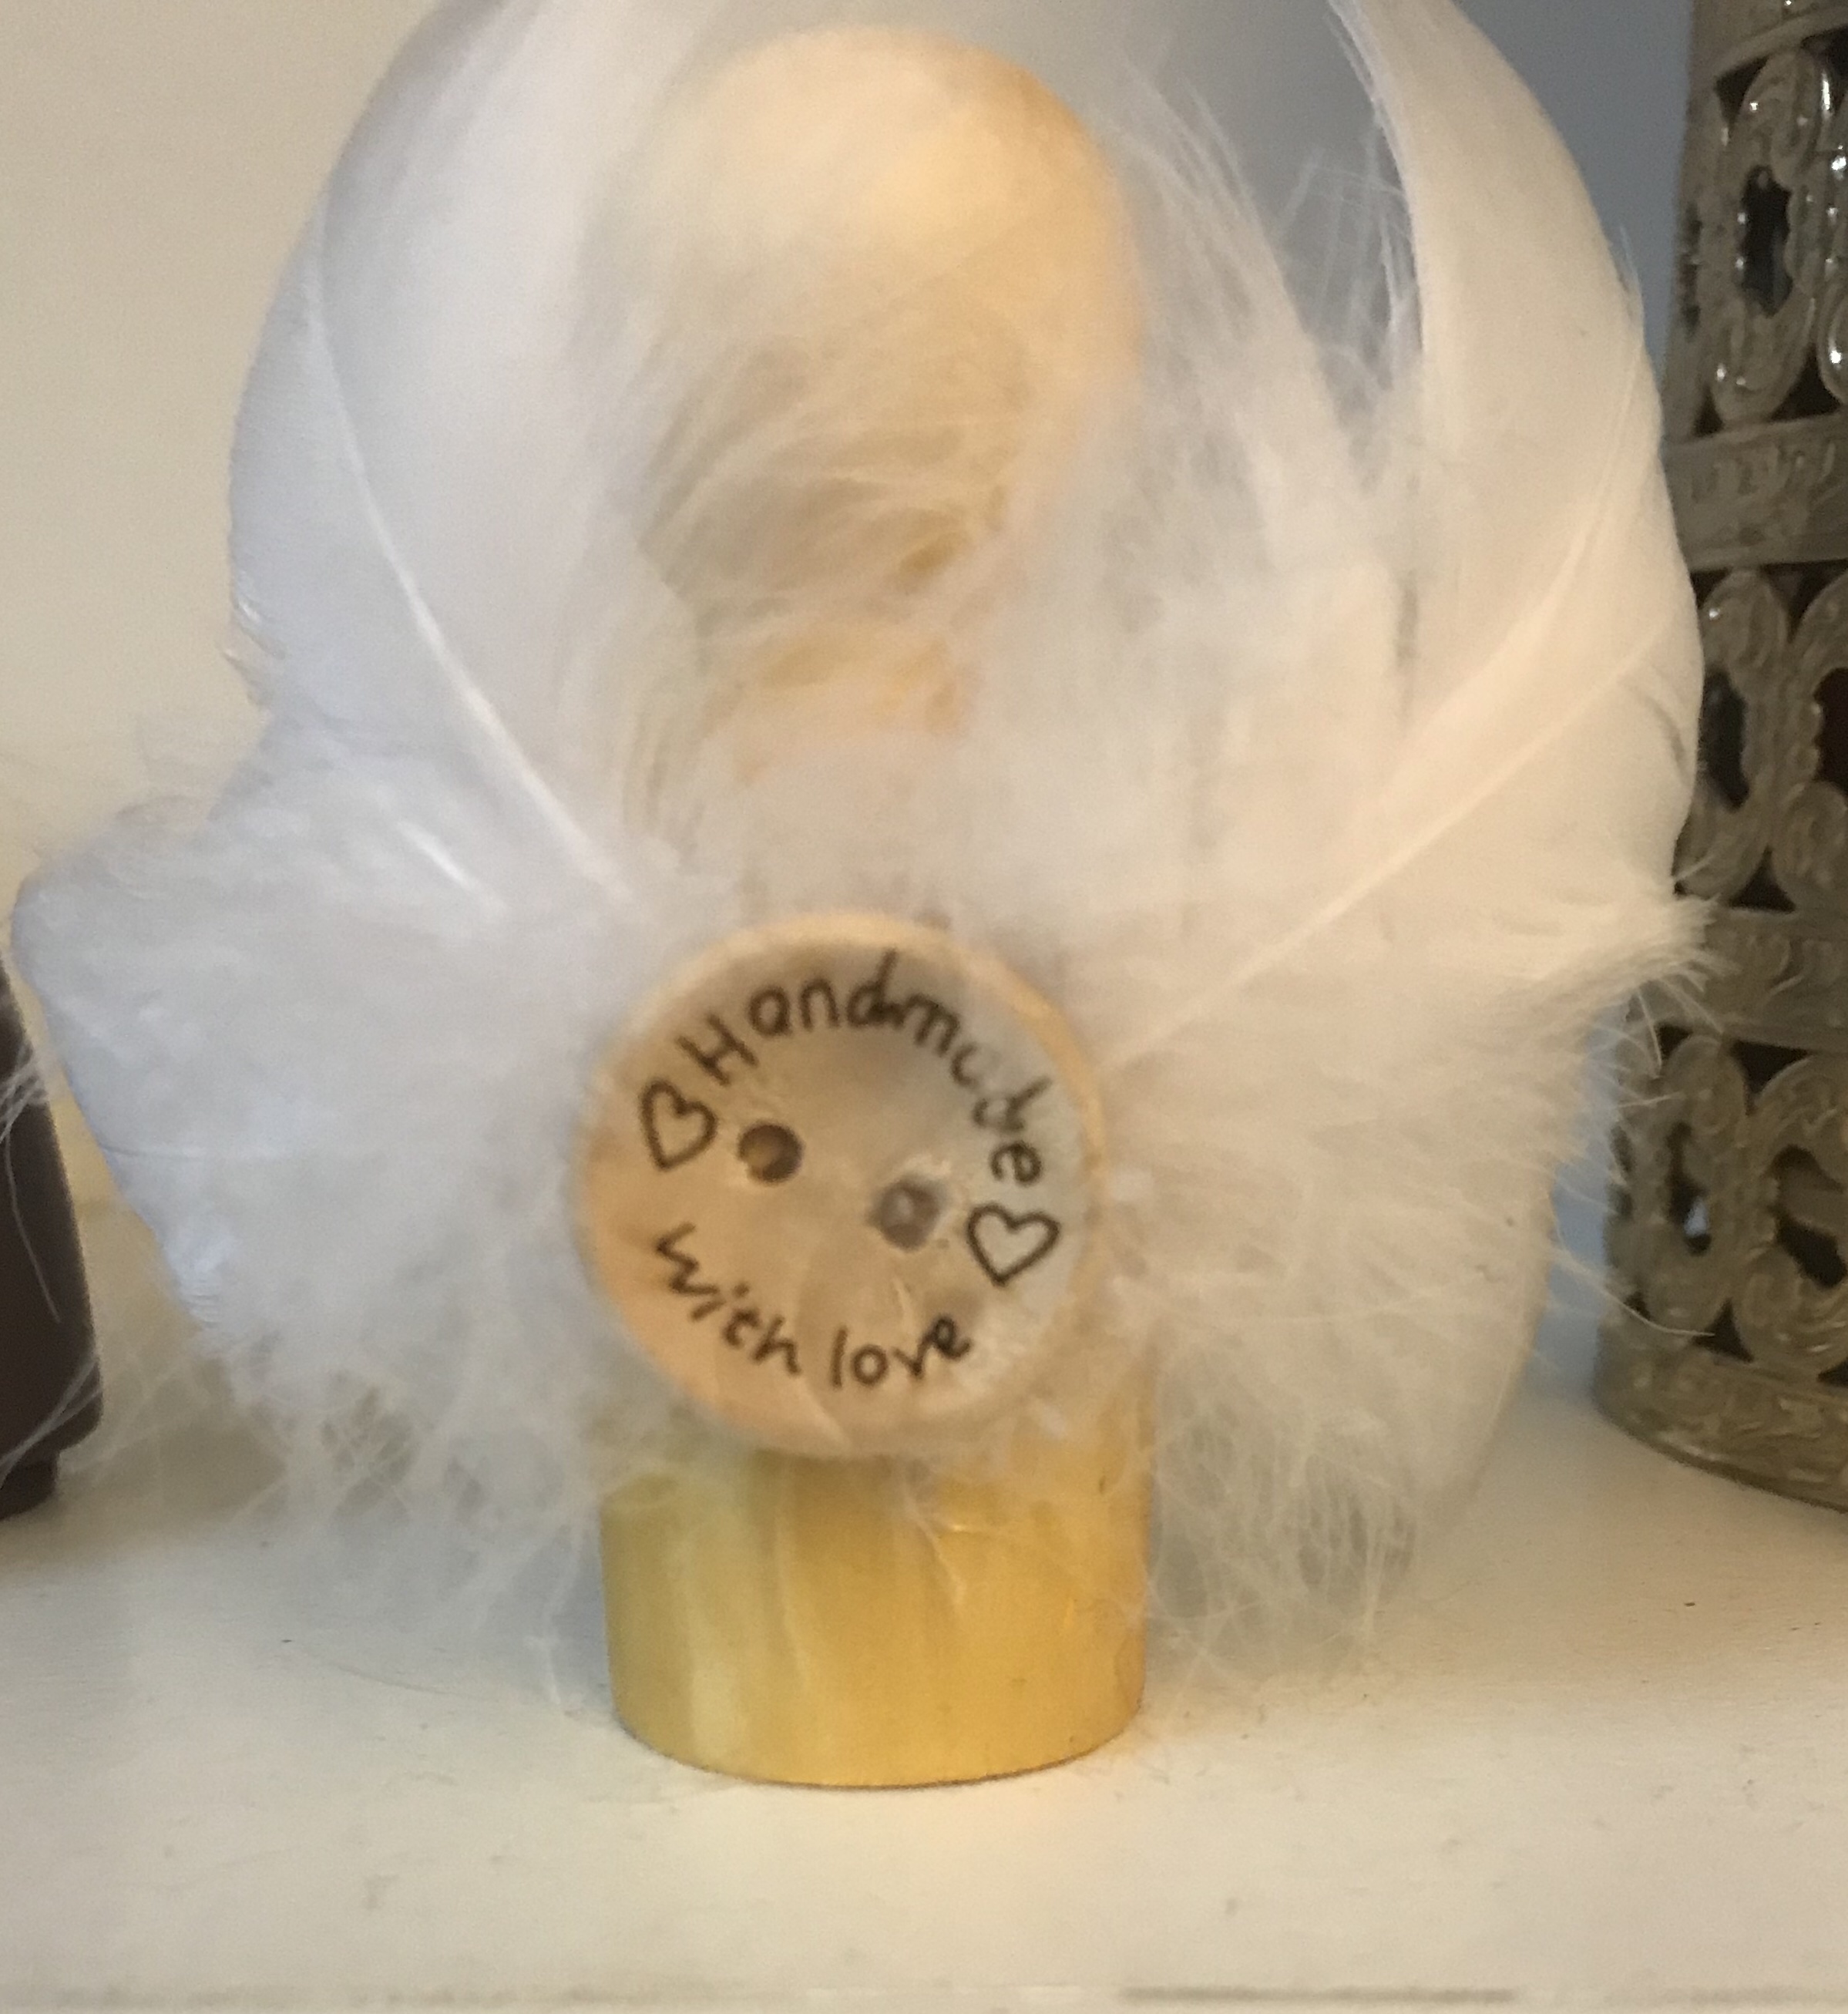
Last year, we made every family with children at church a small Holy Family painted on tiny rocks. This year, we made every family with children a peg people Holy Family.
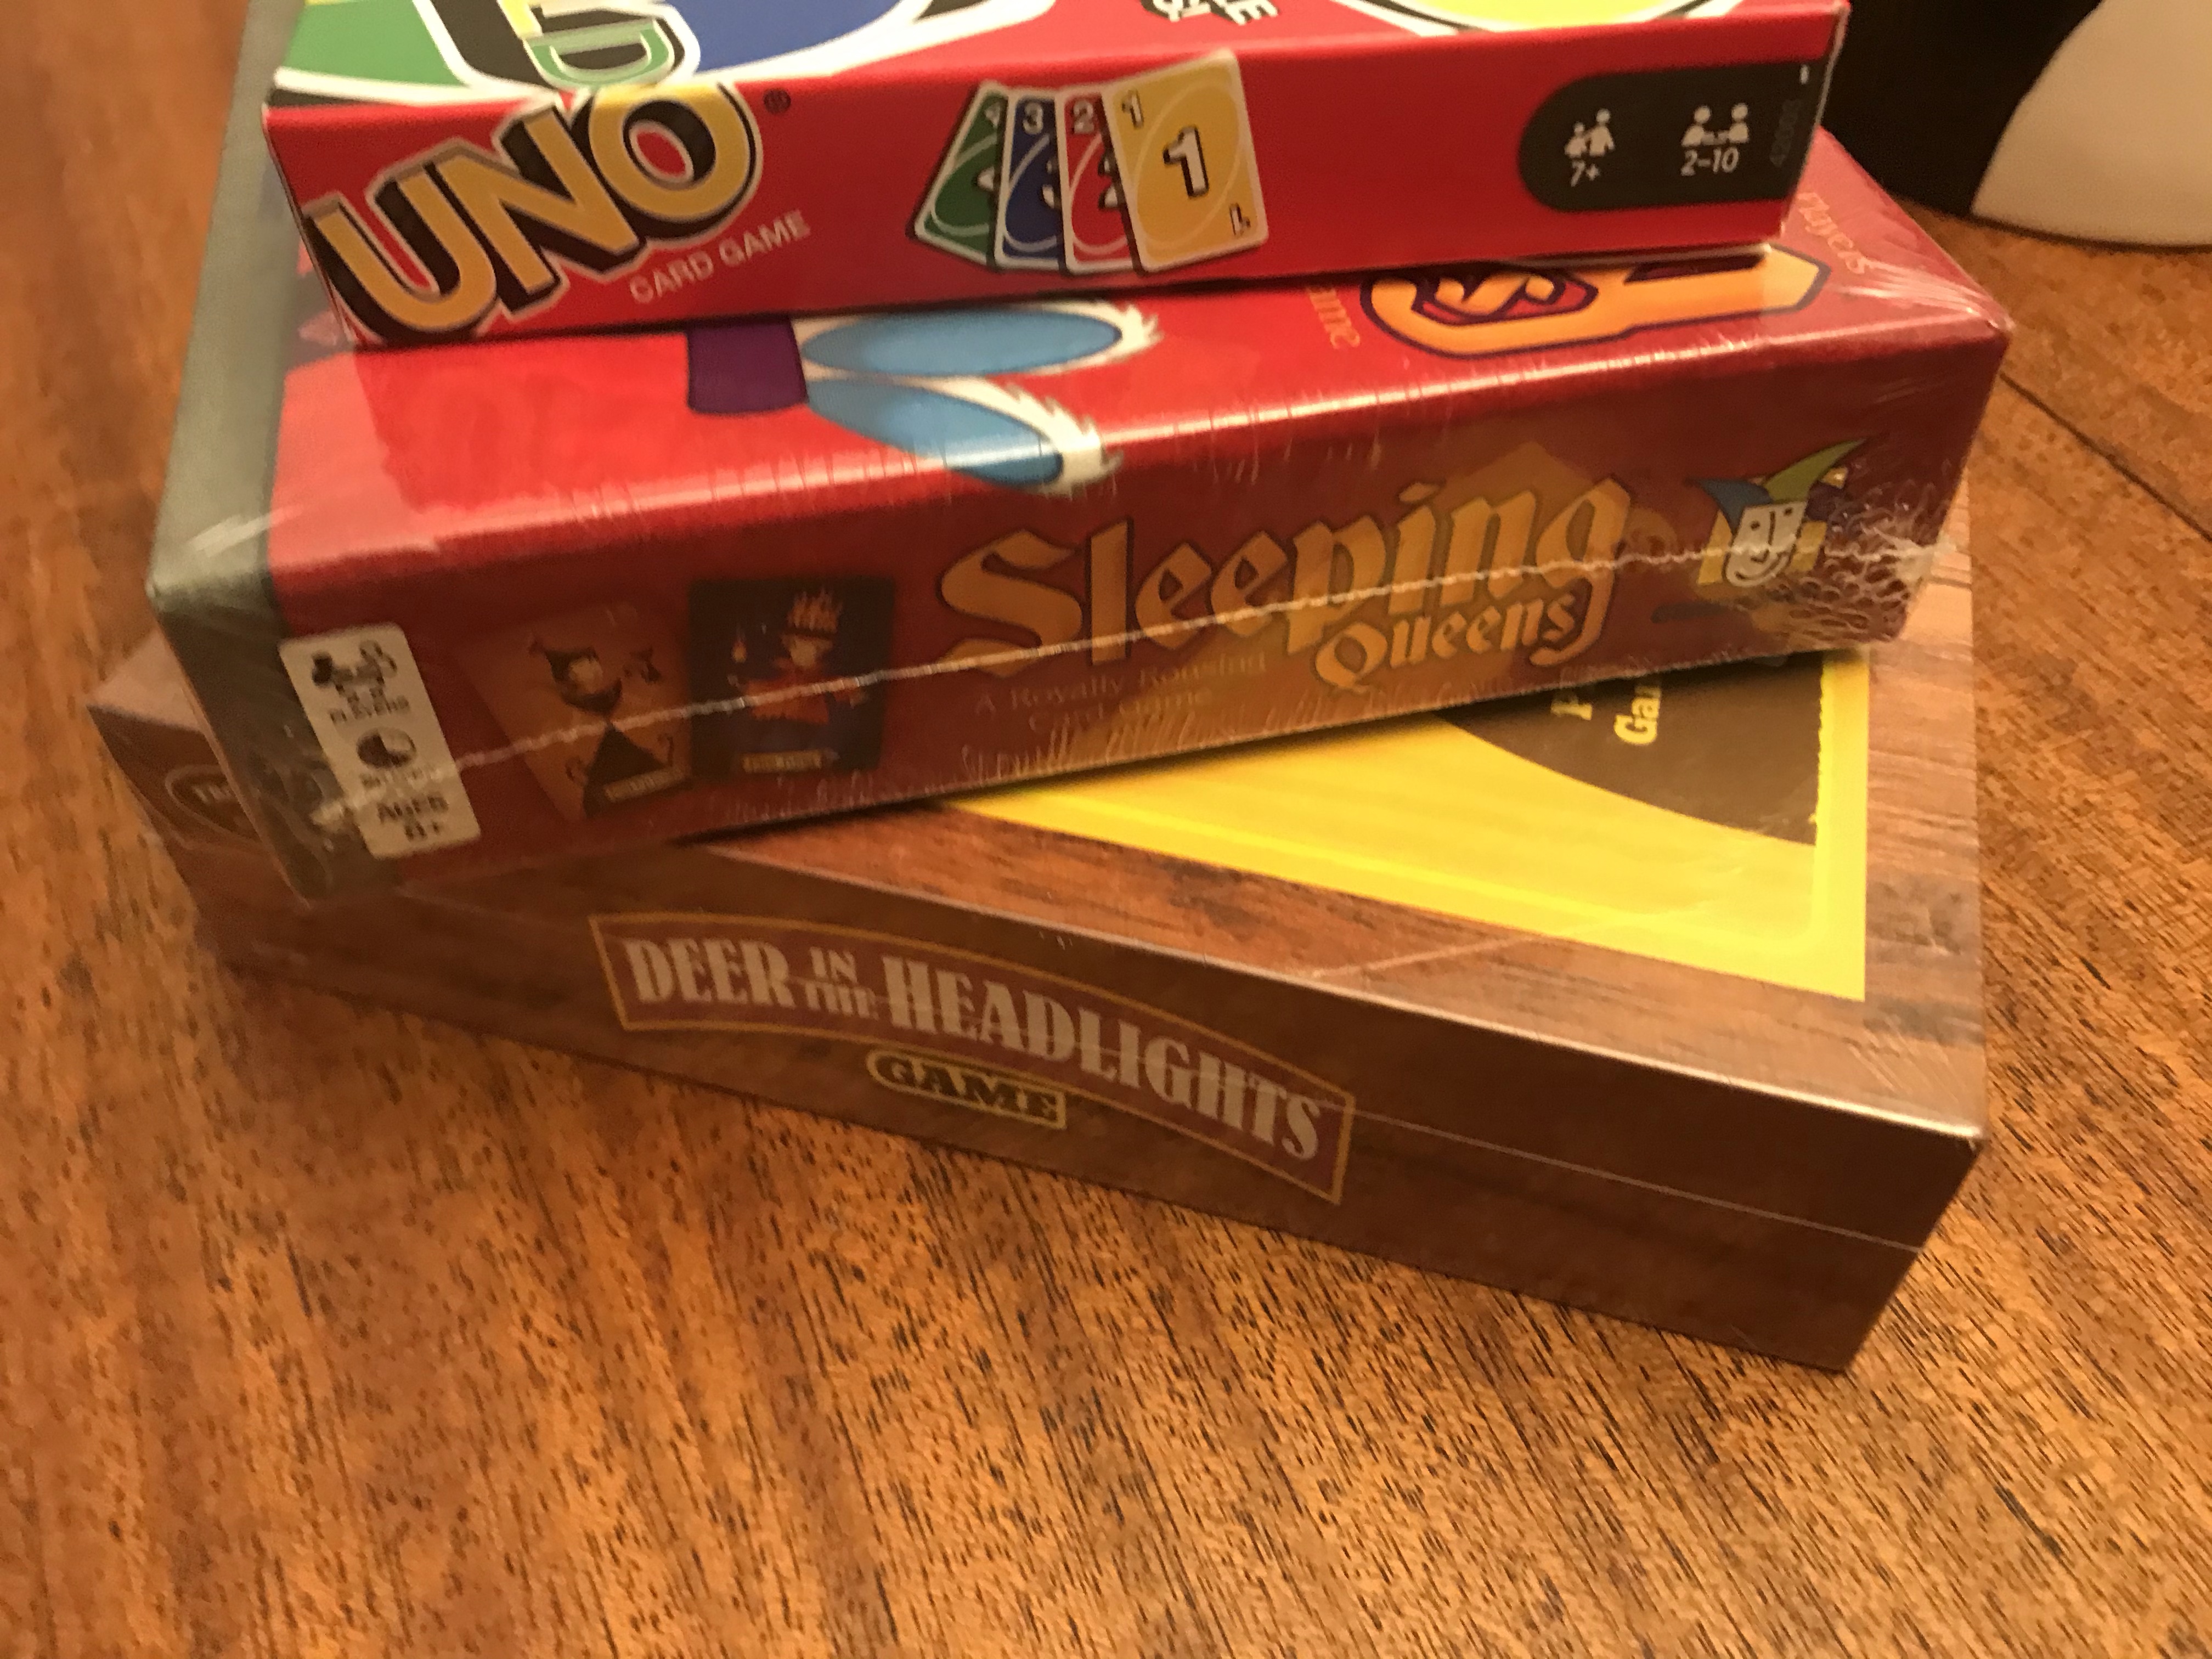
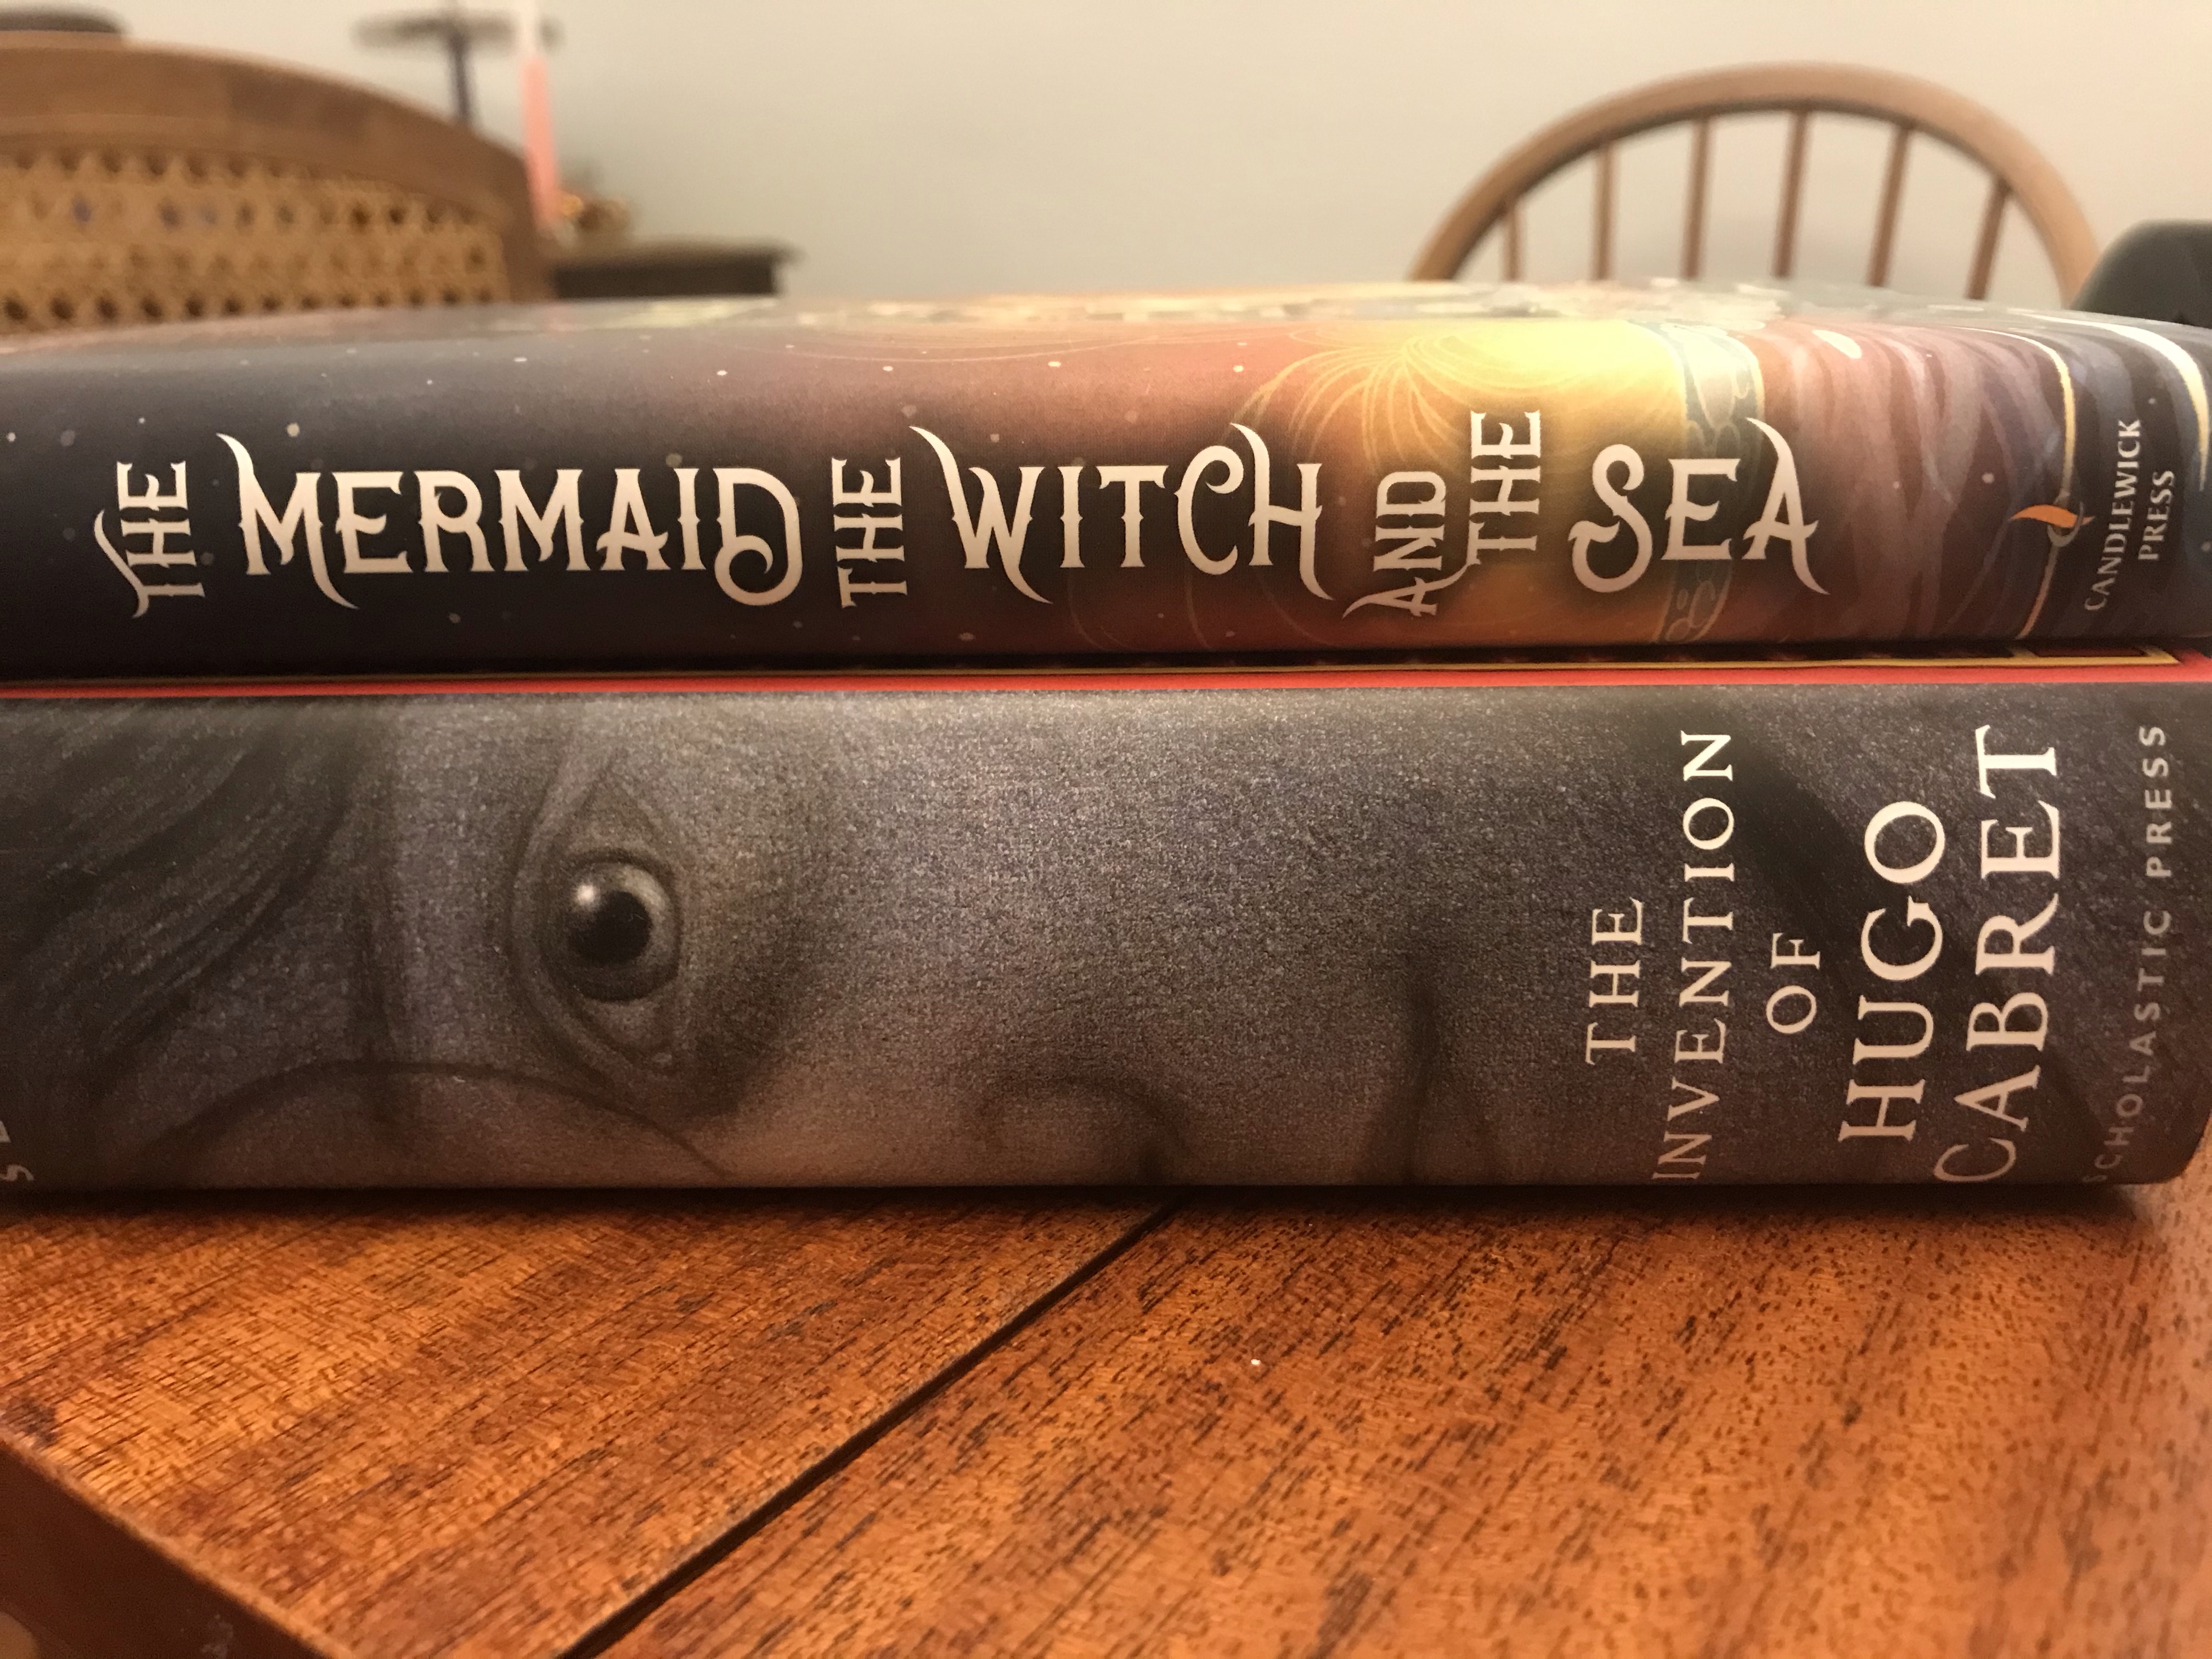
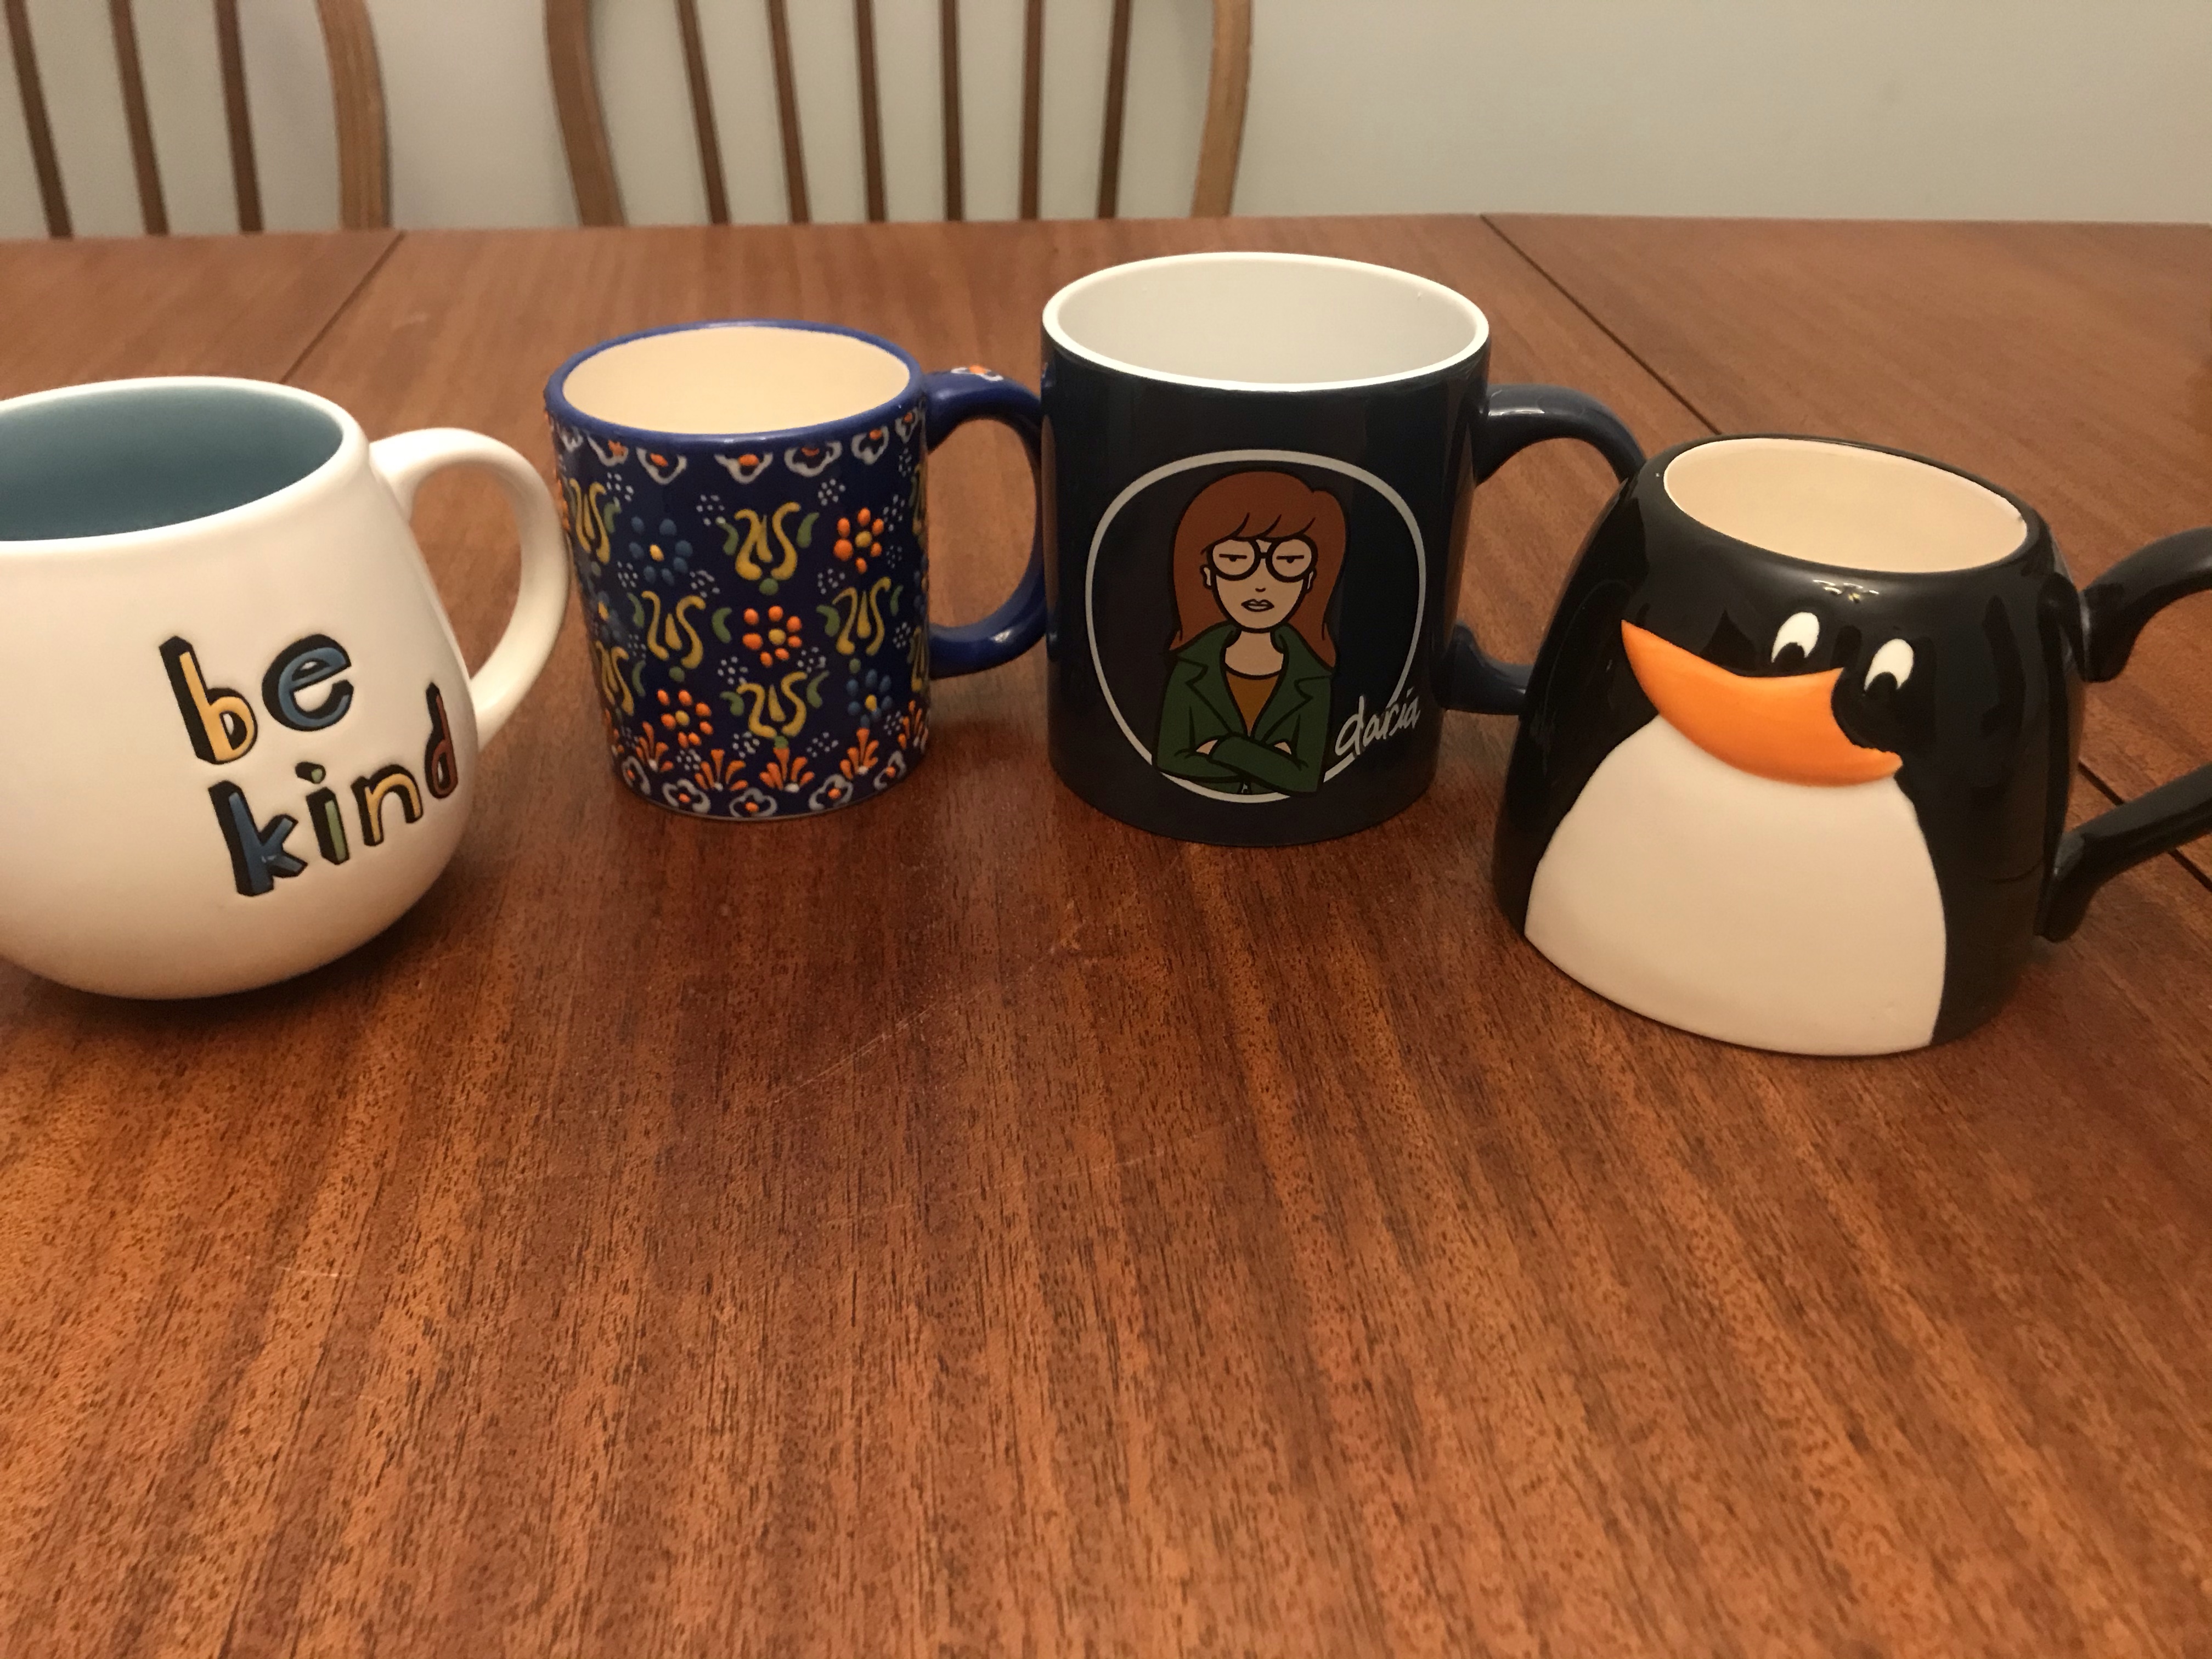
Some presents appear every single year: board and card games, books, and either mugs, travel mugs, thermoses, or water bottles.
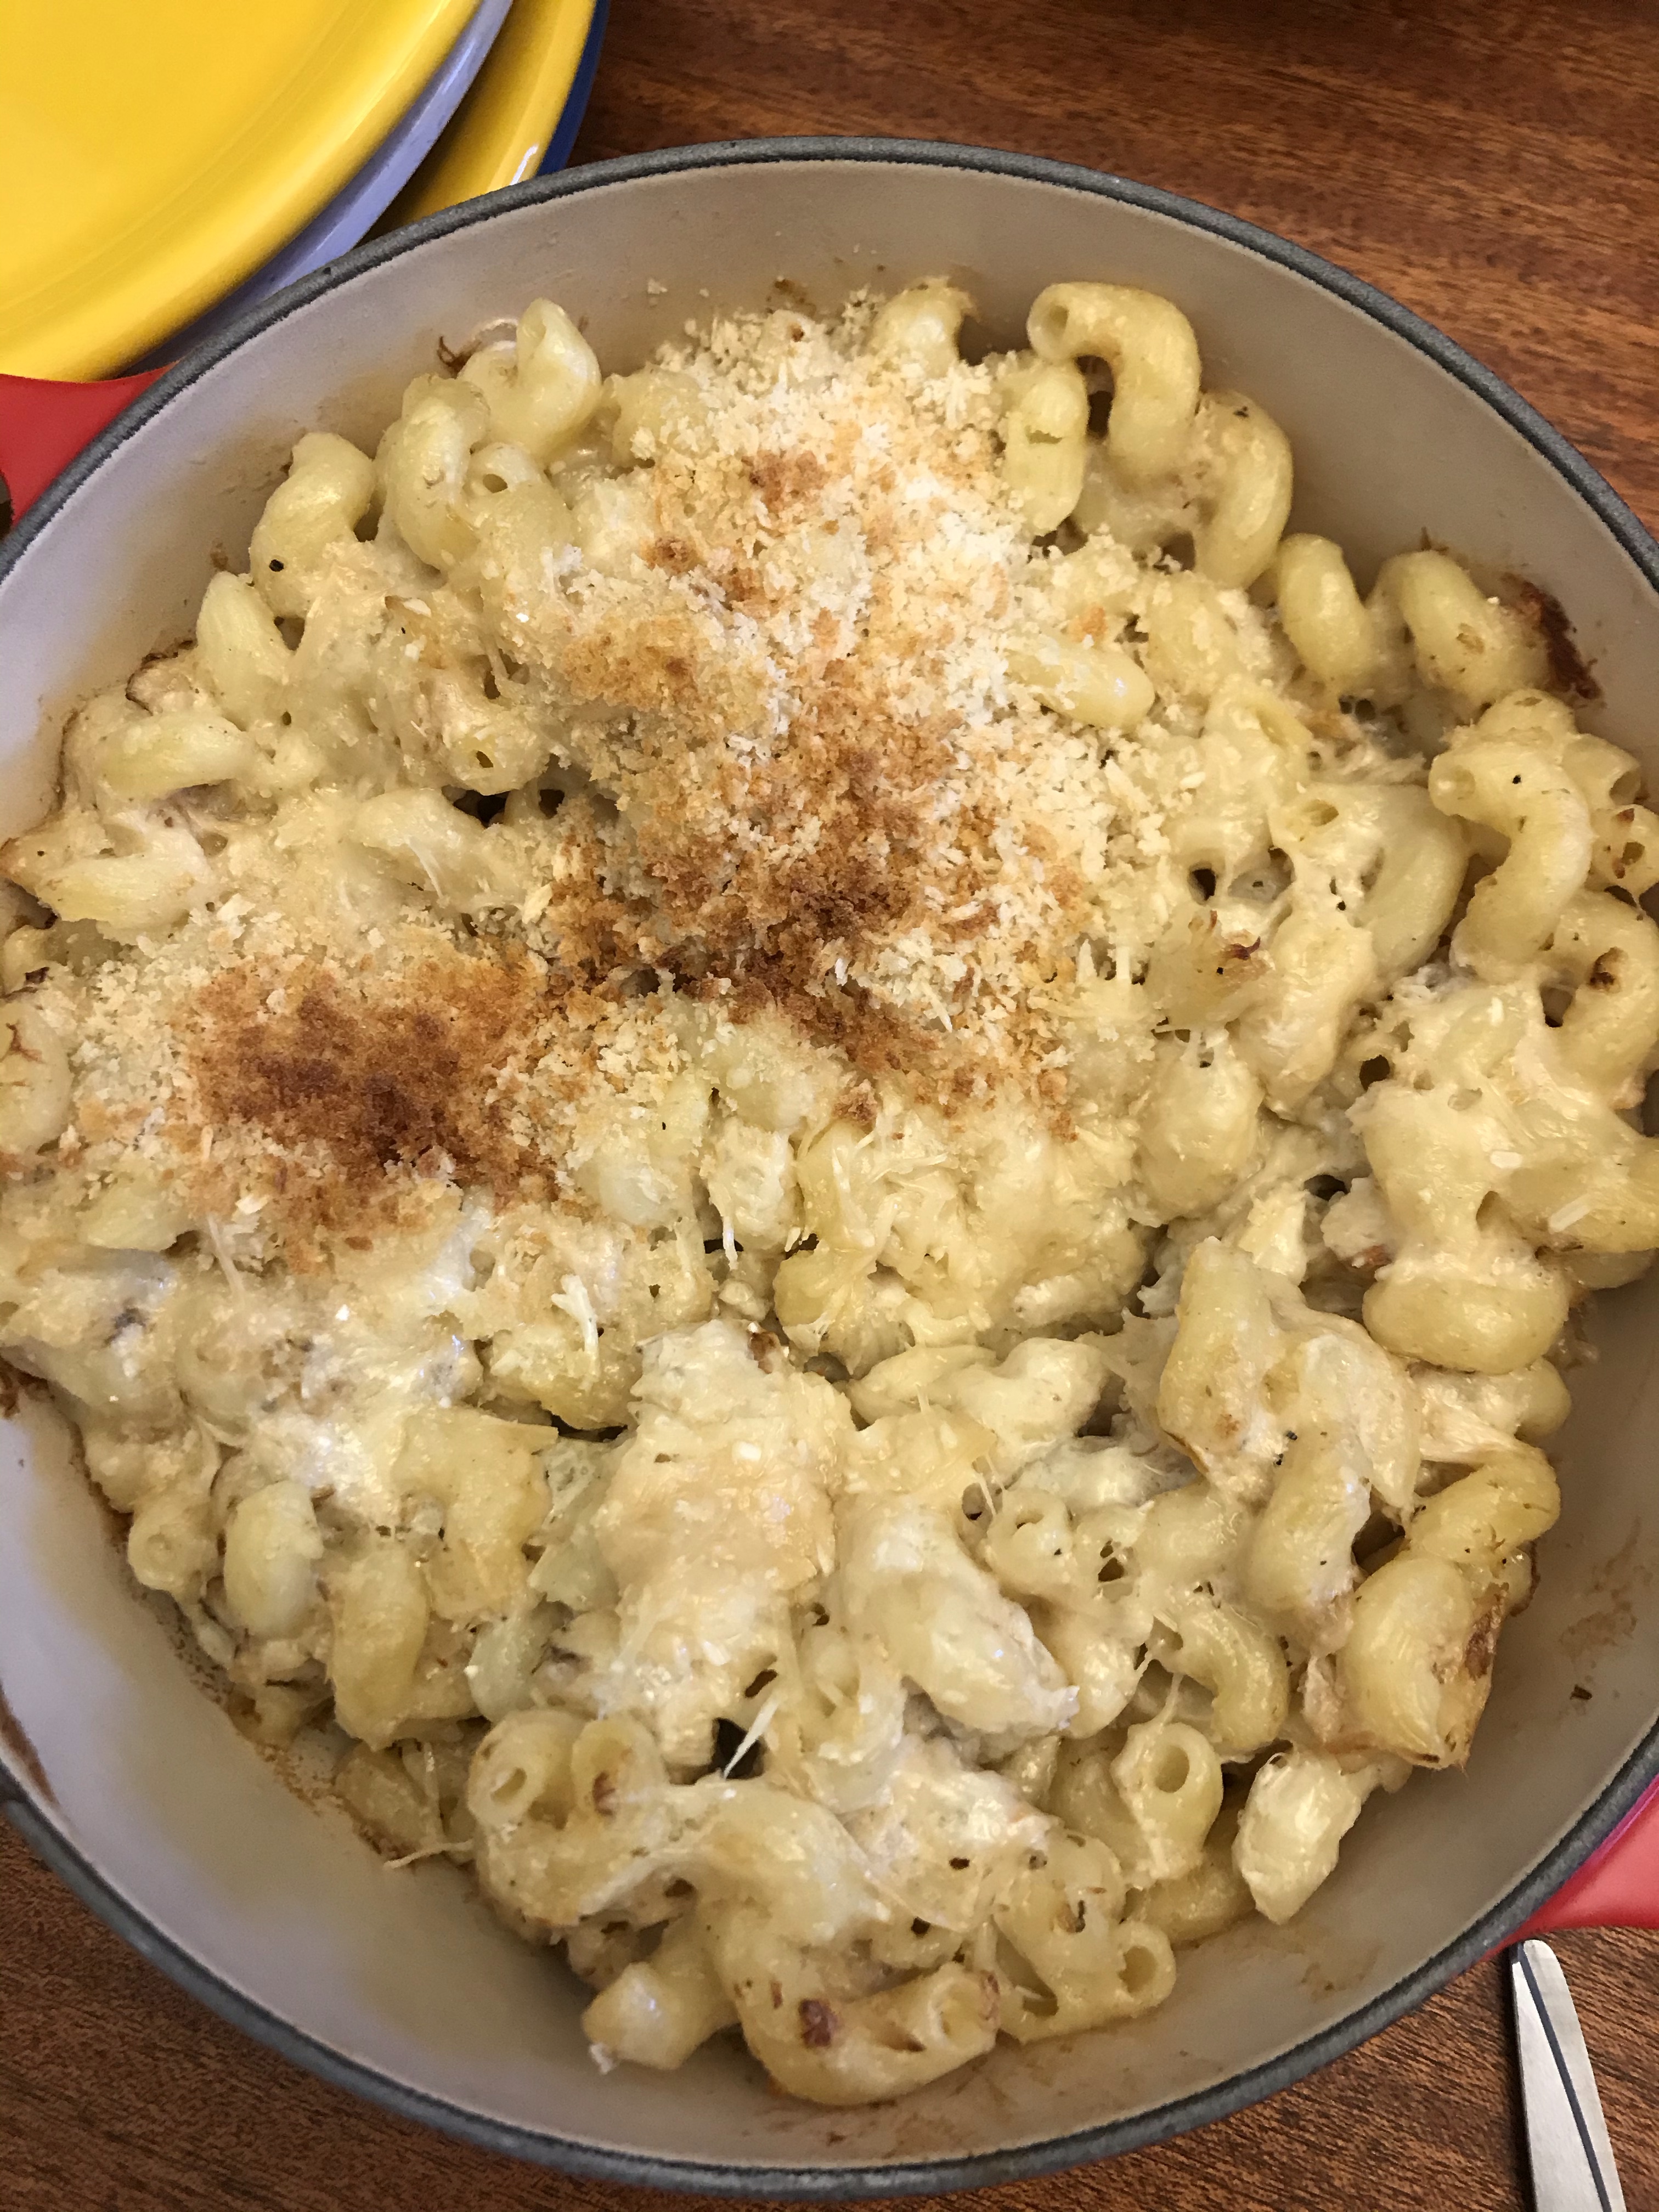
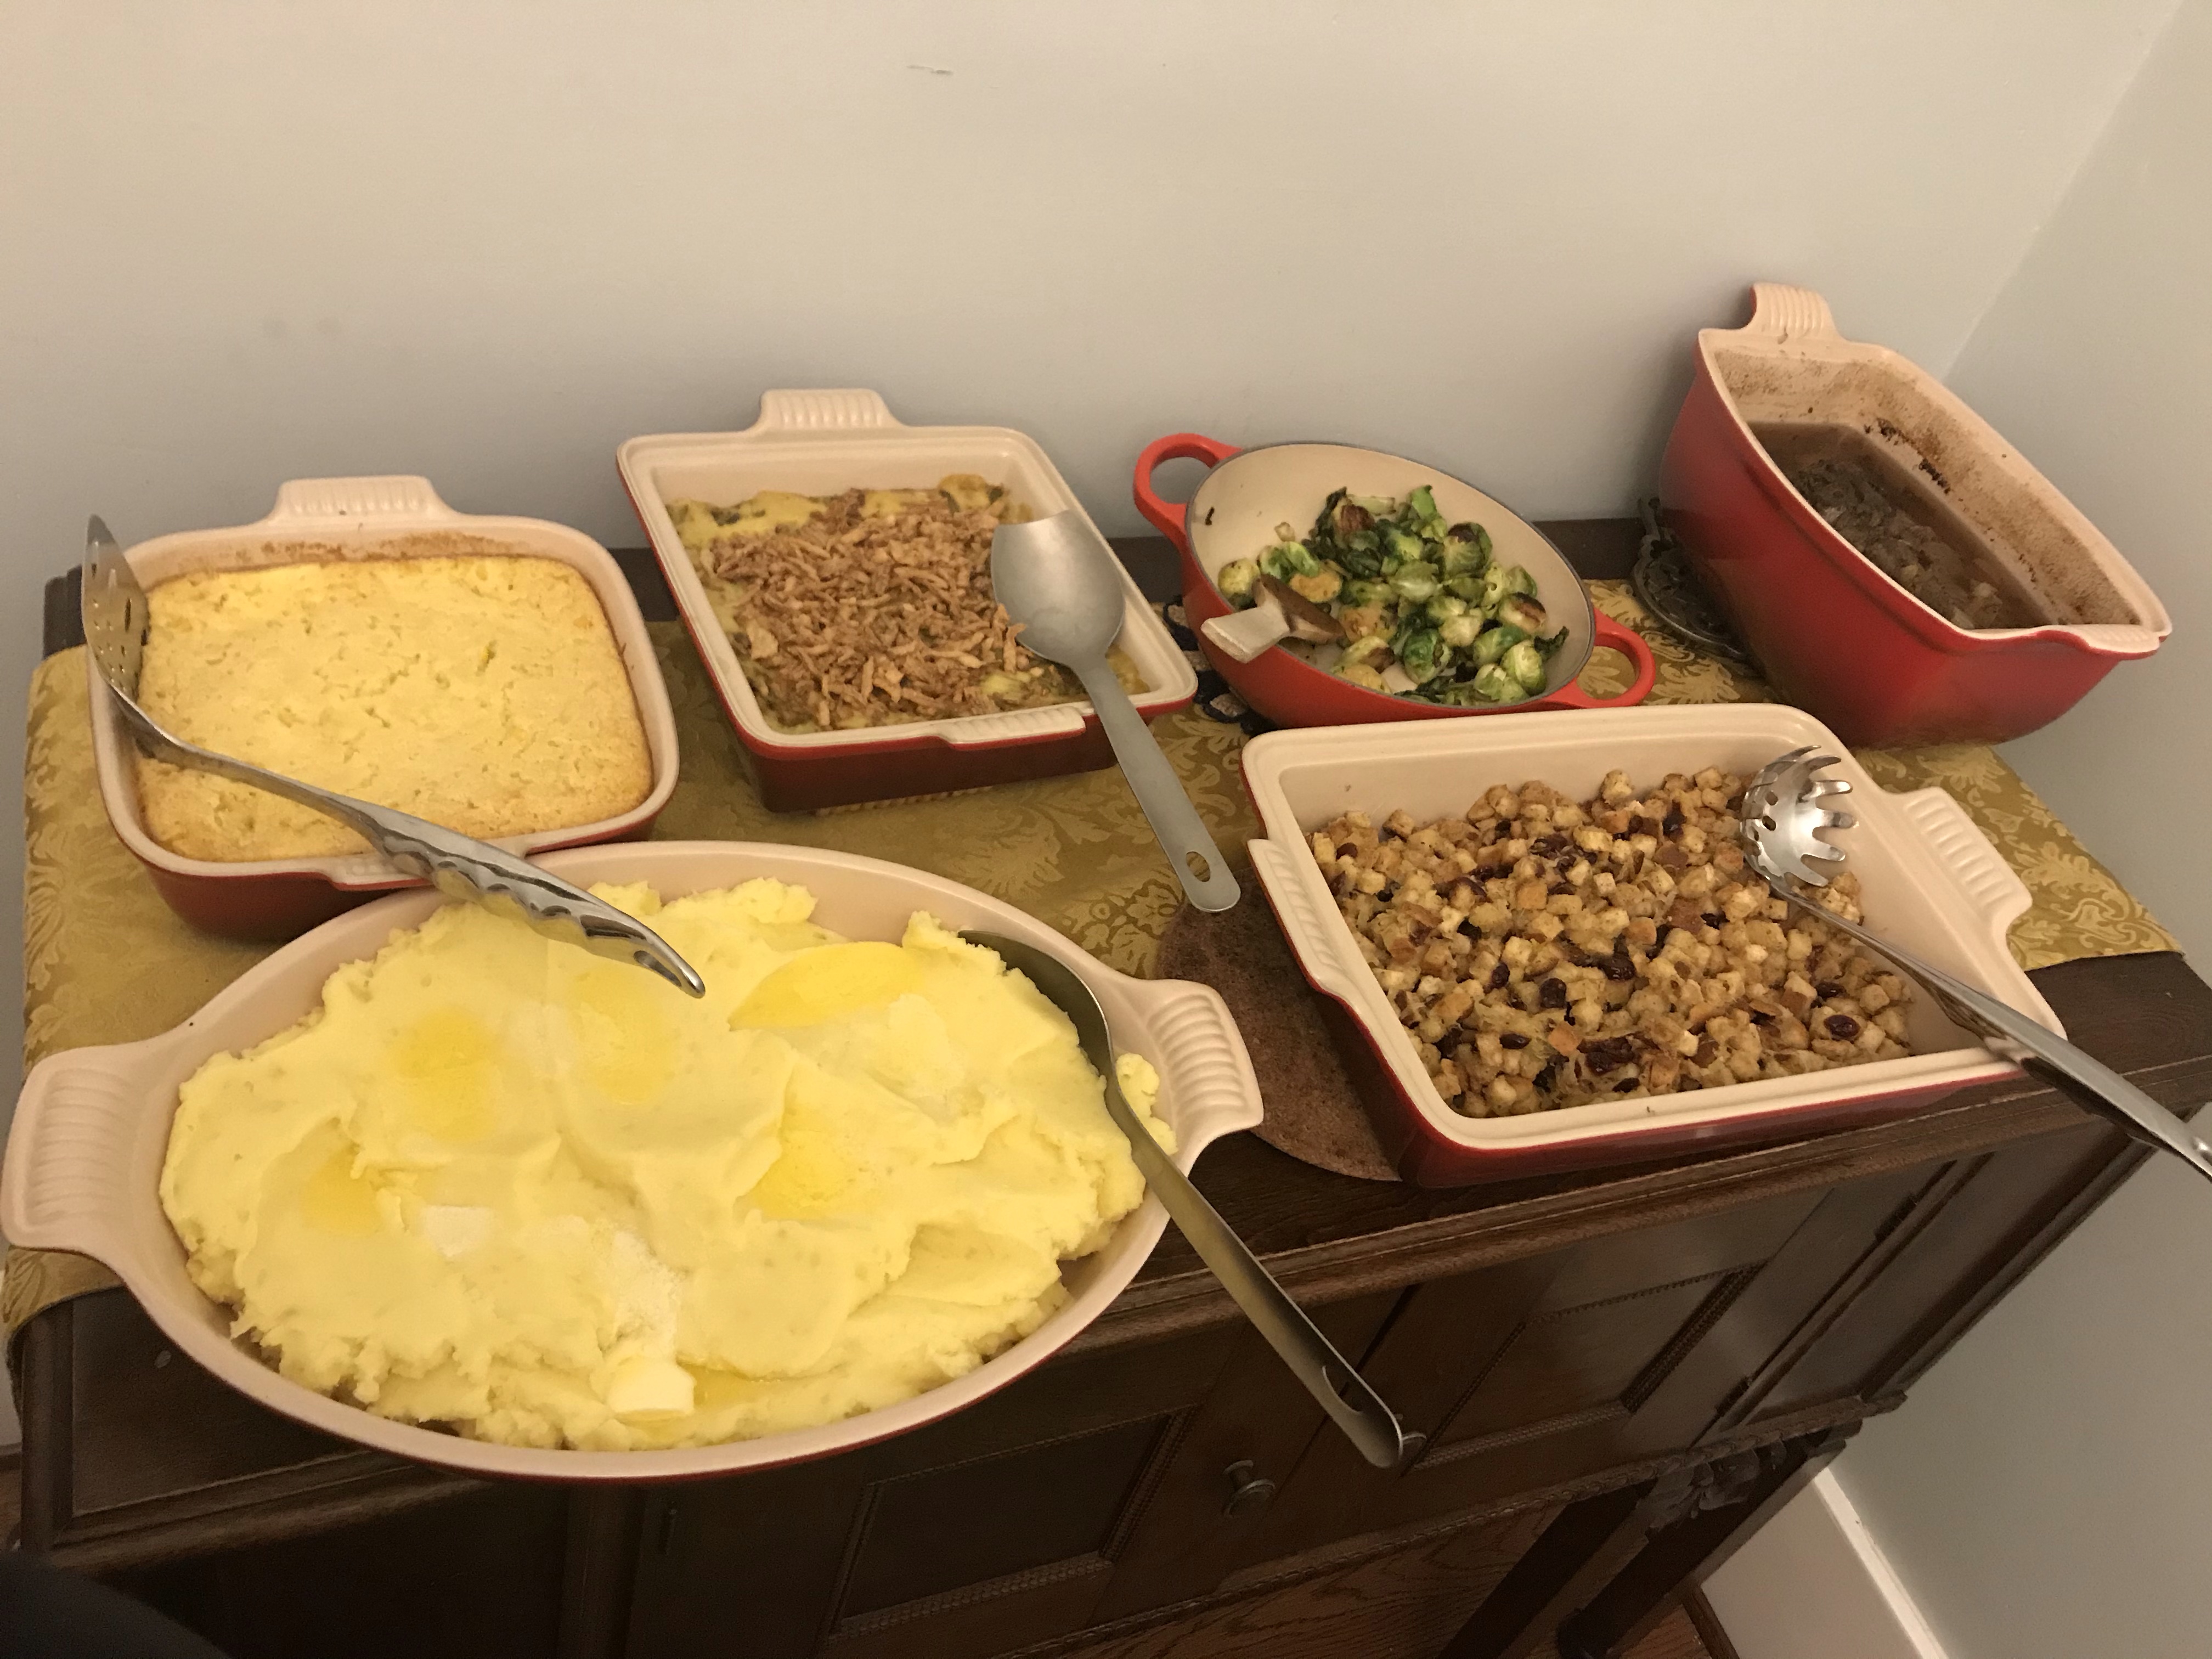
Christmas Eve dinner references my life back East, so, this year, crab mac and cheese. Christmas Dinner this year was themed “traditional Midwestern,” with roast beef replacing turkey. As usual, the sides are the star. (And, yes a 1:8 lb butter:potato recipe is entirely appropriate)

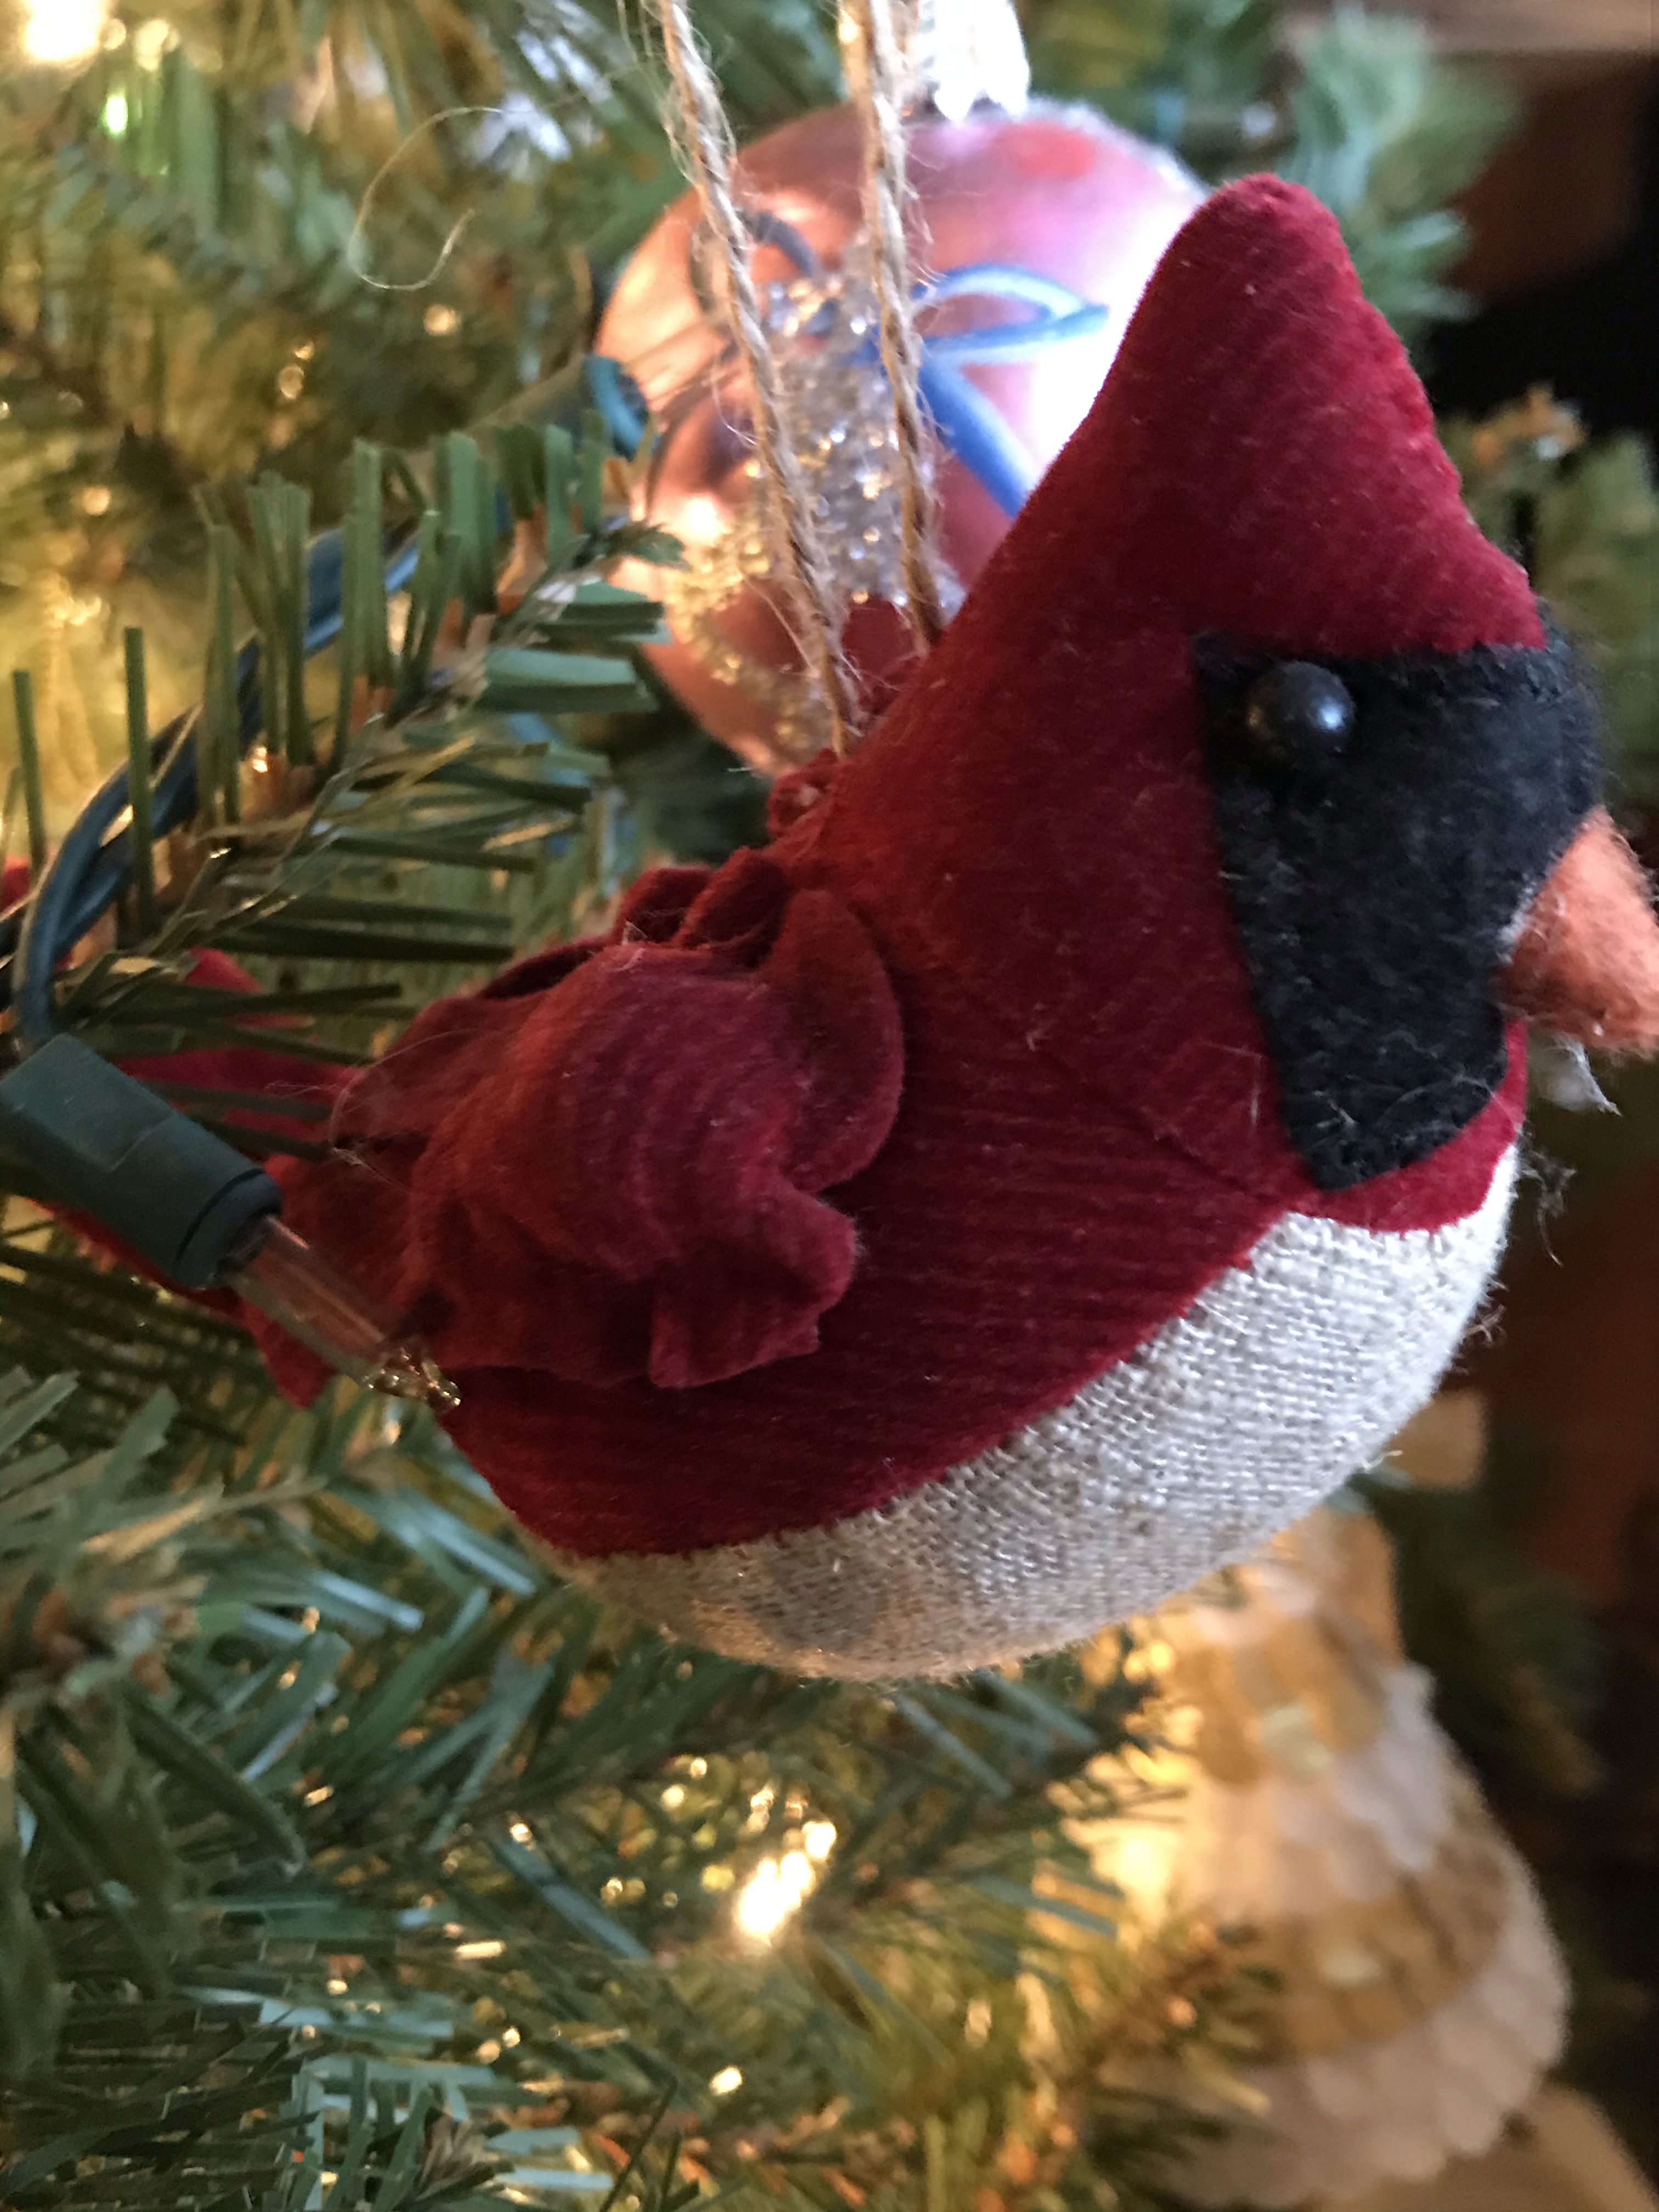
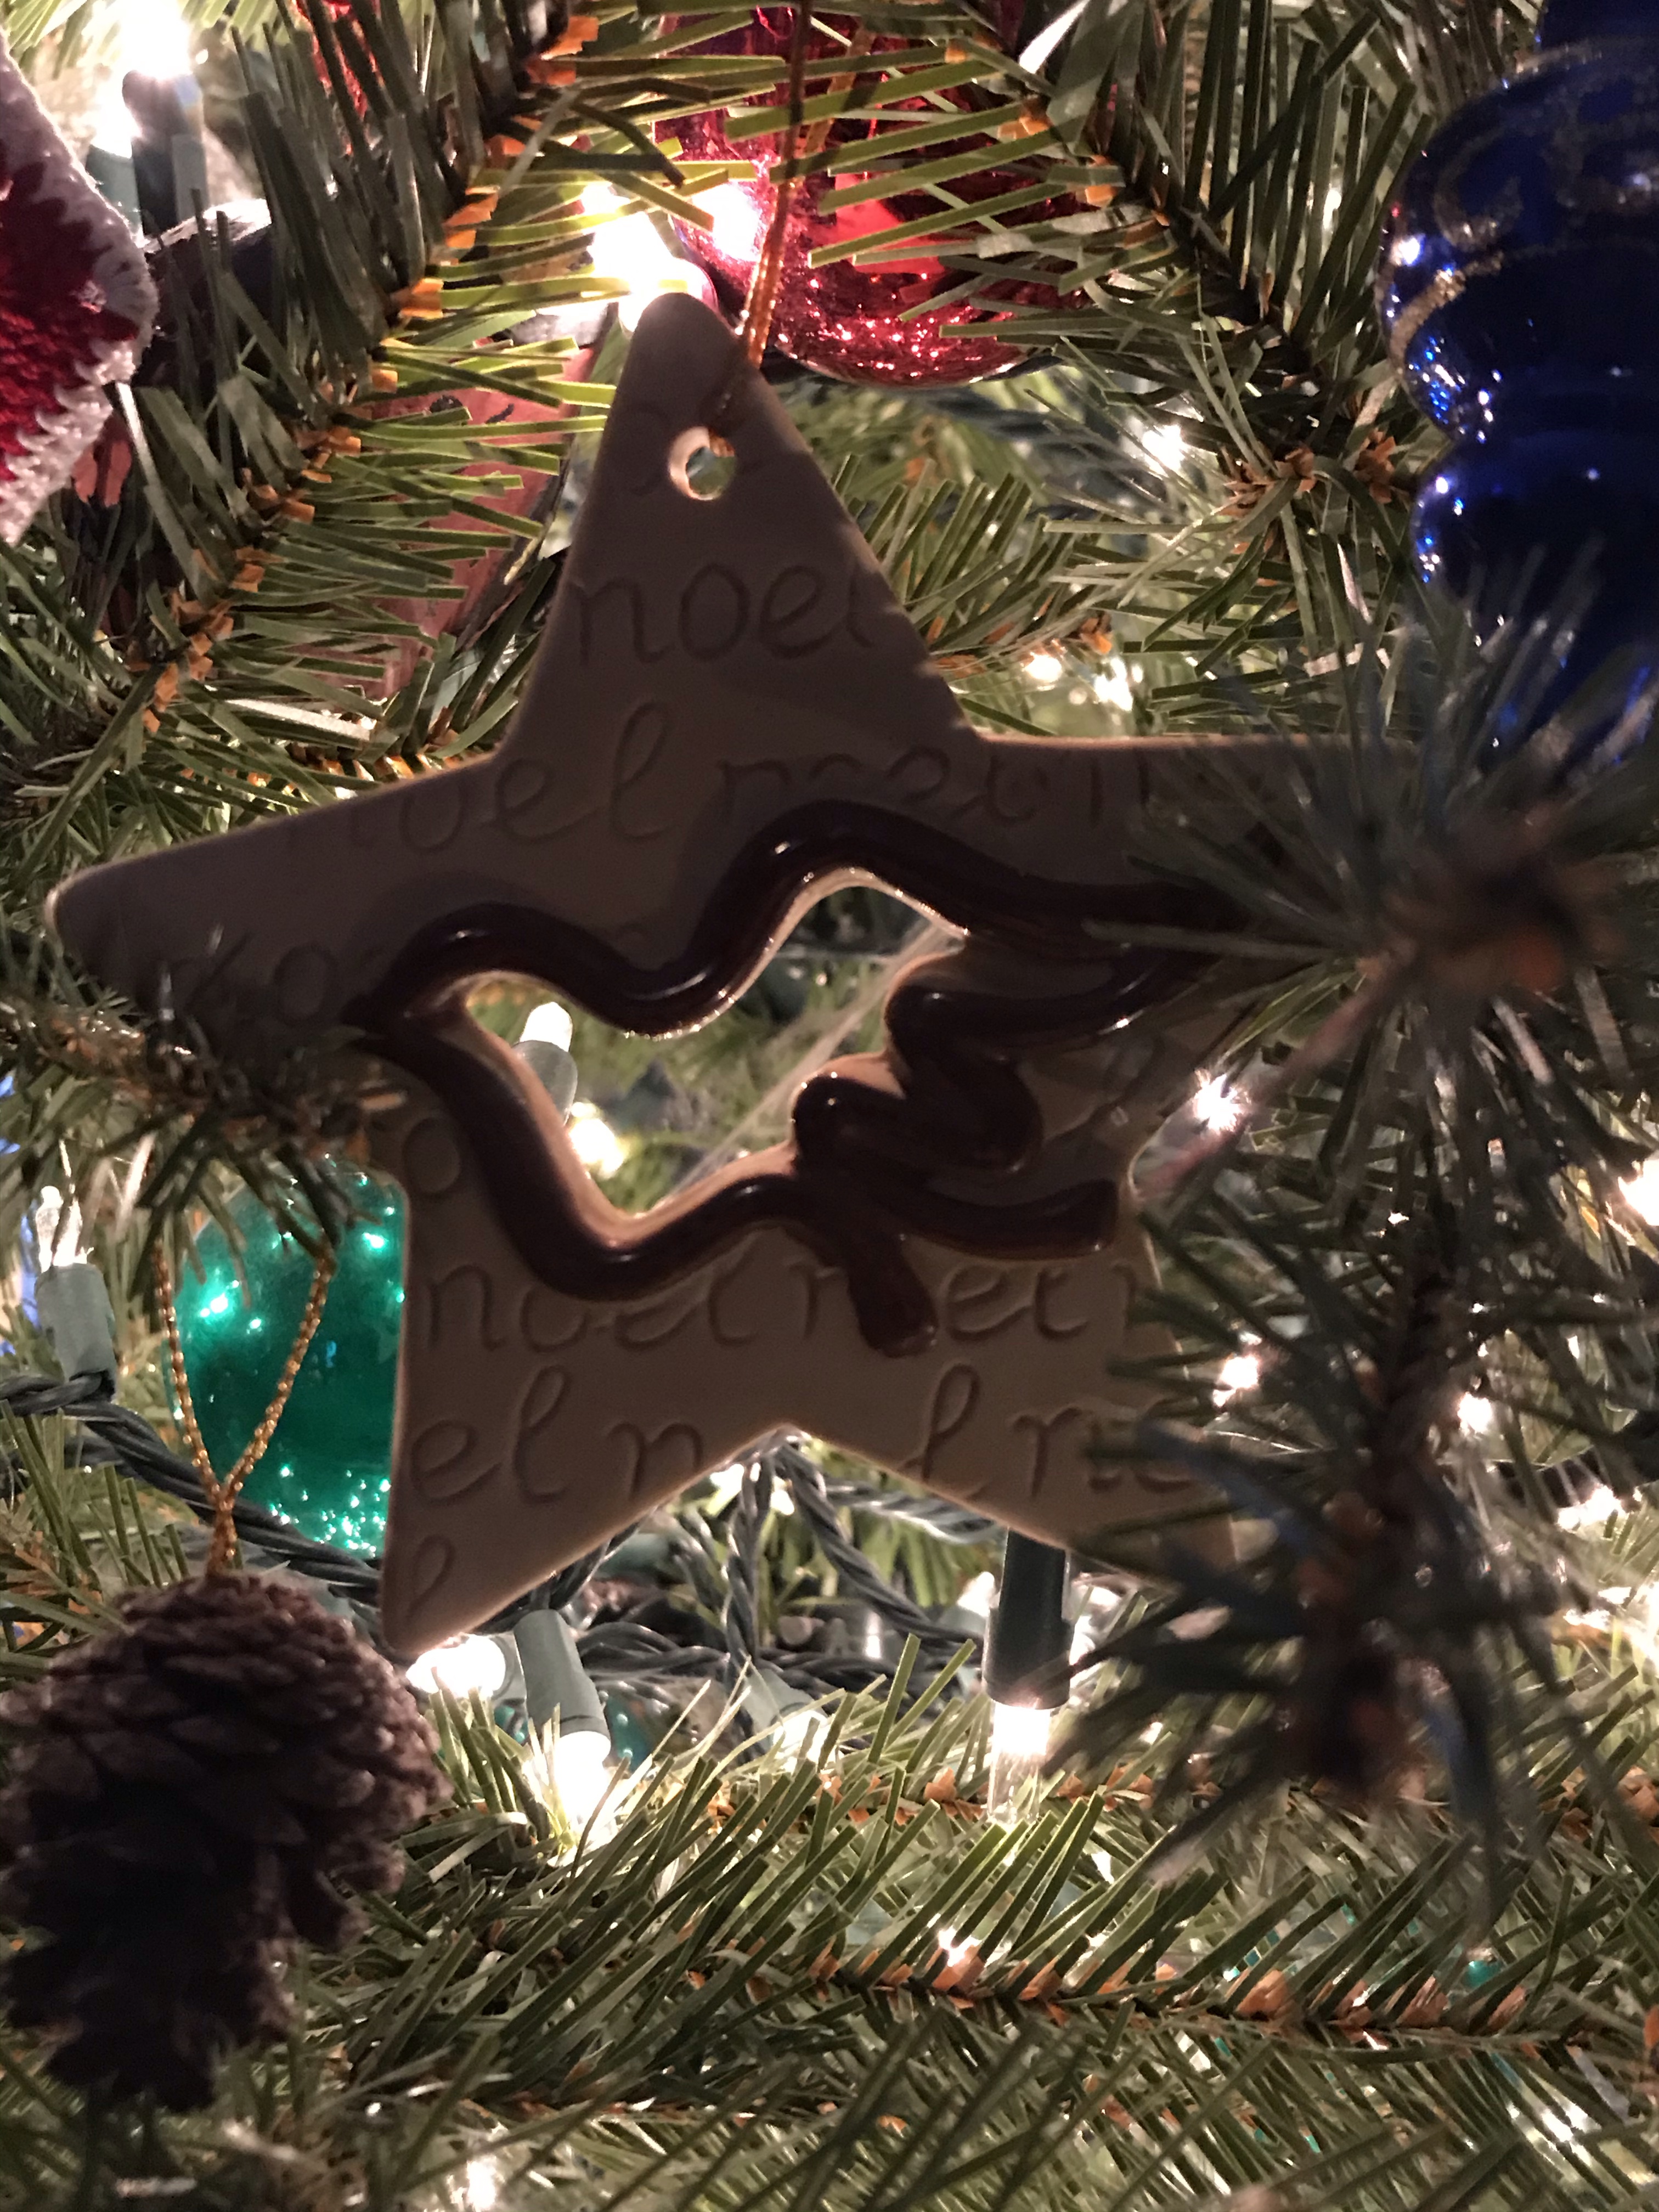
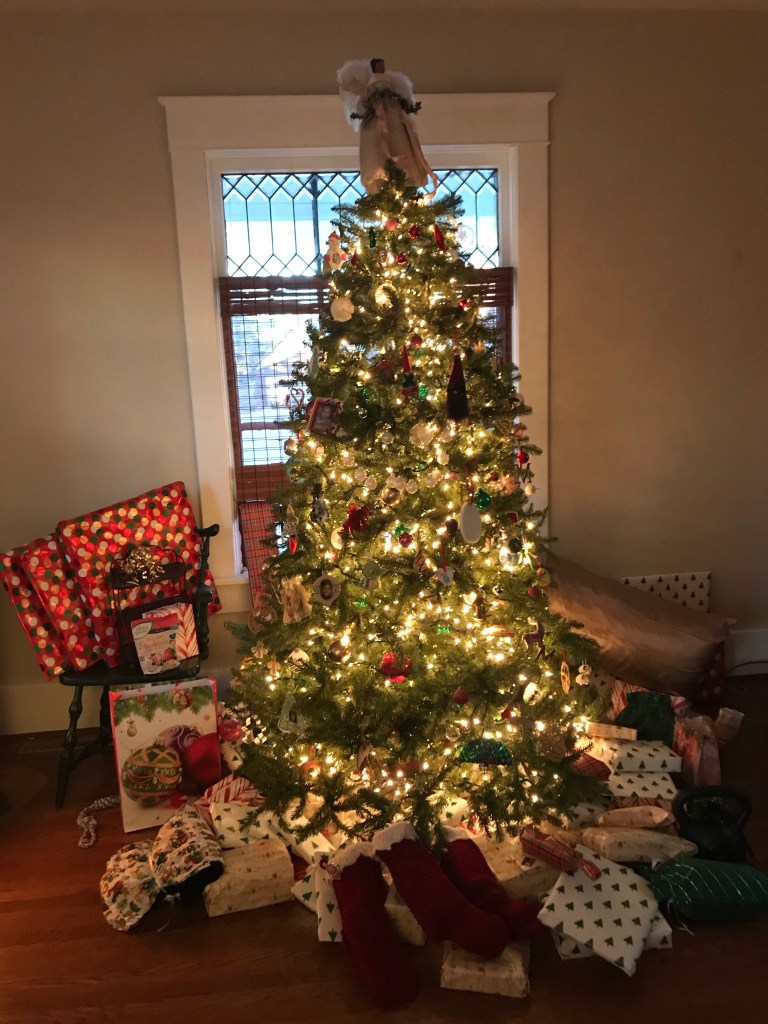
We love birds in our tree–and here are some additions for the year: a felt cardinal, a knitted cardinal, and a ceramic star with a dove cut from it.
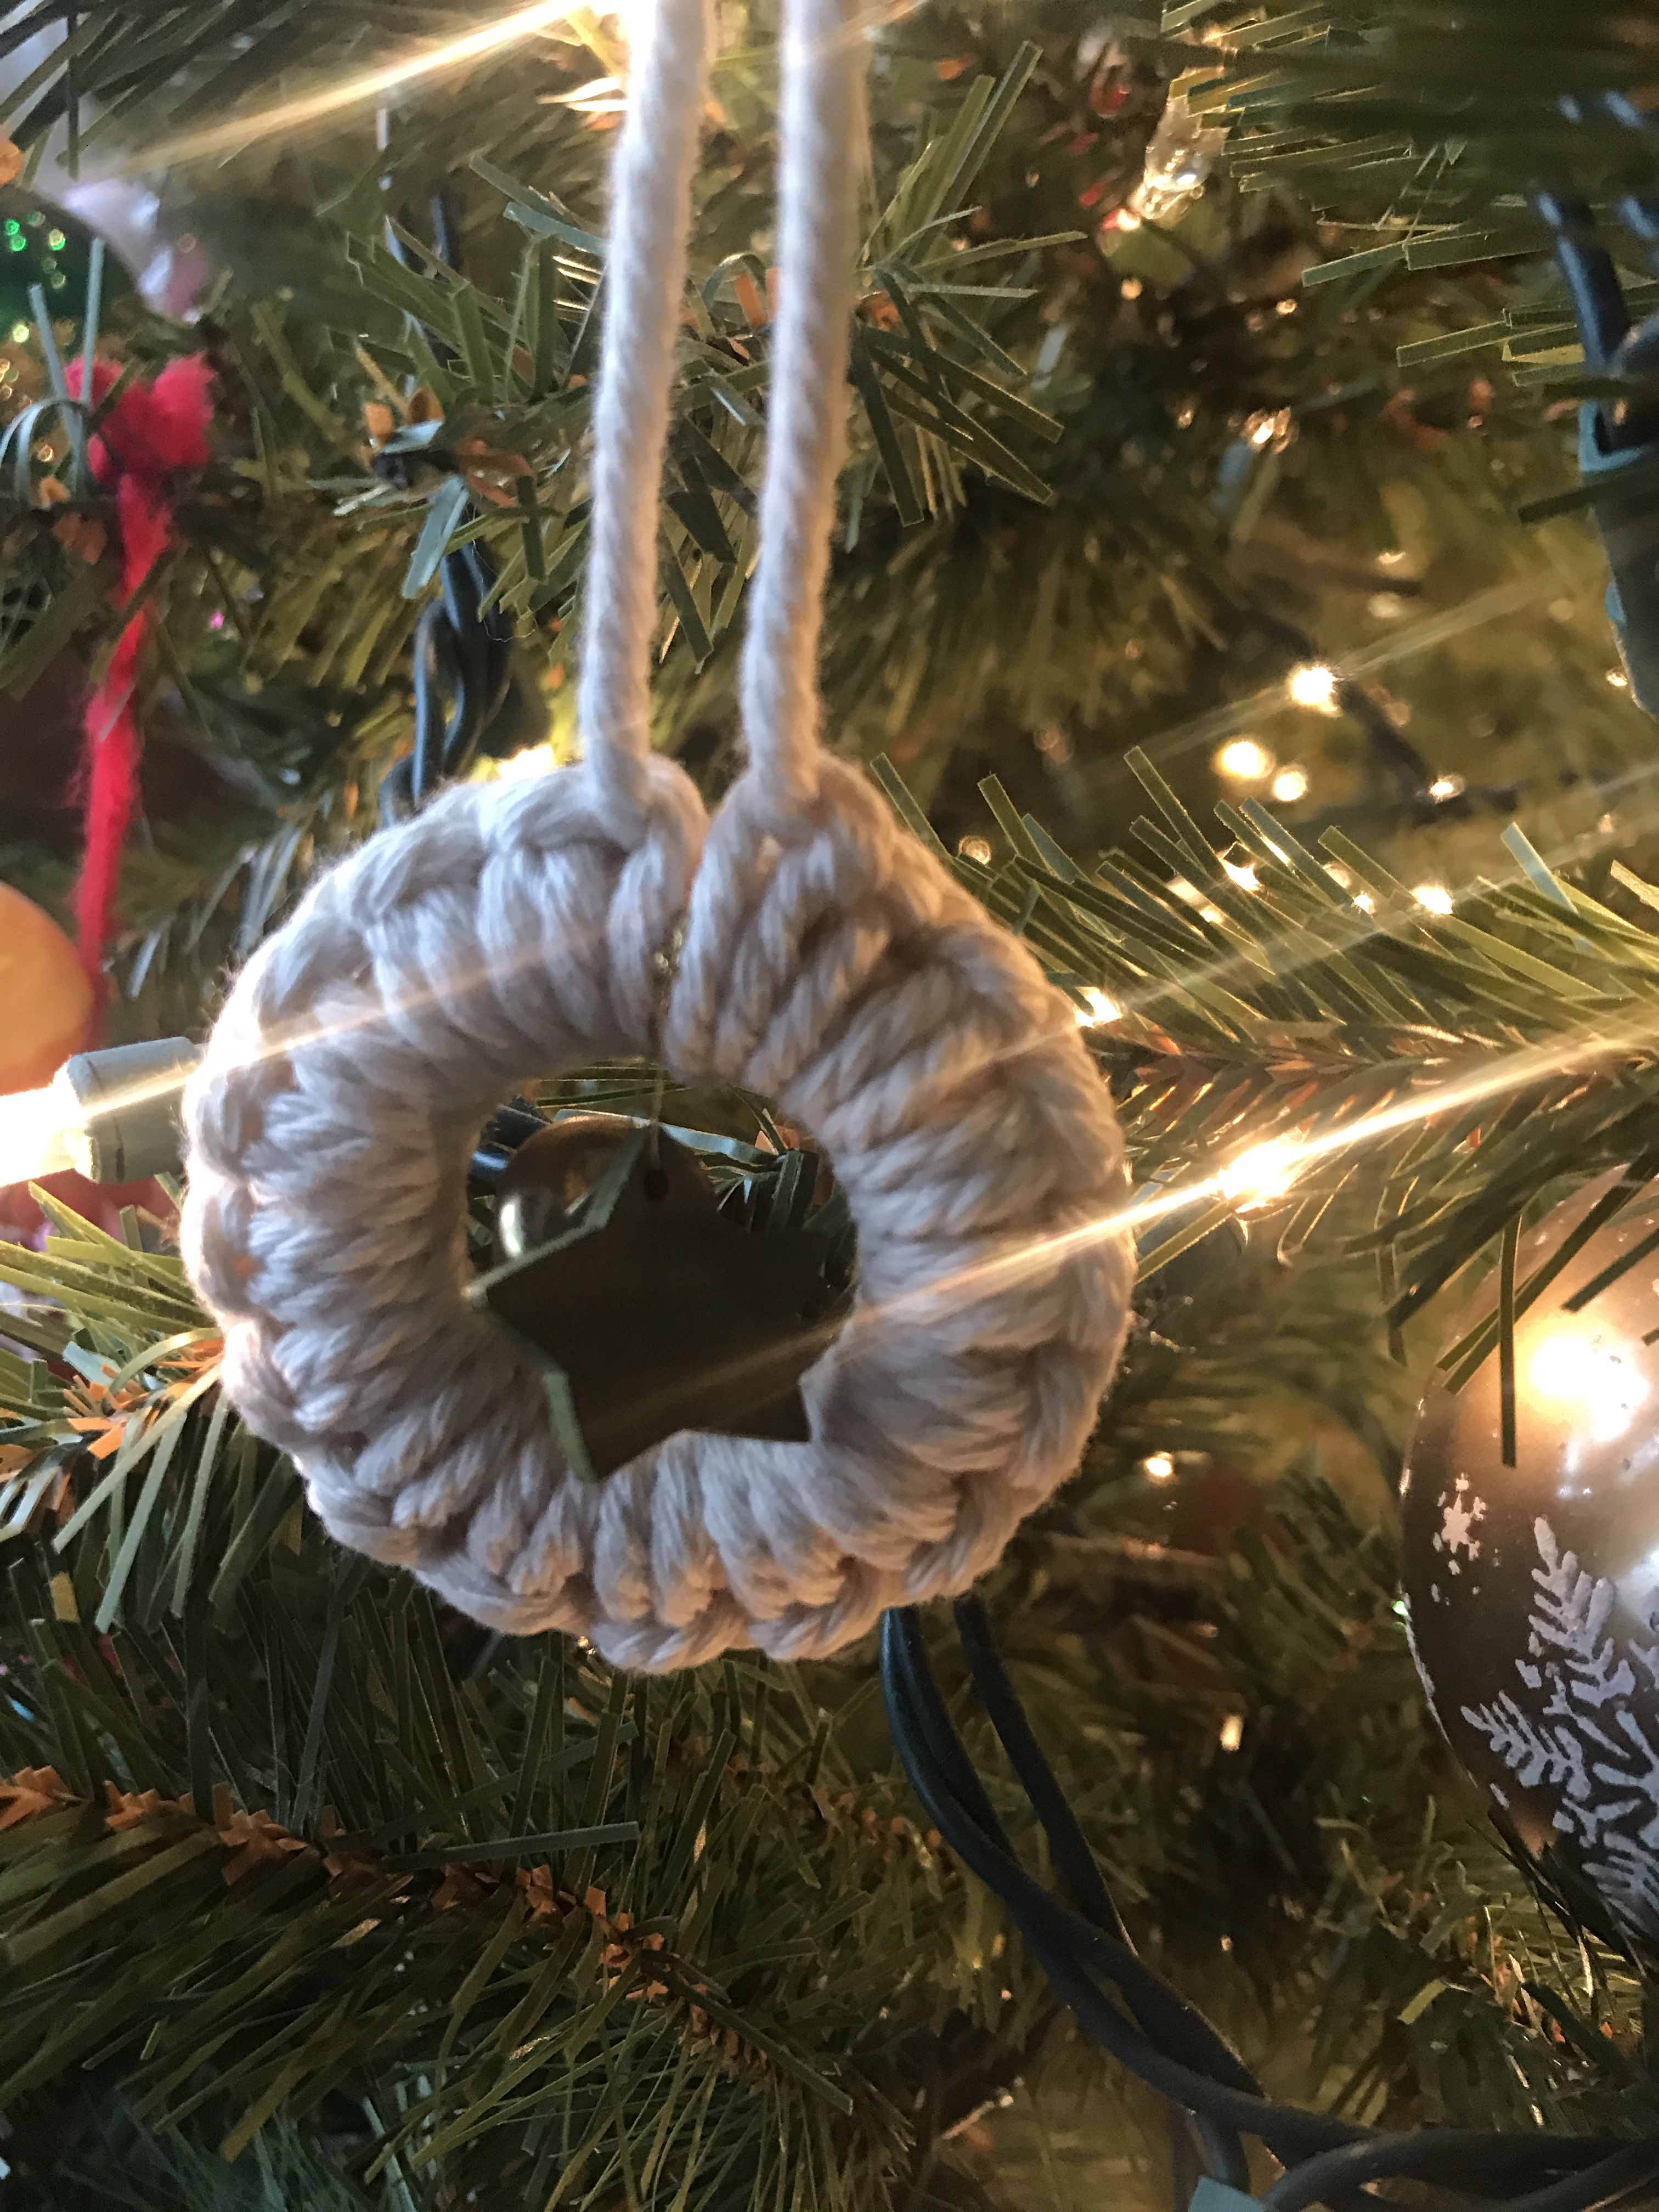
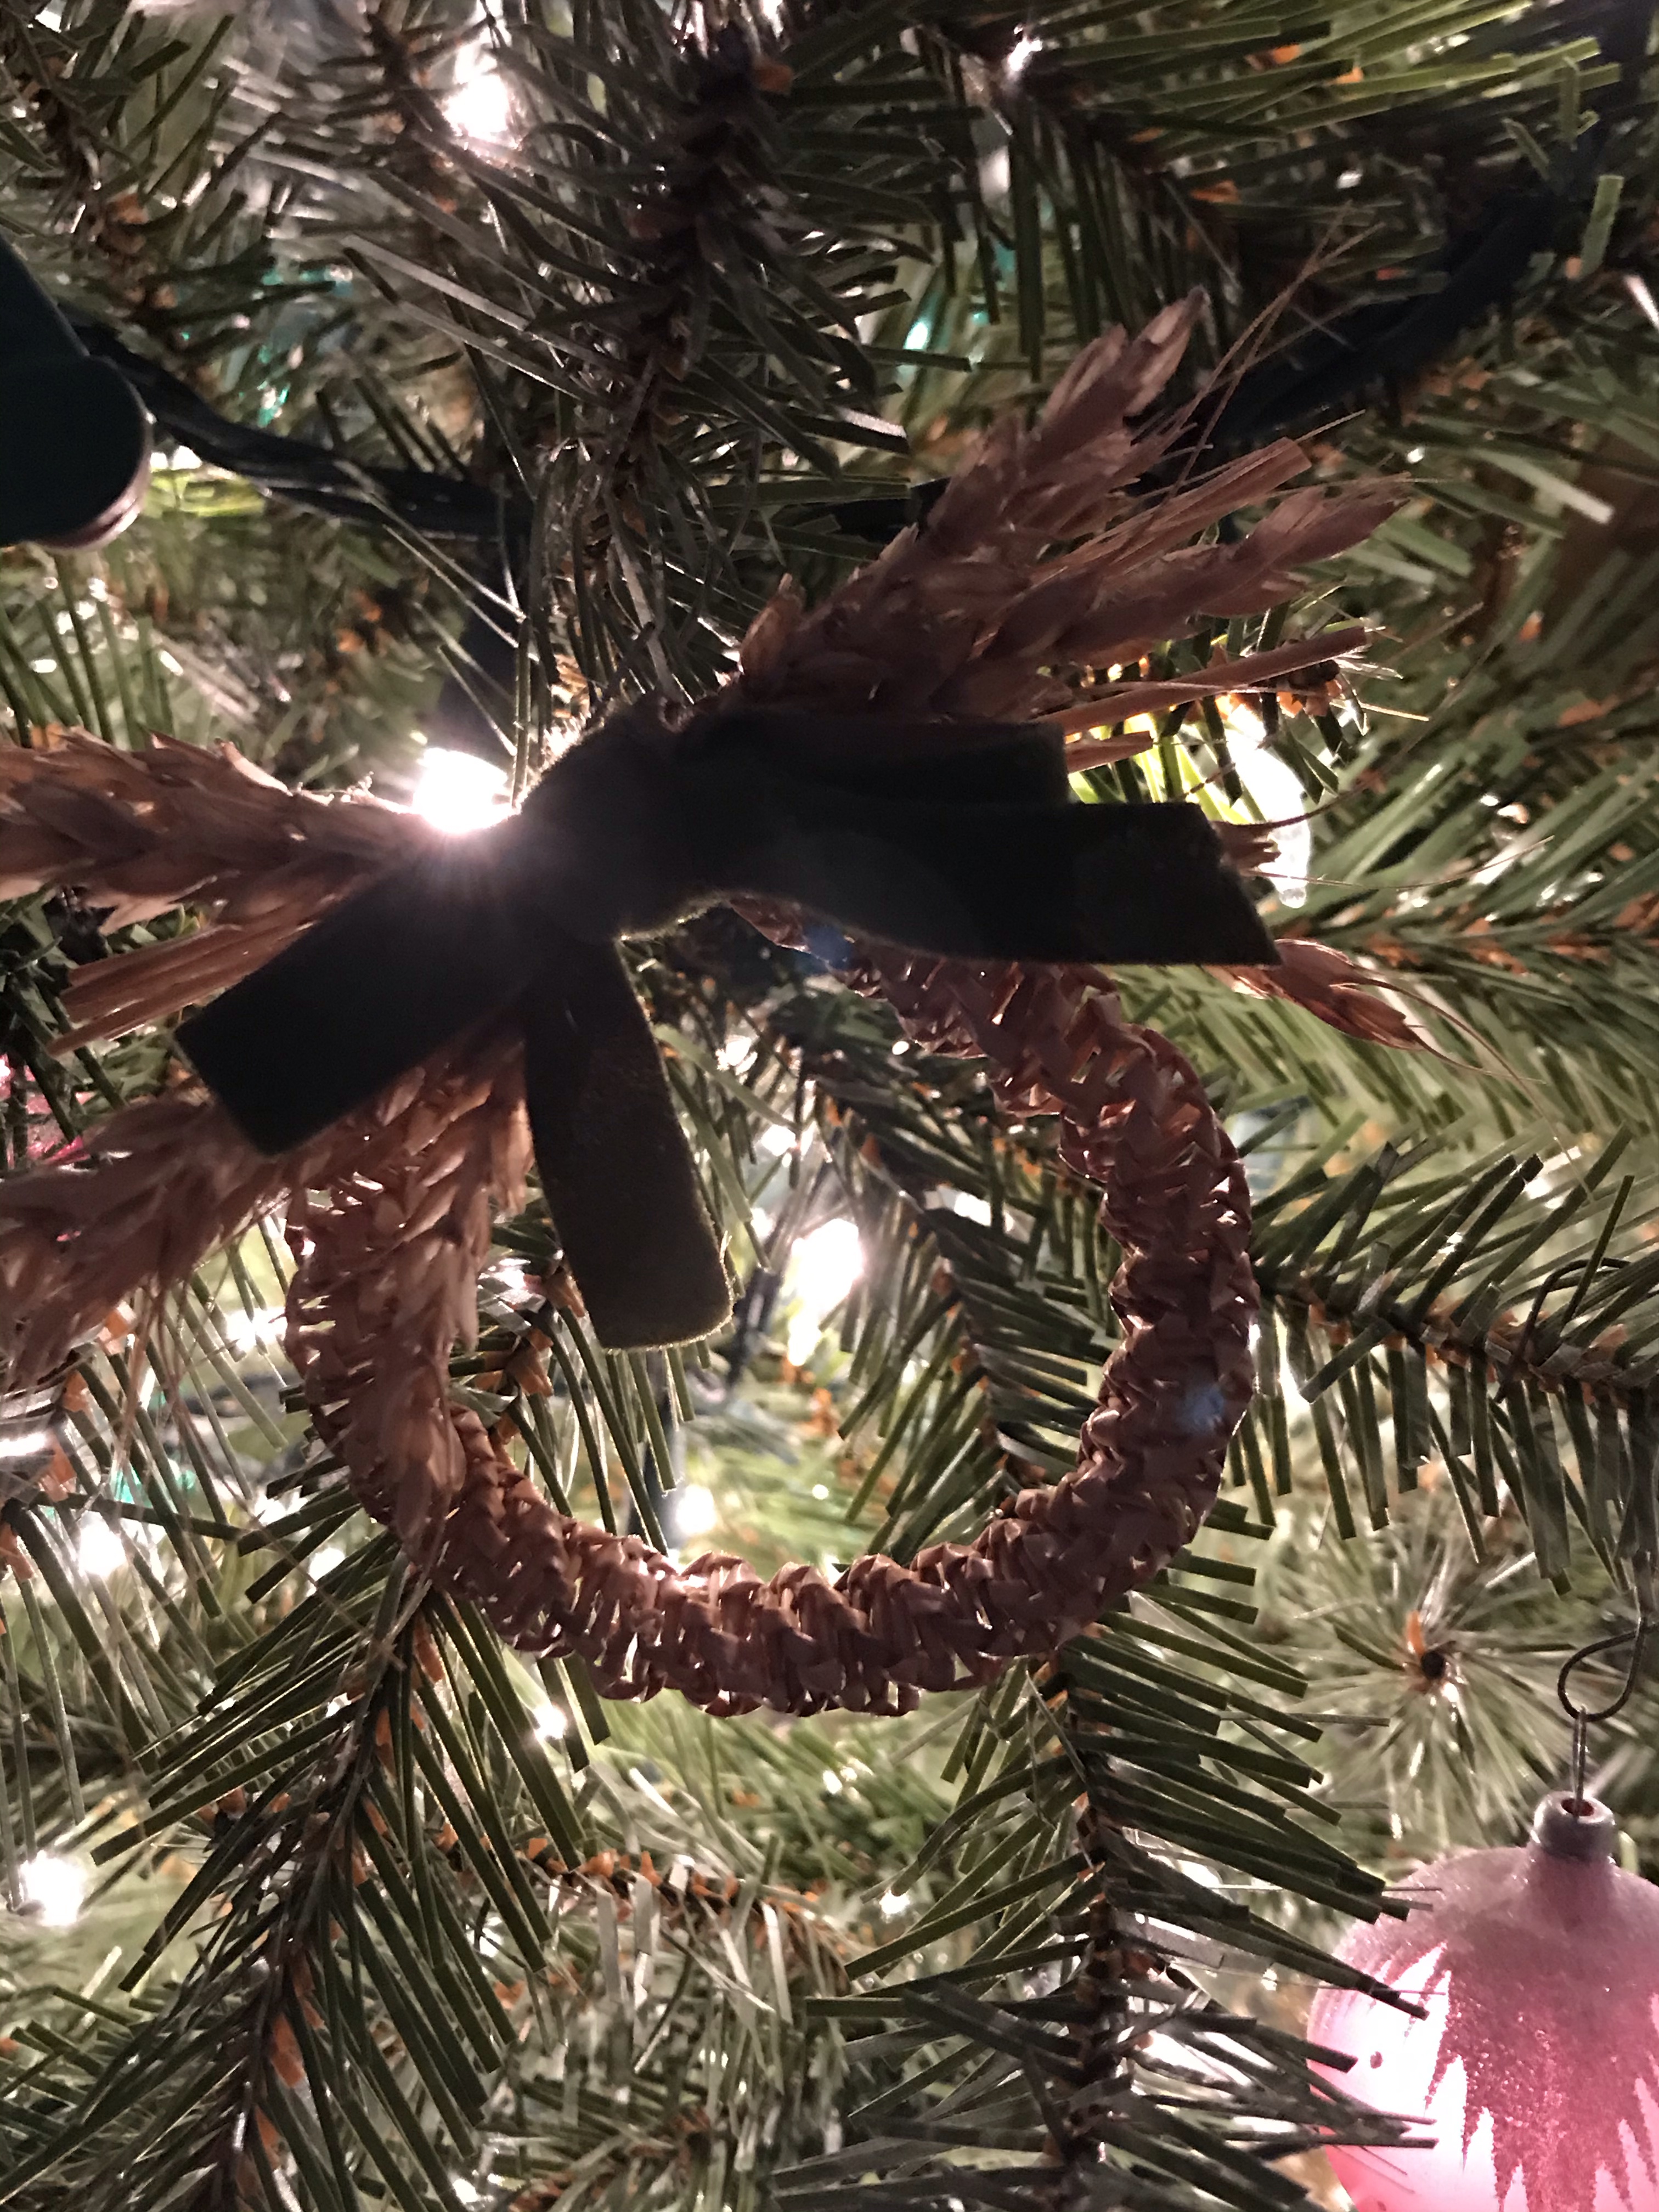
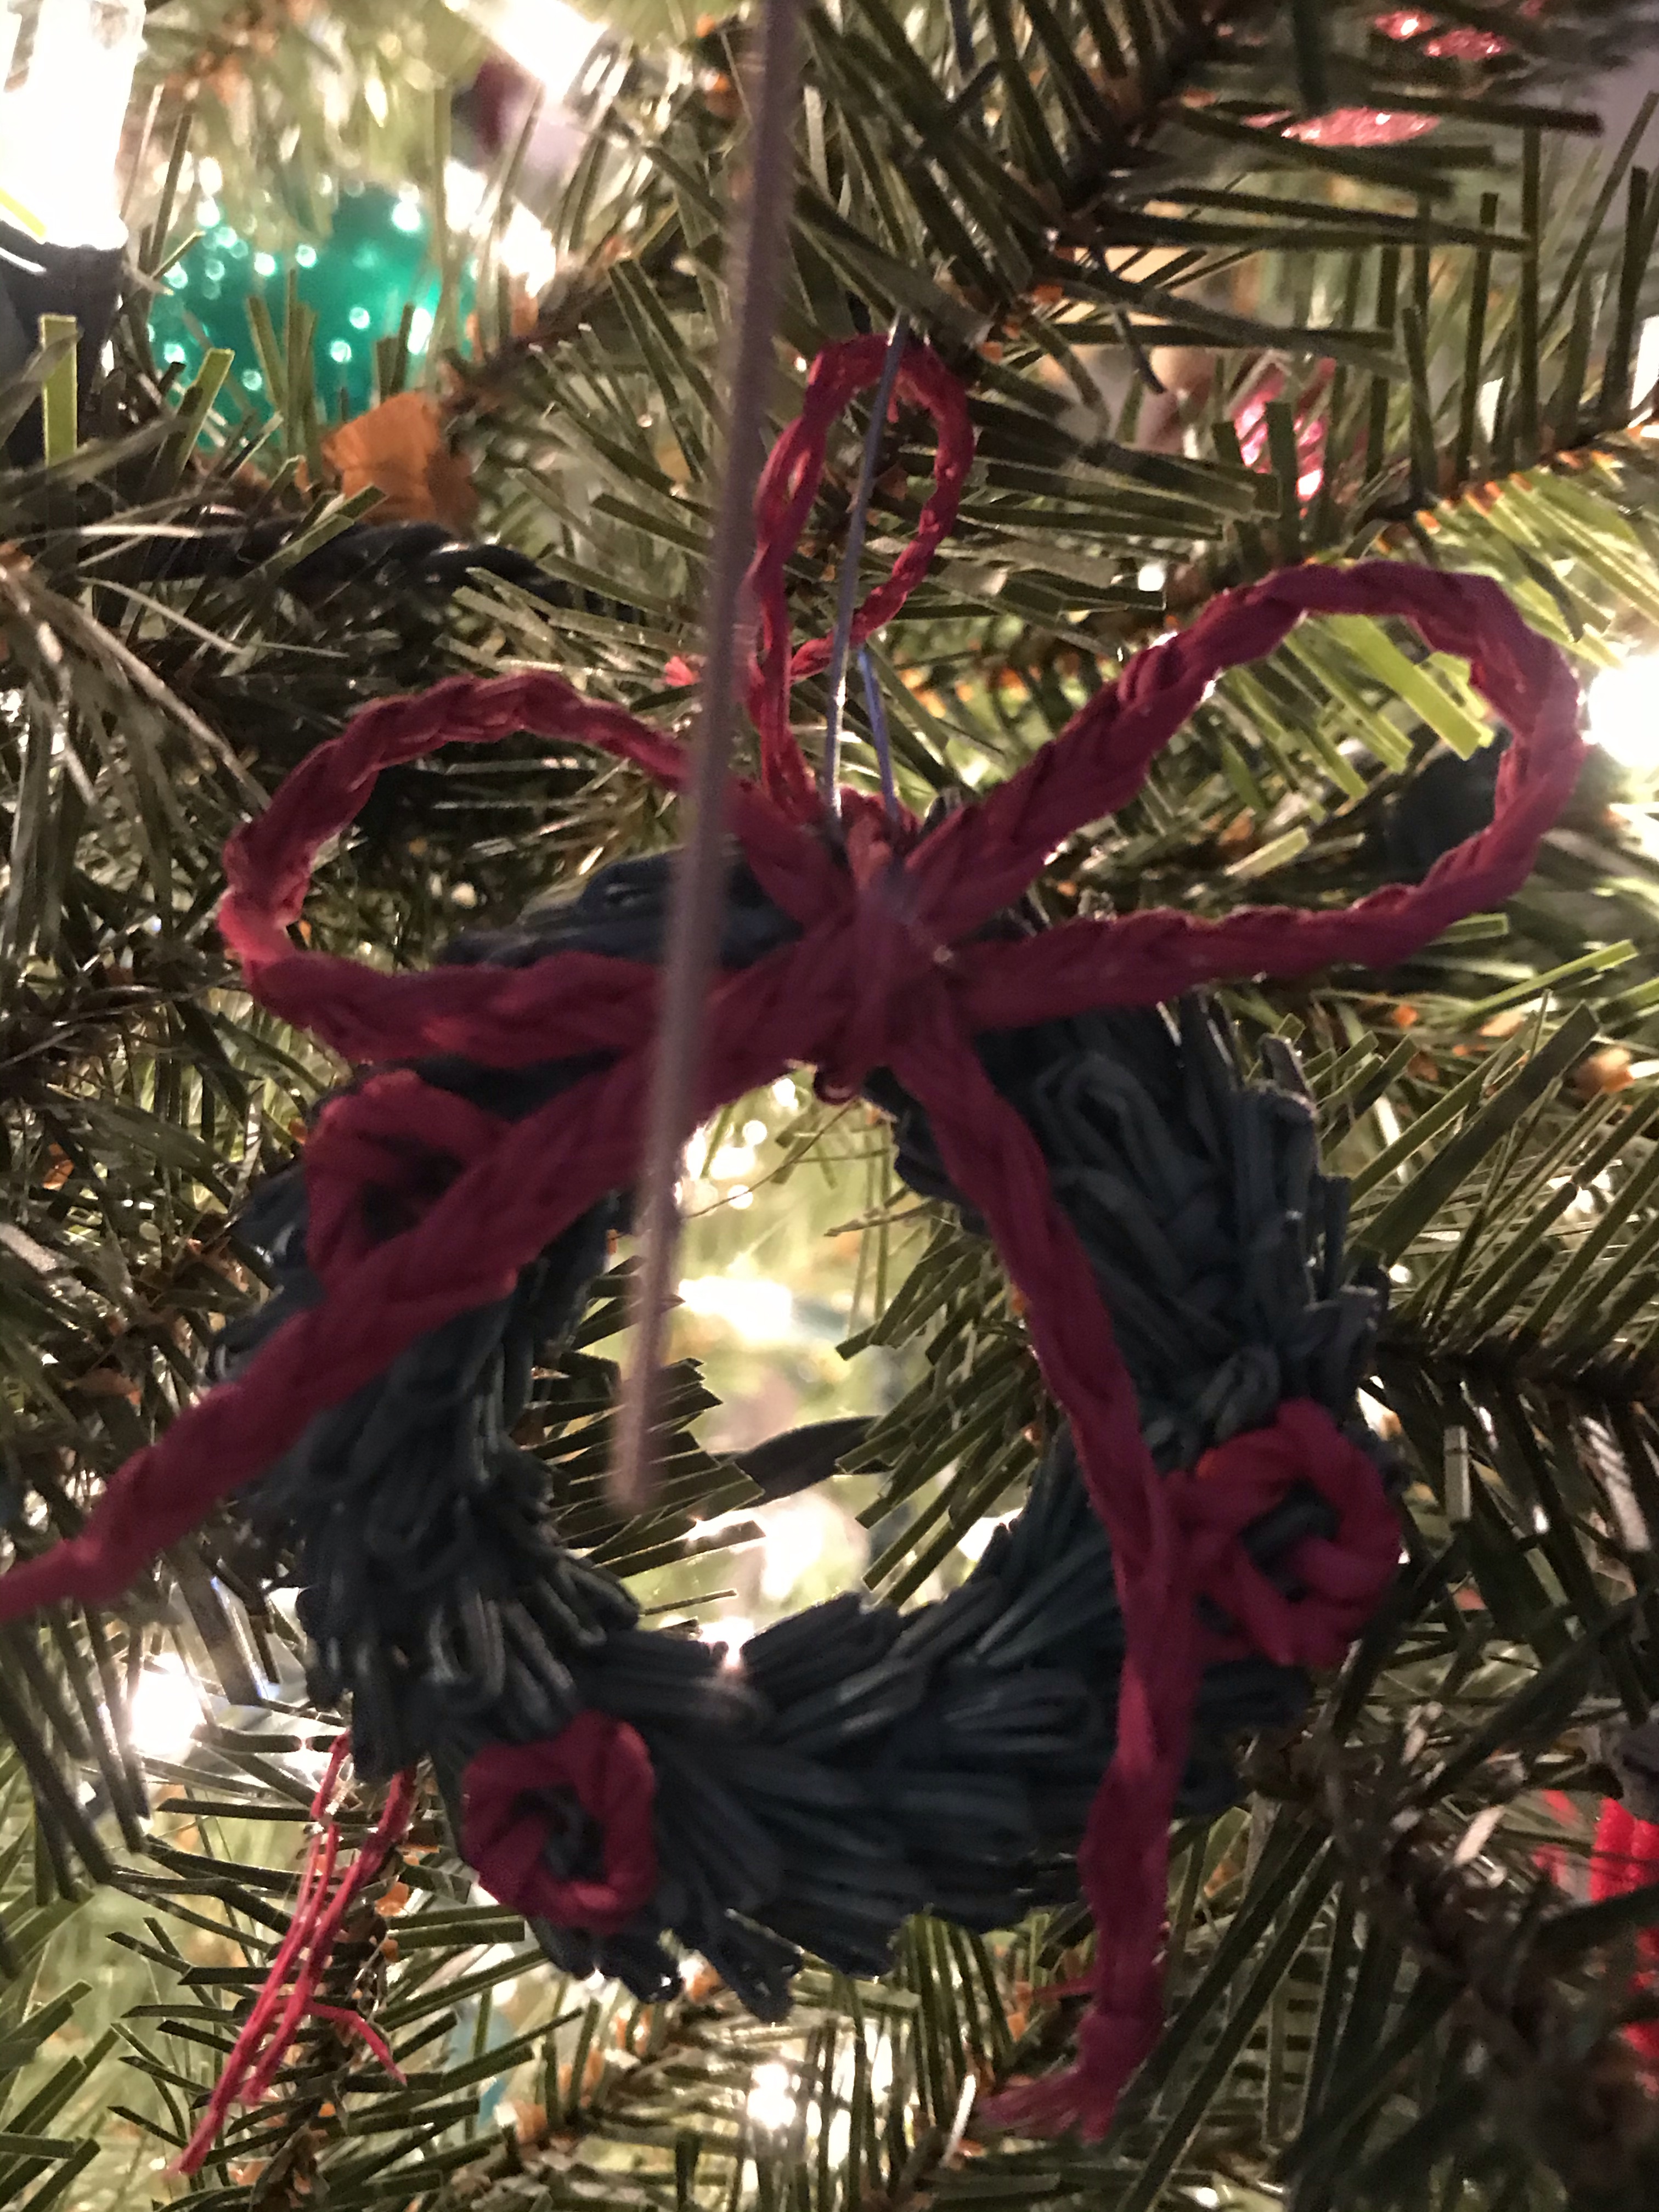
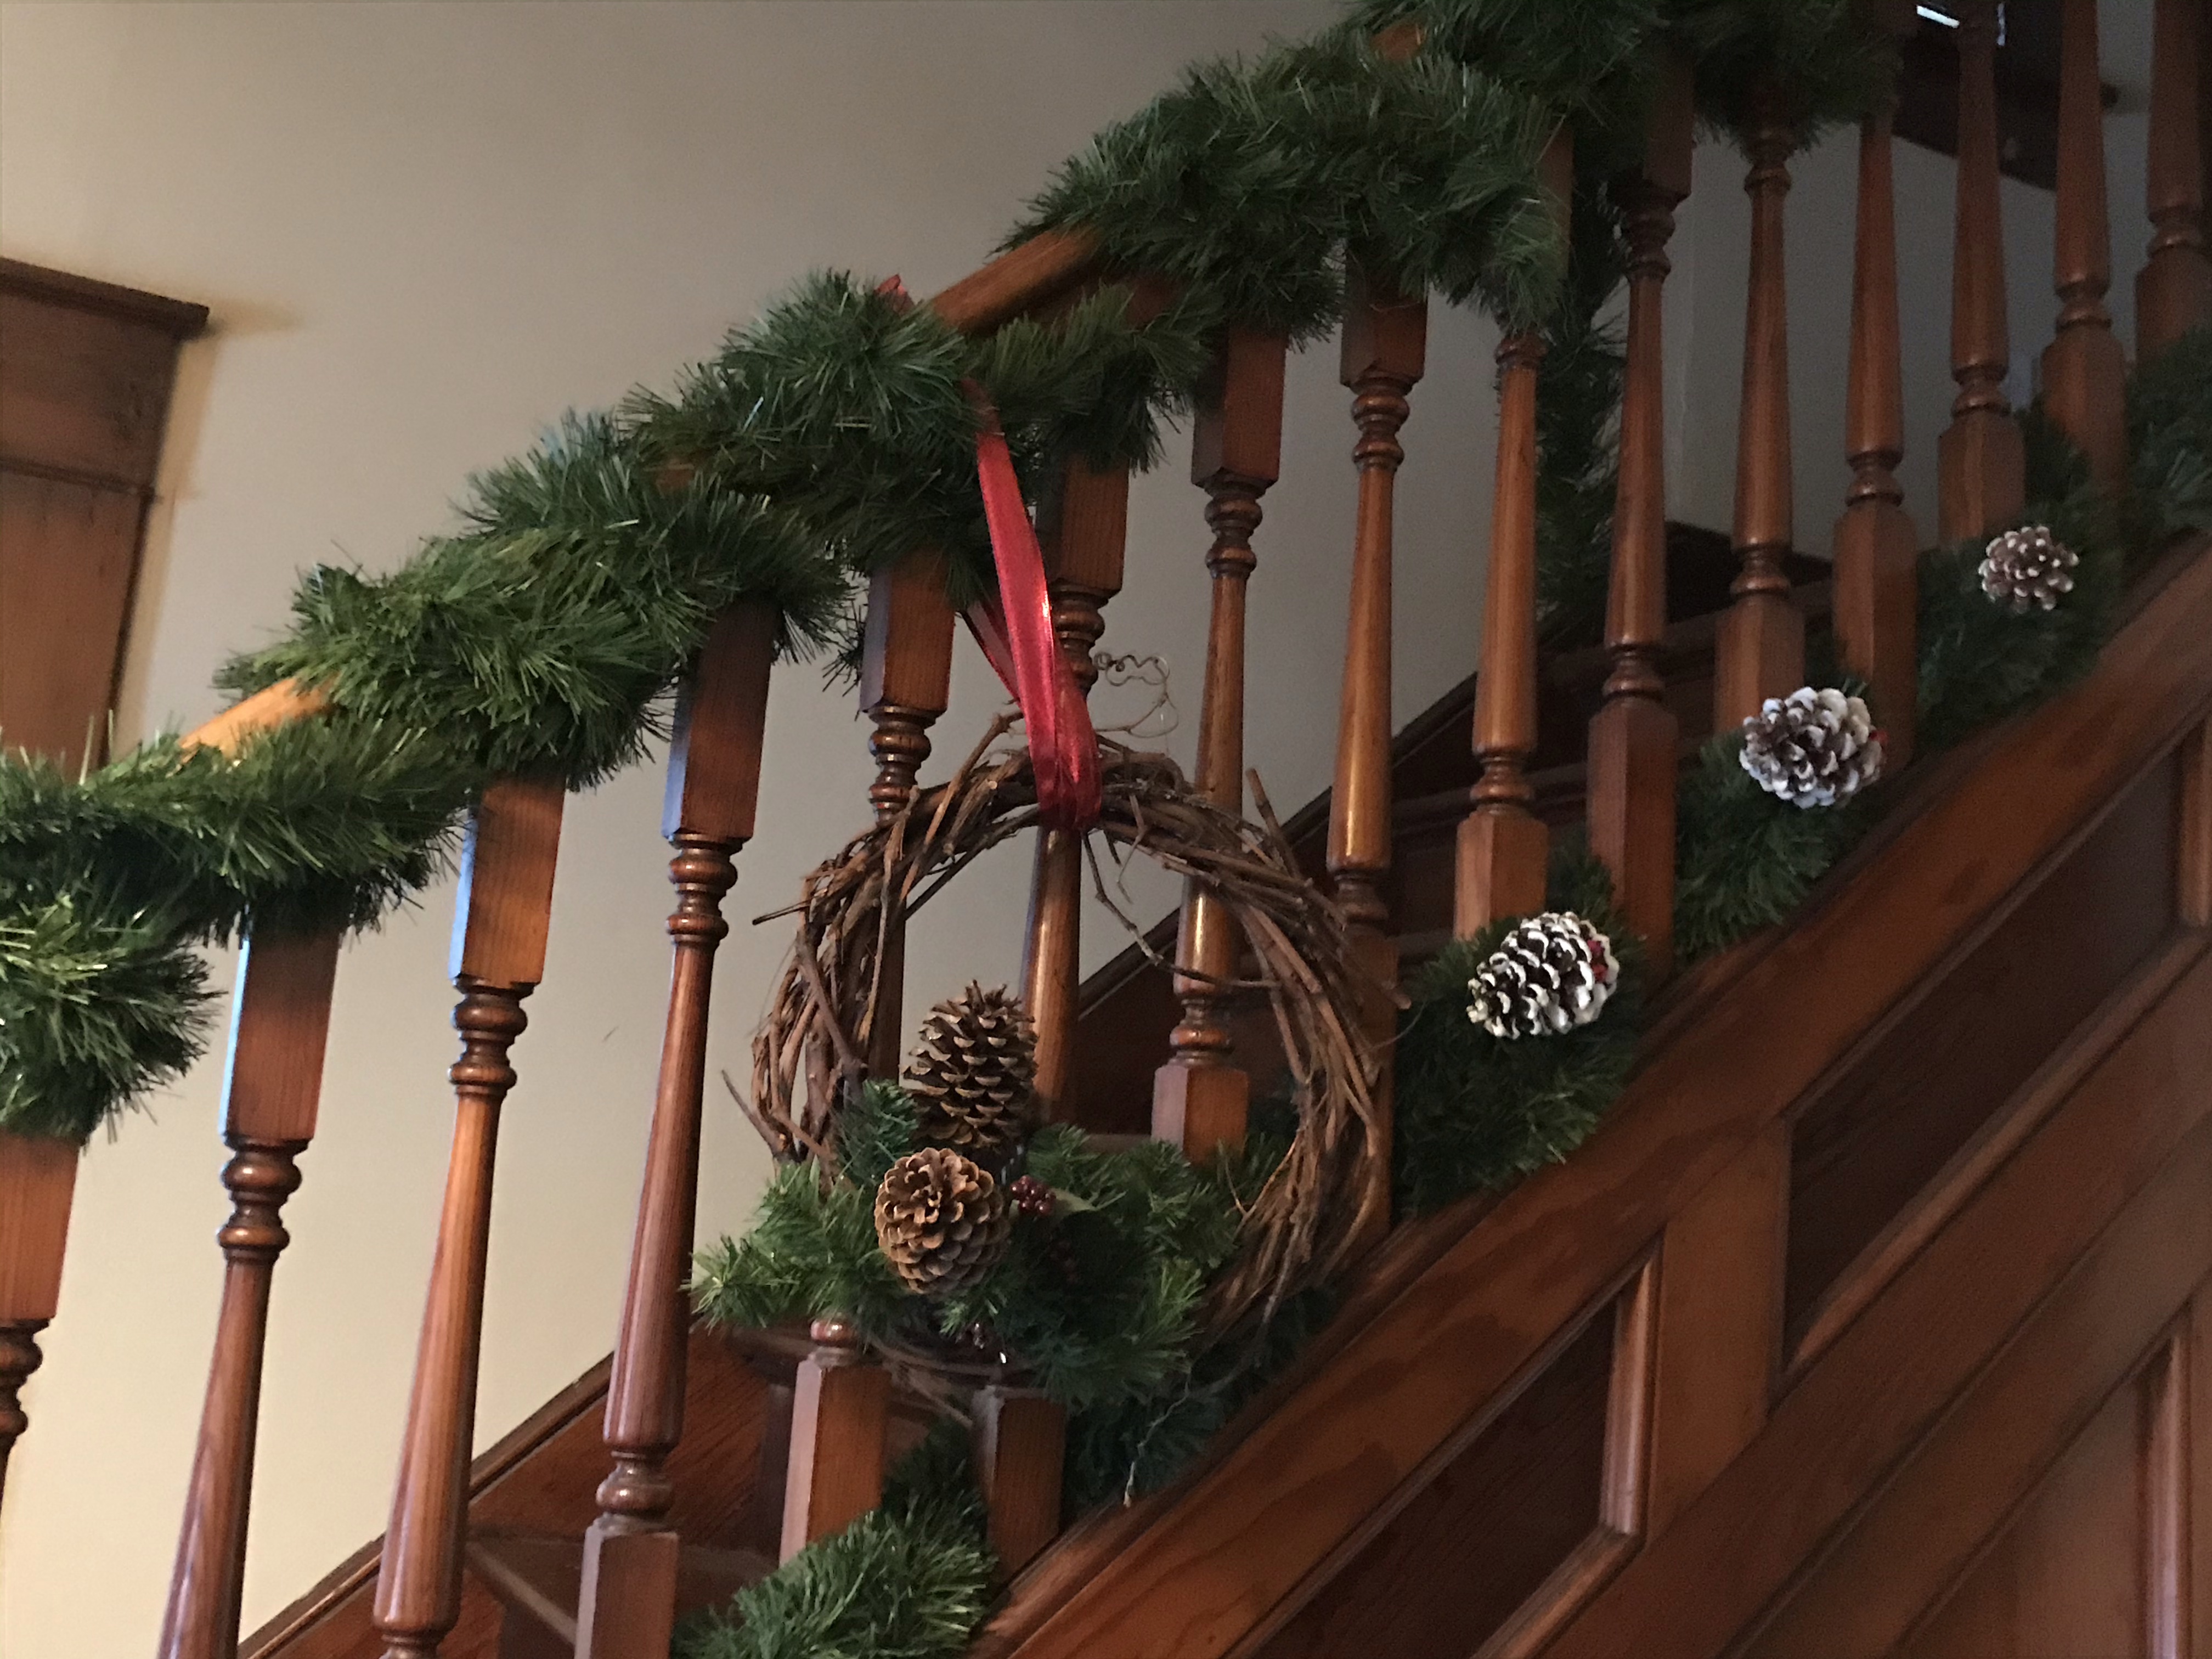
New wreaths, three on the tree (a yarn one by a friend and two woven from wheat), plus one we made from a grapevine wreath on the banister.
Children’s Time: “We March” by Shane W. Evans
The Sunday before Martin Luther King Day is one of my favorite of the year at church. We have honored it in different ways over the years, including using King’s words in our worship, singing songs of the Civil Rights movement, praying for our enemies, and preaching on the themes of racism, poverty, and militarism. This year, our worship included the reading of this picture book by Shane W. Evans. It includes illustrations based on photos from the March on Washington. See if you can spot Dr. King, Rabbi Joachim Prinz, and John Lewis.
Winter Crafternoon: Wooden Snowmen
During Advent, some friends and I gathered weekly to make seasonal crafts via Zoom. Every part of it was fun, but an especially endearing part was how many people accepted the invitation saying “I stink at crafts, but I’m willing to try.” I love that spirit, and I love that friends were confident that we could do crafts together poorly and still have fun.
To be inclusive, our crafts had to: 1) require few pre-existing skills, 2) require few tools or materials since I bagged them up and delivered them to my friends, 3) be adaptive since our group included children through older adults and people with various abilities. And while most of my friends were from my church, not everyone was, so I chose mostly crafts that were wintertime-themed, not holiday themed.
Our final craft was a wooden snowman. Everyone in our group got a head start because I cut the wood and gave it the base layer of paint before I delivered the supplies to them.
Supplies
- 3 pieces of scrap wood of the same width and depth, cut to different lengths. Pieces could be as short as 2″ and up to 8″.
- black, gray, or dark blue craft paint
- white craft paint
- sand paper (optional)
- orange craft paint or an orange Sharpie
- assorted buttons, at least 3
- fabric at least 8 inches long to create a scarf
- twigs to create arms
- materials to make a hat (black stock paper, children’s sock + a ribbon, felt + jingle bell or pom-pom) or ear muffs (chenille stems + pom-poms)
- scissors
- hot glue gun and hot glue stick
- newspaper to create an area to work
Directions
- Paint wooden blocks black, gray, or dark blue.
- Paint again with white paint, allowing some of the darker color to peek through. Add as many layers of white paint as you prefer. When final coat is dry, use sandpaper to scruff it up a bit. The goal is to add depth to the wood by creating areas of darker and lighter wood.
- Select which block will be the head, torso, and bottom, placing them on top of each other to create a thin, tall snowman. Experiment by arranging them in new orders and turning them a bit to different angles, so they are not perfectly stacked on top of each other.
- Hot glue blocks on top of each other.
- Use markers or paint to add eyes, a carrot nose, and a mouth.
- Hot glue buttons in a vertical line on the torso.
- Use hot glue to add sticks to either side of the torso for arms.
- Create a fabric scarf by cutting a long piece of fabric or felt and then nipping the ends to create fringe. Circle around the neck and glue in place with a dot of glue on the rear of the neck. Tie the scarf in front, securing with a dab of glue.
- Create a hat and glue in place.
- Stocking cap: cut the toe off a child’s sock, then create fringe. Tie the fringe off with a ribbon and stuff the sock with scrap fabric or cotton balls.
- Kerchief: Cut fabric into a equilateral triangle and secure with glue on top of the head and under the chin
- Jingle cap: make a cap like for our pine cone elf
- Top hat: cut a circle slightly larger than the top of the head from black cardstock and another slightly larger. Cut a strip that is the circumference of the circle and as wide as you want the hat’s height. Create a ring from the long strip and hot glue it between the two circles to form a hat.
- Ear muffs: double a chenille stem that is slightly more than the length of the width of the head. Hot glue a pom-pom to either end of the stem. Bend into an arc. Glue to head, one pom-pom over each ear.
Winter Crafternoons: Evergreen Forest
During Advent, some friends and I gathered weekly to make seasonal crafts via Zoom. Every part of it was fun, but an especially endearing part was how many people accepted the invitation saying “I stink at crafts, but I’m willing to try.” I love that spirit, and I love that friends were confident that we could do crafts together poorly and still have fun.
To be inclusive, our crafts had to: 1) require few pre-existing skills, 2) require few tools or materials since I bagged them up and delivered them to my friends, 3) be adaptive since our group included children through older adults and people with various abilities. And while most of my friends were from my church, not everyone was, so I chose mostly crafts that were wintertime-themed, not holiday themed.
We build an evergreen forest every year at our house, often reusing old trees but in new combinations. Here is how we do it:

Supplies:
- green cardstock of various sizes, with some at least large enough to trace a plate on
- pencil
- compass for creating circles or circles to trace (cereal bowls, plates, containers, etc.)
- scissors
- white craft paint + paint of other colors, such as silver, gold, and rose gold glitter
- hot glue gun and hot glue stick
- newspaper for your workspace
Directions:
- Paint your paper with fun designs. Try polka dots, stripes, leopard print, sponge paint, zig zags, etc.
- When the paper is try, trace a circle on the non-painted side. Cut out.
- Cut a Pac-Man mouth out of each circle. Roll into a cone shape. The larger your mouth, the taller and skinnier the tree. You can even cut each circle in half, then roll the half into a cone. This will create a small overlap of the edges; secure with a line of hot glue.
- Experiment with circles of different sizes and different size cuts to create trees of different sizes.
- Use scissors to cut a zig zag around the bottom edge, or for something softer and more whimsical, cut a wave shape.
- Cut circles of slightly different sizes, then stack the finished cones on top of each other to create trees of multiple layers.
- Use additional markers to draw cardinals or squirrels on the trees, or add Christmas lights.
- Add individual trees to cookie plates, or group together for a centerpiece or to cover a mantle.
- We sometimes hide candies under the trees to help countdown to Advent.
Winter Crafternoons: Pine Cone Elves
During Advent, some friends and I gathered weekly to make seasonal crafts via Zoom. Every part of it was fun, but an especially endearing part was how many people accepted the invitation saying “I stink at crafts, but I’m willing to try.” I love that spirit, and I love that friends were confident that we could do crafts together poorly and still have fun.
To be inclusive, our crafts had to: 1) require few pre-existing skills, 2) require few tools or materials since I bagged them up and delivered them to my friends, 3) be adaptive since our group included children through older adults and people with various abilities. And while most of my friends were from my church, not everyone was, so I chose mostly crafts that were wintertime-themed, not holiday themed, though this one is an elf. This elf much cuter and cheaper than a name-brand Elf on the Shelf, so if that’s a tradition you want to enjoy with your kids, consider this little cutie as an alternative.

Supplies:
- pine cone (with or without white tips, as you prefer)
- wooden ball for head
- black Sharpie or other marker or paint and paintbrush
- felt in 1-3 colors
- mini-jingle bell or pom-pom
- hot glue gun and glue stick
- scissors
Directions
- If the end of the pine cone is not flat, flatten by pulling off some scales.
- Choose a felt color for your elf’s shoes. Cut a double thickness of material into a heart shape. Glue the two pieces of fabric together, one on top of the other. Then glue to the bottom of the pine cone, so the point of the heart faces the elf’s back.
- Glue the wooden ball to the top of the pine cone. If it drips, don’t worry–you’ll cover it with Elfie’s scarf later.
- Cut a large isosceles triangle (2 sides the same length) from a piece of felt, with the third side (which will form the opening of the hat) cut with a slight curve. Roll into a cone shape so that the opening fits over the wooden ball. Hot glue the seam shut.
- Hot glue the jingle bell (or pom-pom, if you prefer) to the tip of the hat.
- Cut a long strip of felt to serve as a scarf. Cut small nips into the end to create fringe. Wrap around Elfie’s neck. Add a dollop of glue to the back of Elfie’s neck to hold in place. Knot in front, or layer the ends, holding in place with glue.
- Use a Sharpie to add a face, or paint on. Don’t forget the ears!
- Create more for an elf community, or add a decorative string loop to hang from a tree or add to a garland. If you used a mini pinecone, you can even thread the elf onto ribbon decorating a gift.
