
The Sunday before Martin Luther King Day is one of my favorite of the year at church. We have honored it in different ways over the years, including using King’s words in our worship, singing songs of the Civil Rights movement, praying for our enemies, and preaching on the themes of racism, poverty, and militarism. This year, our worship included the reading of this picture book by Shane W. Evans. It includes illustrations based on photos from the March on Washington. See if you can spot Dr. King, Rabbi Joachim Prinz, and John Lewis.
Winter Crafternoon: Wooden Snowmen
During Advent, some friends and I gathered weekly to make seasonal crafts via Zoom. Every part of it was fun, but an especially endearing part was how many people accepted the invitation saying “I stink at crafts, but I’m willing to try.” I love that spirit, and I love that friends were confident that we could do crafts together poorly and still have fun.
To be inclusive, our crafts had to: 1) require few pre-existing skills, 2) require few tools or materials since I bagged them up and delivered them to my friends, 3) be adaptive since our group included children through older adults and people with various abilities. And while most of my friends were from my church, not everyone was, so I chose mostly crafts that were wintertime-themed, not holiday themed.
Our final craft was a wooden snowman. Everyone in our group got a head start because I cut the wood and gave it the base layer of paint before I delivered the supplies to them.
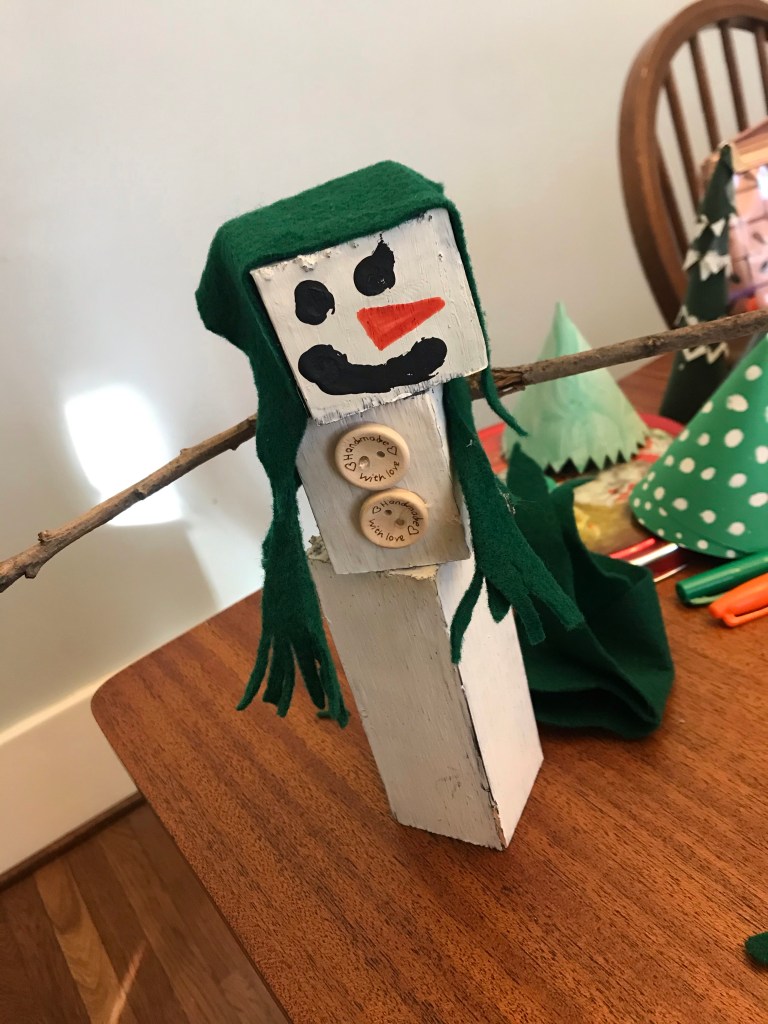
Supplies
- 3 pieces of scrap wood of the same width and depth, cut to different lengths. Pieces could be as short as 2″ and up to 8″.
- black, gray, or dark blue craft paint
- white craft paint
- sand paper (optional)
- orange craft paint or an orange Sharpie
- assorted buttons, at least 3
- fabric at least 8 inches long to create a scarf
- twigs to create arms
- materials to make a hat (black stock paper, children’s sock + a ribbon, felt + jingle bell or pom-pom) or ear muffs (chenille stems + pom-poms)
- scissors
- hot glue gun and hot glue stick
- newspaper to create an area to work
Directions
- Paint wooden blocks black, gray, or dark blue.
- Paint again with white paint, allowing some of the darker color to peek through. Add as many layers of white paint as you prefer. When final coat is dry, use sandpaper to scruff it up a bit. The goal is to add depth to the wood by creating areas of darker and lighter wood.
- Select which block will be the head, torso, and bottom, placing them on top of each other to create a thin, tall snowman. Experiment by arranging them in new orders and turning them a bit to different angles, so they are not perfectly stacked on top of each other.
- Hot glue blocks on top of each other.
- Use markers or paint to add eyes, a carrot nose, and a mouth.
- Hot glue buttons in a vertical line on the torso.
- Use hot glue to add sticks to either side of the torso for arms.
- Create a fabric scarf by cutting a long piece of fabric or felt and then nipping the ends to create fringe. Circle around the neck and glue in place with a dot of glue on the rear of the neck. Tie the scarf in front, securing with a dab of glue.
- Create a hat and glue in place.
- Stocking cap: cut the toe off a child’s sock, then create fringe. Tie the fringe off with a ribbon and stuff the sock with scrap fabric or cotton balls.
- Kerchief: Cut fabric into a equilateral triangle and secure with glue on top of the head and under the chin
- Jingle cap: make a cap like for our pine cone elf
- Top hat: cut a circle slightly larger than the top of the head from black cardstock and another slightly larger. Cut a strip that is the circumference of the circle and as wide as you want the hat’s height. Create a ring from the long strip and hot glue it between the two circles to form a hat.
- Ear muffs: double a chenille stem that is slightly more than the length of the width of the head. Hot glue a pom-pom to either end of the stem. Bend into an arc. Glue to head, one pom-pom over each ear.
Winter Crafternoons: Evergreen Forest
During Advent, some friends and I gathered weekly to make seasonal crafts via Zoom. Every part of it was fun, but an especially endearing part was how many people accepted the invitation saying “I stink at crafts, but I’m willing to try.” I love that spirit, and I love that friends were confident that we could do crafts together poorly and still have fun.
To be inclusive, our crafts had to: 1) require few pre-existing skills, 2) require few tools or materials since I bagged them up and delivered them to my friends, 3) be adaptive since our group included children through older adults and people with various abilities. And while most of my friends were from my church, not everyone was, so I chose mostly crafts that were wintertime-themed, not holiday themed.
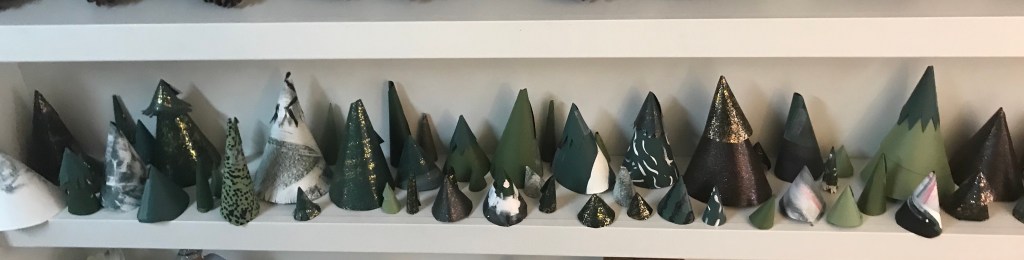
We build an evergreen forest every year at our house, often reusing old trees but in new combinations. Here is how we do it:

Supplies:
- green cardstock of various sizes, with some at least large enough to trace a plate on
- pencil
- compass for creating circles or circles to trace (cereal bowls, plates, containers, etc.)
- scissors
- white craft paint + paint of other colors, such as silver, gold, and rose gold glitter
- hot glue gun and hot glue stick
- newspaper for your workspace
Directions:
- Paint your paper with fun designs. Try polka dots, stripes, leopard print, sponge paint, zig zags, etc.
- When the paper is try, trace a circle on the non-painted side. Cut out.
- Cut a Pac-Man mouth out of each circle. Roll into a cone shape. The larger your mouth, the taller and skinnier the tree. You can even cut each circle in half, then roll the half into a cone. This will create a small overlap of the edges; secure with a line of hot glue.
- Experiment with circles of different sizes and different size cuts to create trees of different sizes.
- Use scissors to cut a zig zag around the bottom edge, or for something softer and more whimsical, cut a wave shape.
- Cut circles of slightly different sizes, then stack the finished cones on top of each other to create trees of multiple layers.
- Use additional markers to draw cardinals or squirrels on the trees, or add Christmas lights.
- Add individual trees to cookie plates, or group together for a centerpiece or to cover a mantle.
- We sometimes hide candies under the trees to help countdown to Advent.
Winter Crafternoons: Pine Cone Elves
During Advent, some friends and I gathered weekly to make seasonal crafts via Zoom. Every part of it was fun, but an especially endearing part was how many people accepted the invitation saying “I stink at crafts, but I’m willing to try.” I love that spirit, and I love that friends were confident that we could do crafts together poorly and still have fun.
To be inclusive, our crafts had to: 1) require few pre-existing skills, 2) require few tools or materials since I bagged them up and delivered them to my friends, 3) be adaptive since our group included children through older adults and people with various abilities. And while most of my friends were from my church, not everyone was, so I chose mostly crafts that were wintertime-themed, not holiday themed, though this one is an elf. This elf much cuter and cheaper than a name-brand Elf on the Shelf, so if that’s a tradition you want to enjoy with your kids, consider this little cutie as an alternative.

Supplies:
- pine cone (with or without white tips, as you prefer)
- wooden ball for head
- black Sharpie or other marker or paint and paintbrush
- felt in 1-3 colors
- mini-jingle bell or pom-pom
- hot glue gun and glue stick
- scissors
Directions
- If the end of the pine cone is not flat, flatten by pulling off some scales.
- Choose a felt color for your elf’s shoes. Cut a double thickness of material into a heart shape. Glue the two pieces of fabric together, one on top of the other. Then glue to the bottom of the pine cone, so the point of the heart faces the elf’s back.
- Glue the wooden ball to the top of the pine cone. If it drips, don’t worry–you’ll cover it with Elfie’s scarf later.
- Cut a large isosceles triangle (2 sides the same length) from a piece of felt, with the third side (which will form the opening of the hat) cut with a slight curve. Roll into a cone shape so that the opening fits over the wooden ball. Hot glue the seam shut.
- Hot glue the jingle bell (or pom-pom, if you prefer) to the tip of the hat.
- Cut a long strip of felt to serve as a scarf. Cut small nips into the end to create fringe. Wrap around Elfie’s neck. Add a dollop of glue to the back of Elfie’s neck to hold in place. Knot in front, or layer the ends, holding in place with glue.
- Use a Sharpie to add a face, or paint on. Don’t forget the ears!
- Create more for an elf community, or add a decorative string loop to hang from a tree or add to a garland. If you used a mini pinecone, you can even thread the elf onto ribbon decorating a gift.
Winter Crafternoons: Paint Chip Garlands
During Advent, some friends and I gathered weekly to make seasonal crafts via Zoom. Every part of it was fun, but an especially endearing part was how many people accepted the invitation saying “I stink at crafts, but I’m willing to try.” I love that spirit, and I love that friends were confident that we could do crafts together poorly and still have fun.
To be inclusive, our crafts had to: 1) require few pre-existing skills, 2) require few tools or materials since I bagged them up and delivered them to my friends, 3) be adaptive since our group included children through older adults and people with various abilities. And while most of my friends were from my church, not everyone was, so I chose mostly crafts that were wintertime-themed, not holiday themed.
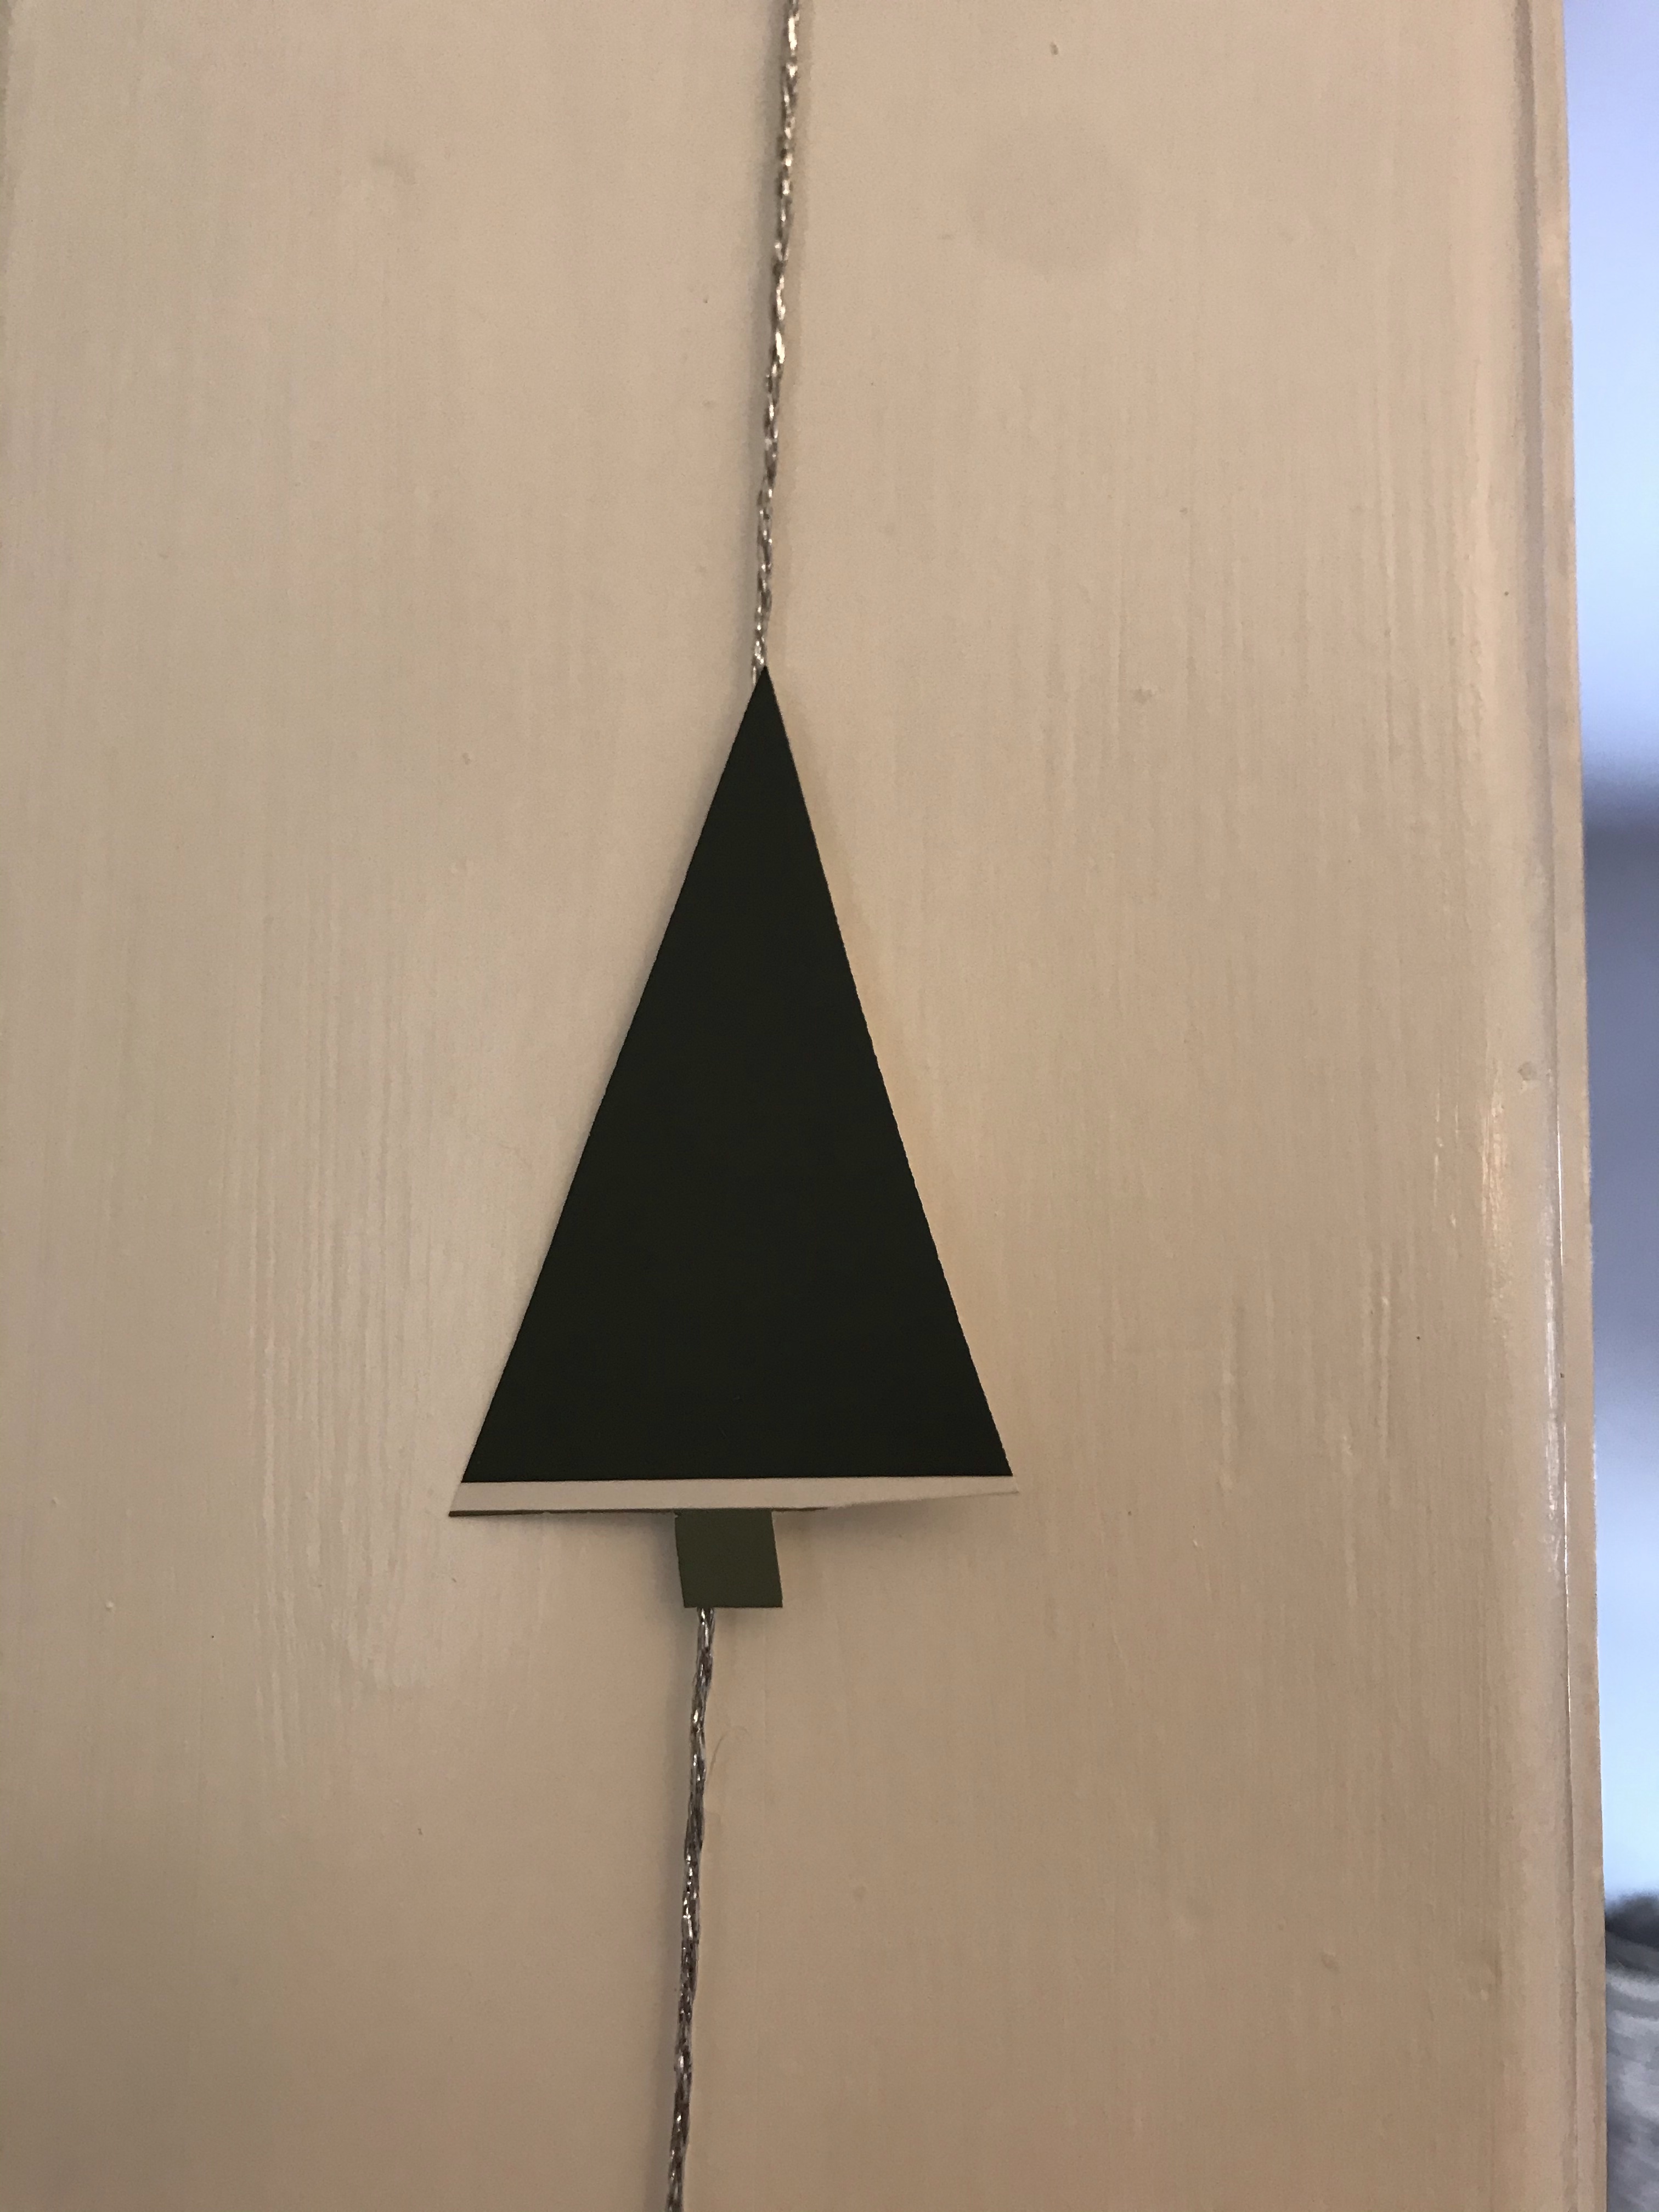
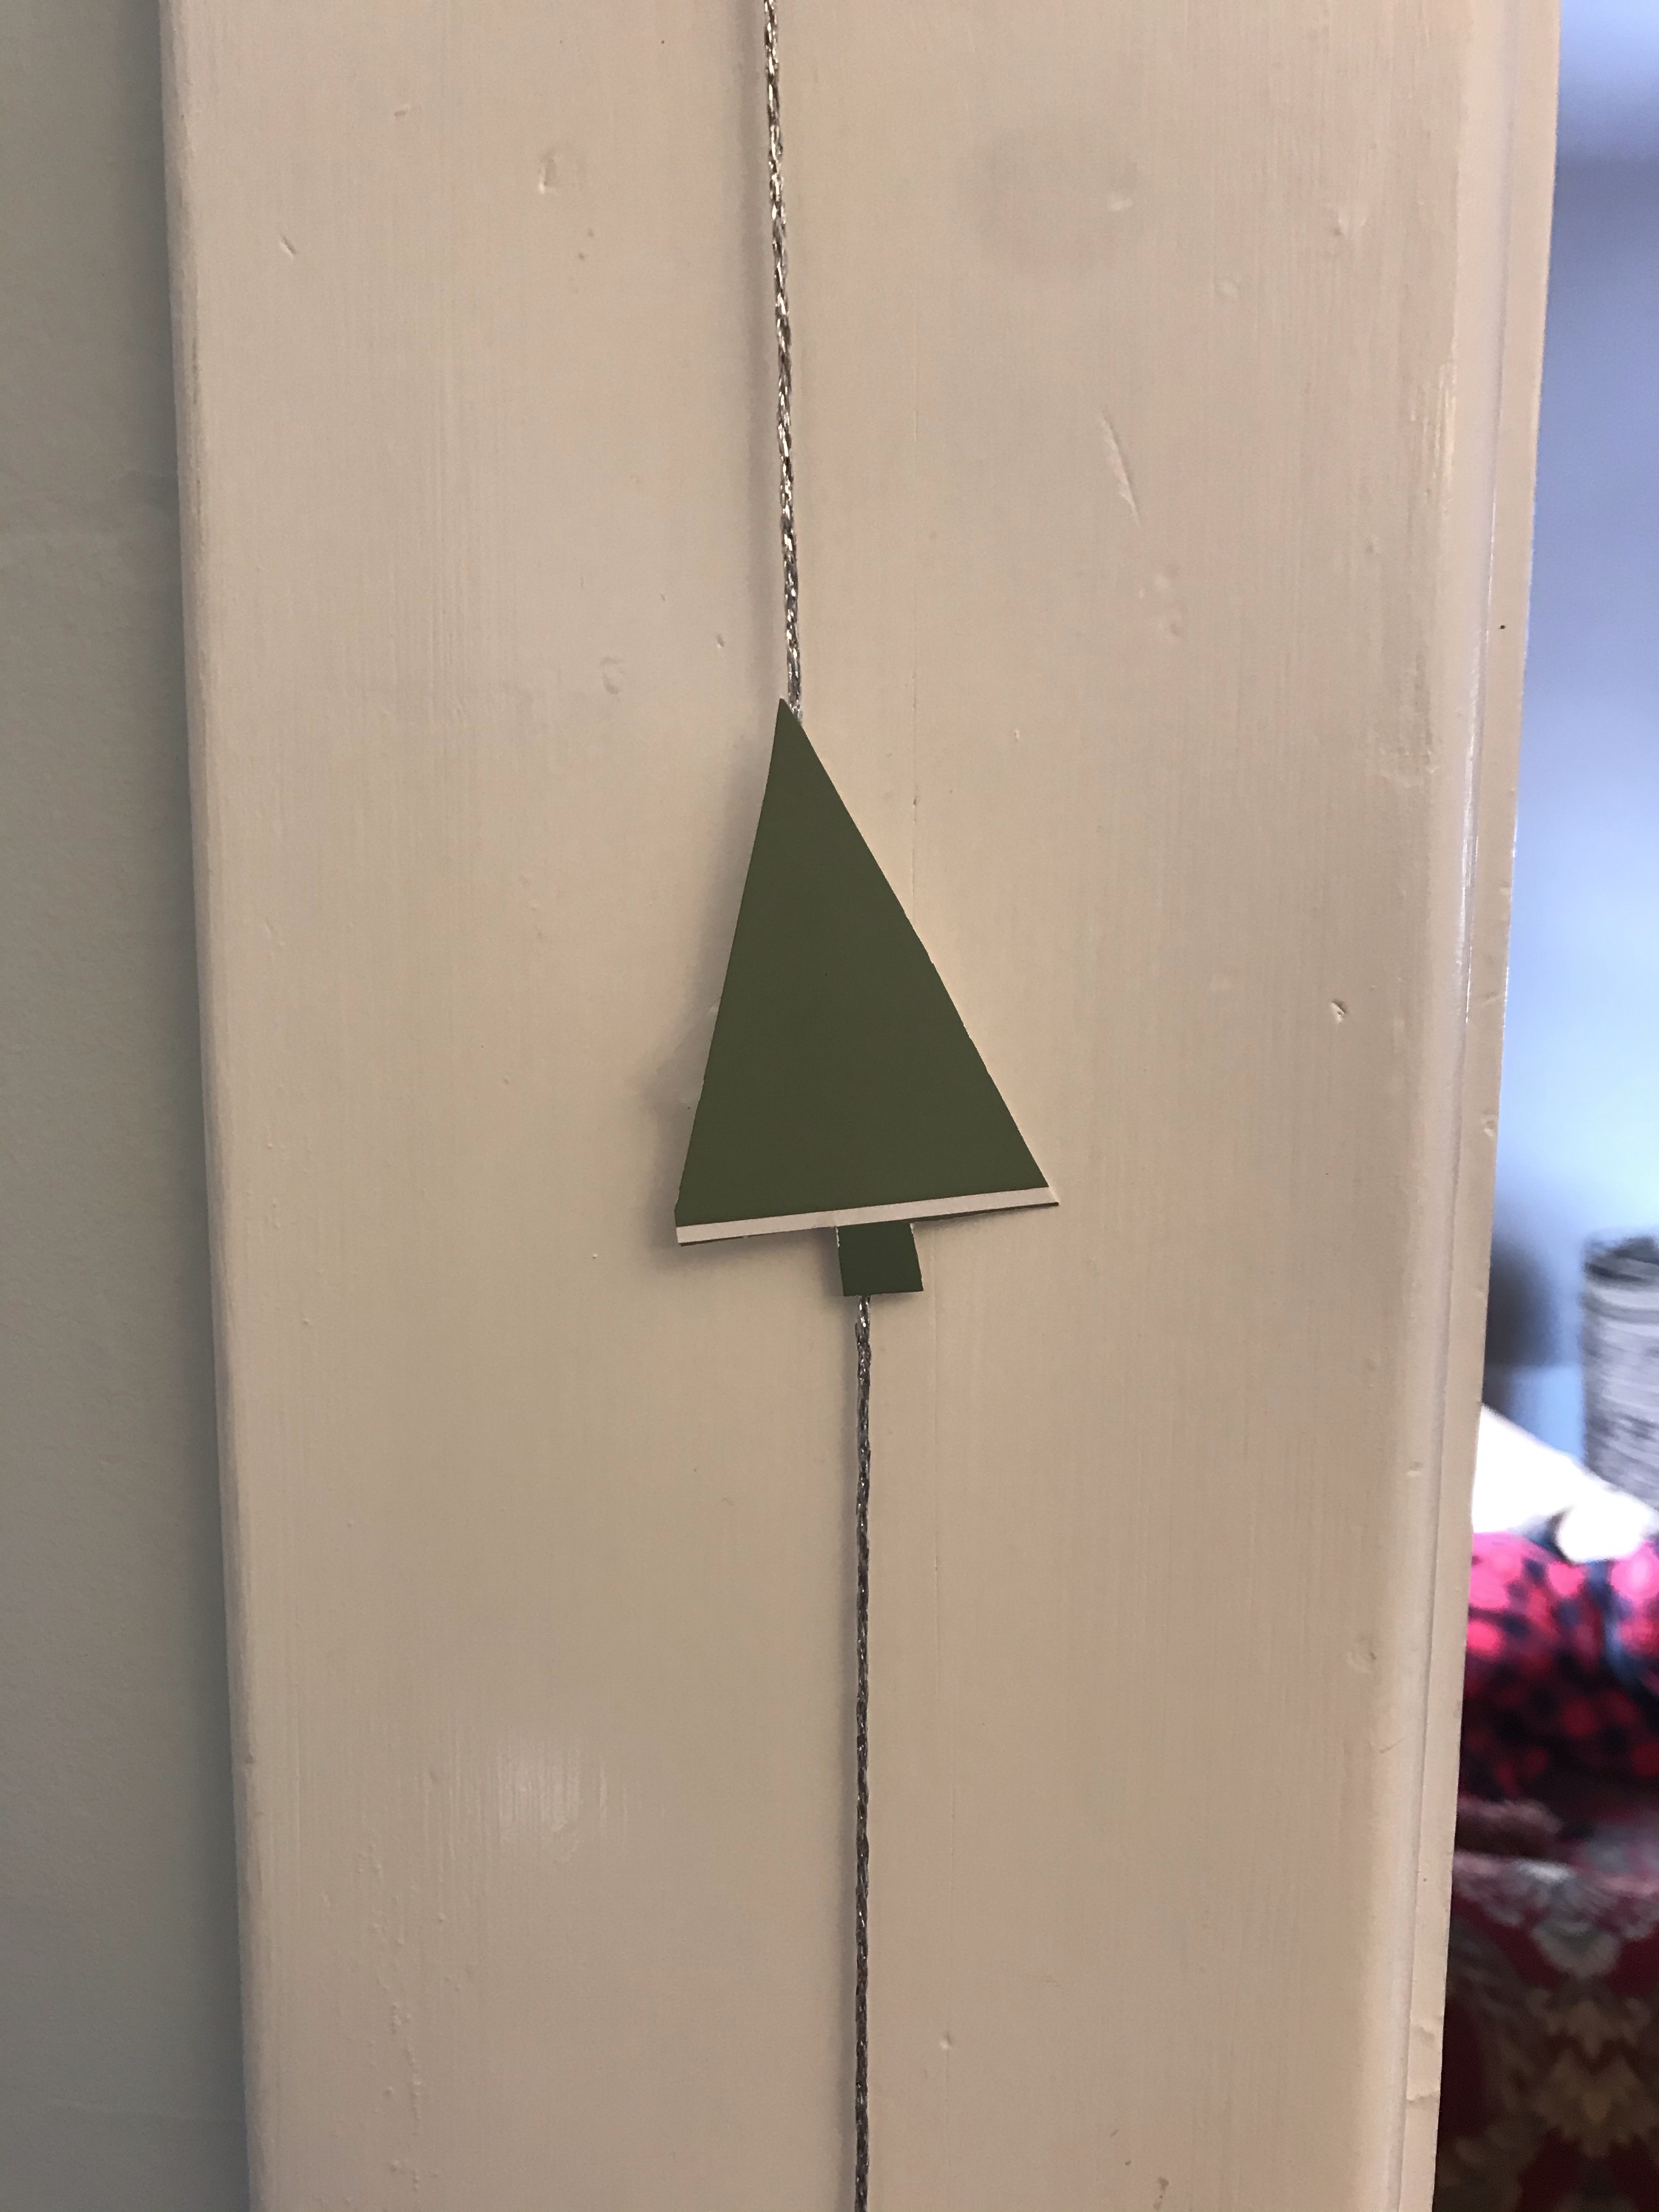
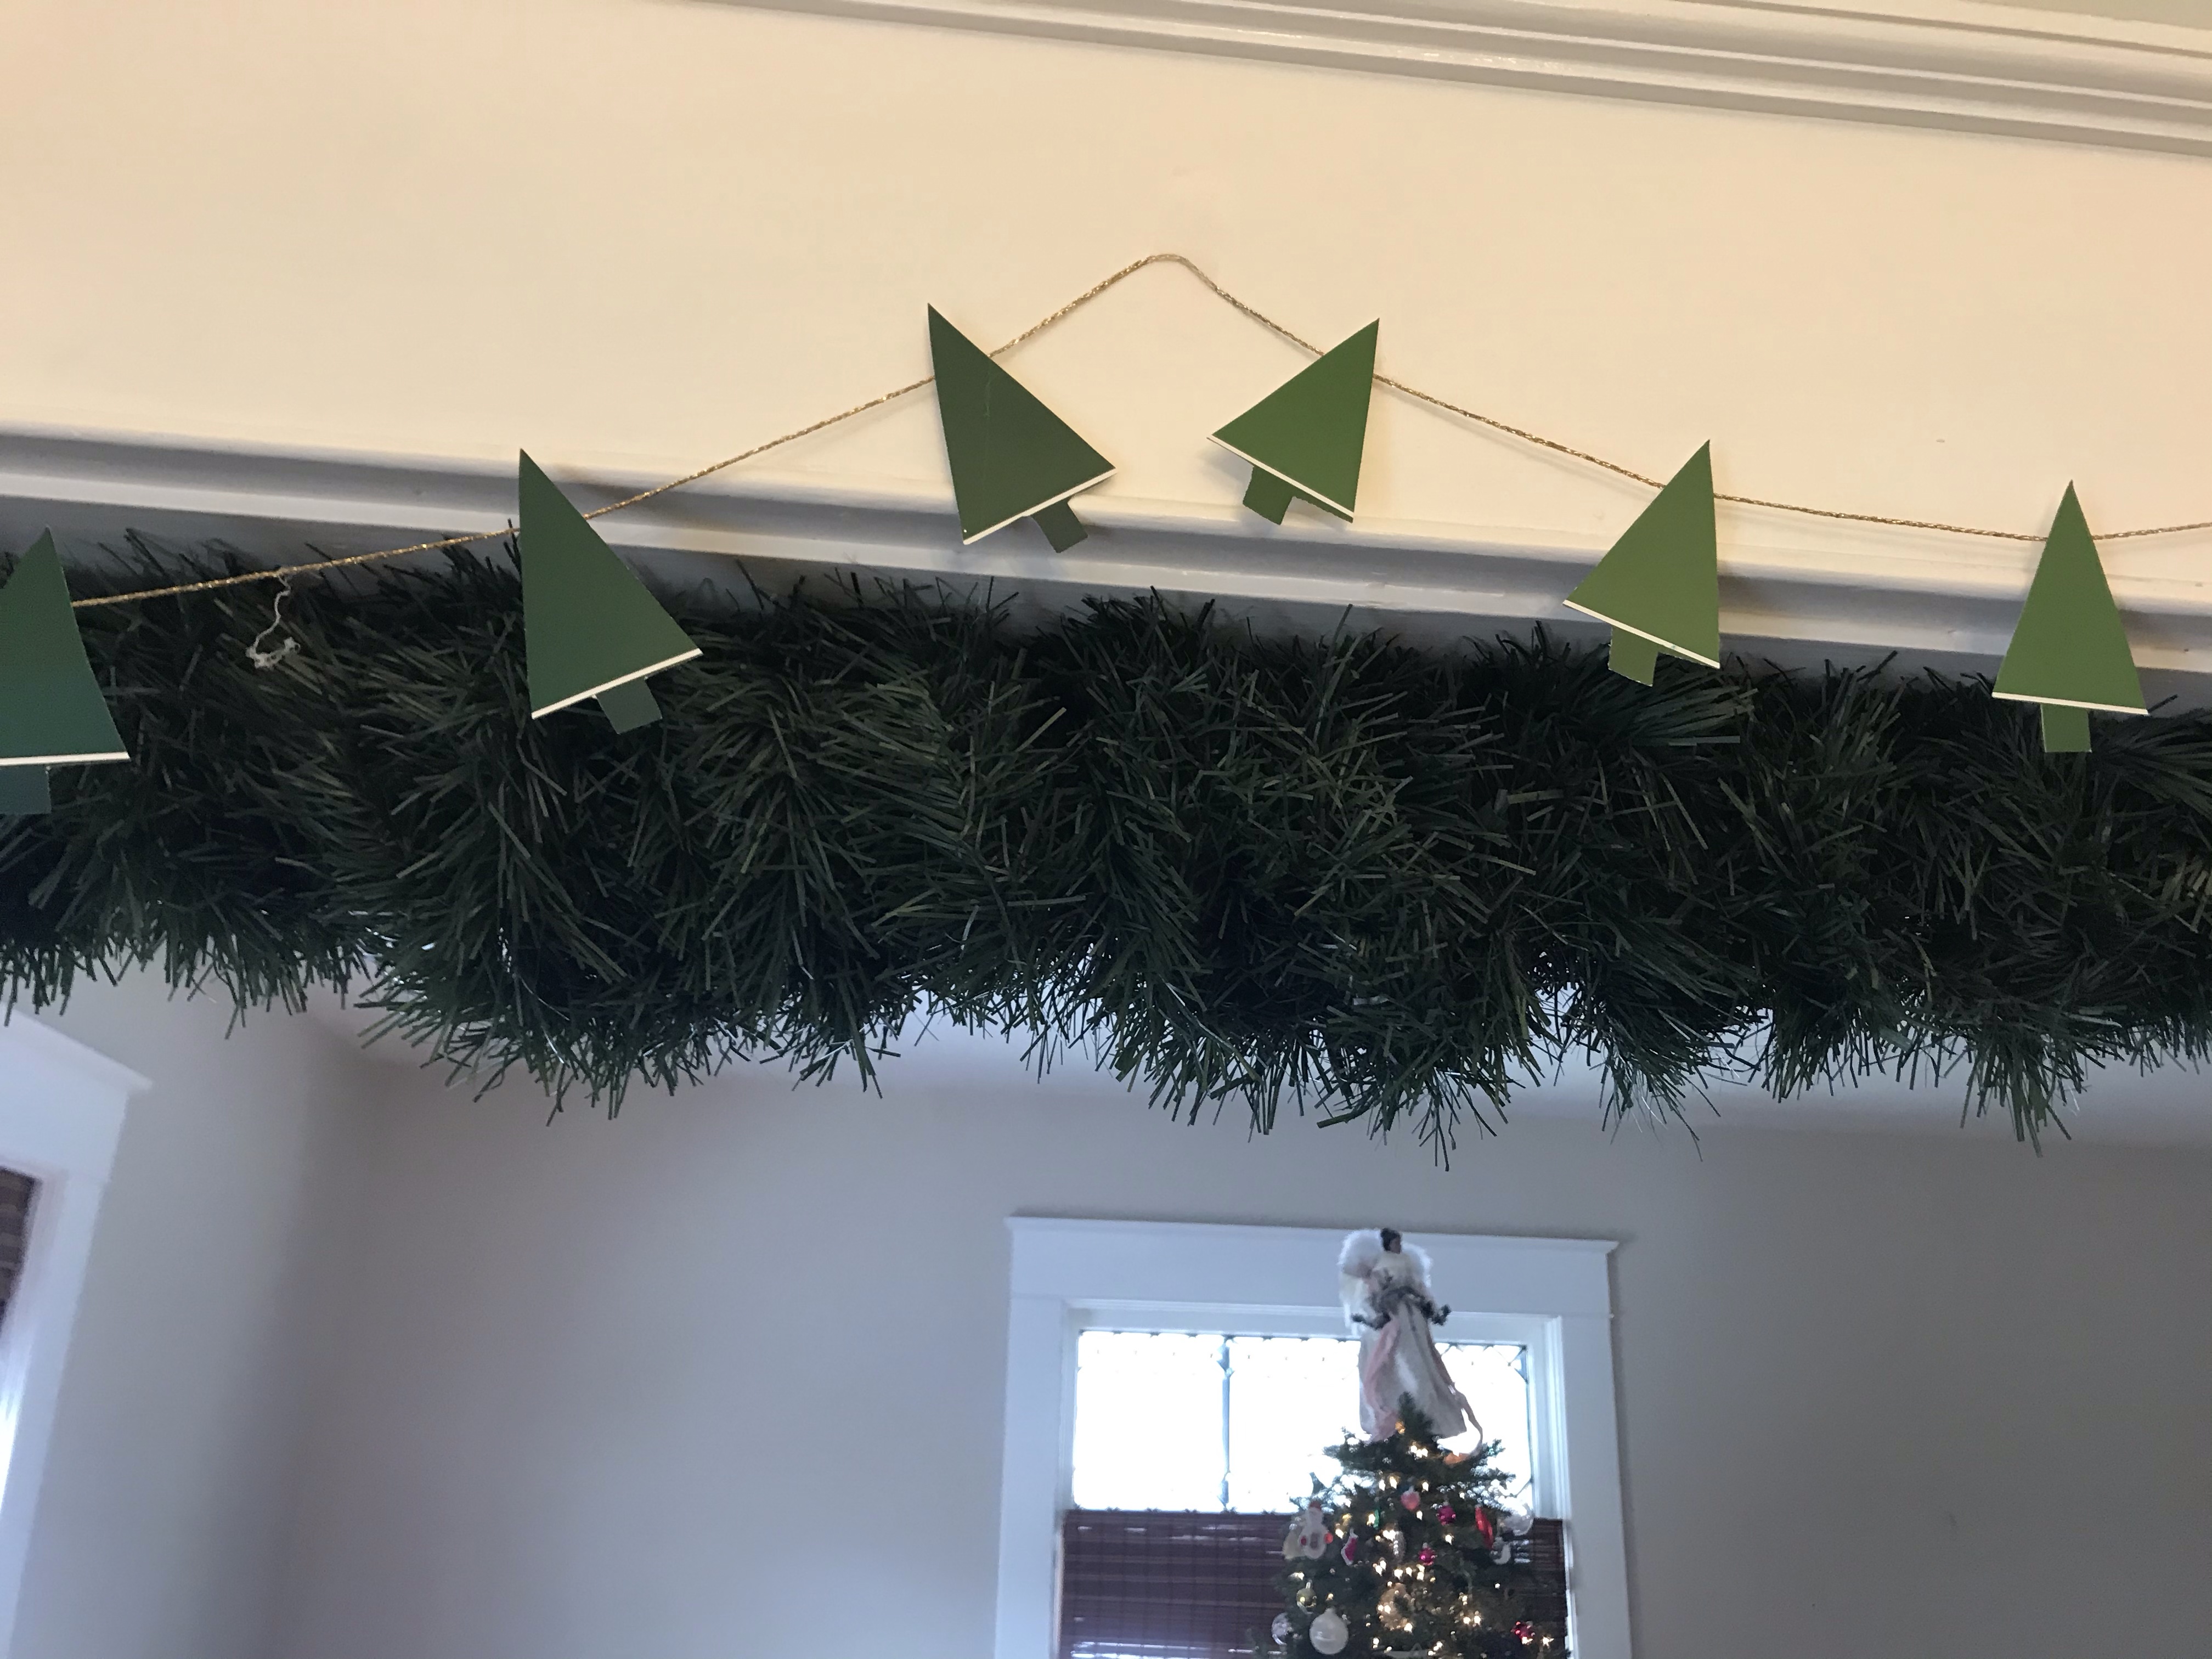
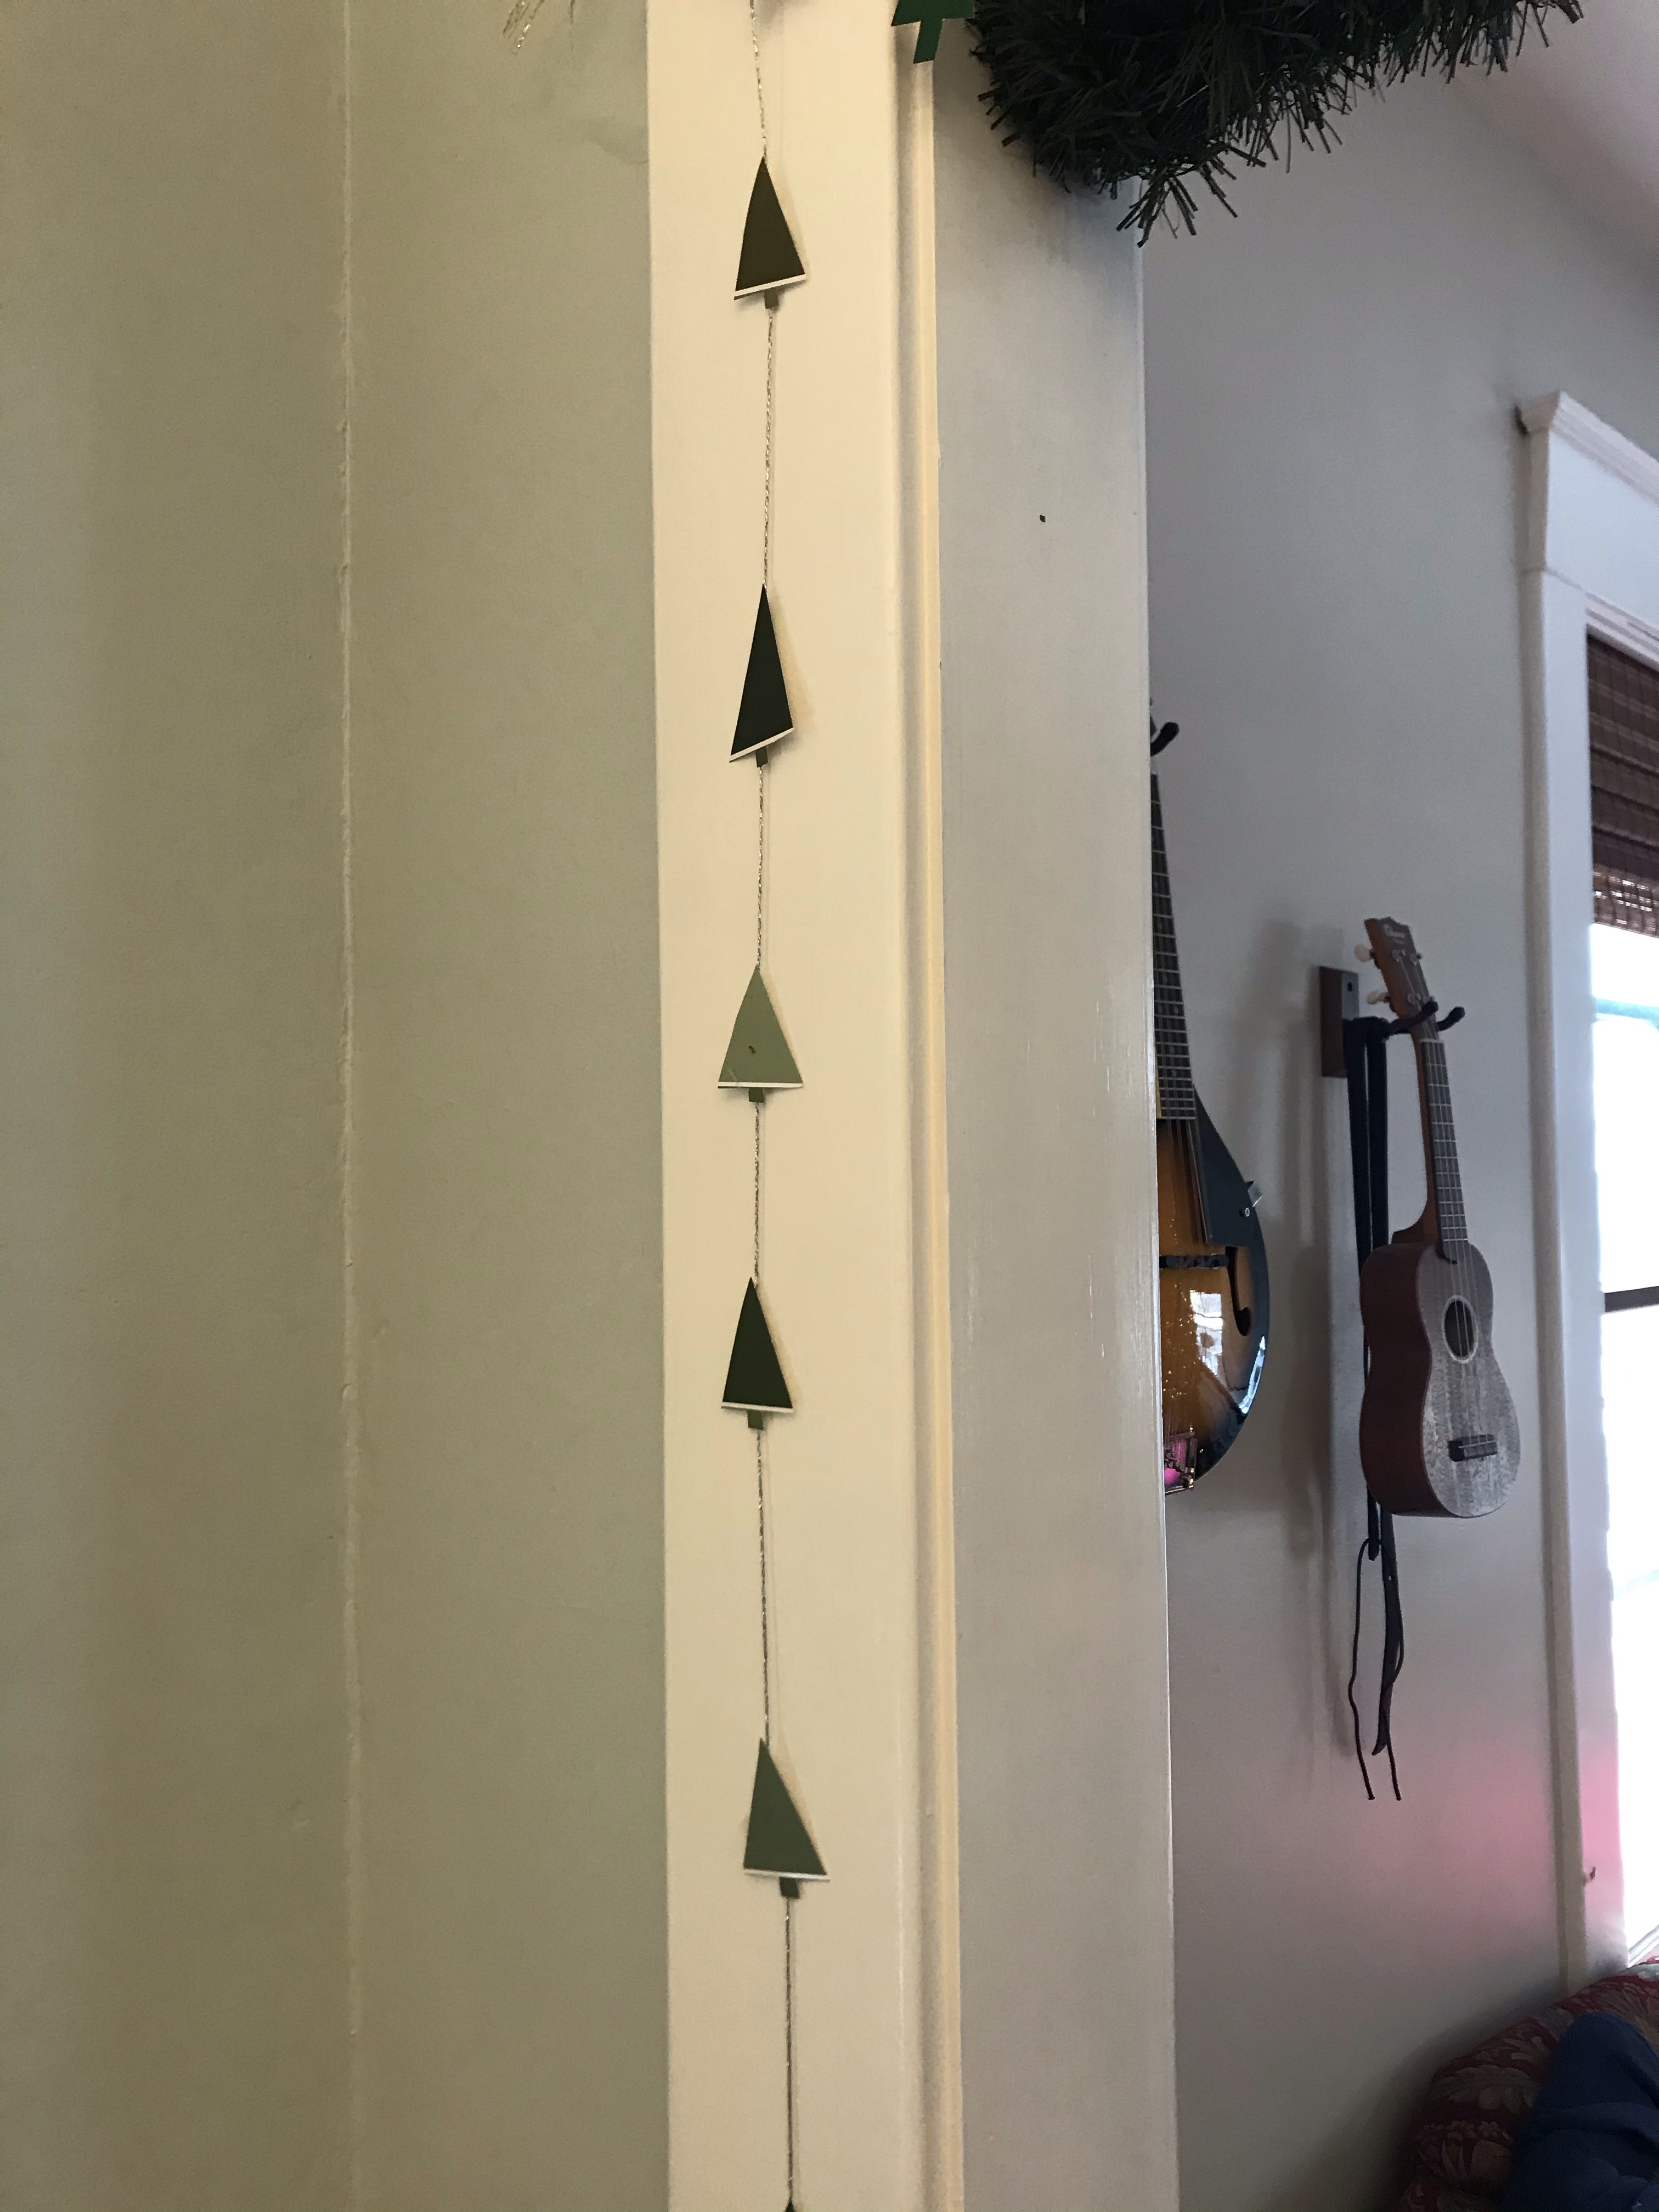
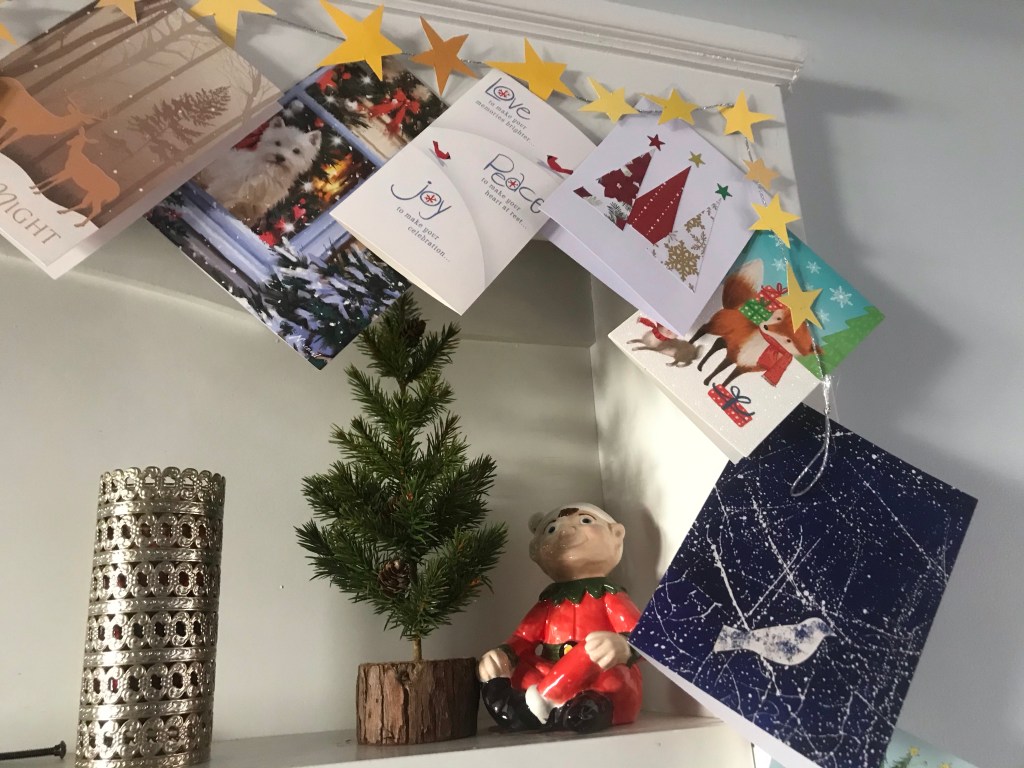
Above, we created both vertical and horizontal evergreen garlands so we could string them over the entry way between the dining room and living room. I used paint chips with two shades, creating a line between the trunk and the triangle-shape of the needles with the white line that divides the two colors. I kept it simple with a triangle shape, but you could use scissors to cut fringe into the tree for more texture, or create layers of needles.
This craft required just a few supplies:
- Scissors
- Decorative string (I chose gold and silver), cut to the length of garland you want. If you aren’t sure, try 8 feet.
- 16 paint chips from a hardware store*
- Assorted pieces of light cardboard, like from a cereal box, cut to the size of the paint chips
- pencil
- newspaper
- hot glue gun and hot glue sticks
*What color paint chips? It depends on shape you want to string on your garland. Good wintertime choices include evergreen trees (so choose one color of dark green or an assortment of greens), Christmas lights (so choose bright green and red, or the pinks, greens, and blues of echo the colors of Shiny Bright ornaments), or stars (various shades of yellow or all the same shade, if you prefer). You can pull in additional supplies to make stocking caps (red paint chips plus a small white puffball or tiny jingle bell on the end) or presents (any color you like + gel pens to draw in the ribbon).
Directions:
Draw a template of your design on a small piece of cardboard. If you prefer, you can print a simple shape from an online template. Simple is best. Cut it out.
- Trace the template onto the back of the paint chip. If your chip includes two tones, consider working that into the decoration. For example, I used two-tone green chips for my trees, with one color for the trunk and the other the evergreen needs.
- Cut your paint chips along the lines you traced.
- Tie a small knot in each end of your decorative string.
- Decide if you want your garland to hang horizontally or vertically. For some shapes (like stars), this might not matter. For others, it does.
- Create a workstation on a piece of newspaper. Dab hot glue on the back of each decoration (tree, star, present, hat, etc.), then press string into the dab, without touching the glue. Repeat every 6 inches if you created 16 decorations for an 8 foot garland. Or add more if you like!
- Mix and match decorations for a garland with a lot of variety, or string only one kind of decoration on a single garland.
- Hang on your tree or over a mantle or shelf or around a door. These can be fun to add to a traditional green garland. Or wrap around a present.
- Alternatively, you can cut the string to 4 inches and glue it in a loop on the back of one of the decoration and use as a gift tag.
- Or create individual decorations for your tree, like our Christmas pickles.
Winter Crafternoons: Luminaries
During Advent, some friends and I gathered weekly to make seasonal crafts via Zoom. Every part of it was fun, but an especially endearing part was how many people accepted the invitation saying “I stink at crafts, but I’m willing to try.” I love that spirit, and I love that friends were confident that we could do crafts together poorly and still have fun.
To be inclusive, our crafts had to: 1) require few pre-existing skills, 2) require few tools or materials since I bagged them up and delivered them to my friends, 3) be adaptive since our group included children through older adults and people with various abilities. And while most of my friends were from my church, not everyone was, so I chose mostly crafts that were wintertime-themed, not holiday themed.
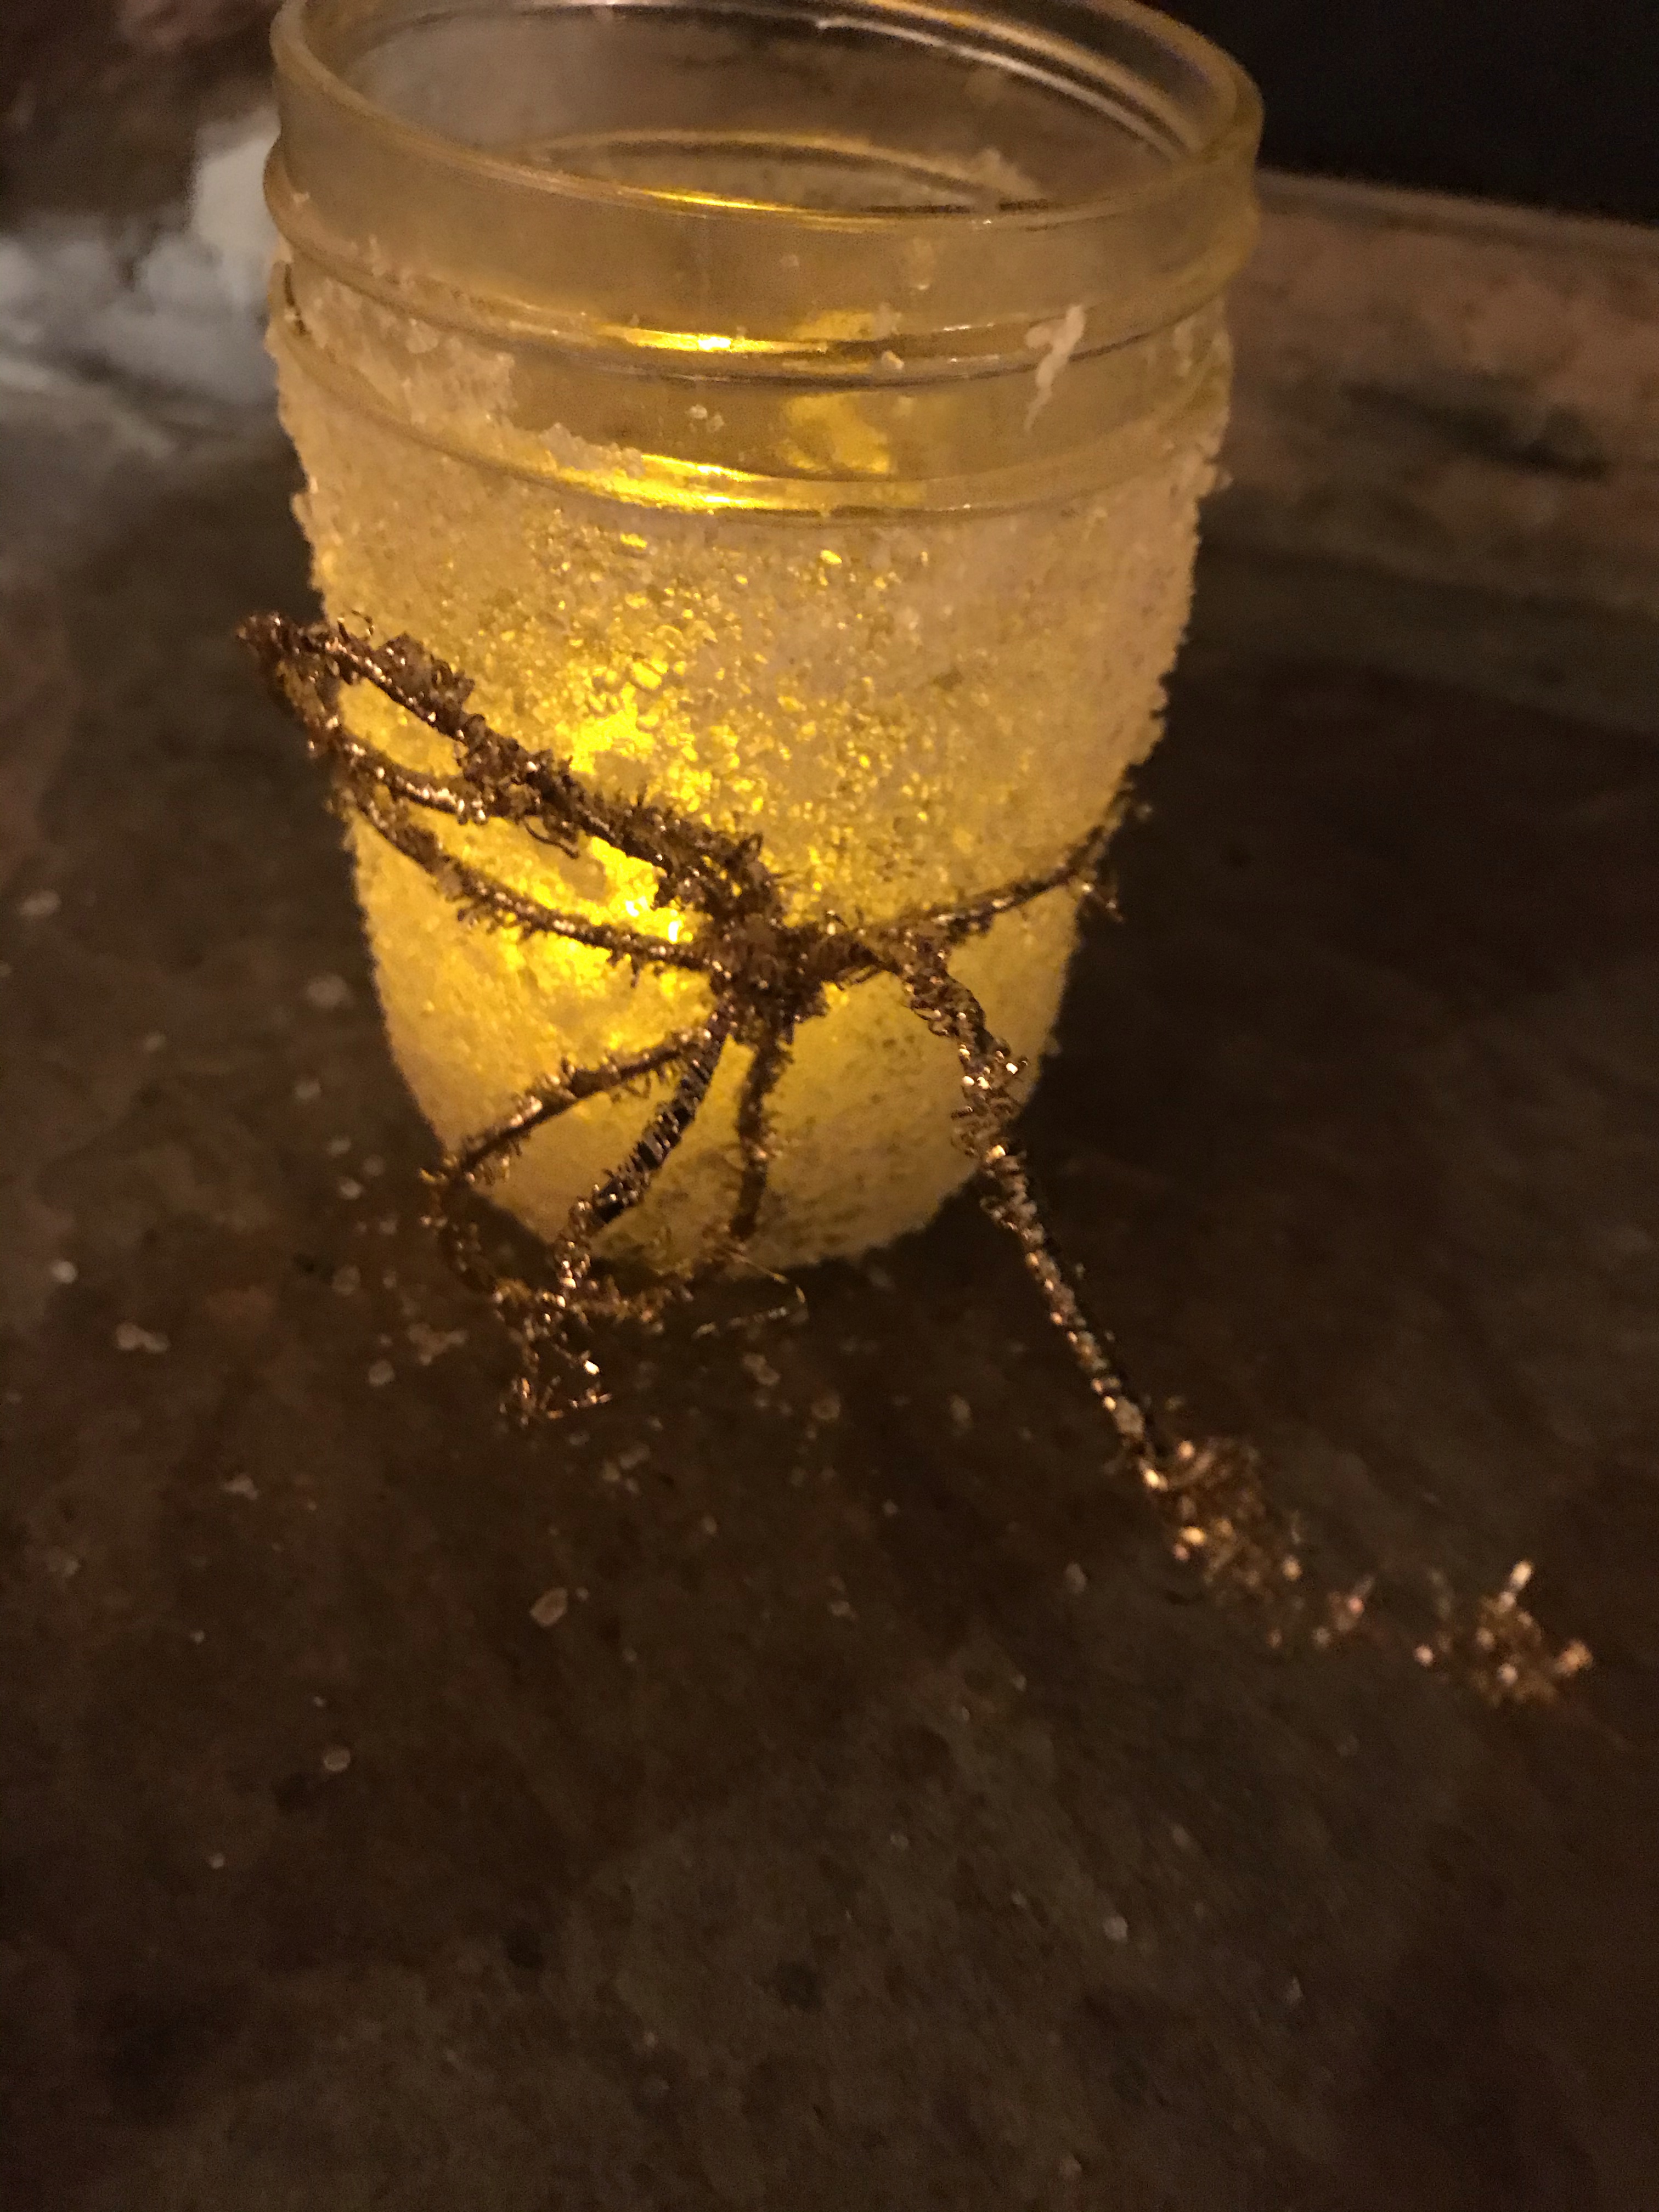
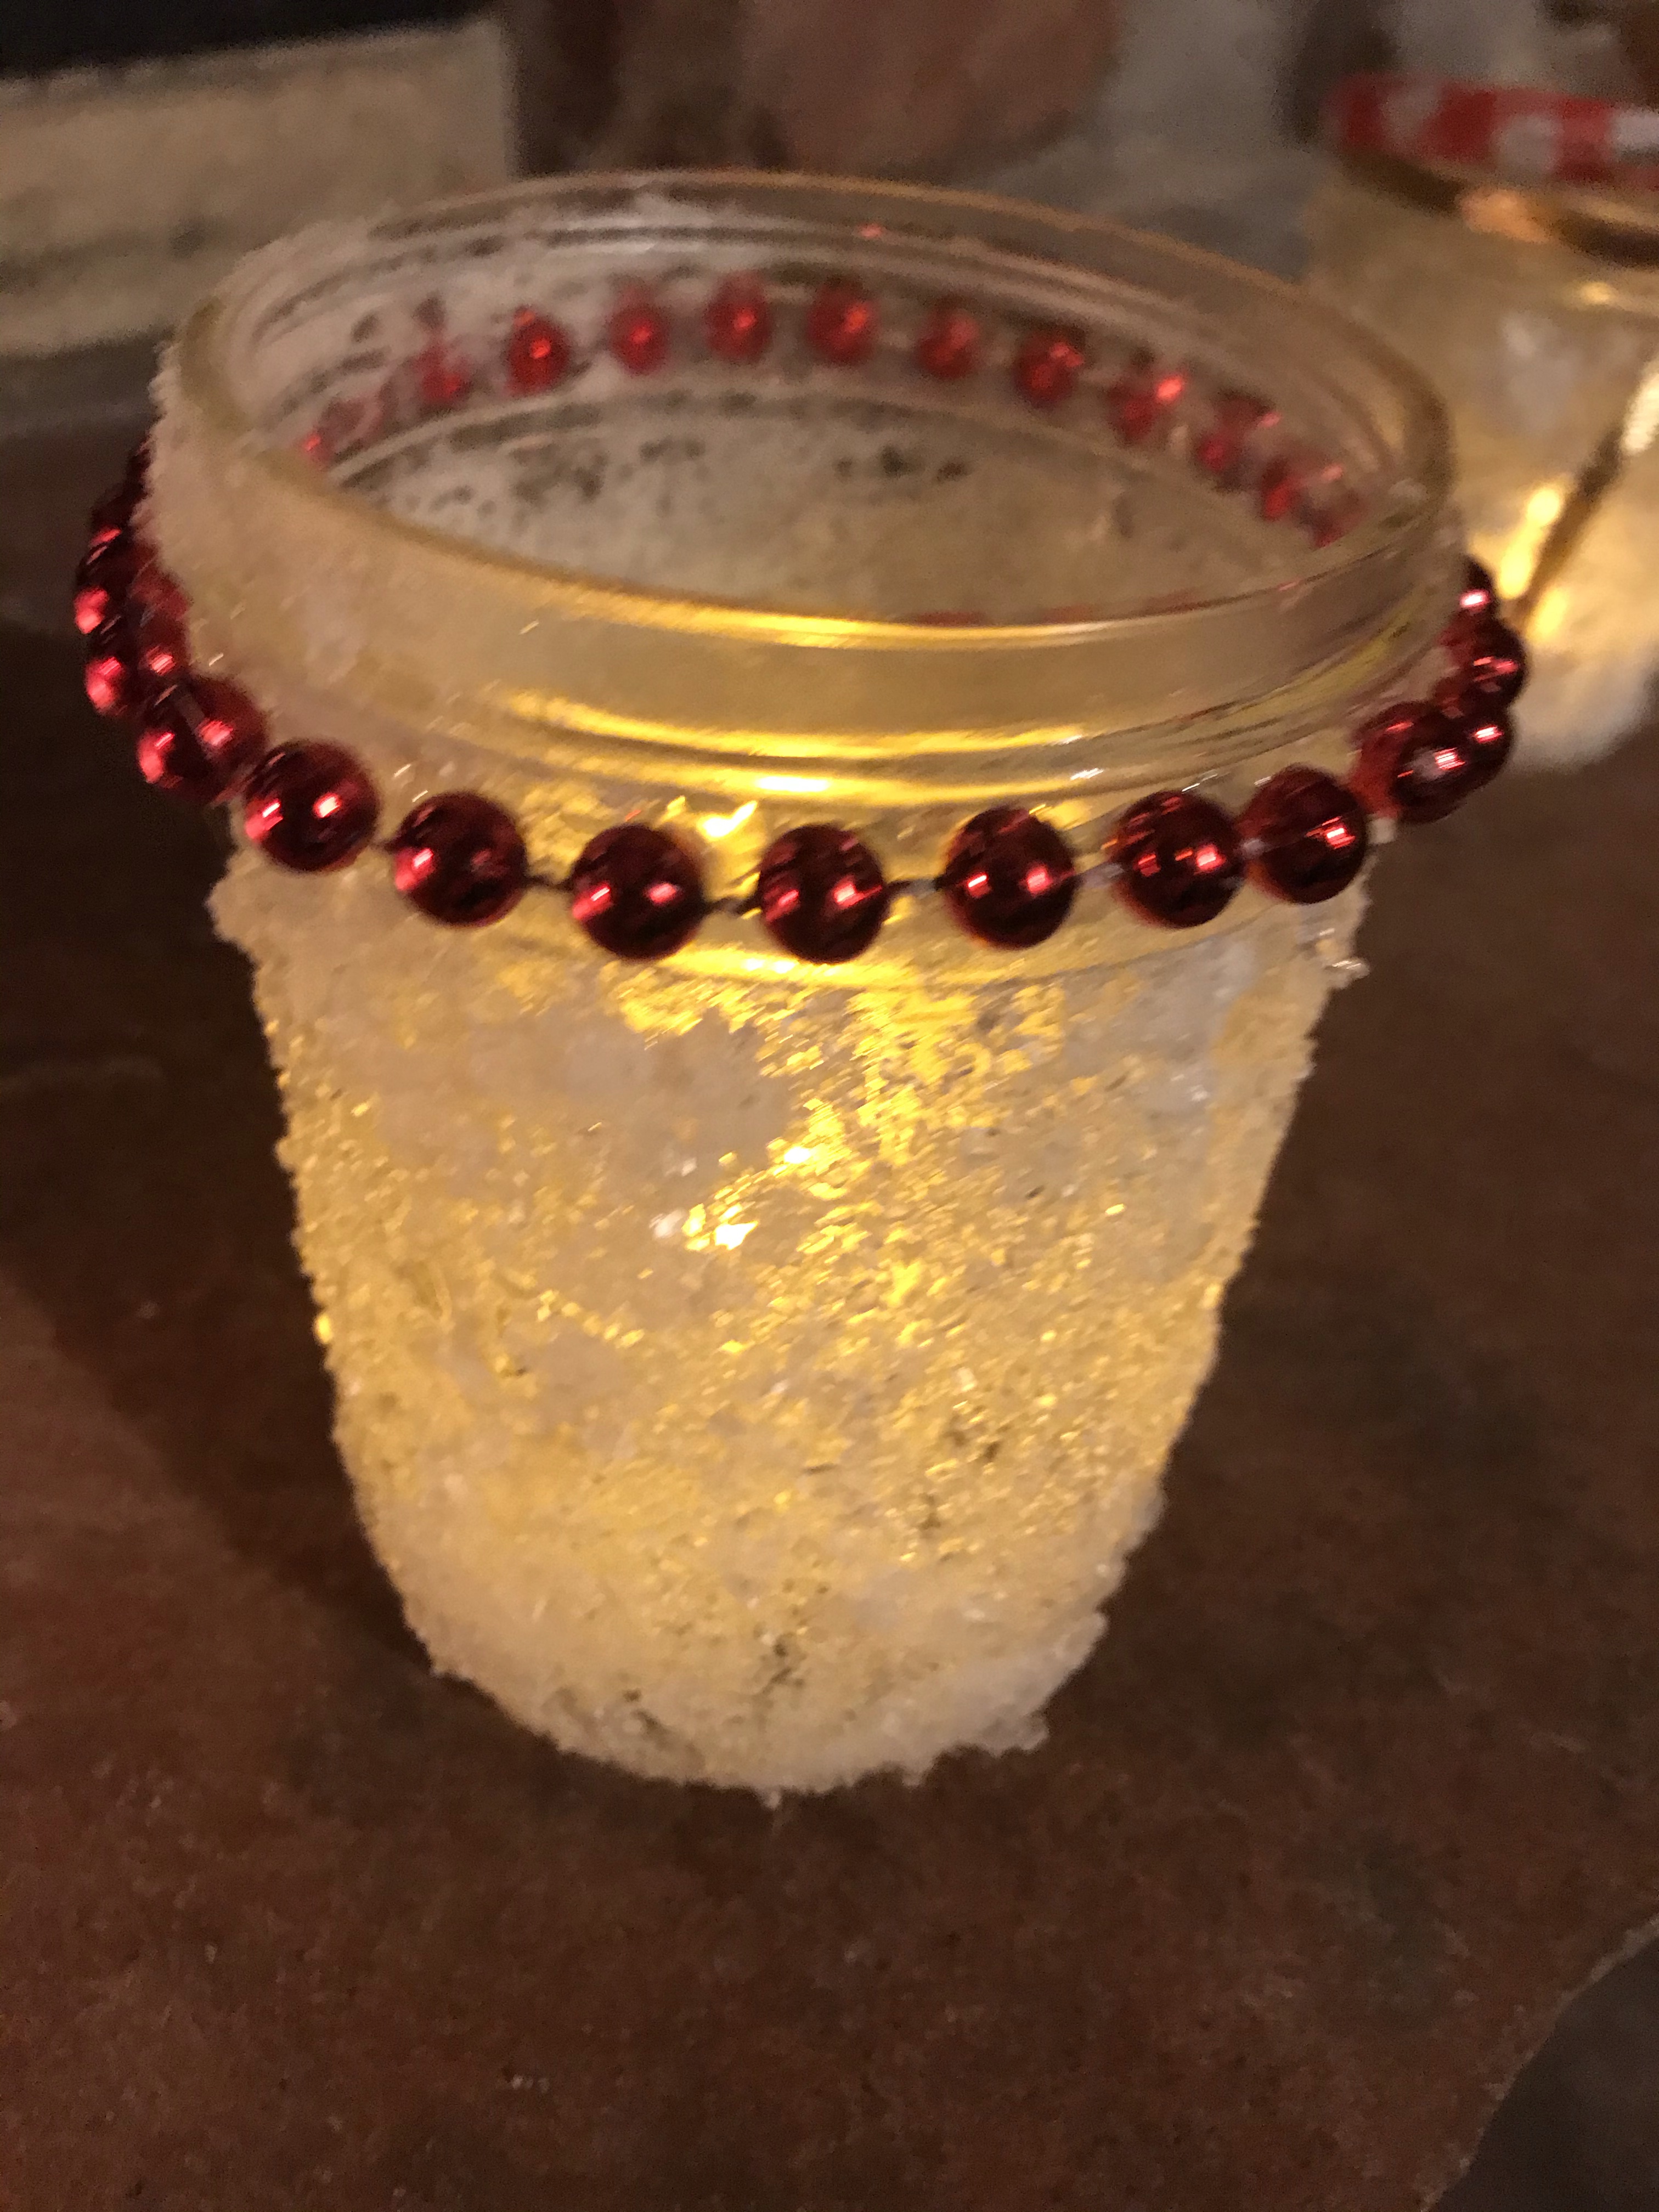
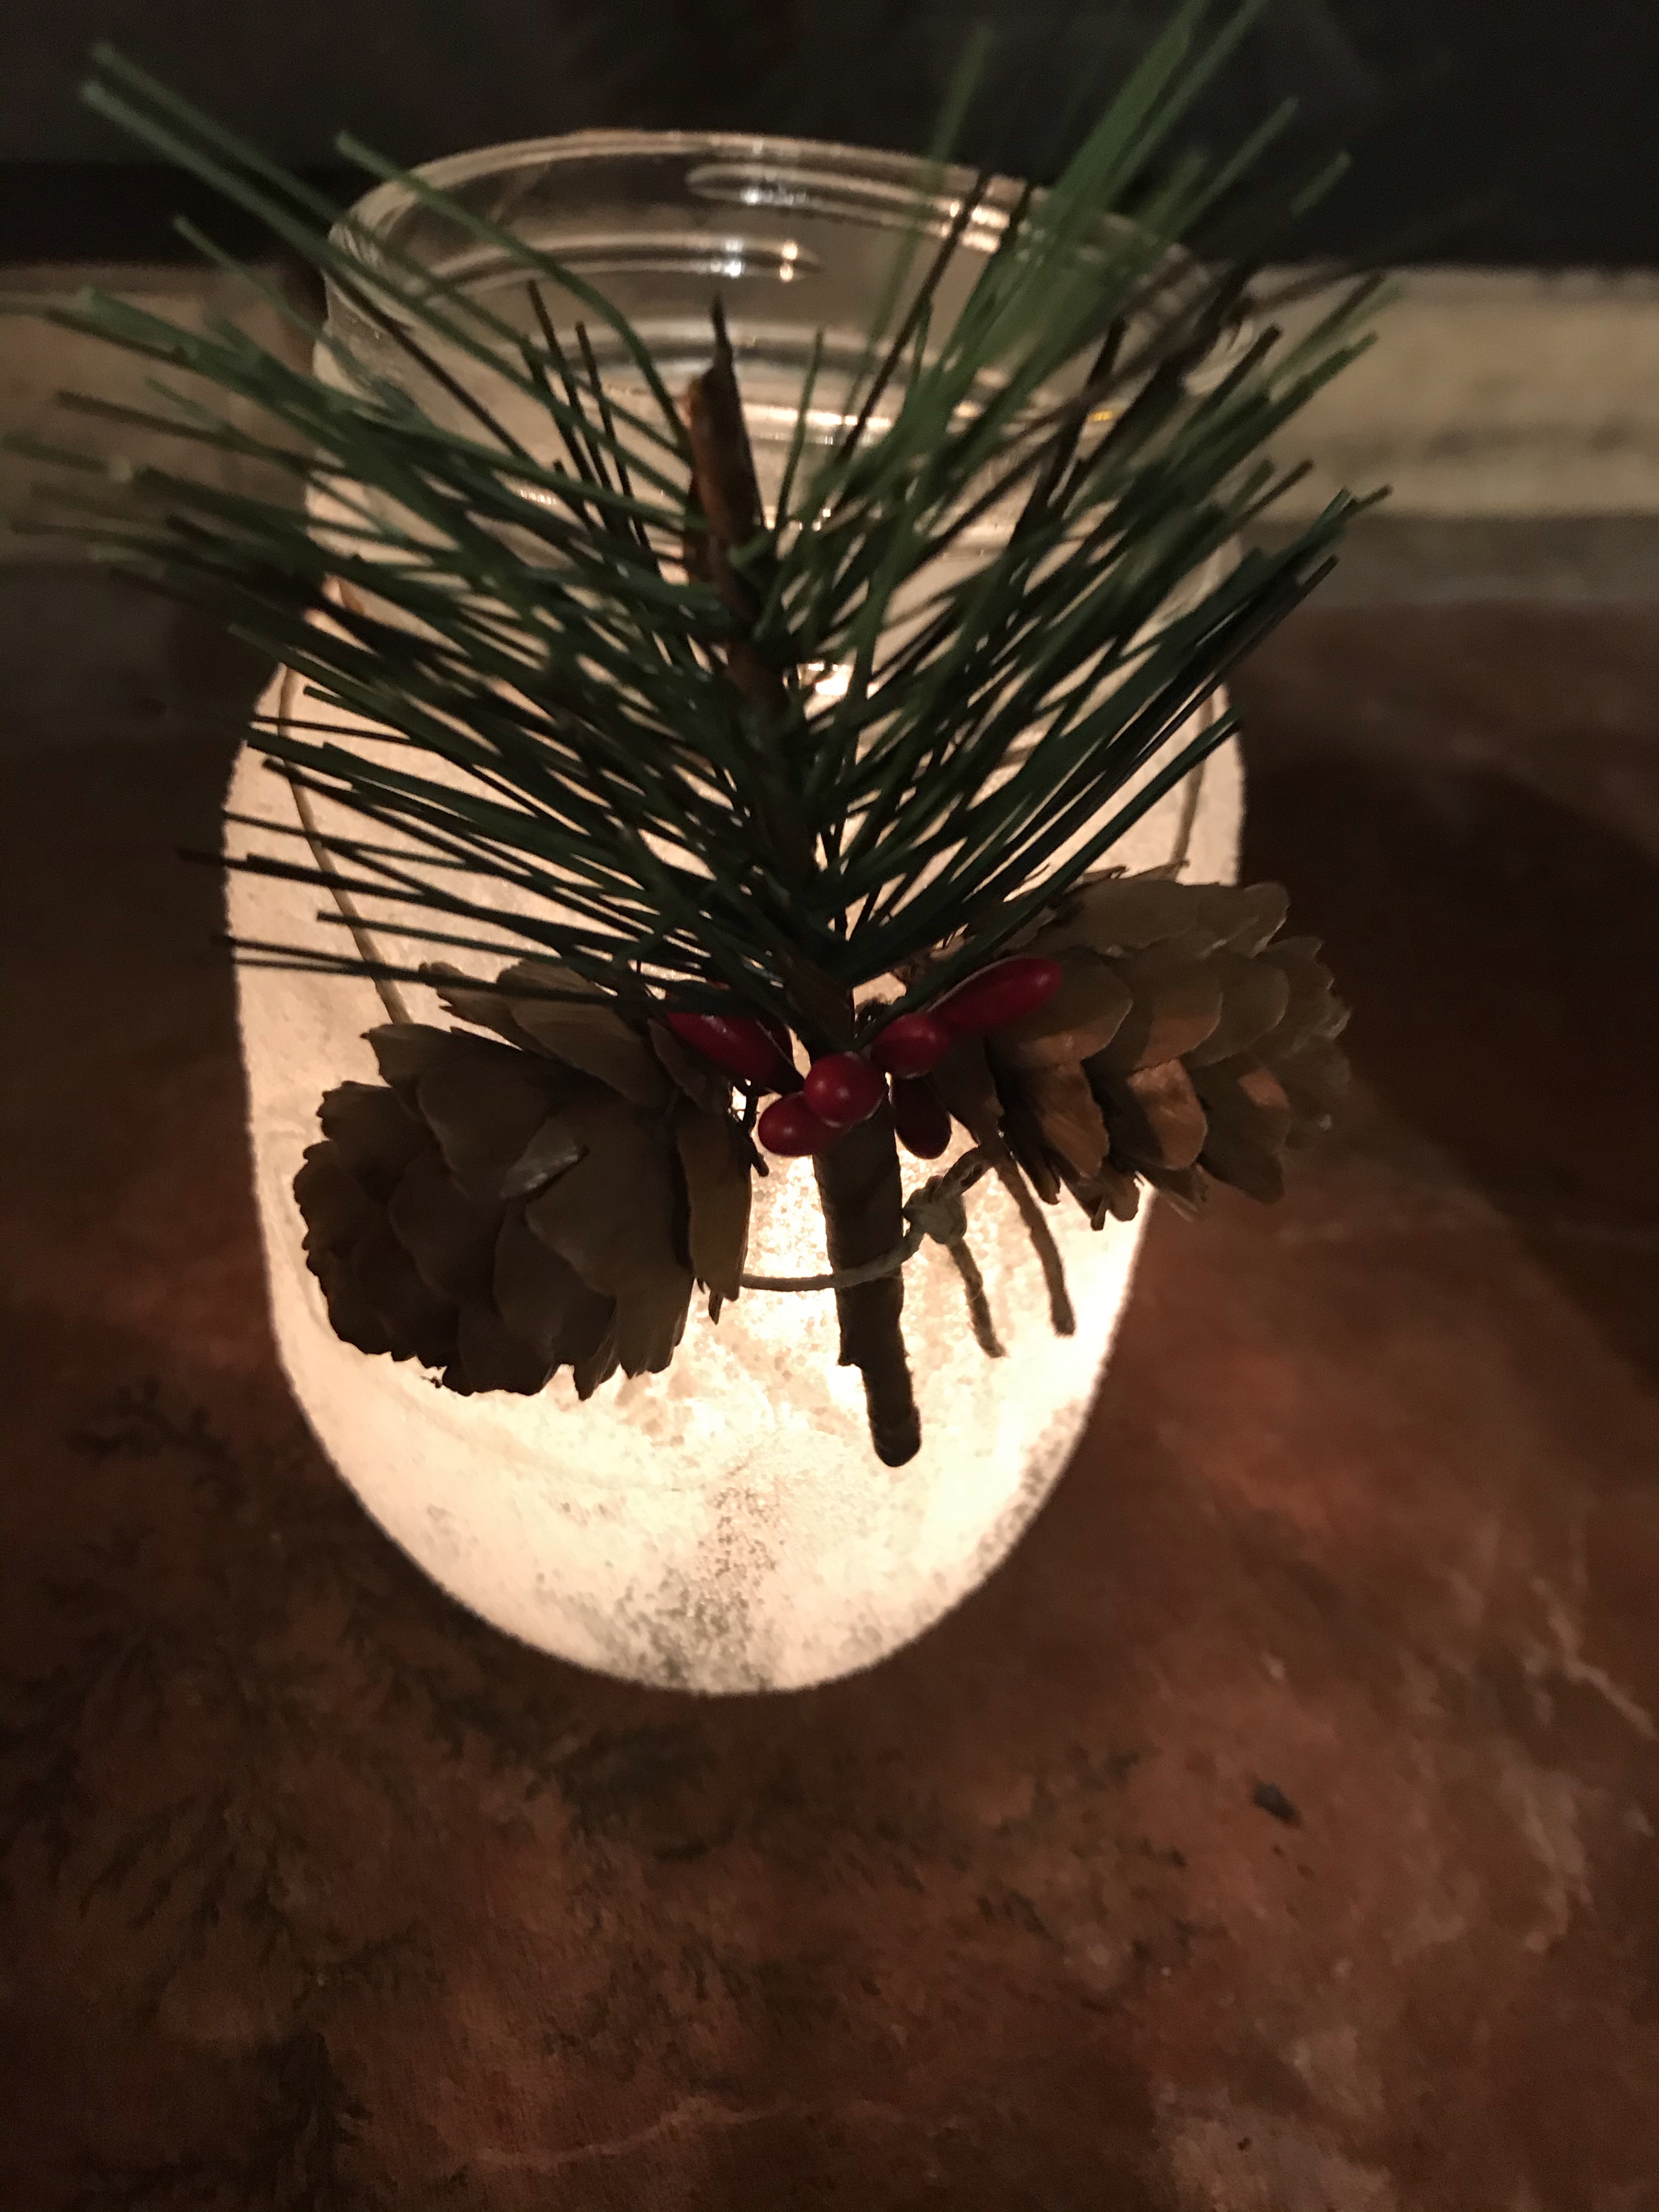
Here is our first one:
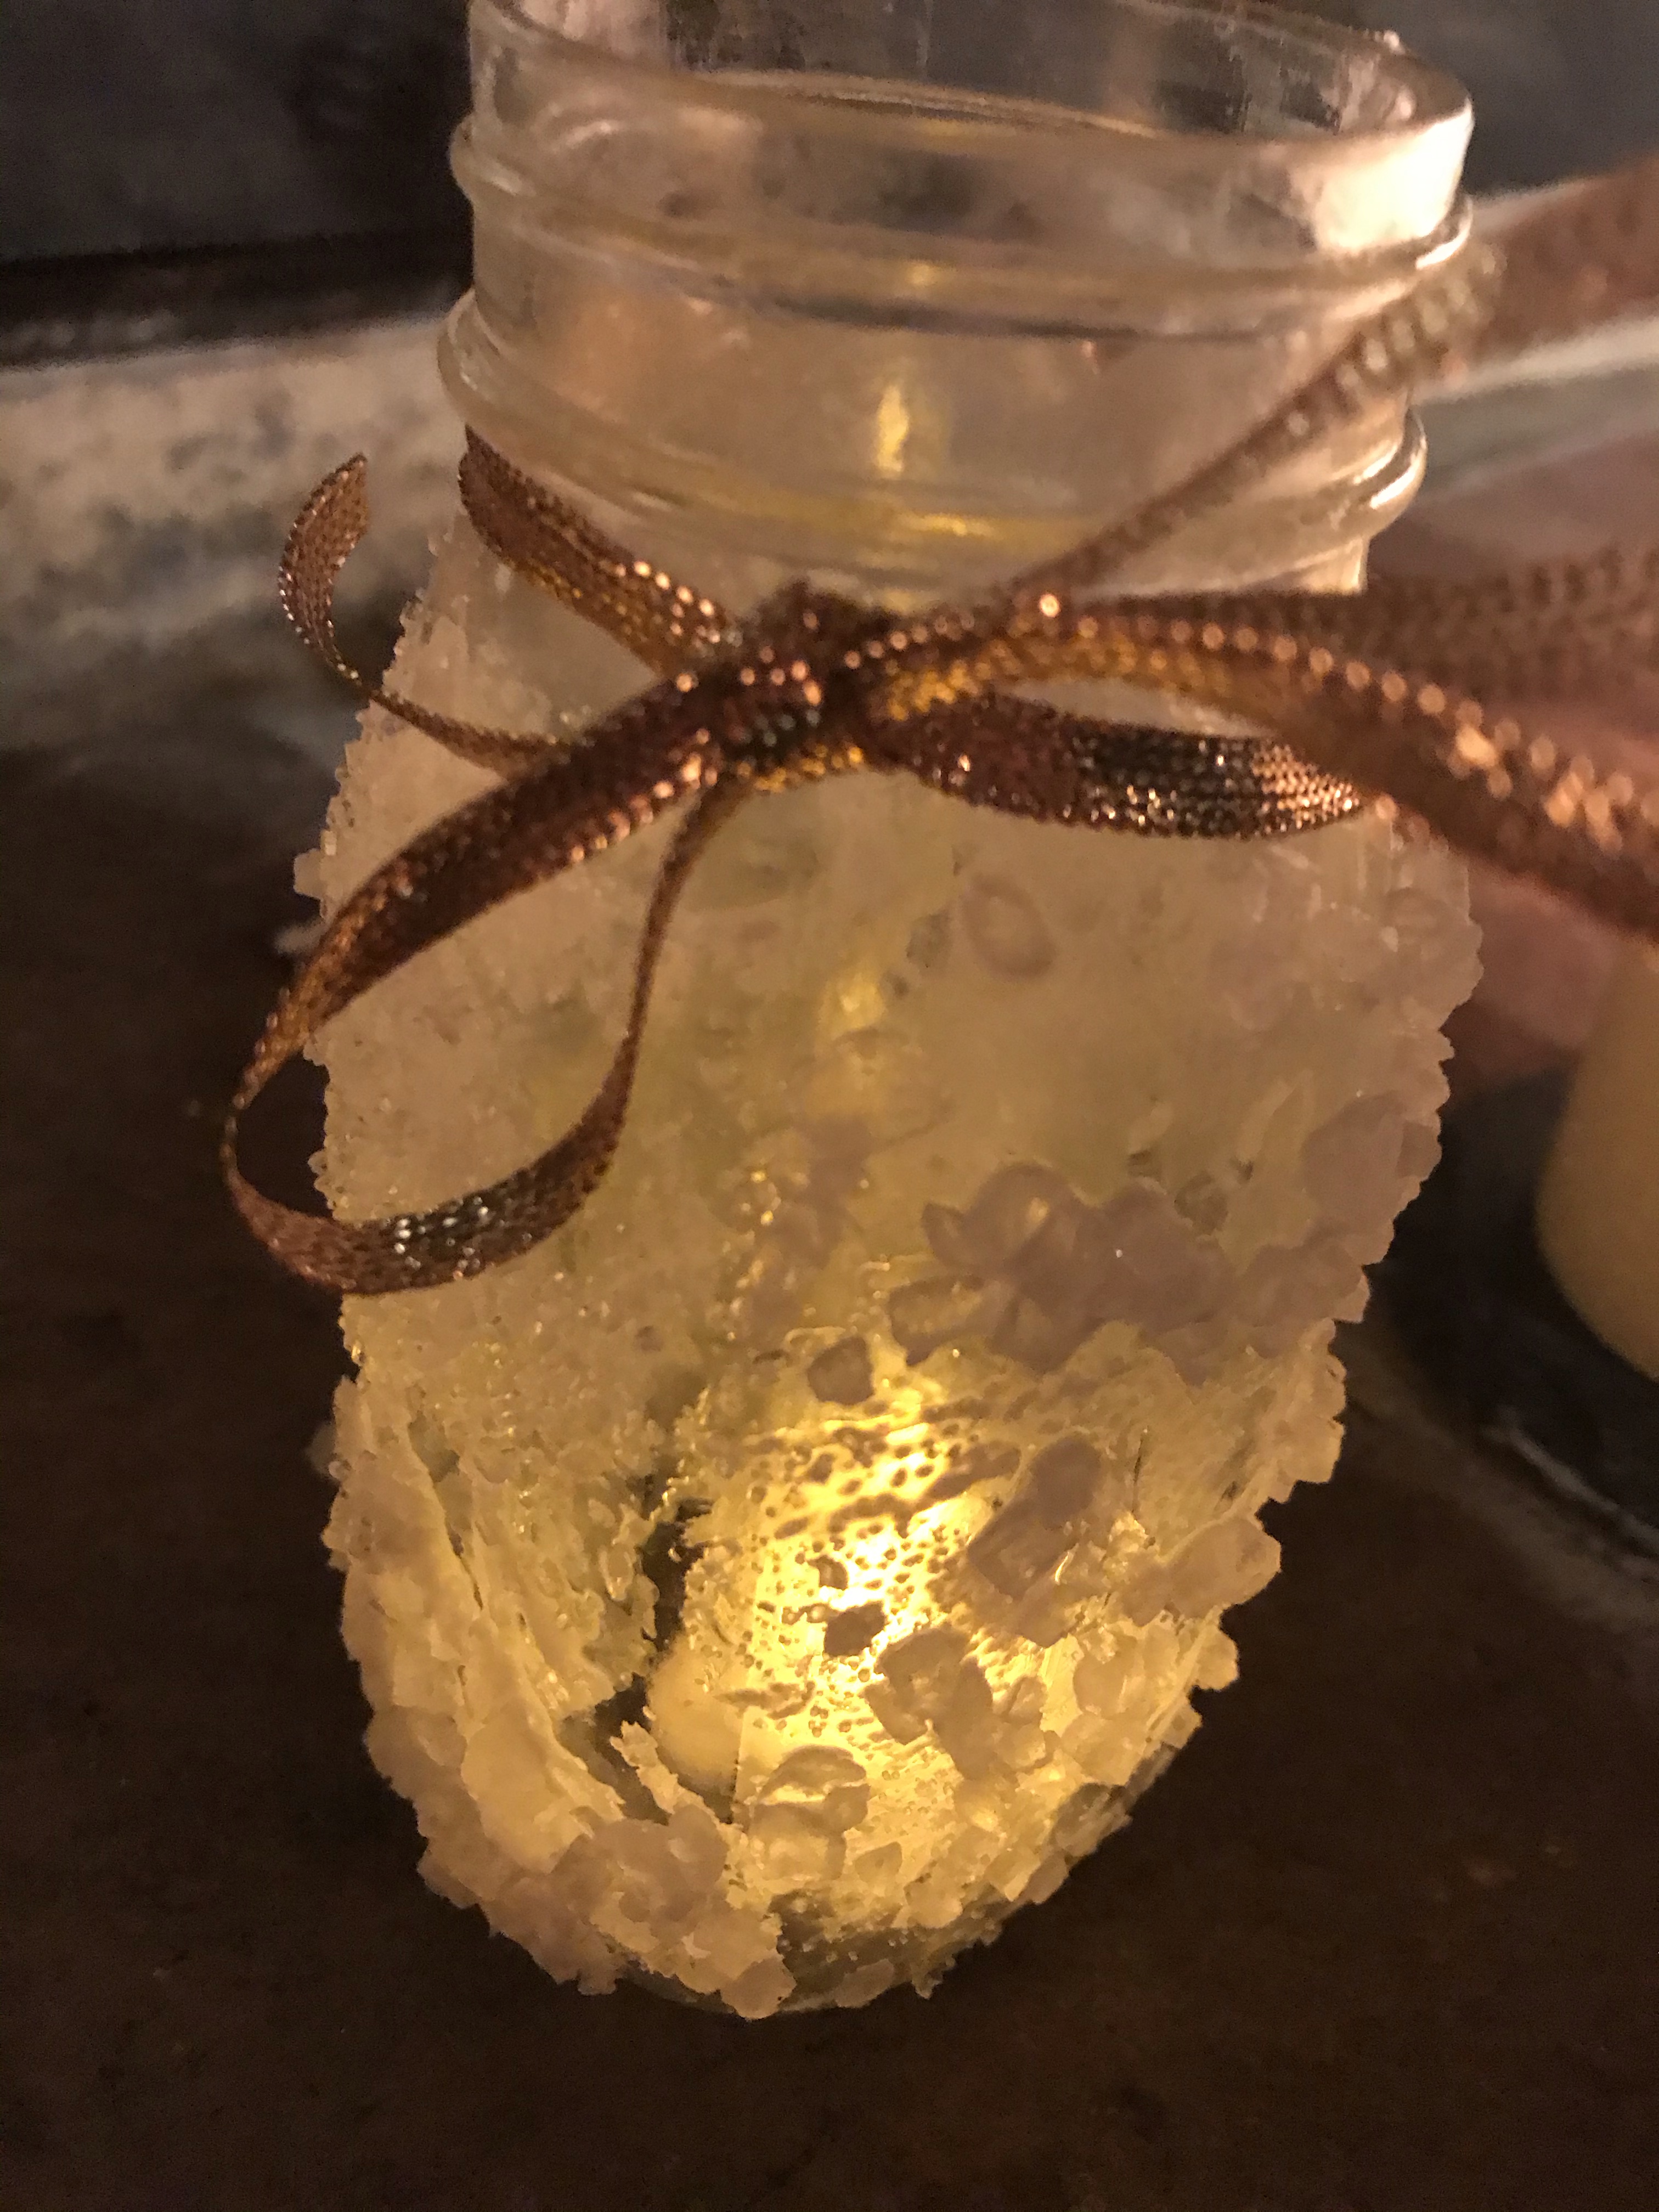
Supplies
- A clean glass jar. We used some pint and half-pint jars, jam jars, a glass bottle that once had a coffee drink in it, and more. Baby food jars would also work. Just pay attention to the glass jars you use and which you like.
- newspaper
- white craft paint and/or mod podge + kosher salt or fine table salt
- paint brush or sponge
- hot glue gun with glue sticks
- decorative string, beaded garland, ribbon, strip of flannel cloth, etc.
- pine cones, bows, berries, sprigs of evergreen, or other Christmas picks
- Epsom salt or ice cream salt
- tea light
Directions
- Paint the exterior of your jar with white paint, as you like. If using a brush, small asterisks to represent stars are a good choice. If using a sponge, have fun sponging the whole thing. OR cover exterior in mod podge, then roll in some of your Epsom salt, kosher salt, or fine table salt, depending on the look you want.
- When the exterior has dried, tie (or hot glue if needed) a ribbon, decorative string, strip of flannel, etc. around the lip.
- Tuck Christmas decorations, such as a pine cone or sprig of holly, into the ribbon,
- Add some Epsom salt to the glass jar, then place the tea light inside.
If you (like me) have a hard time throwing away adorable jelly jars, this is a good project to save them for year round. You can create a matching set of 6 or 12 to give away next year, or you can create unique ones for different friends. They are a sweet way to light your sidewalk for holiday parties (or even for Halloween, if you paint black spiders instead of white snowflakes and add orange, black or purple sand instead of Epsom salt).
First Sunday of Advent: Hope
The first Sunday of Advent is the first day of the year on the liturgical calendar. It’s also the the Sunday of Hope. You hear it in today’s readings, which include parts of Isaiah 64. Here is an excerpt from The Message:
Since before time began
no one has ever imagined,
No ear heard, no eye seen, a God like you
who works for those who wait for him.
You meet those who happily do what is right,
who keep a good memory of the way you work.
But how angry you’ve been with us!
We’ve sinned and kept at it so long!
Is there any hope for us? Can we be saved?
We’re all sin-infected, sin-contaminated.
Our best efforts are grease-stained rags.
We dry up like autumn leaves—
sin-dried, we’re blown off by the wind.
No one prays to you
or makes the effort to reach out to you
Because you’ve turned away from us,
left us to stew in our sins.
Still, God, you are our Father.
We’re the clay and you’re our potter:
All of us are what you made us.
Don’t be too angry with us, O God.
Don’t keep a permanent account of wrongdoing.
Keep in mind, please, we are your people—all of us.
Your holy cities are all ghost towns:
Zion’s a ghost town,
Jerusalem’s a field of weeds.
Our holy and beautiful Temple,
which our ancestors filled with your praises,
Was burned down by fire,
all our lovely parks and gardens in ruins.
In the face of all this,
are you going to sit there unmoved, God?
To hear a really beautiful reading of this, listen to my friend Chuck read it, starting at minute 10:25.
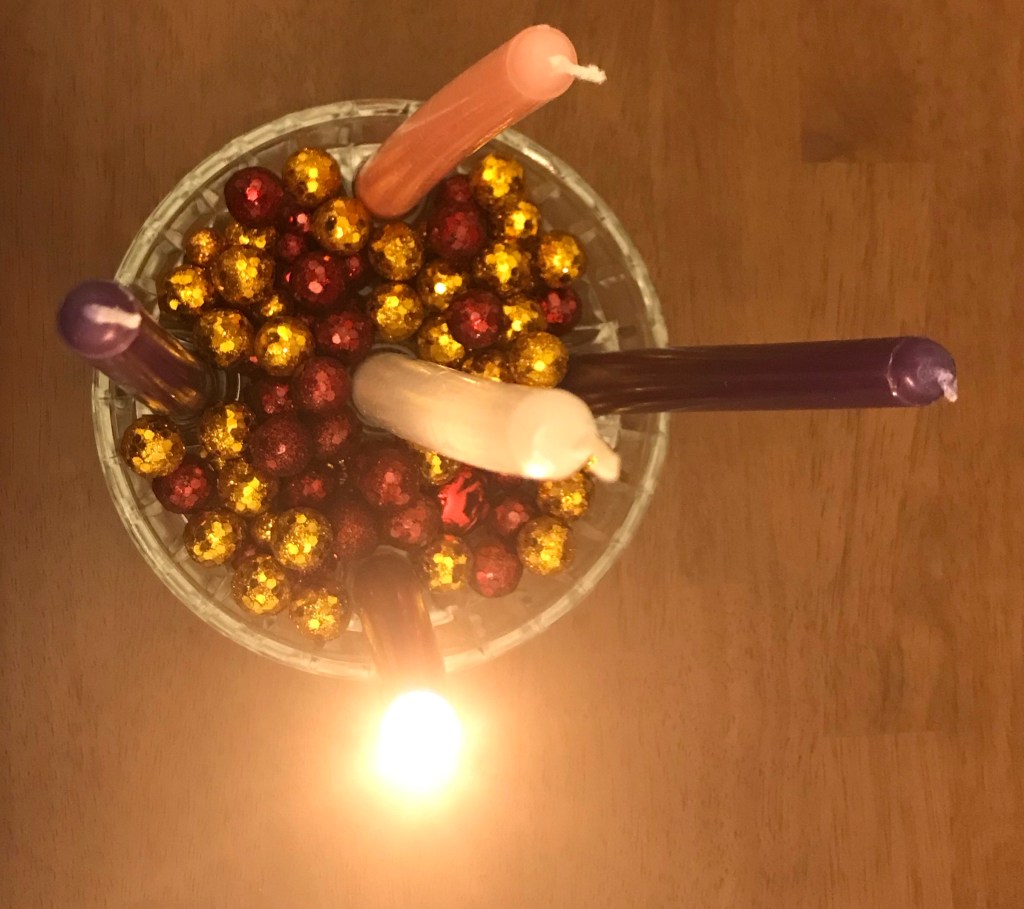
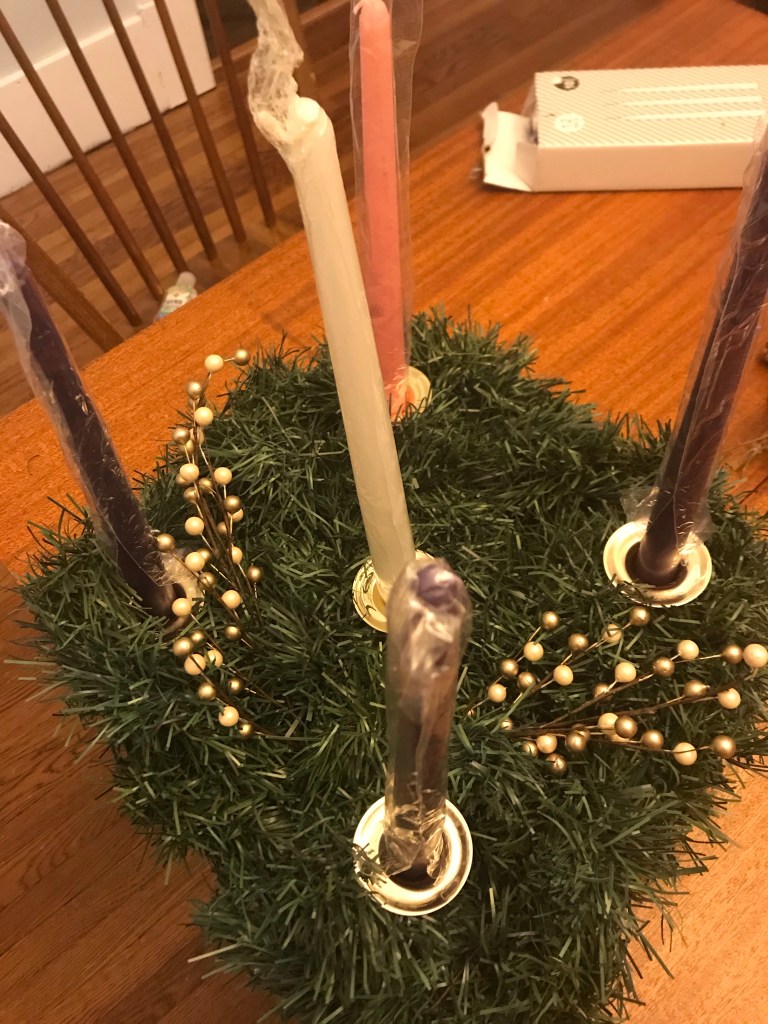
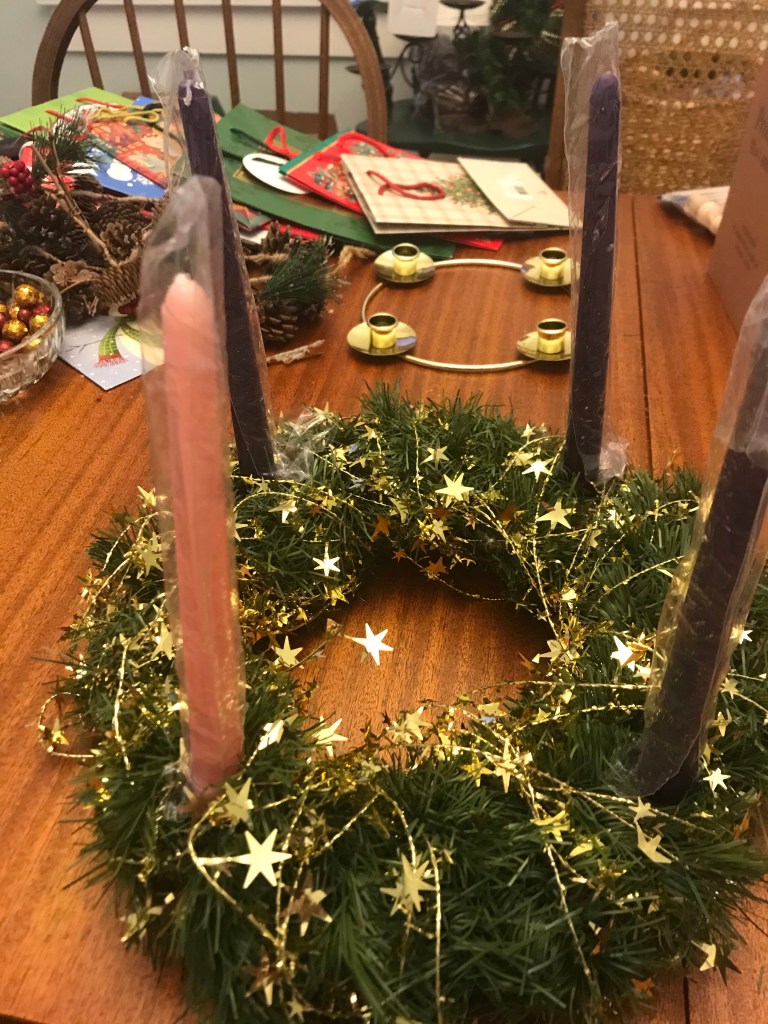
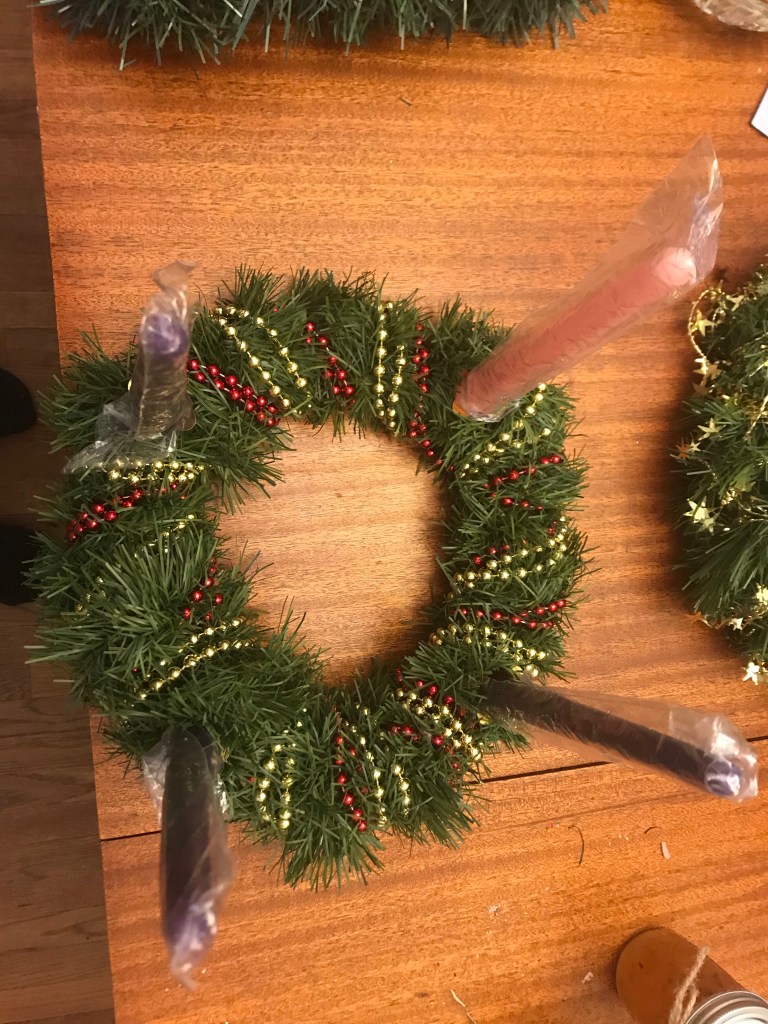
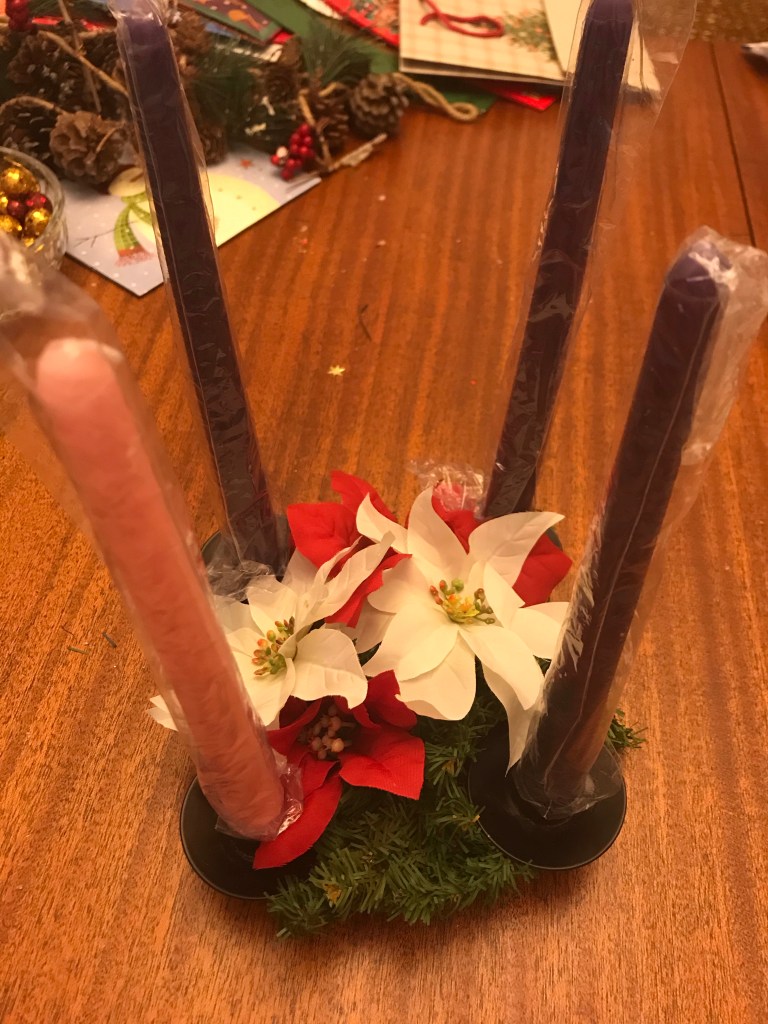
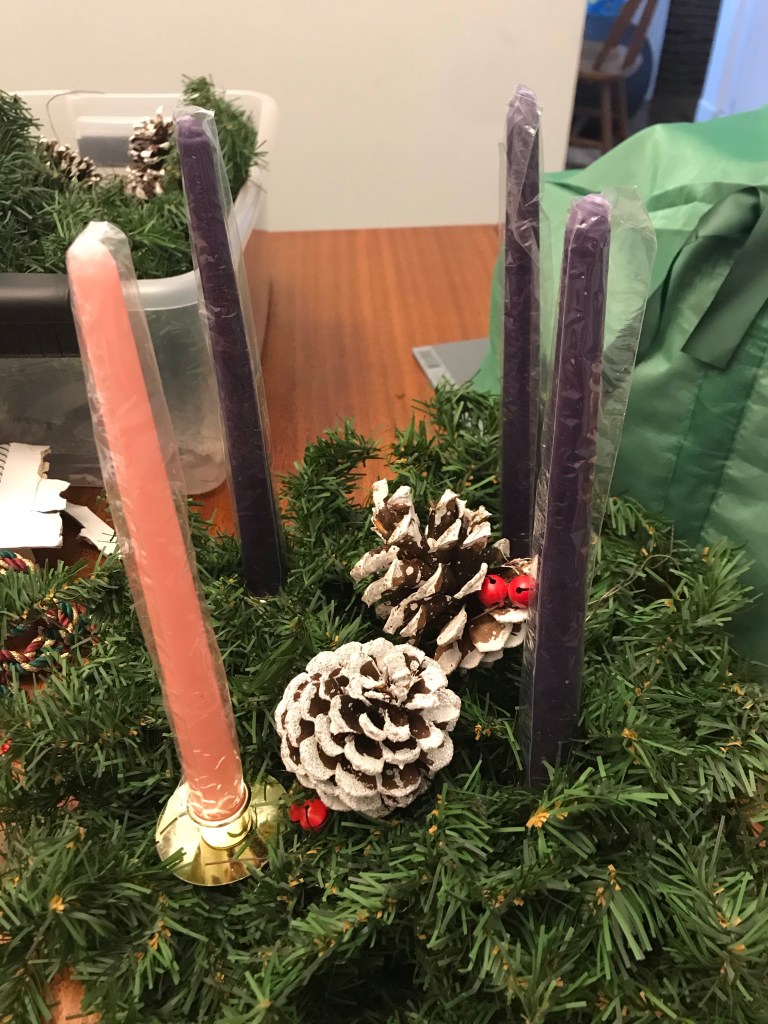
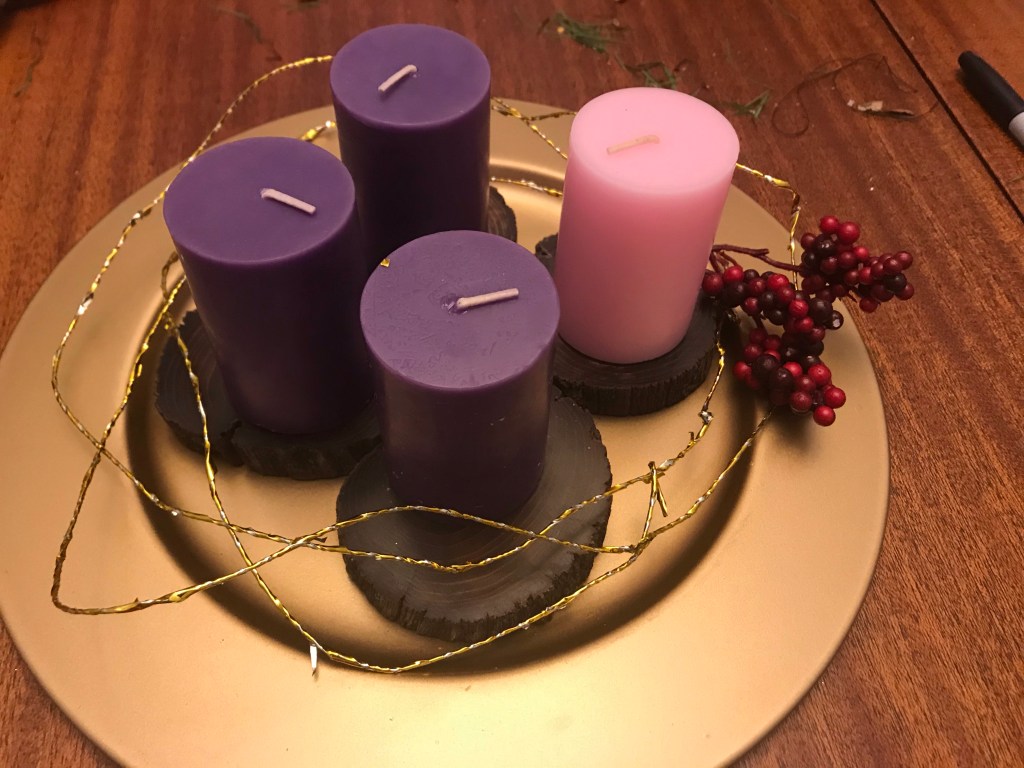
Like many families, we use an Advent wreath to guide us through the Sundays of Advent. Here is ours this year:
Easter 2020
It was a weird end to Holy Week. No in-person services, no visiting friends in their churches (something we like to do this time of year), no new clothes or fresh haircuts. No Easter foods shared with friends. Instead, it was stormy and gray and windy and we stayed home all day, feeding the pellet stove, cooking, playing games, video calling with family, and watching a movie. I don’t think we’ll repeat in in 2021.
Still, there were highlights. They begin, of course, with dessert.
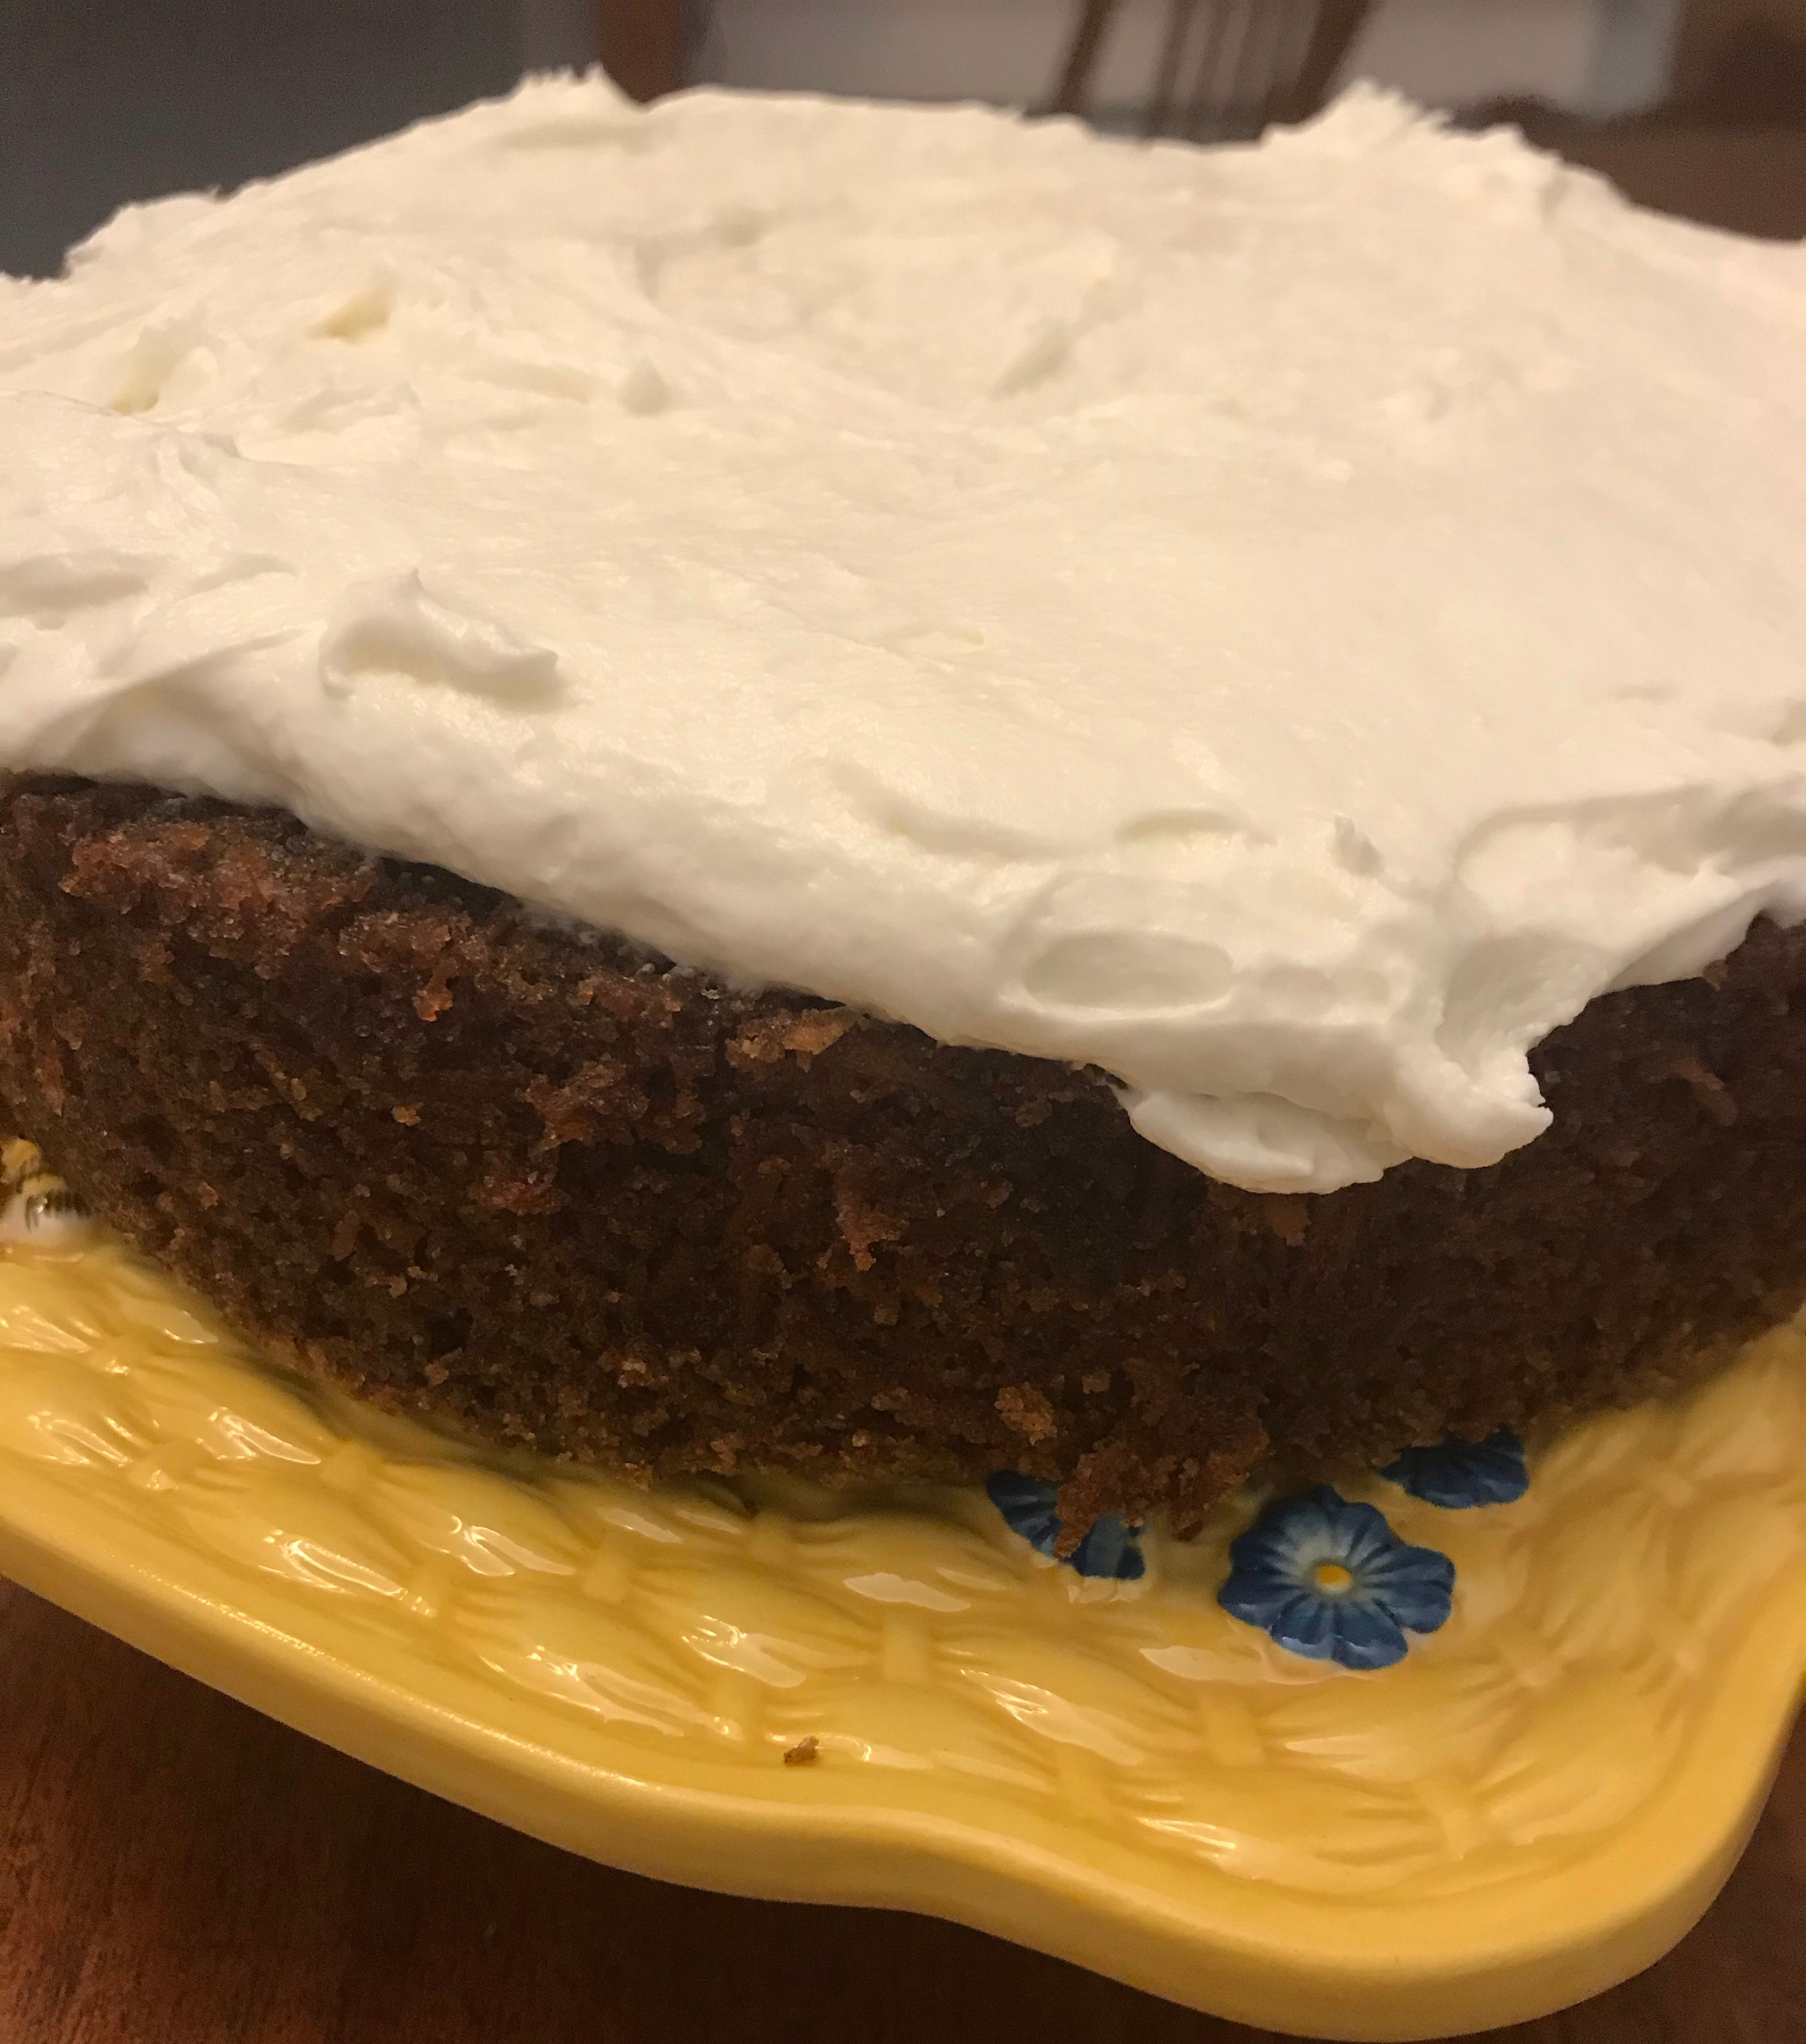
Carrot cake for dessert this year to go along with our usual cherry-and-pineapple topped ham and other dishes.
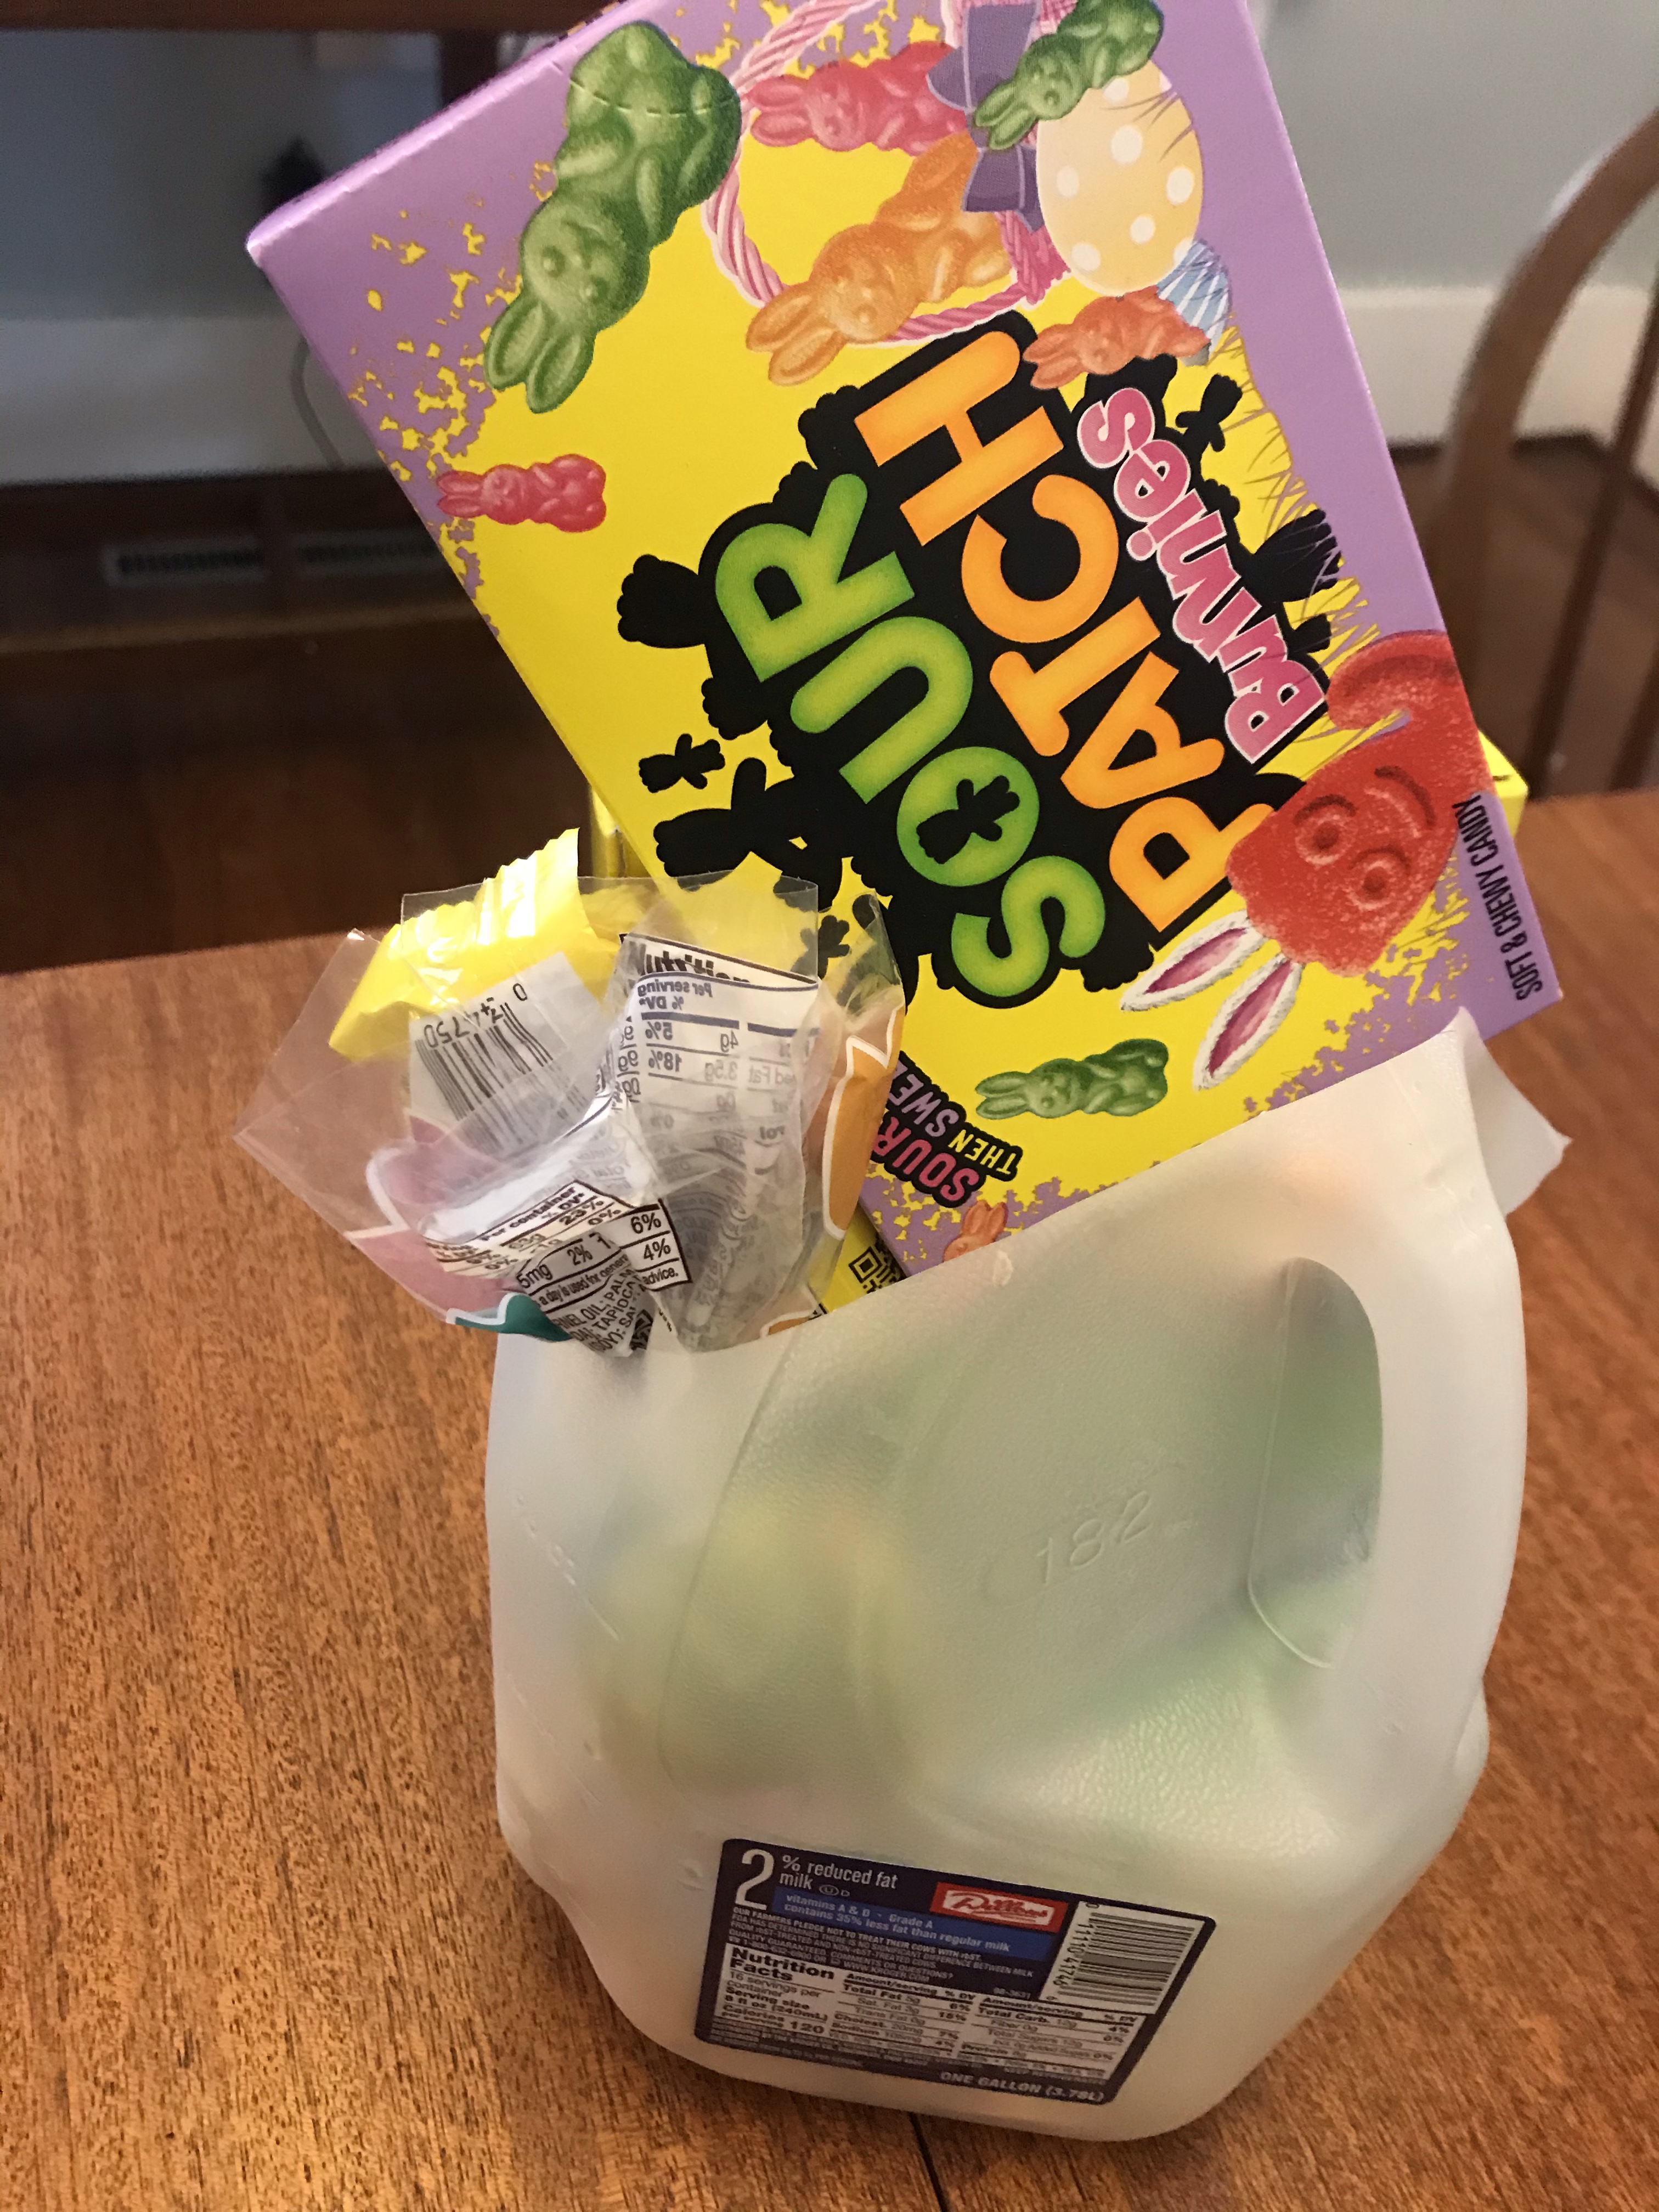
Homemade Easter baskets since I didn’t buy them before the stores closed. Follow me on Pinterest for more great crafts to make your kids feel loved and appreciated!


Far fewer eggs this year than usual, since we were dyeing them alone rather than with friends.


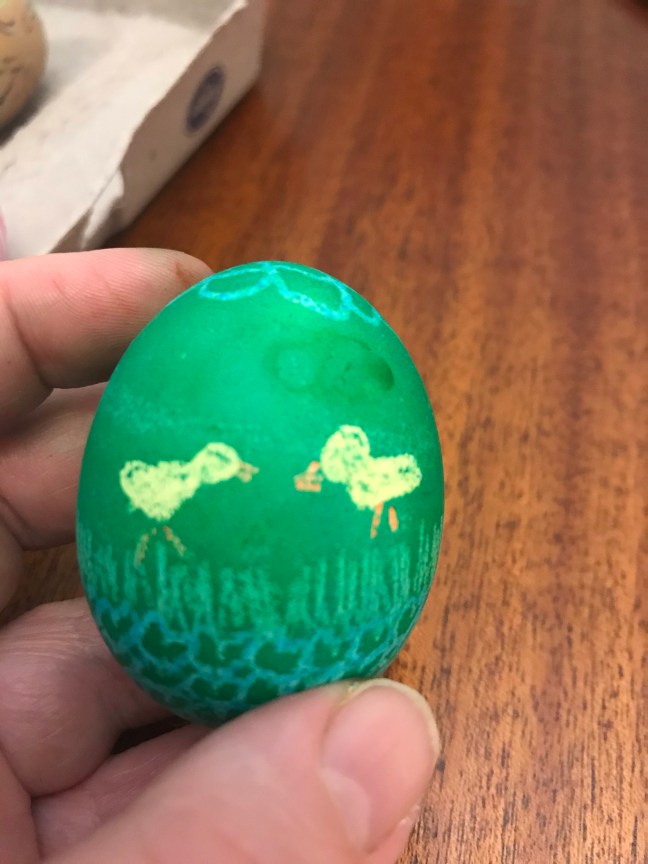
Some of my favorites. The first two were made by applying the food dye directly to the egg; the third resulted when the kiddo who made the first two picked up a white egg with fingers covered in dye. I’m especially proud of my little bunny and chick eggs. The last one is the interior of a fertilized egg. Yes, my youngest child goes to a farm-based school, so these are the kinds of things he thinks about.


Contenders for our annual egg pun contest: HENrietta Lacks, FRY-er Tuck, and Guy Mont-EGG, the protagonist from Fahrenheit 451, wearing his firefighter’s hat.
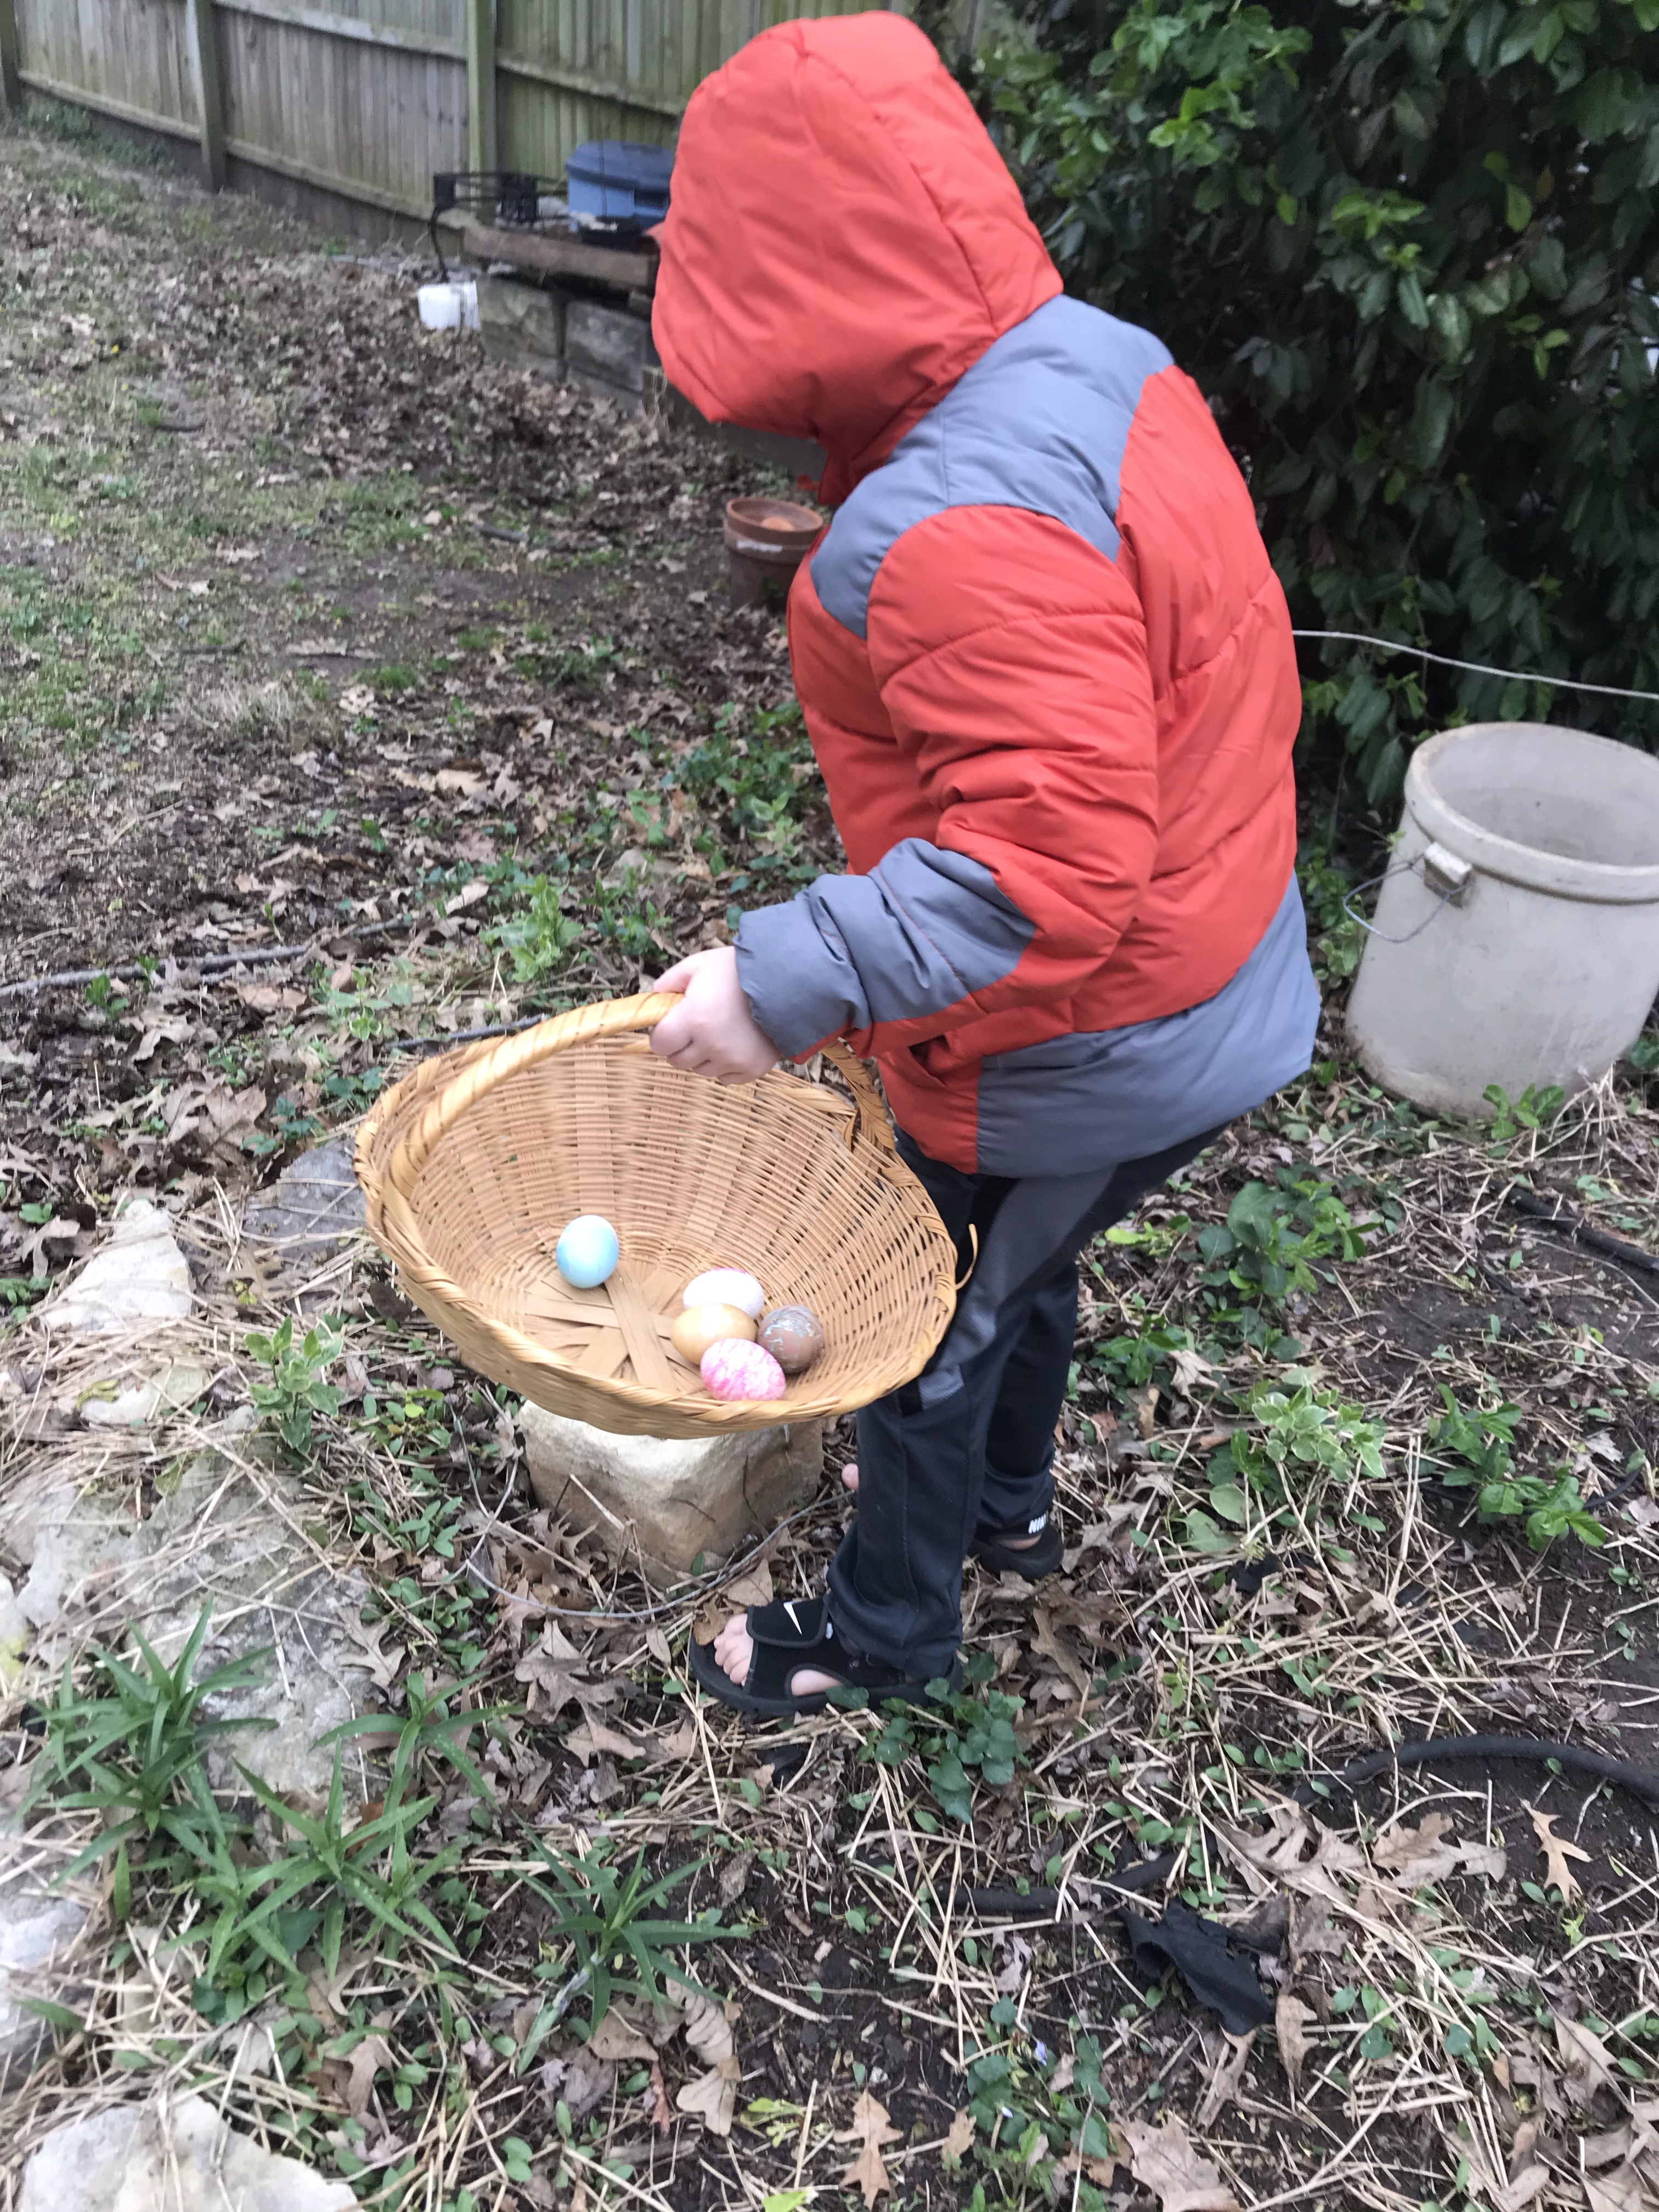
Waited for a break from the wind to hunt for eggs in the backyard.
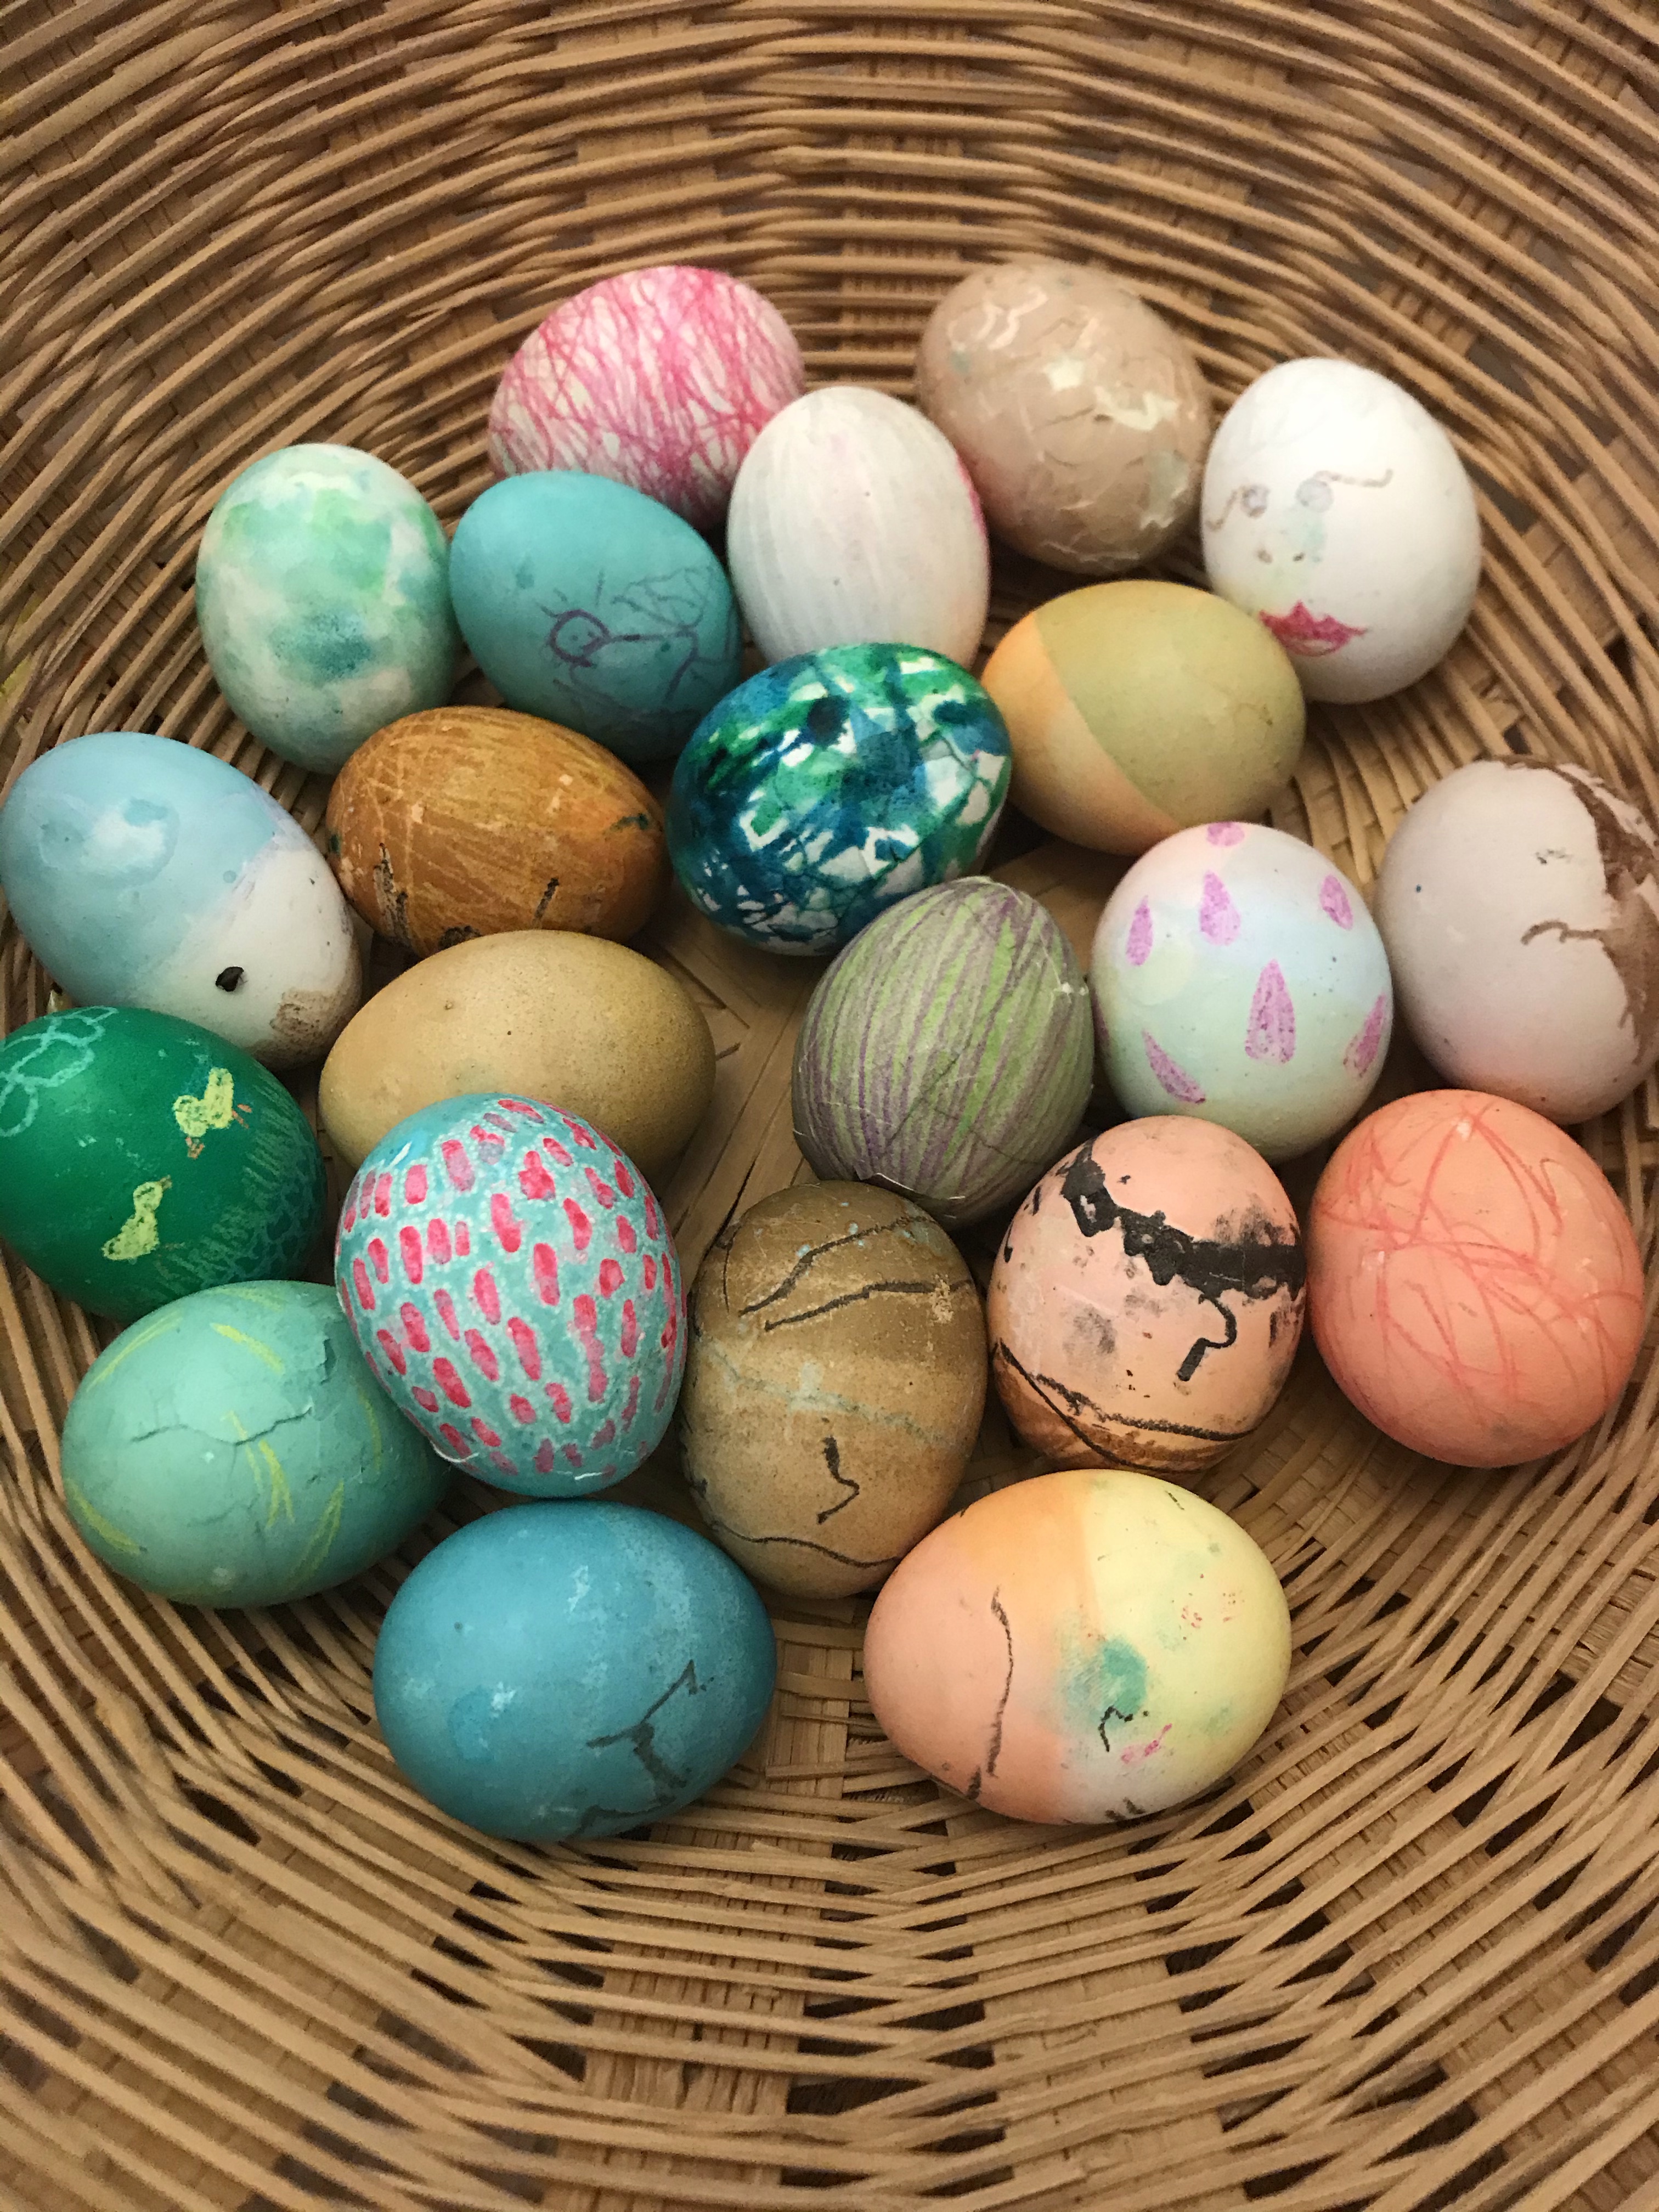
The eggs all found.
A Parade for Jesus: A Palm Sunday Children’s Sermon
Sometimes I get to share children’s time teachings with my congregation. When I do, I’ll share them here. Today’s children’s time was part of our Palm Sunday service. You can watch the whole service here.
Saying “Goodbye” to Christmas in February
We took down our Christmas decorations this weekend, the second in February. And while, in the past, the lingering decorations were mostly about dreading the task, this year we made the decision much earlier–at the start of Advent, when the tree went up–to leave everything in place until 40 days after Christmas.
That was two Sundays ago, and because we wanted to enjoy the full 40 days, we didn’t take the decorations down last Sunday.
This year, 40 days after Christmas was February 2. This represents the day when Mary would have been able to return to the temple after childbirth and thus Jesus’ first visit there.
While many of our ornaments are not explicitly about the nativity of Jesus, many of them engage us with themes of childhood and remind us of how loved we are. Here are the new additions to our Christmas decorations this year.
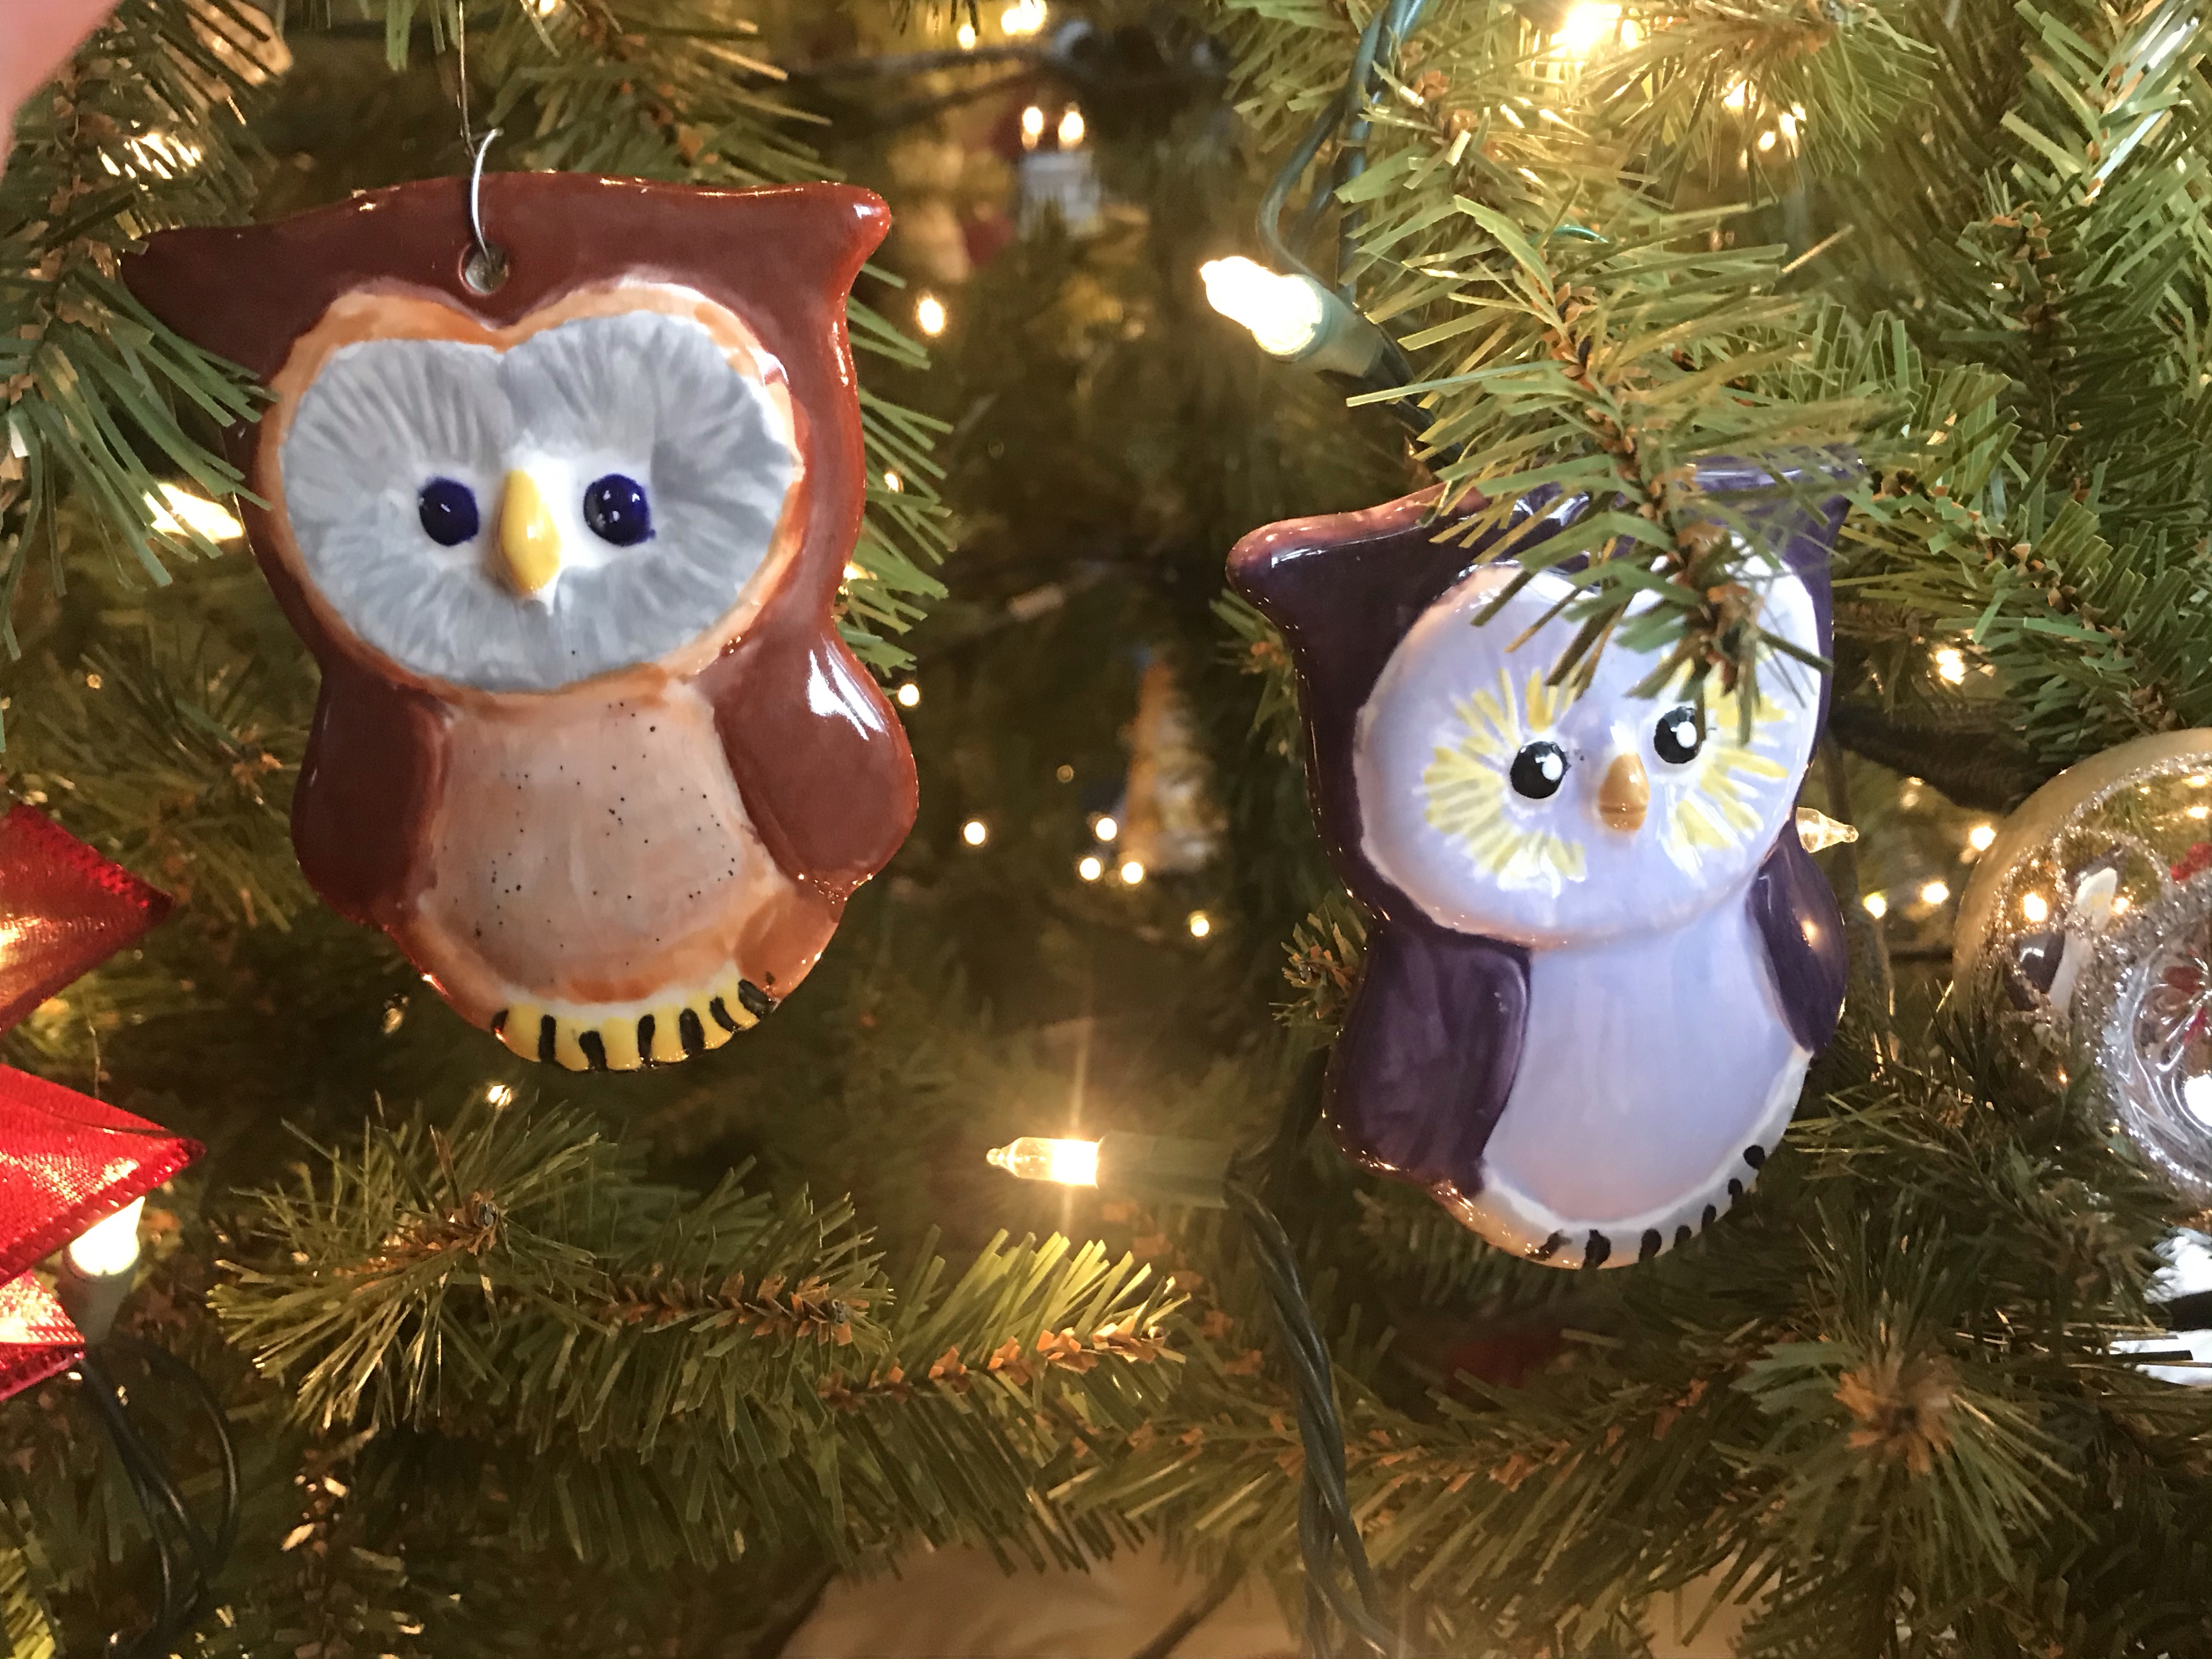
Each year we add a few owls to our collection. Honey made the brown one last year and the purple one this year.
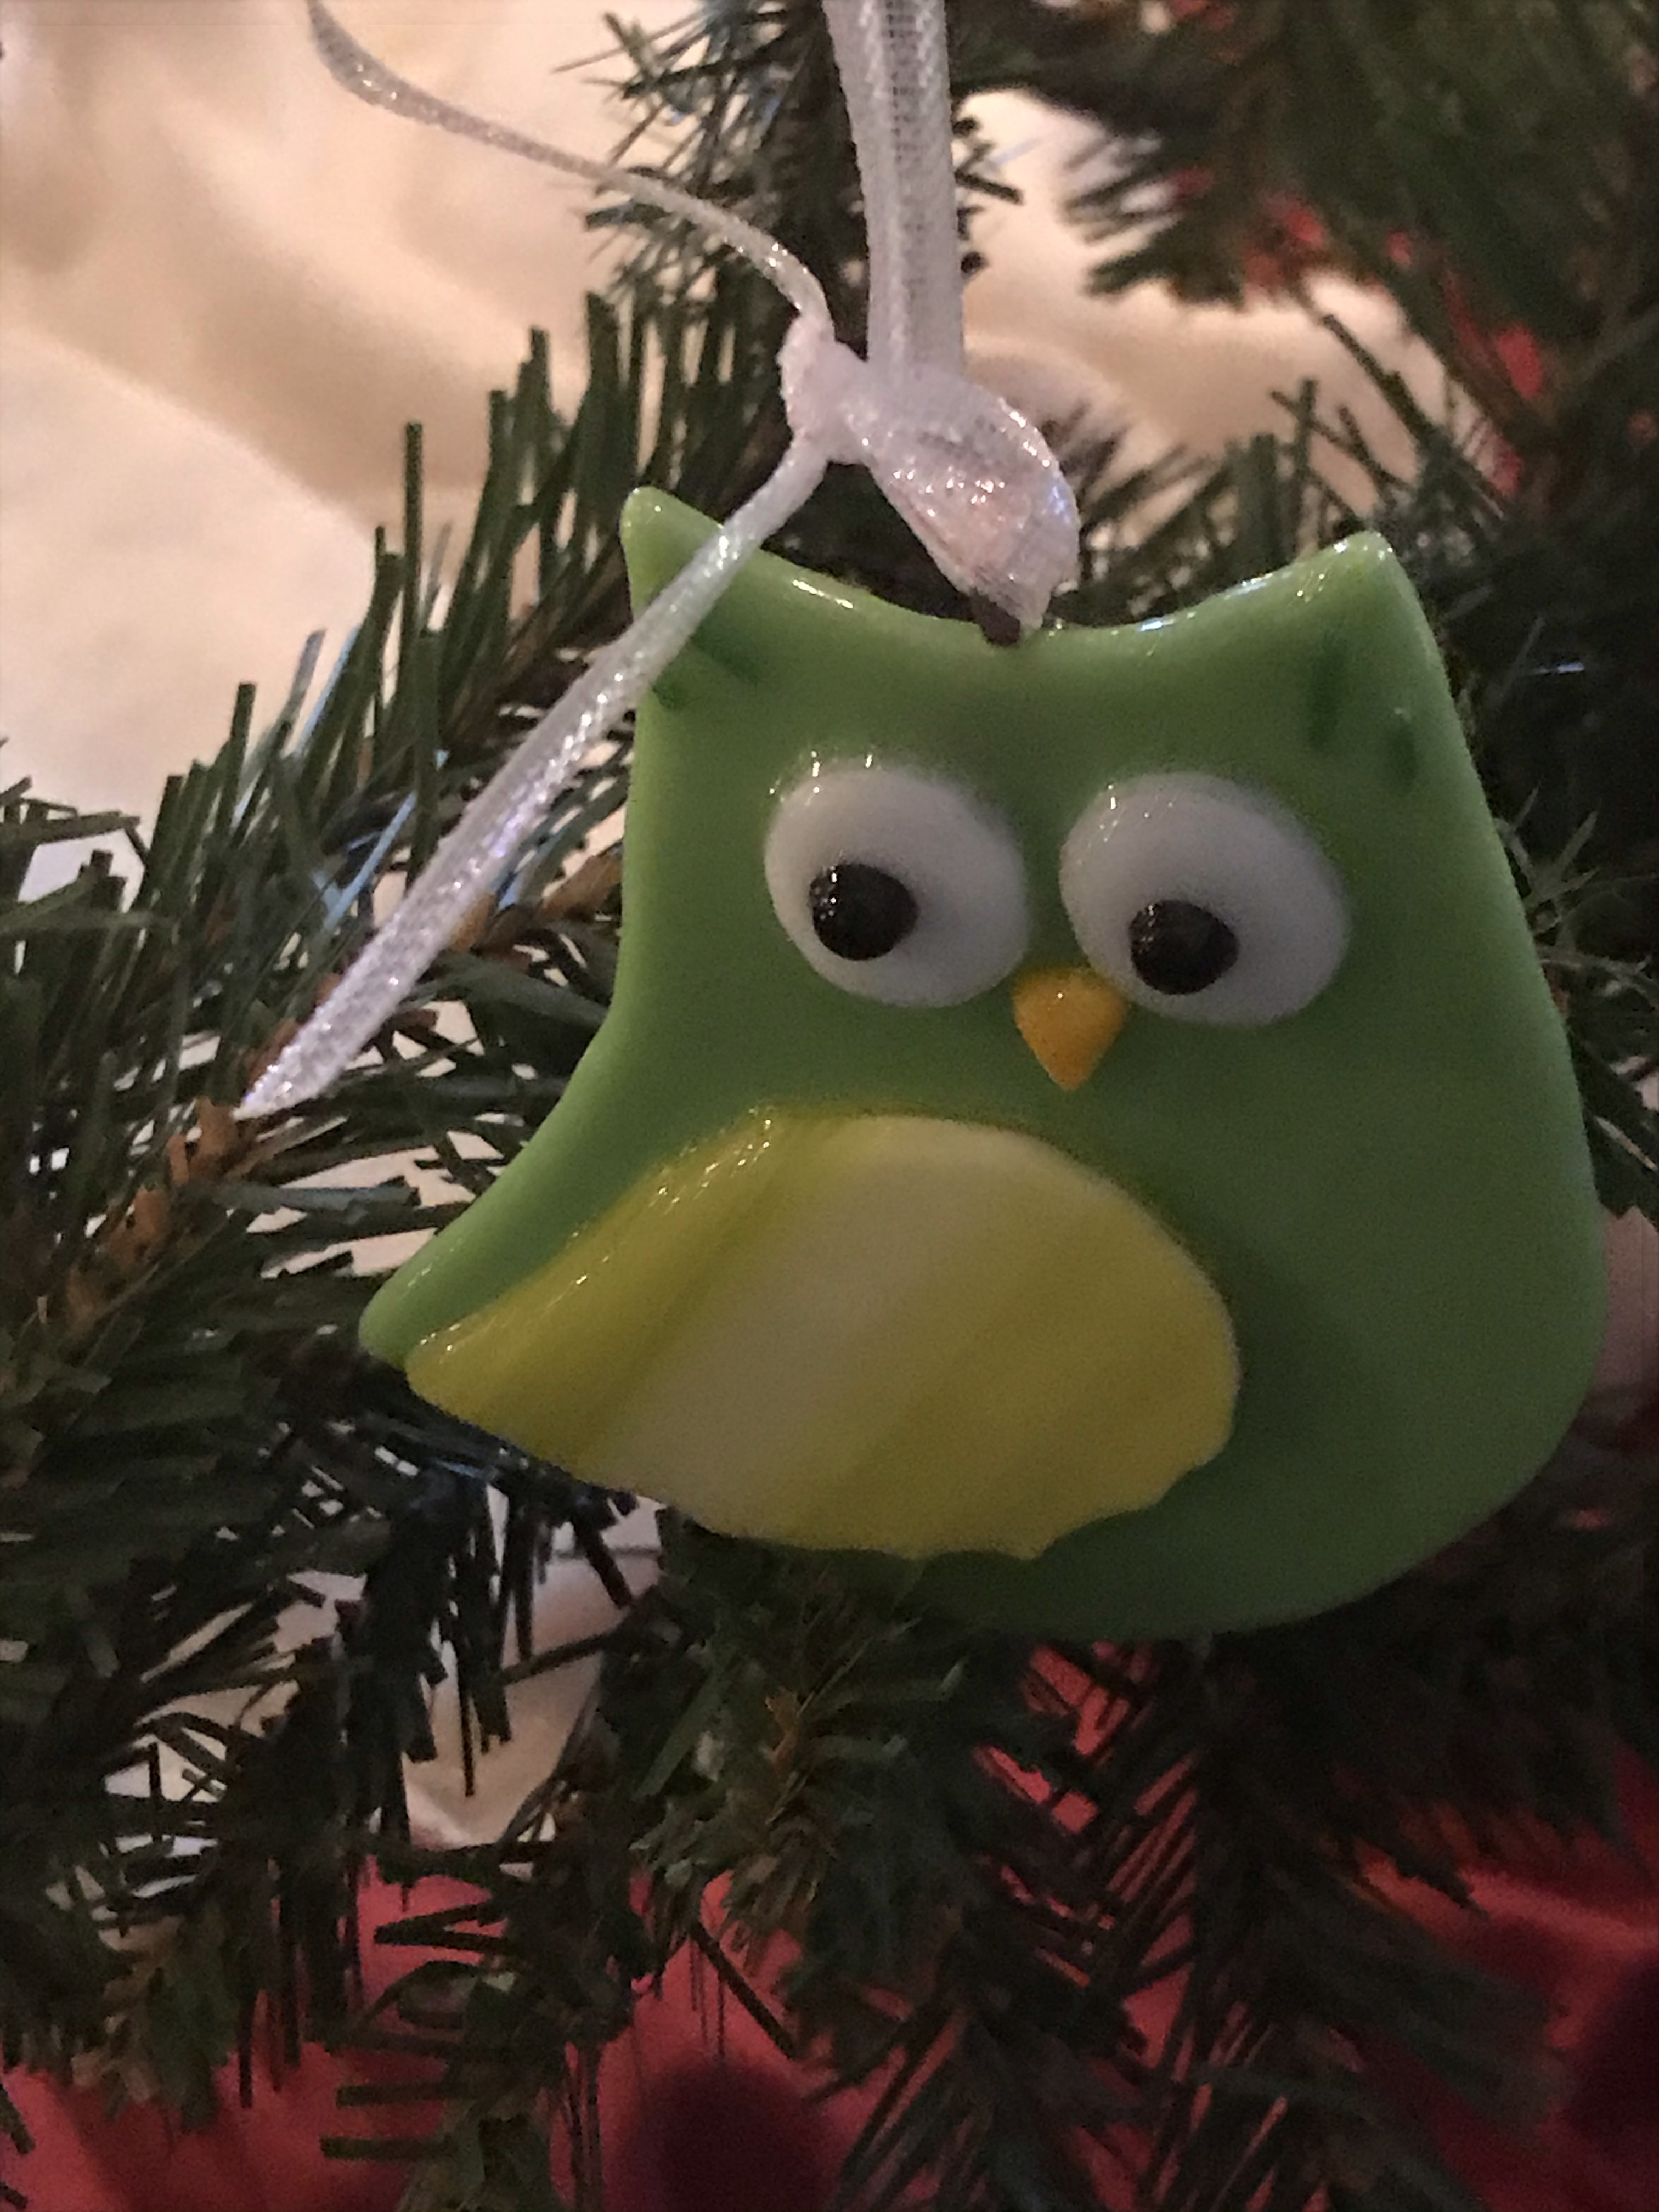
Each year, each child gets a new ornament made by local artists or purchased through a fair trade organization like 10,000 Villages. This year, Lamb received this whimsical glass owl, so there are at least half a dozen owls nesting in our Christmas tree this year. 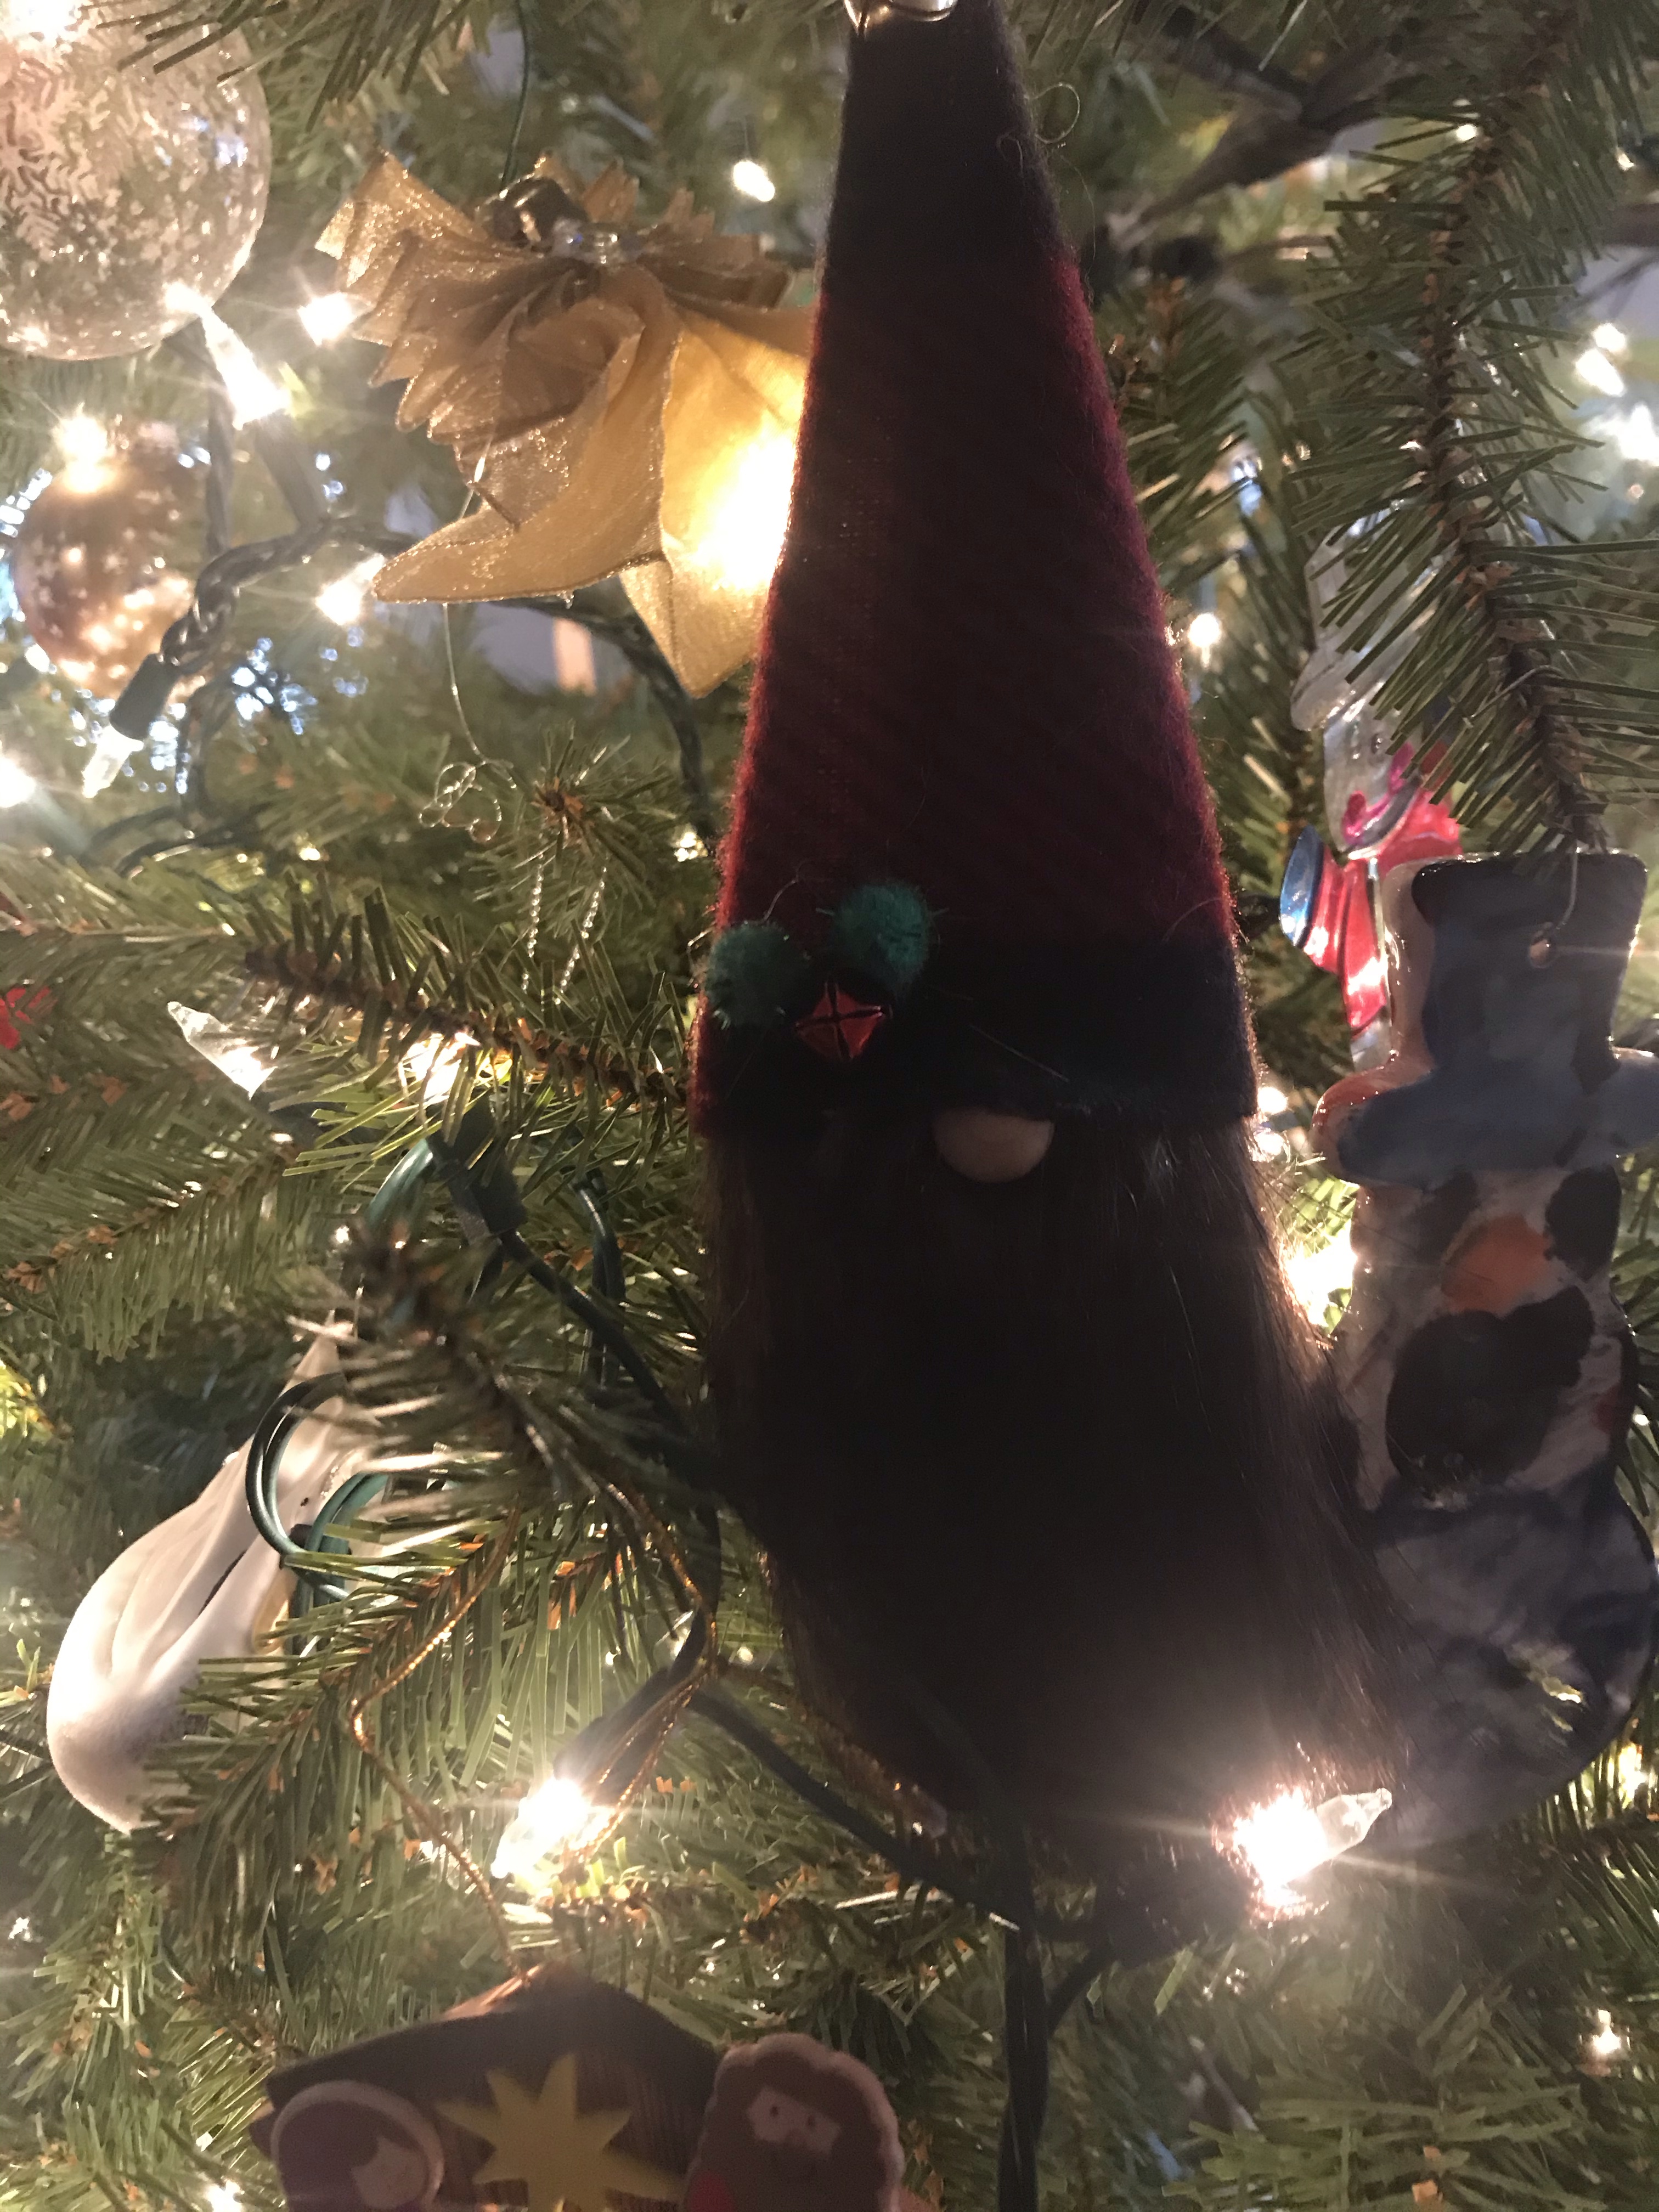 Mr. Prickles’ new ornament this year was a gnome.

And Bananas’ was a grasshopper carefully created from local grass.
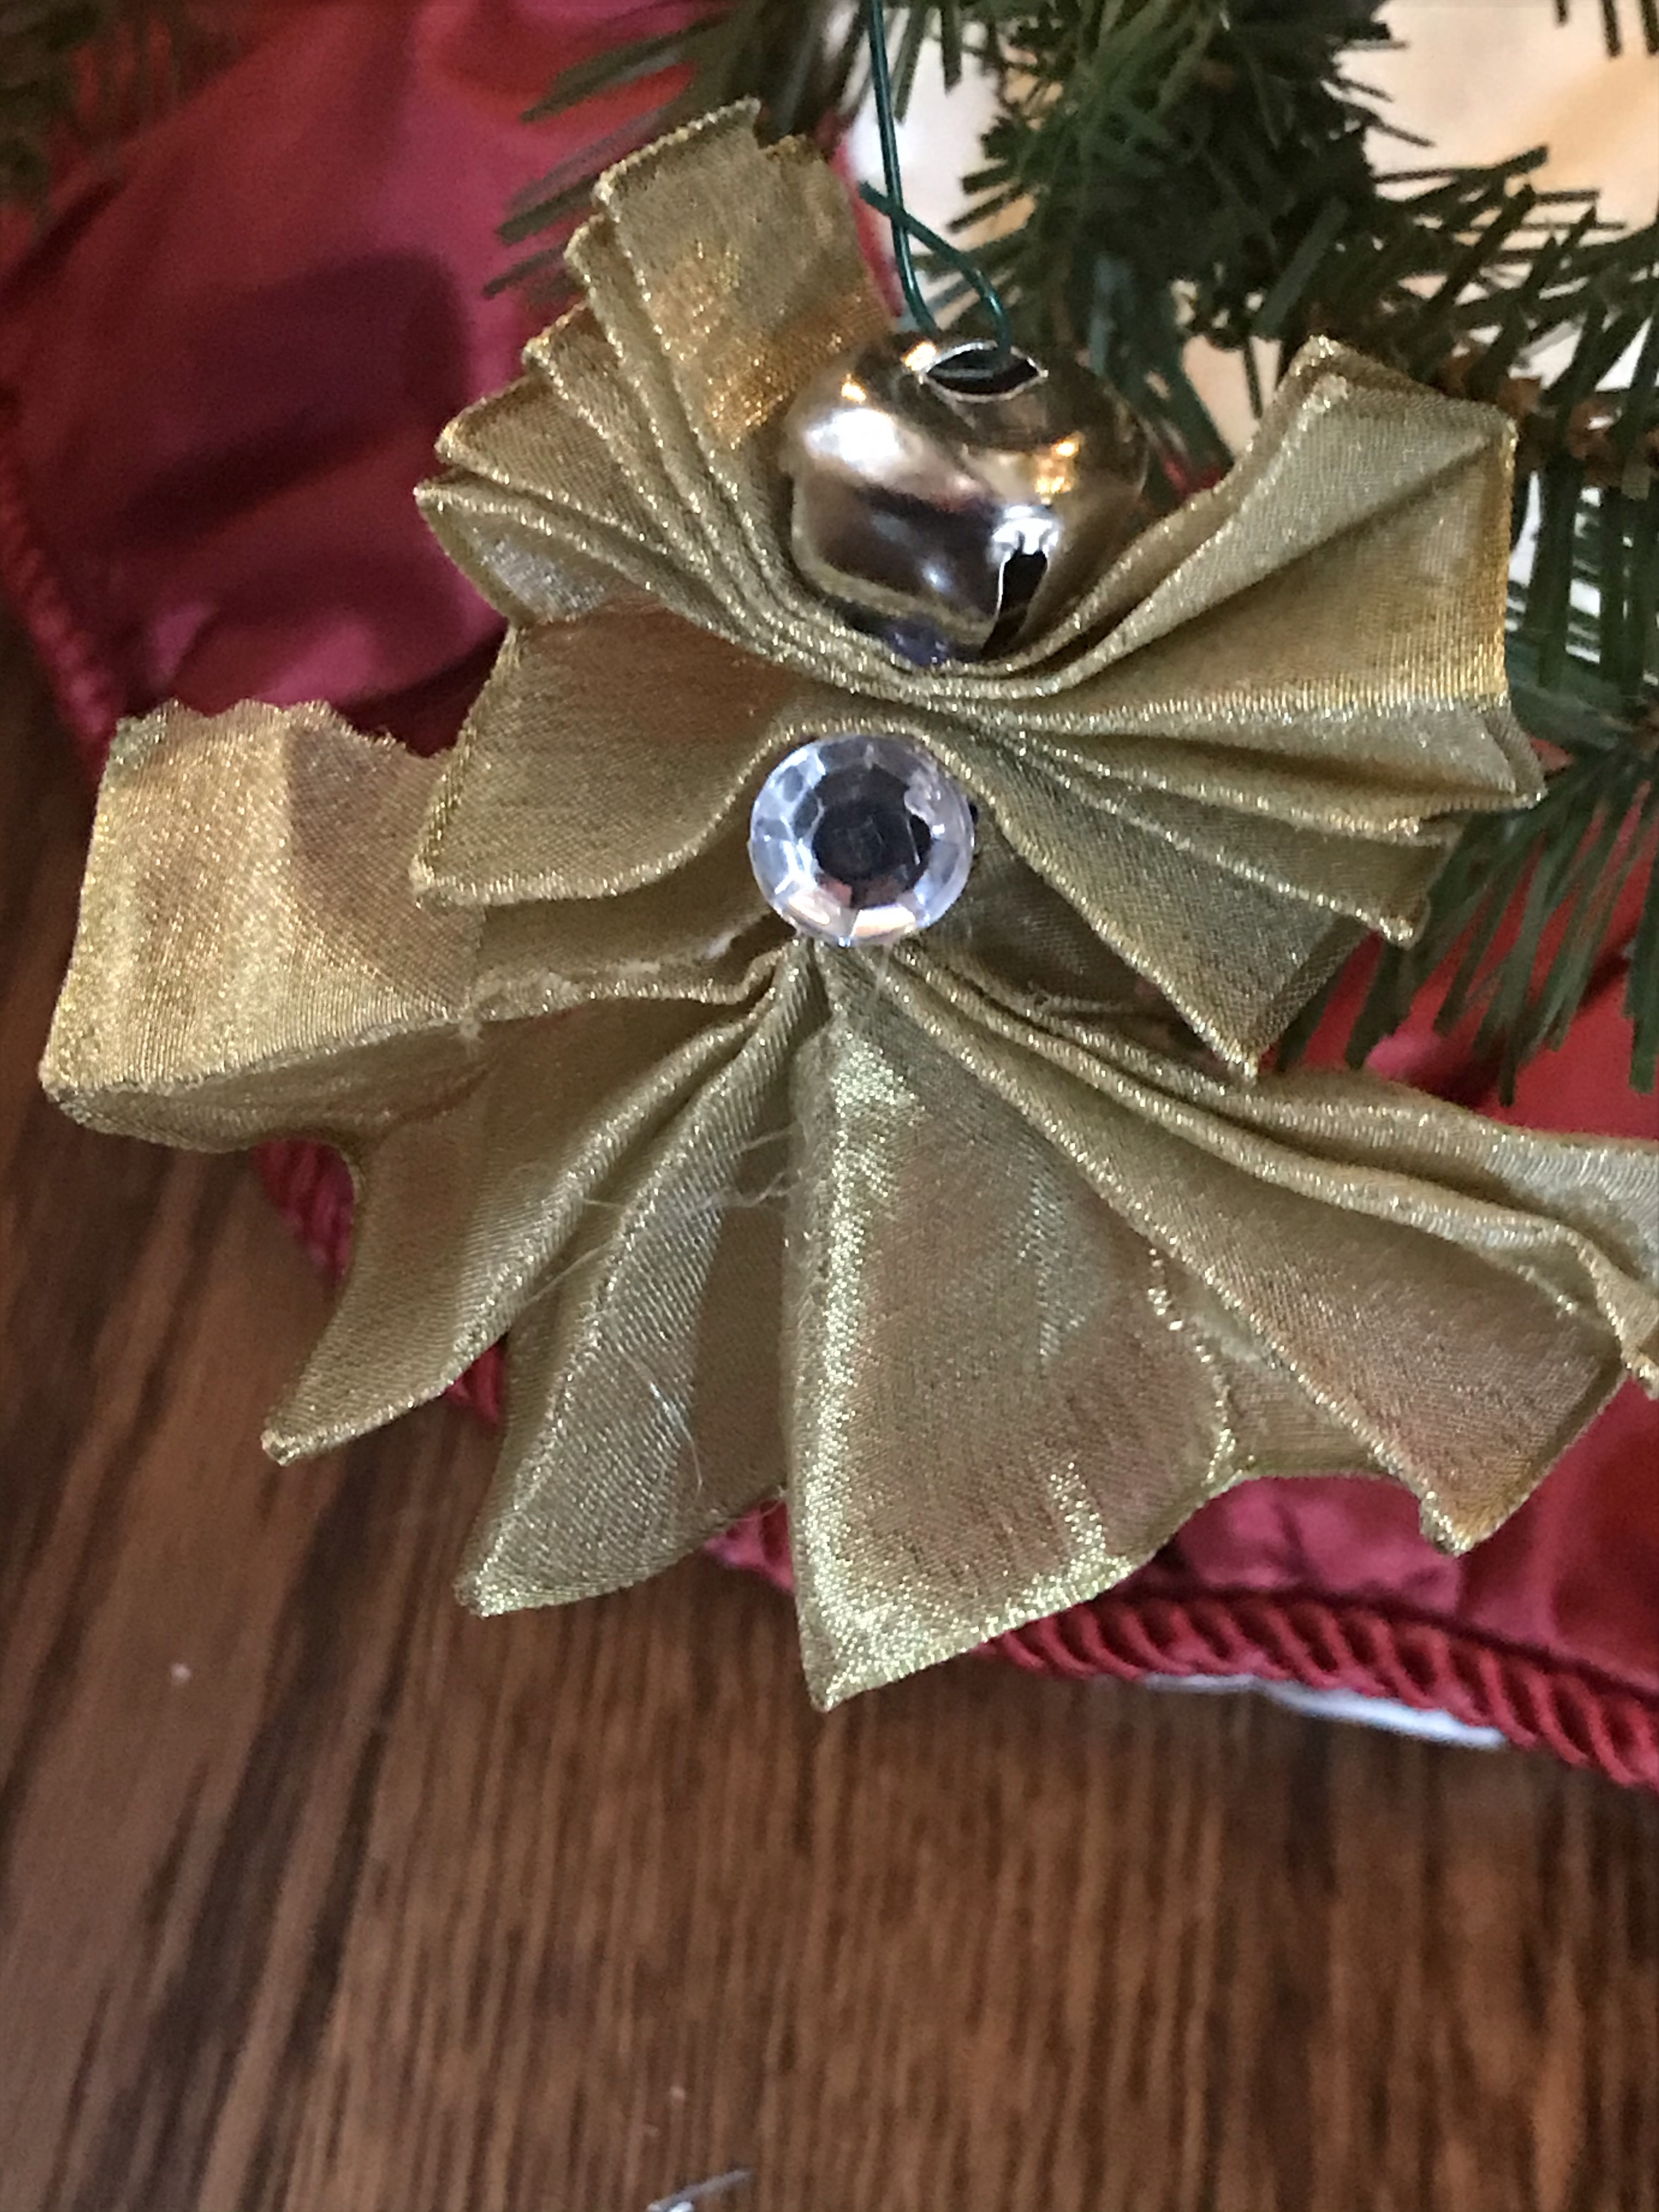
Most years we also make ornaments, so our tree is a record of their childhood arts and crafts skills. This year, we made jingle bell angels from wire ribbon. More than a dozen of them covered our tree.


Each year, we paint ceramic ornaments. Most years, Mr. Prickles’ chooses a new snowman to add to his collection, and Lamb adds an angel. This year, Bananas picked a llama.
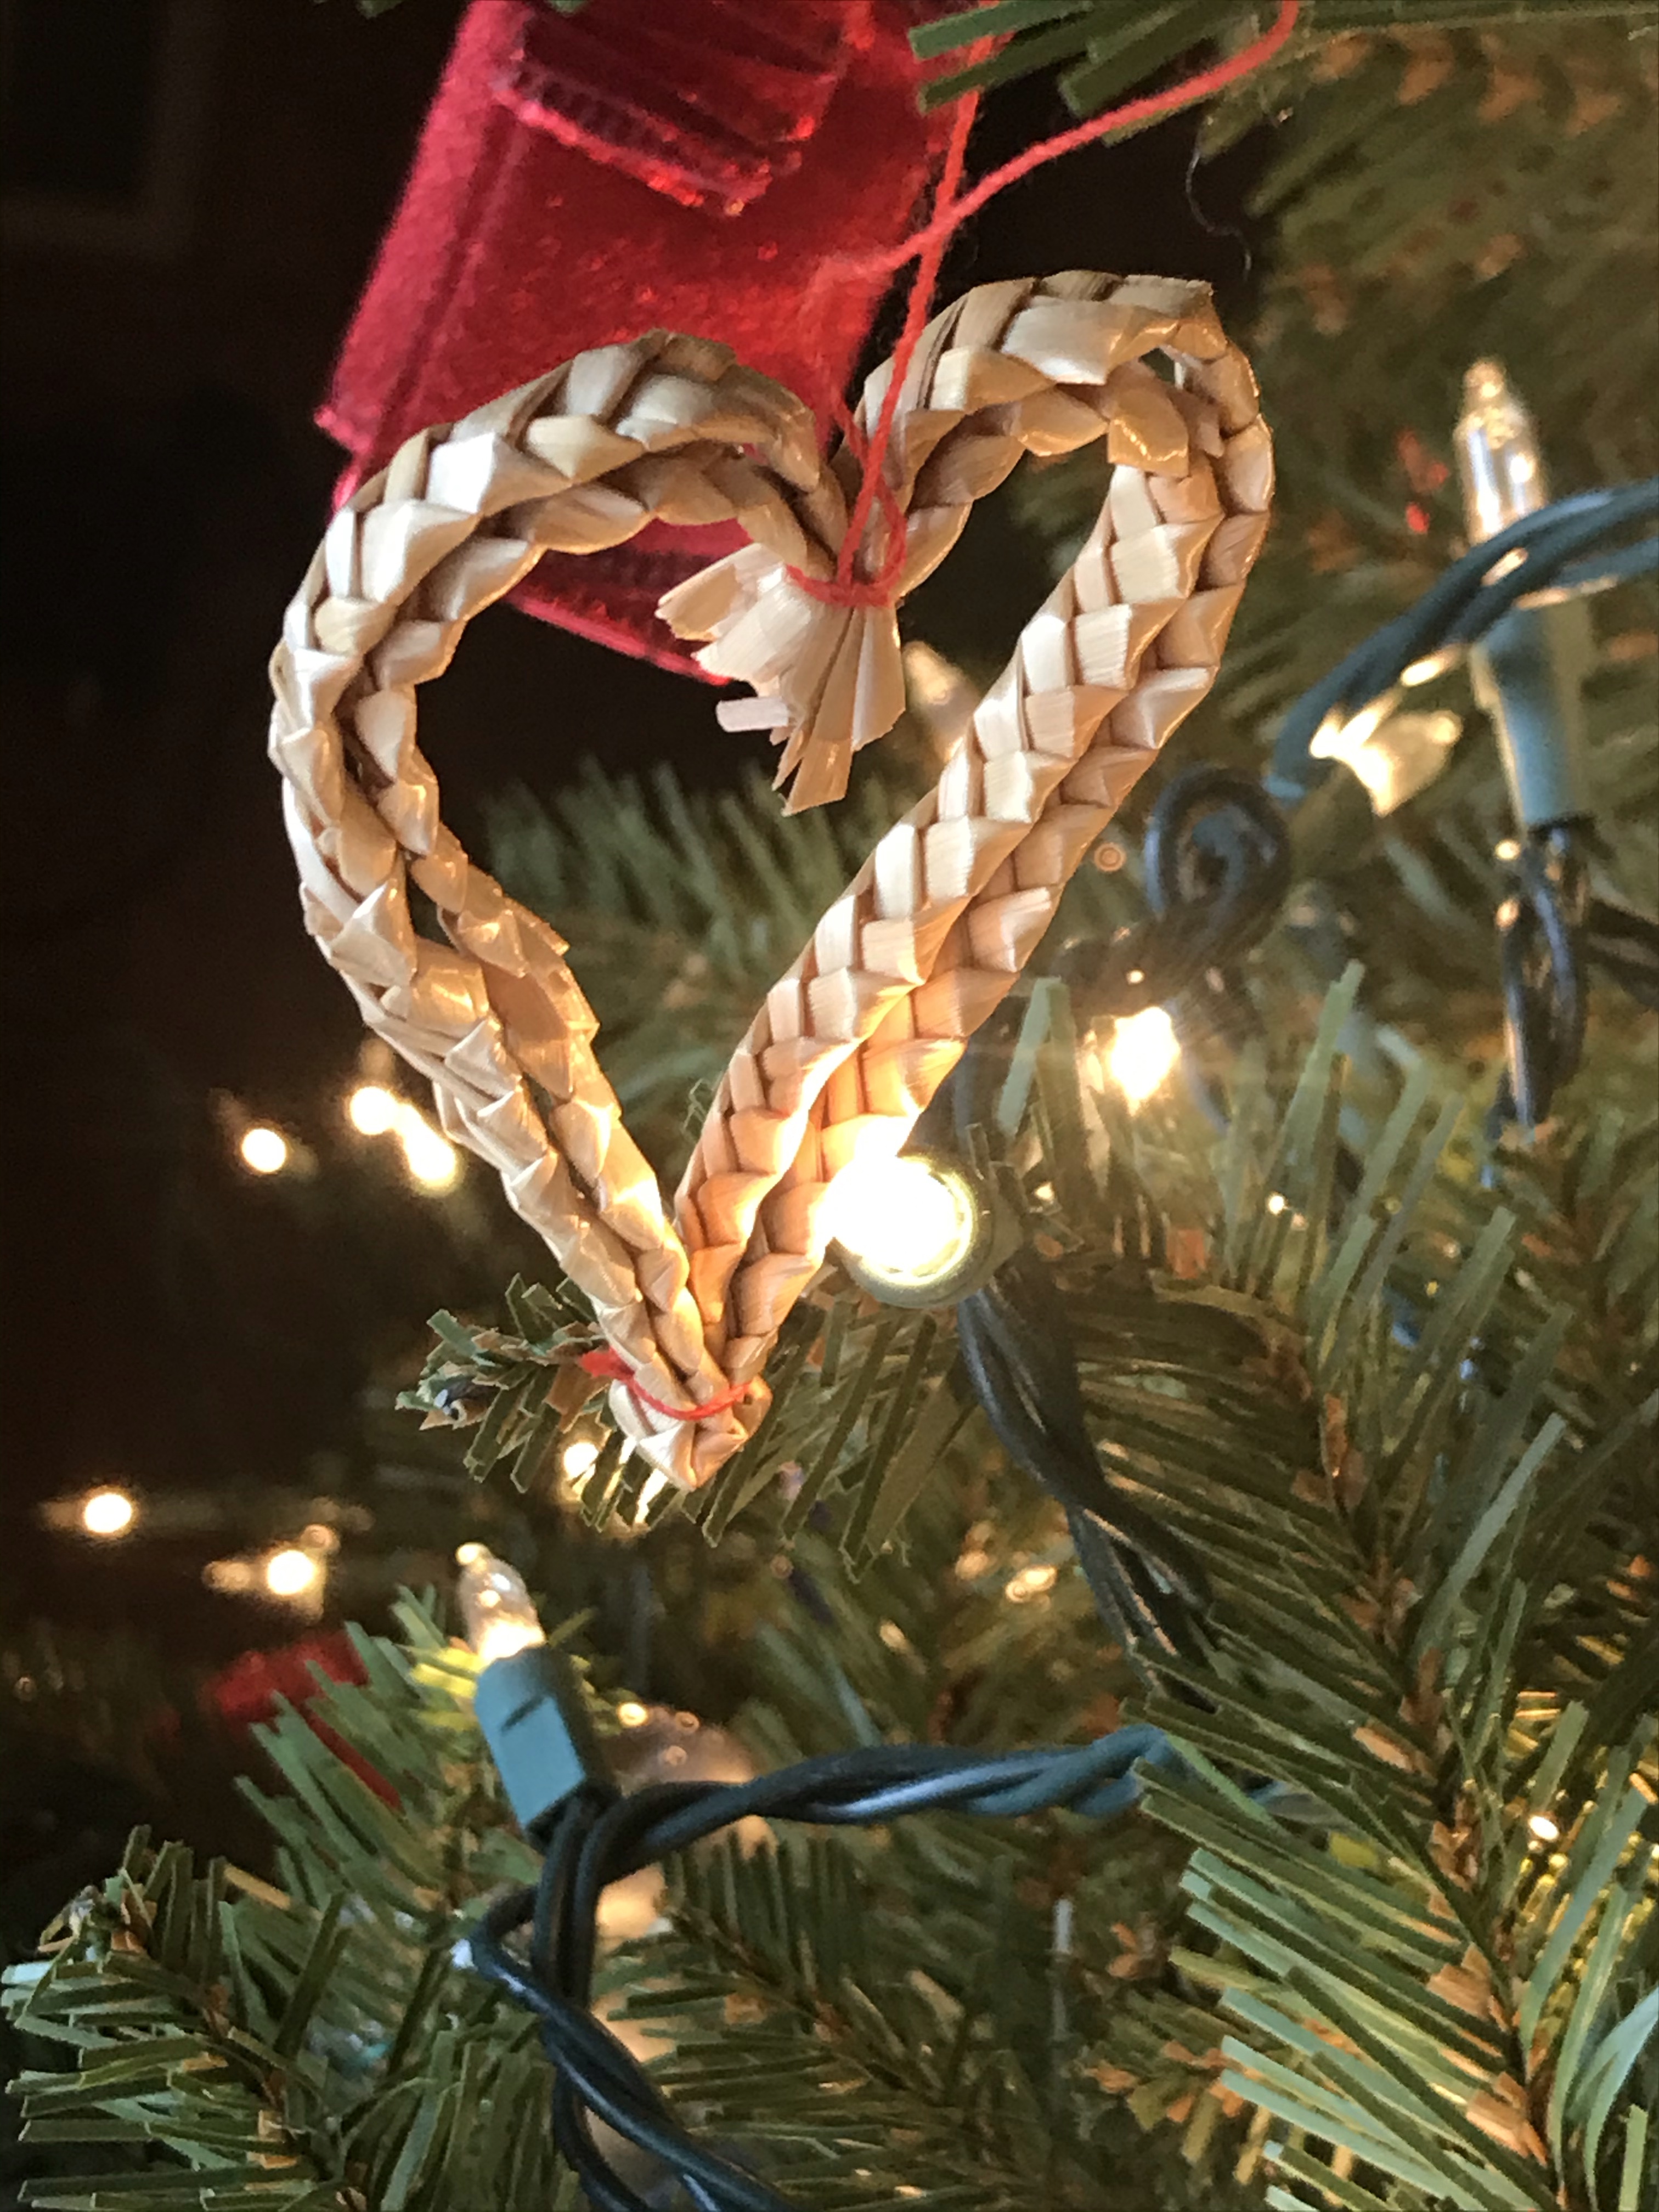
A trip to Lindsborg, Kansas (“Little Sweden USA”) found us in a shop that sells locally-made art and crafts as well as pieces imported from Sweden. This little heart reminds us of how much we love Kansas.
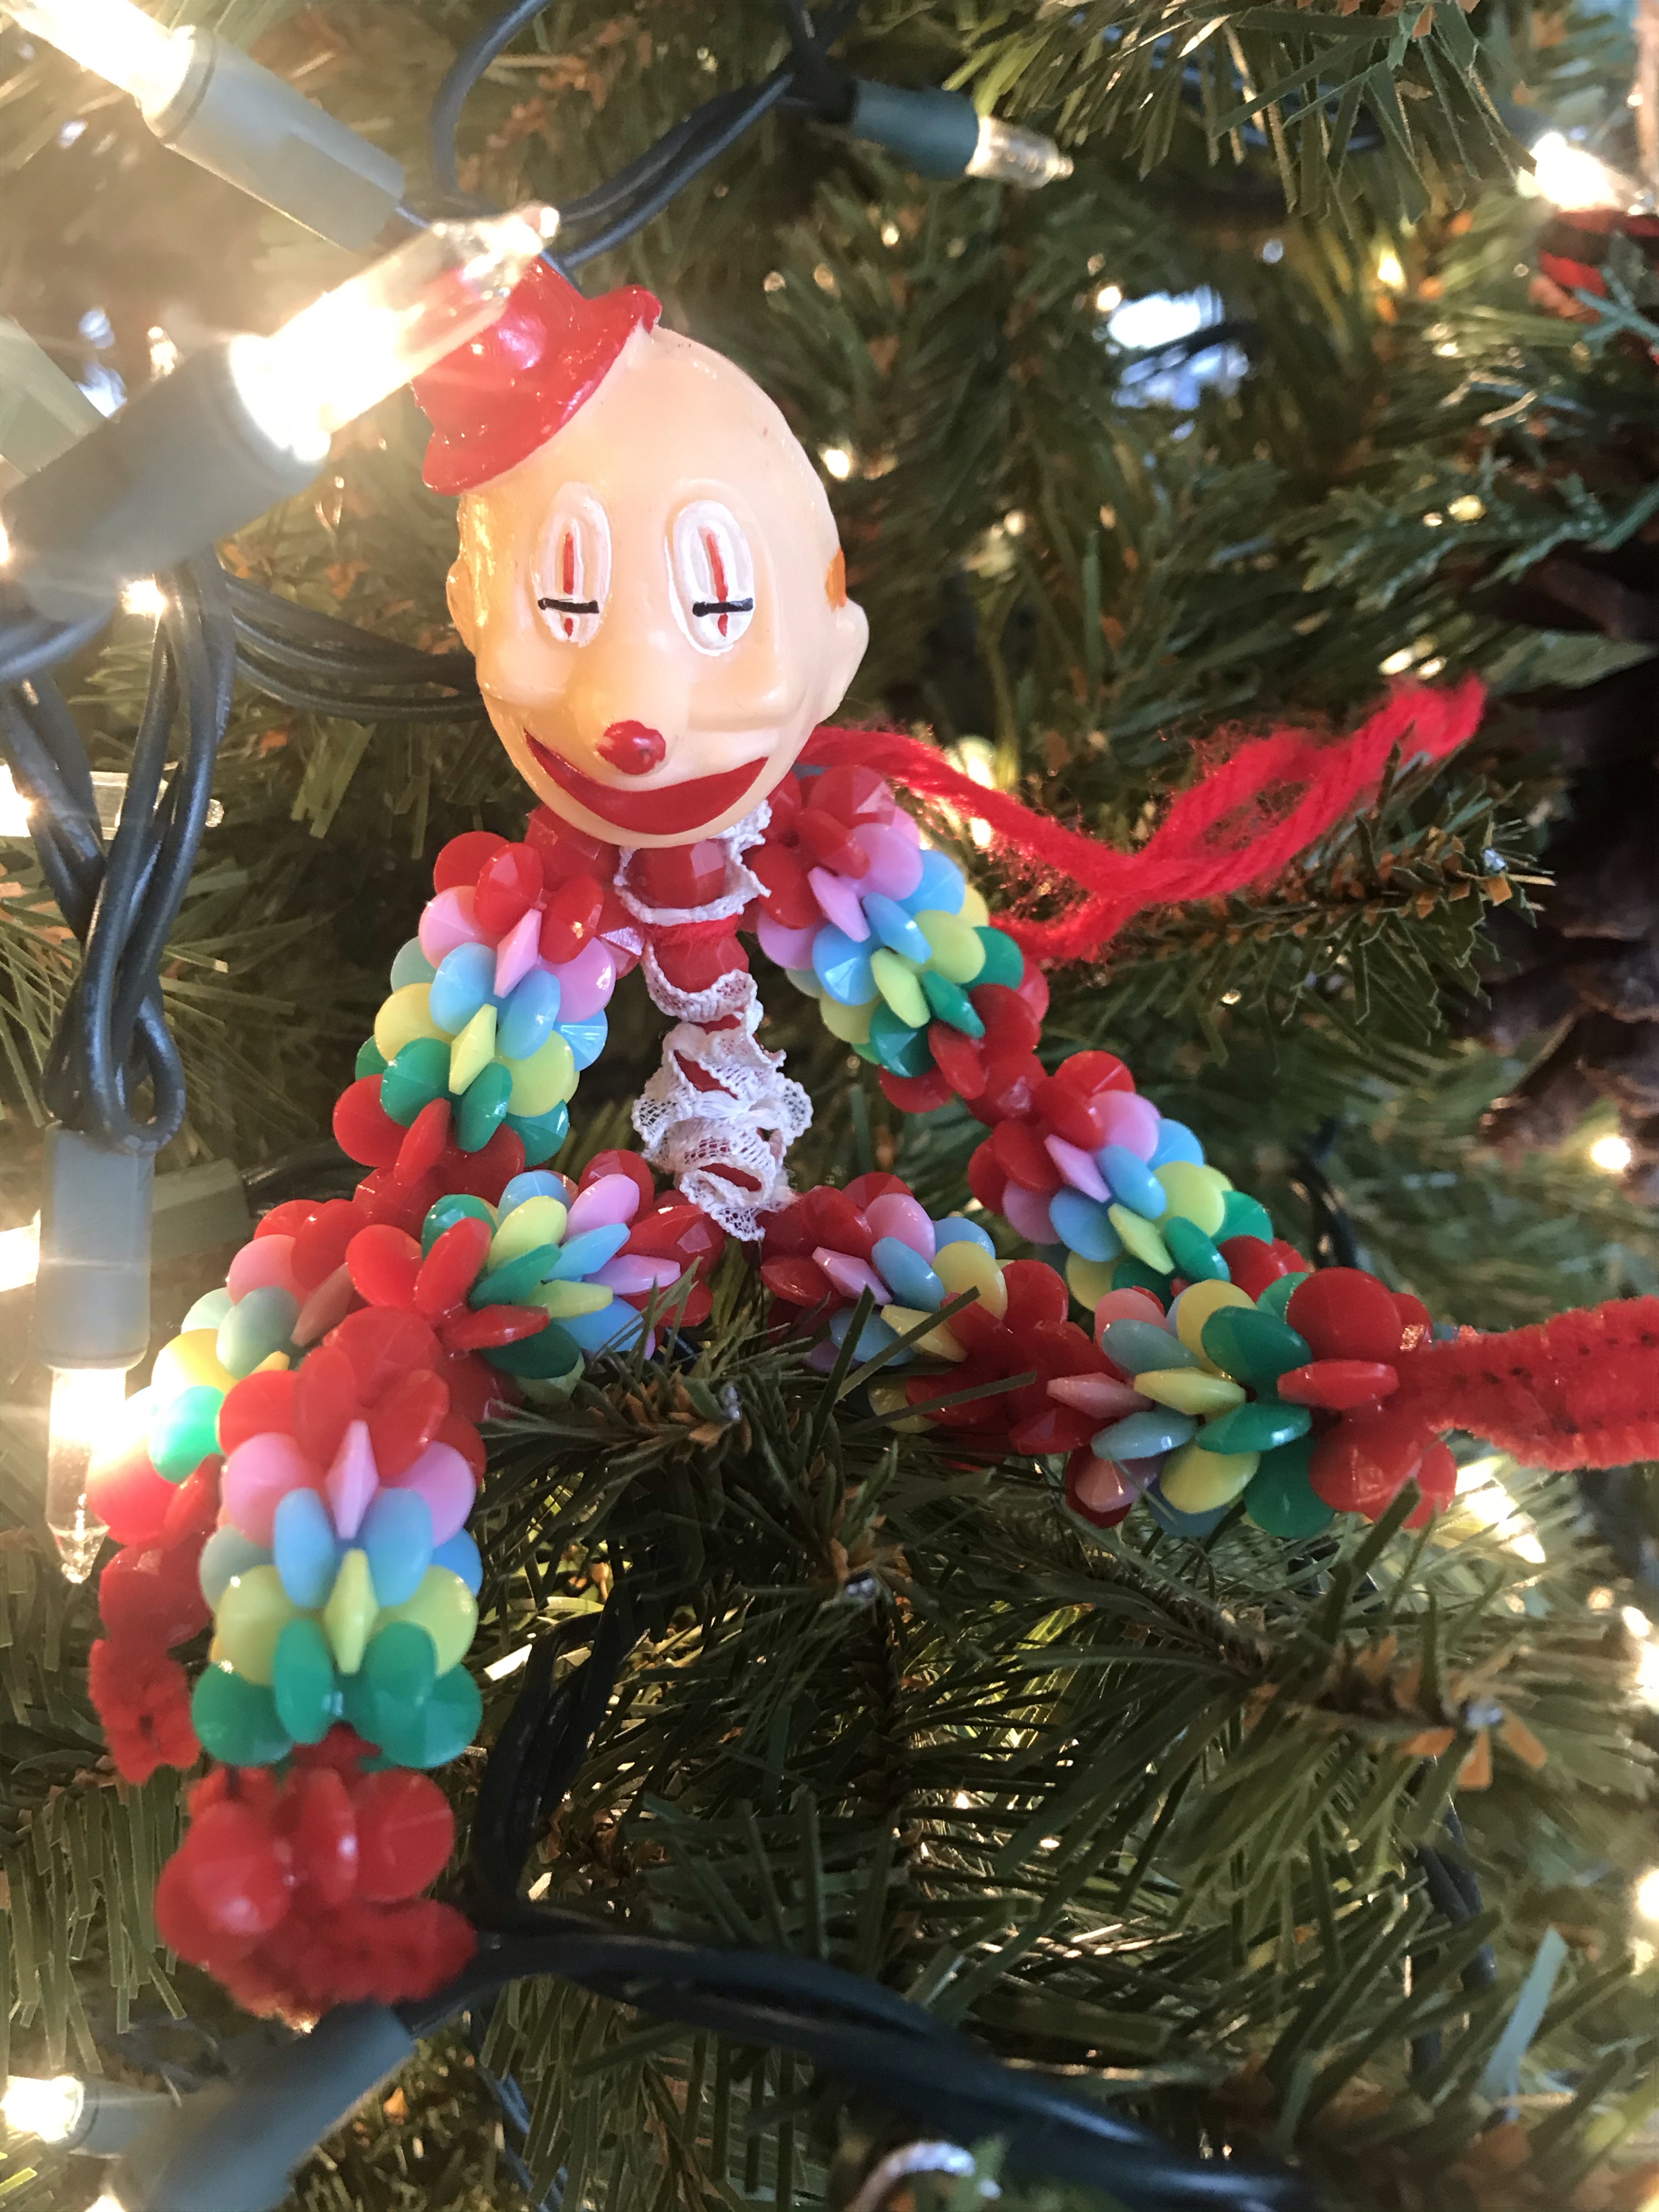
This little clown decorated my tree growing up, and my sister recently found him and sent him to me. My great-grandmother was alive most of my life, and while we saw her infrequently (We lived in different states.), receiving a big box from her each Christmas was one of the best parts of the year. They always included handmade gifts–some that she worked on for years–quilts and baby dolls–and others simple ornaments like this one.
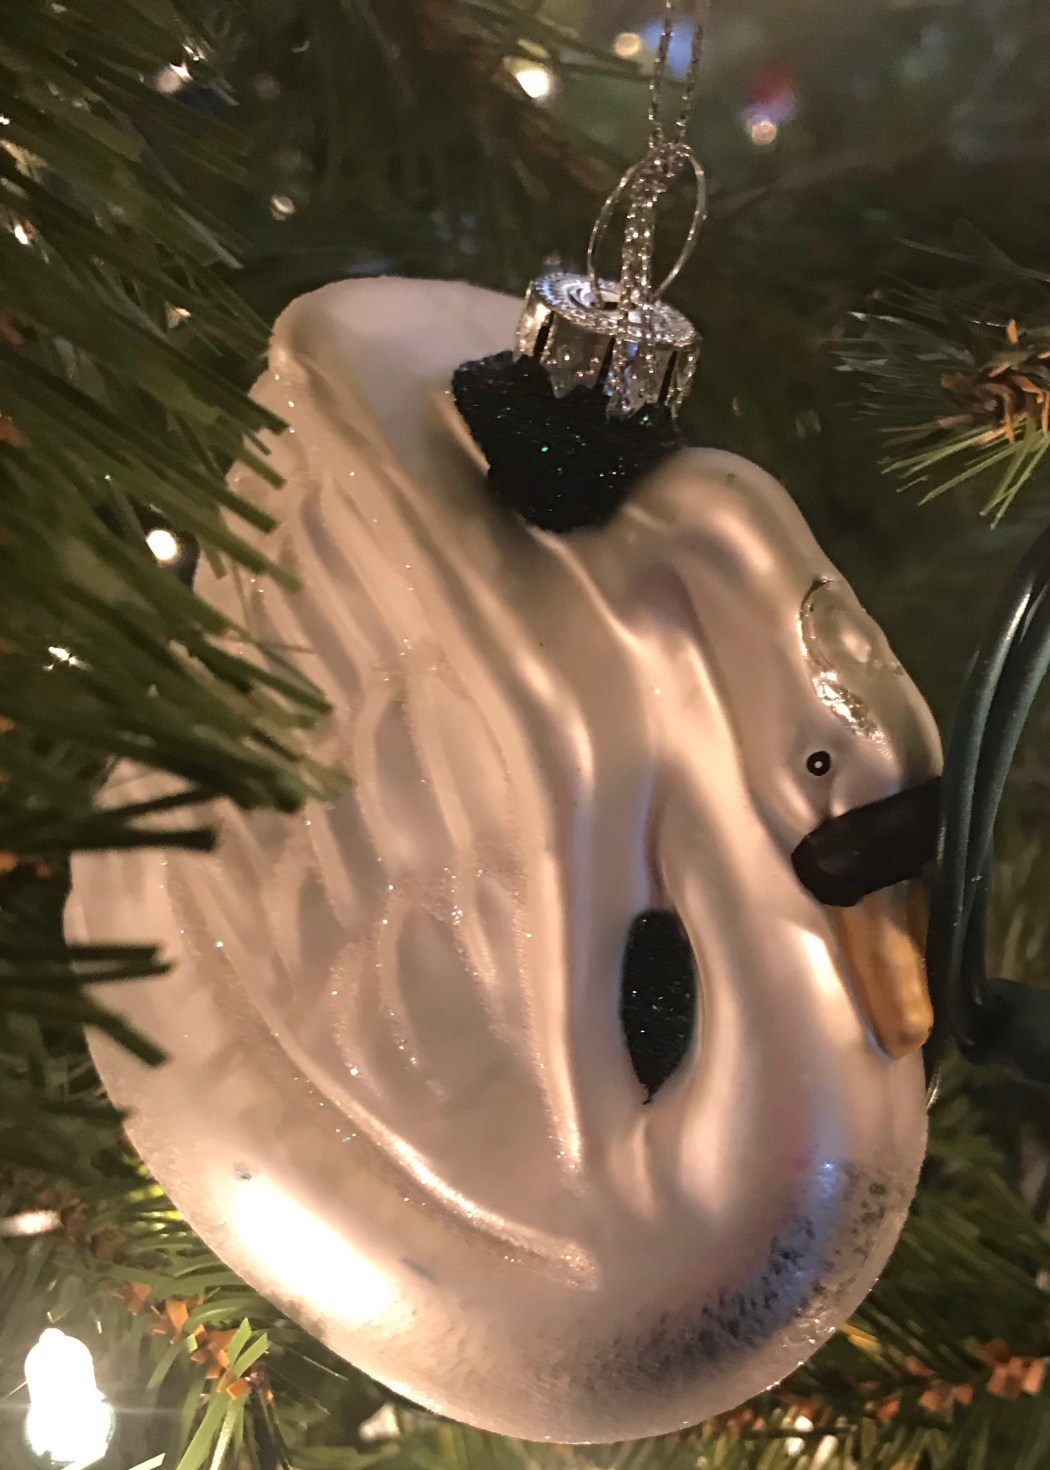
A few years ago, we took a vacation with my extended family to the Poconos, staying at a house on a lake. A family of swans patrolled the shoreline–and let us know that we were not welcome there. We eventually made an unsteady peace with them, but it took some effort. (Including, at one point, a sea battle. While it’s easy enough to drive off swans with a hose from the shore, it’s harder to fight them with a canoe paddle on the lake.) My sister sent us this glass swan this year to commemorate the event.
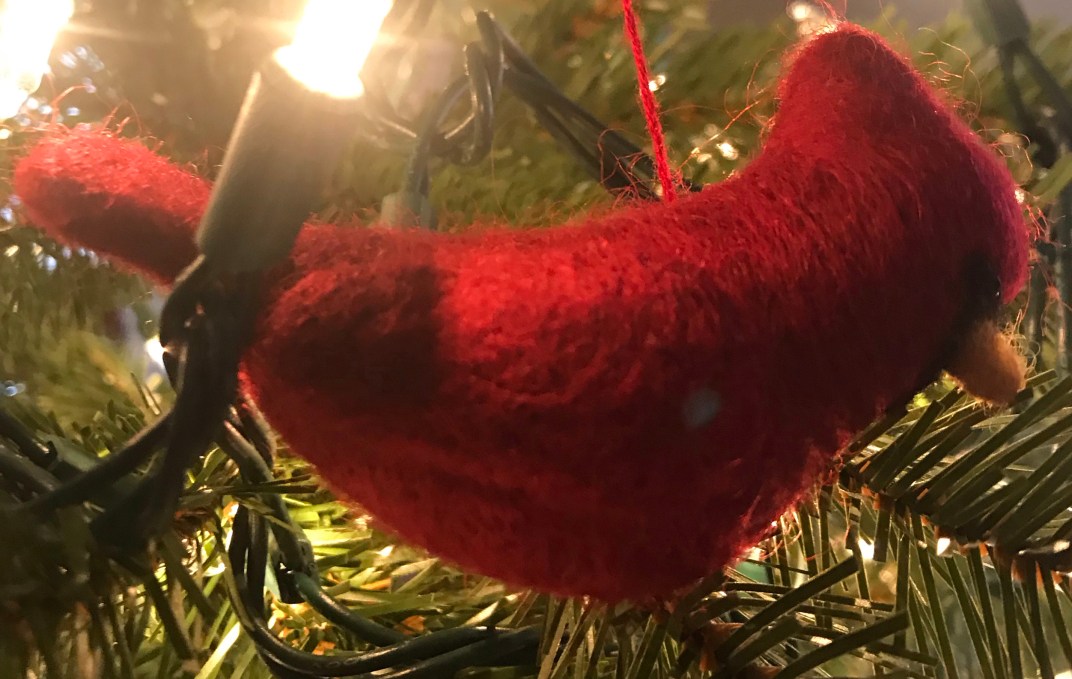 Of all the birds who joined our tree this year, this felted cardinal might be my favorite.
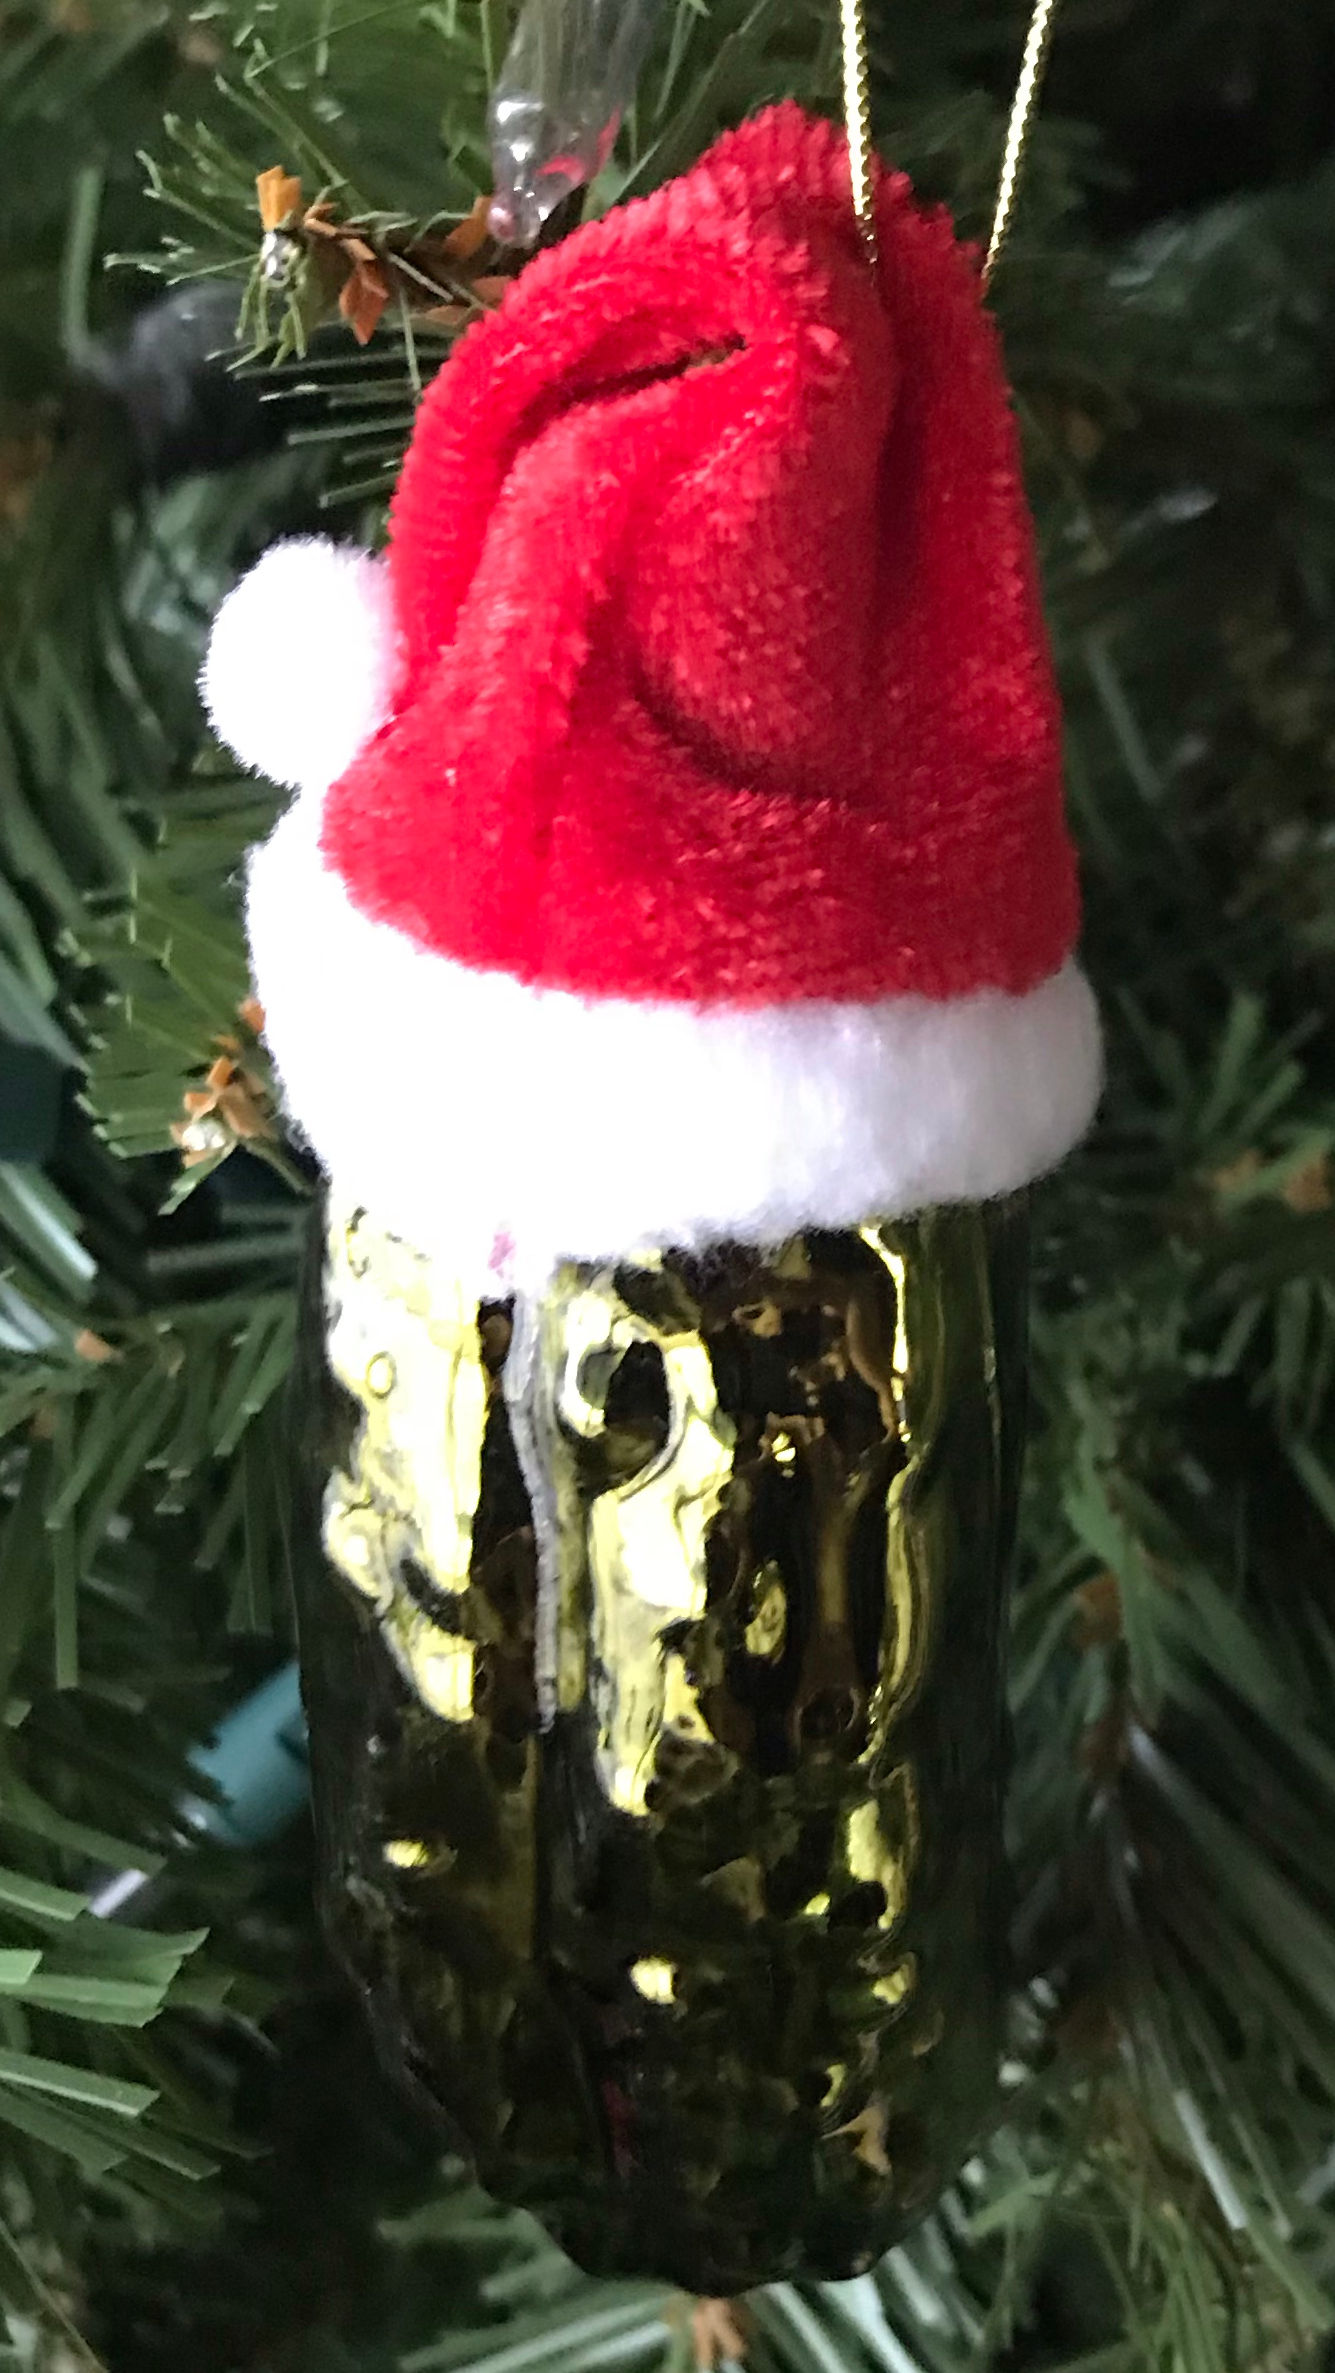
Do you have a Christmas pickle? This one is new for us this year, a gift from my mother. Each year, the child who finds the Christmas pickle gets to open the first present. And, this year, a miracle followed: the children quite easily fell into a pattern of opening one present at a time, rather than everyone opening presents at once, so they could see what each other had received. They didn’t discuss it or protest it, just happily showed interest in each other.
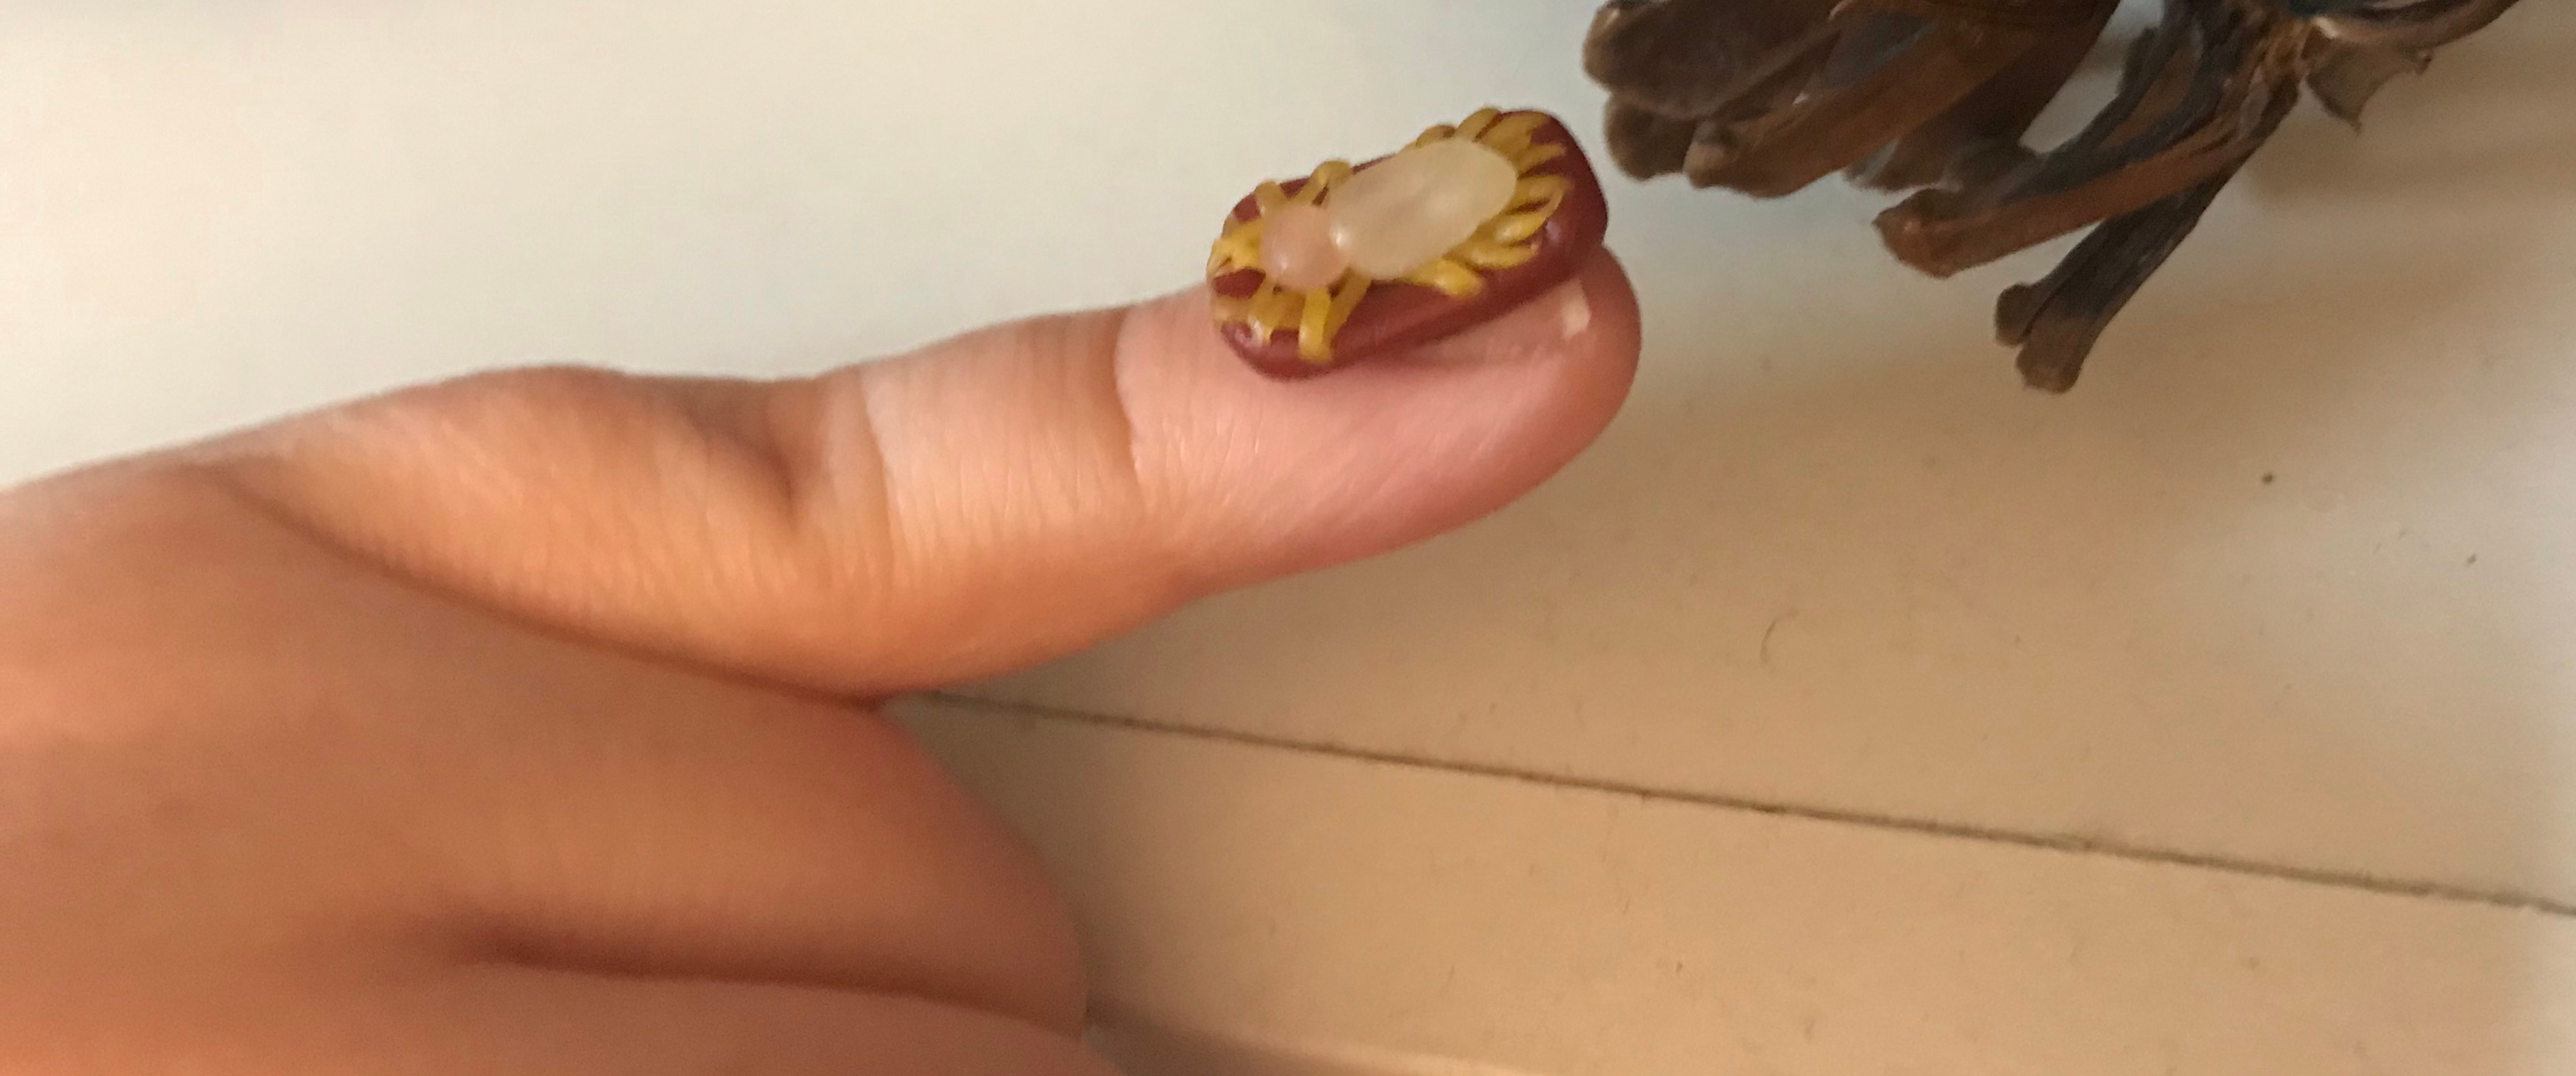
My friend A. gave us the littlest, tiniest baby Jesus, made from beeswax.
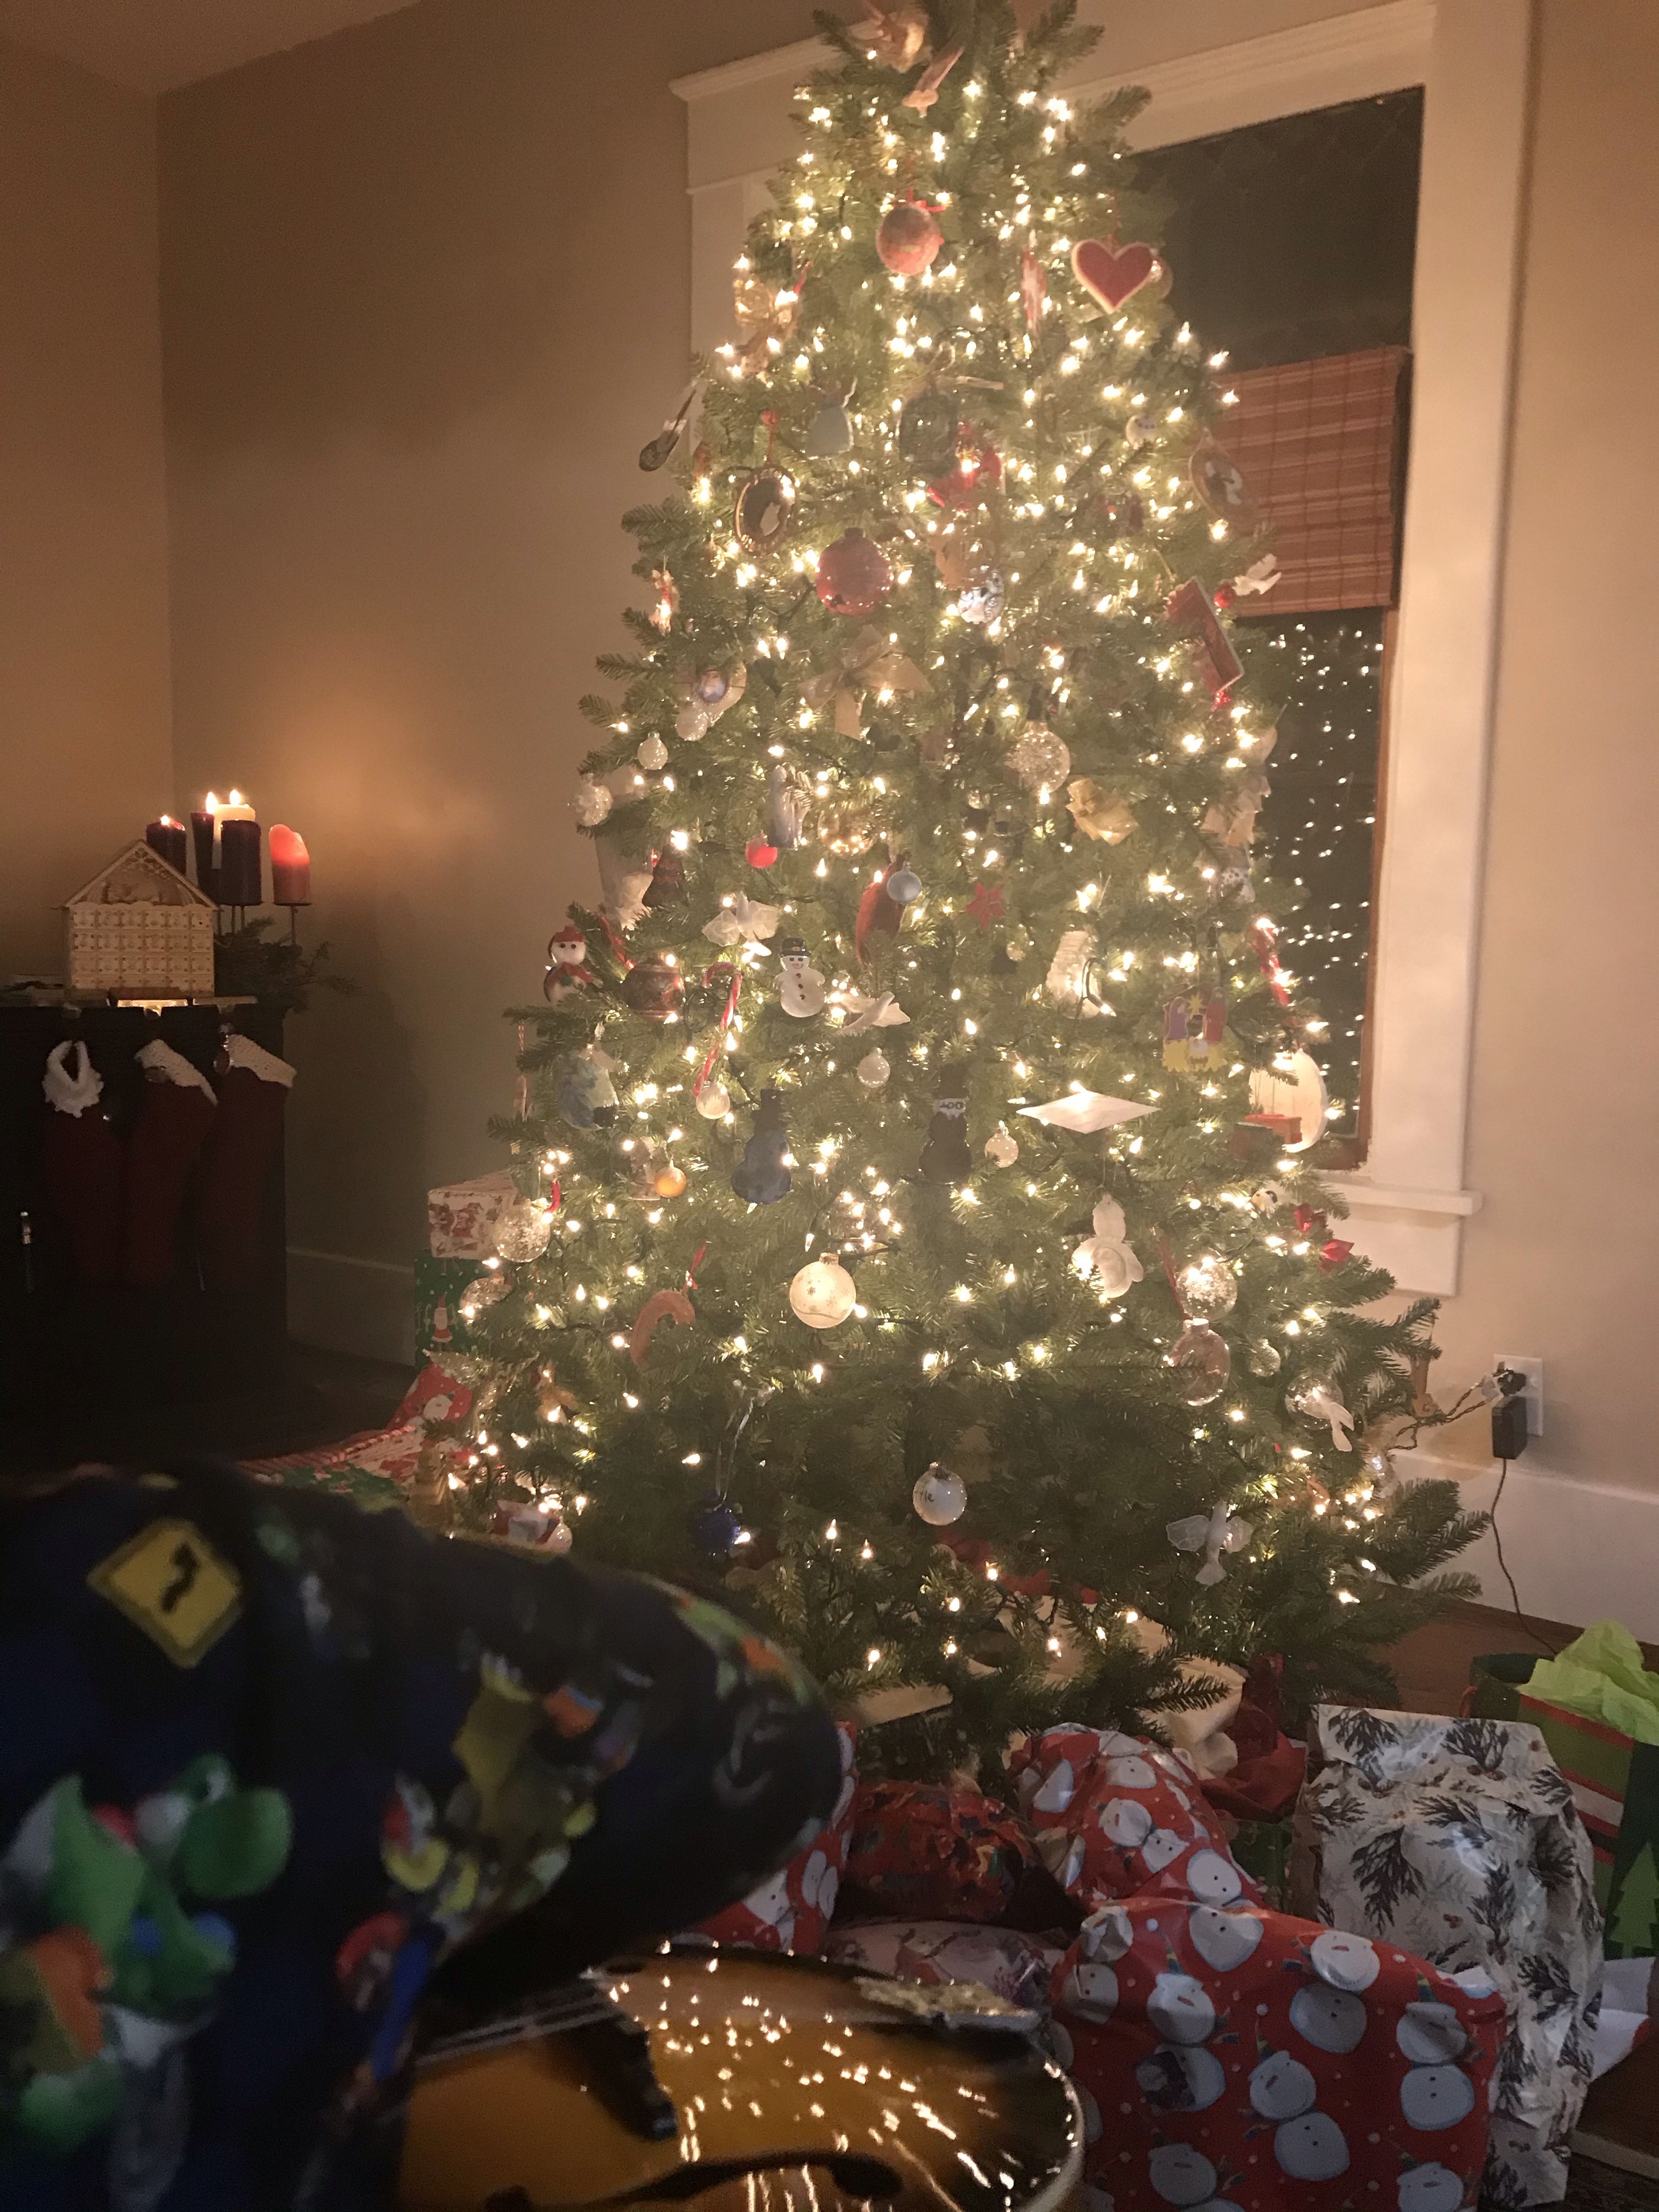
On Christmas Eve, we open new pajamas, a robe, or slippers (whichever we most need), play a game or music, watch a movie, read a Christmas book together, and bake cookies to put out on our Santa Plate (alone with carrots for the reindeer). This year, our tree was a housewarming gift from our dear Auntie K., who not only set it up for us but added the (absurd number–1200!) lights and helped us decorate.
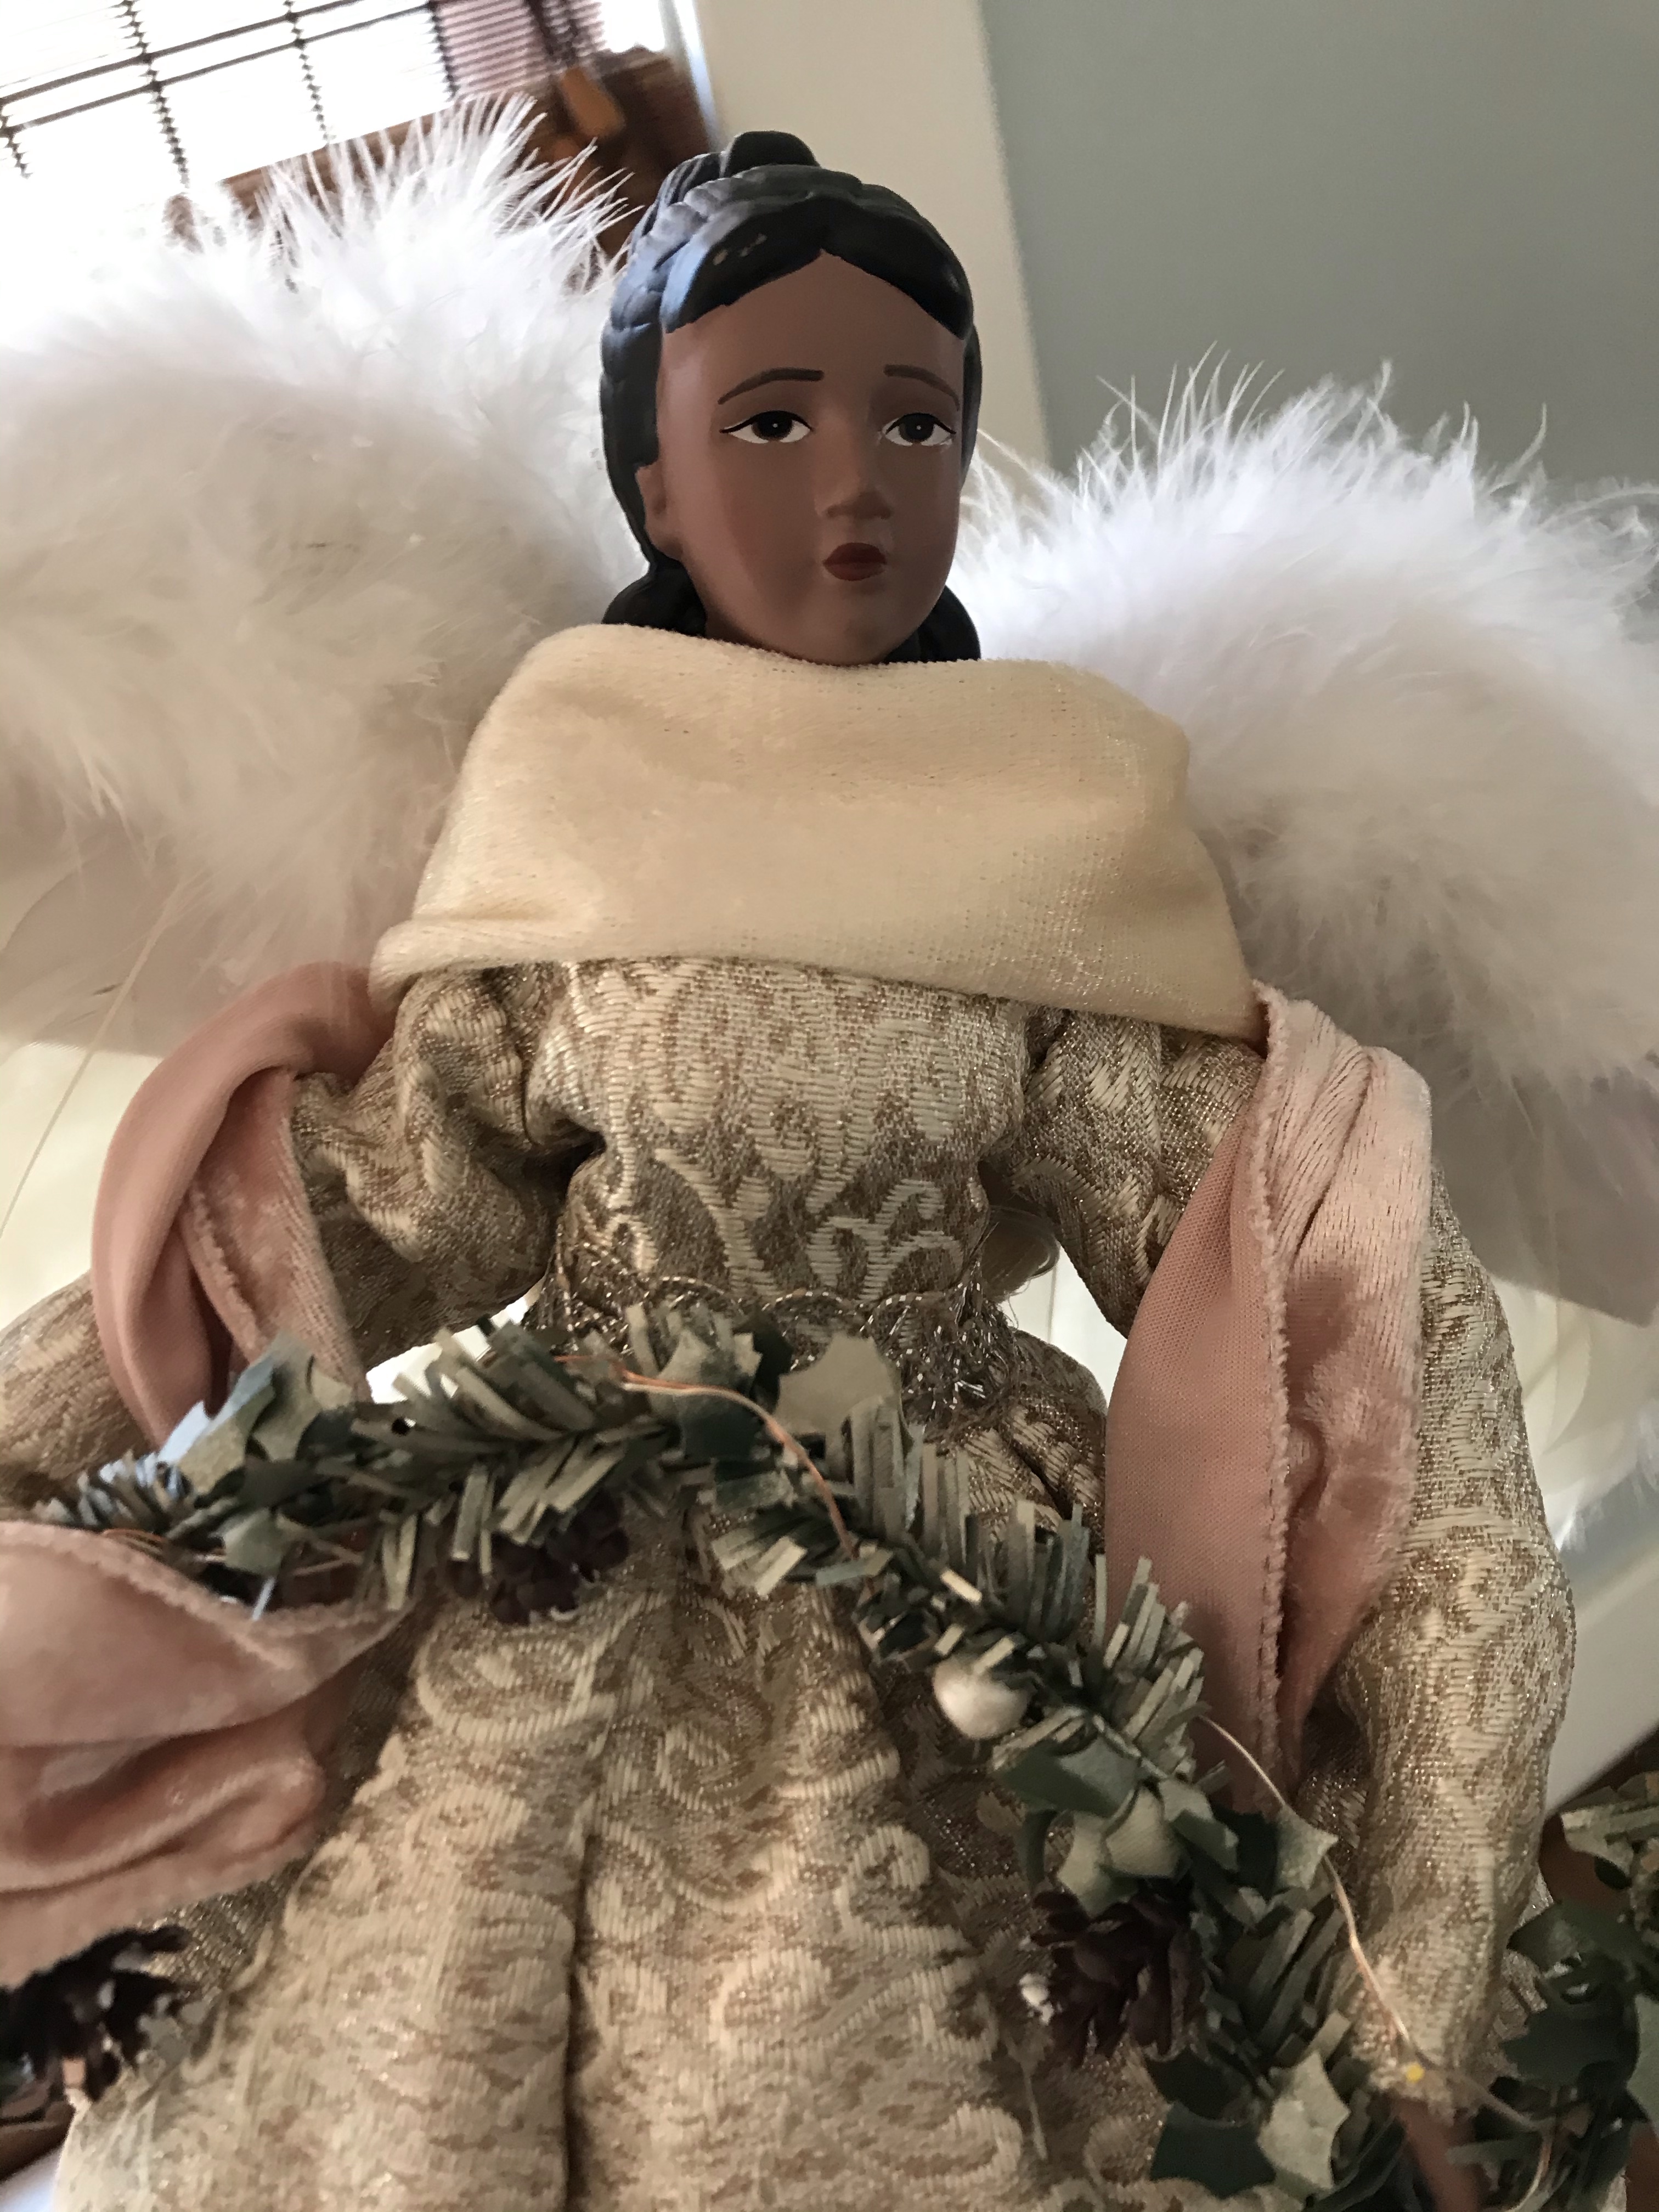
This year, a new angel came to grace our tree! A gift from my friend M., her name is Marian Zsofia–after the singer Marian Anderson and with a tribute to Poland, where M. traces her family history. Lighting her each night, we were reminded of how loved we are from people far and near.

